Description
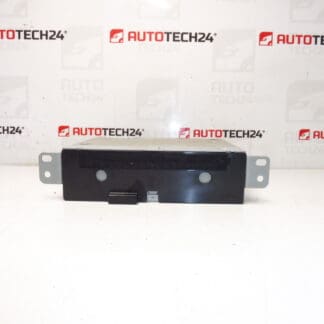
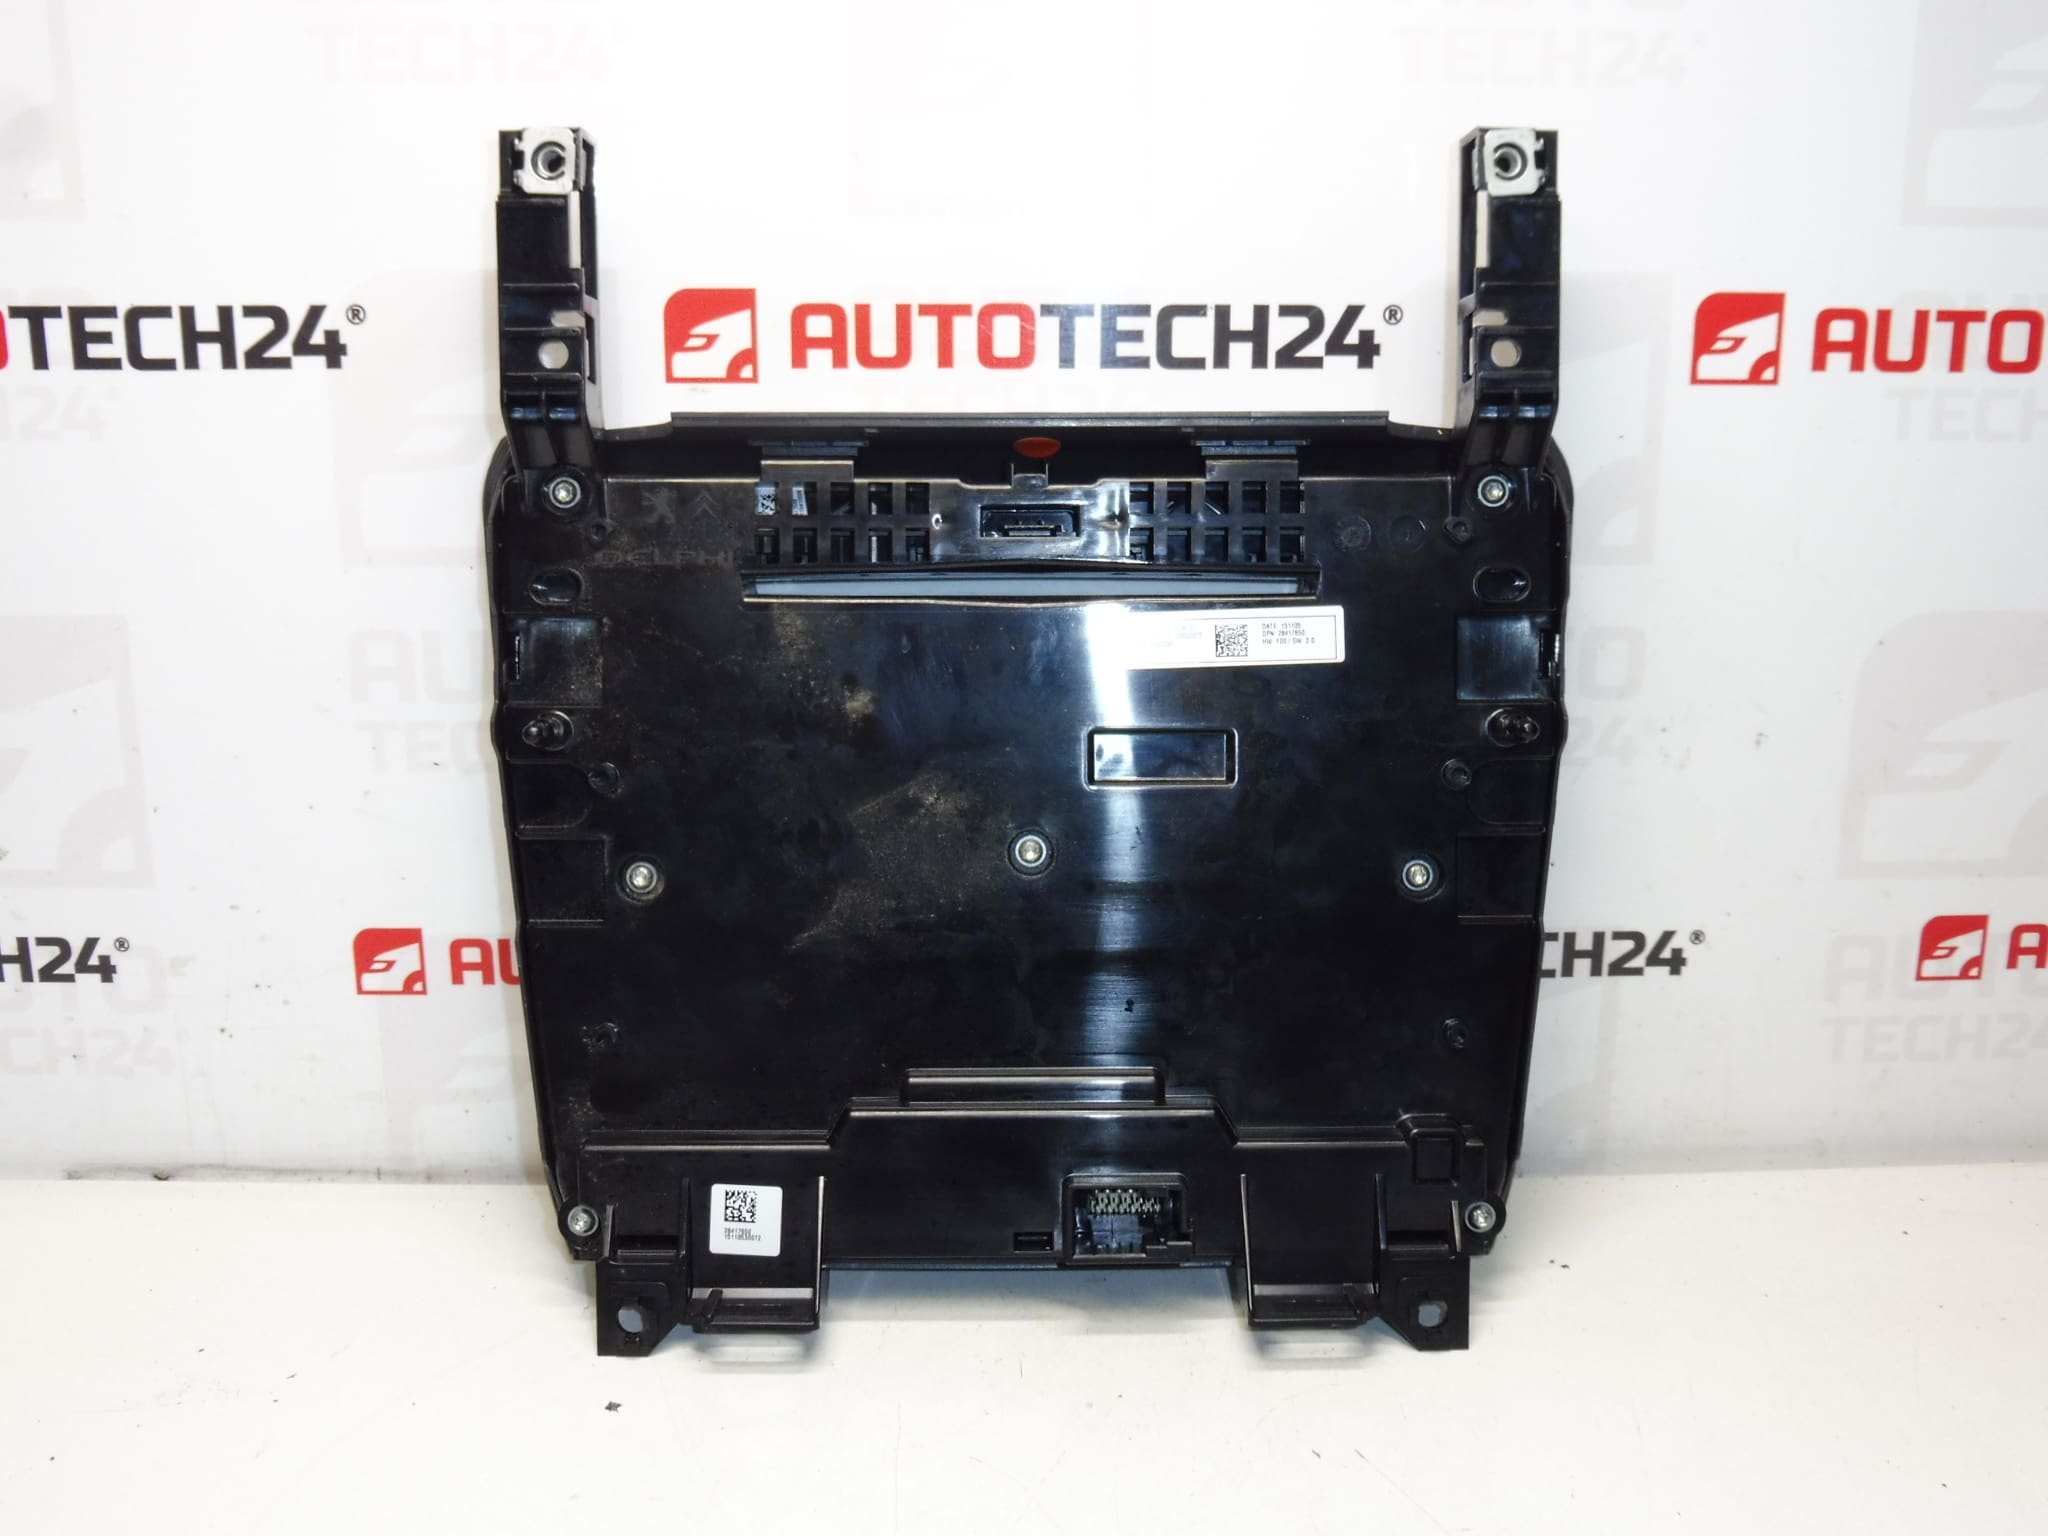
Control for heating, air conditioning, car radio and navigation Citroën C4 B7. Tested – functional.
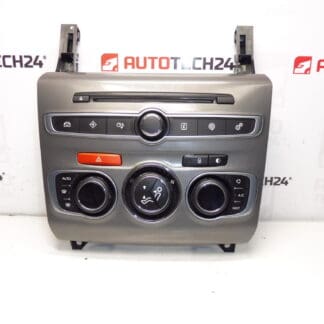
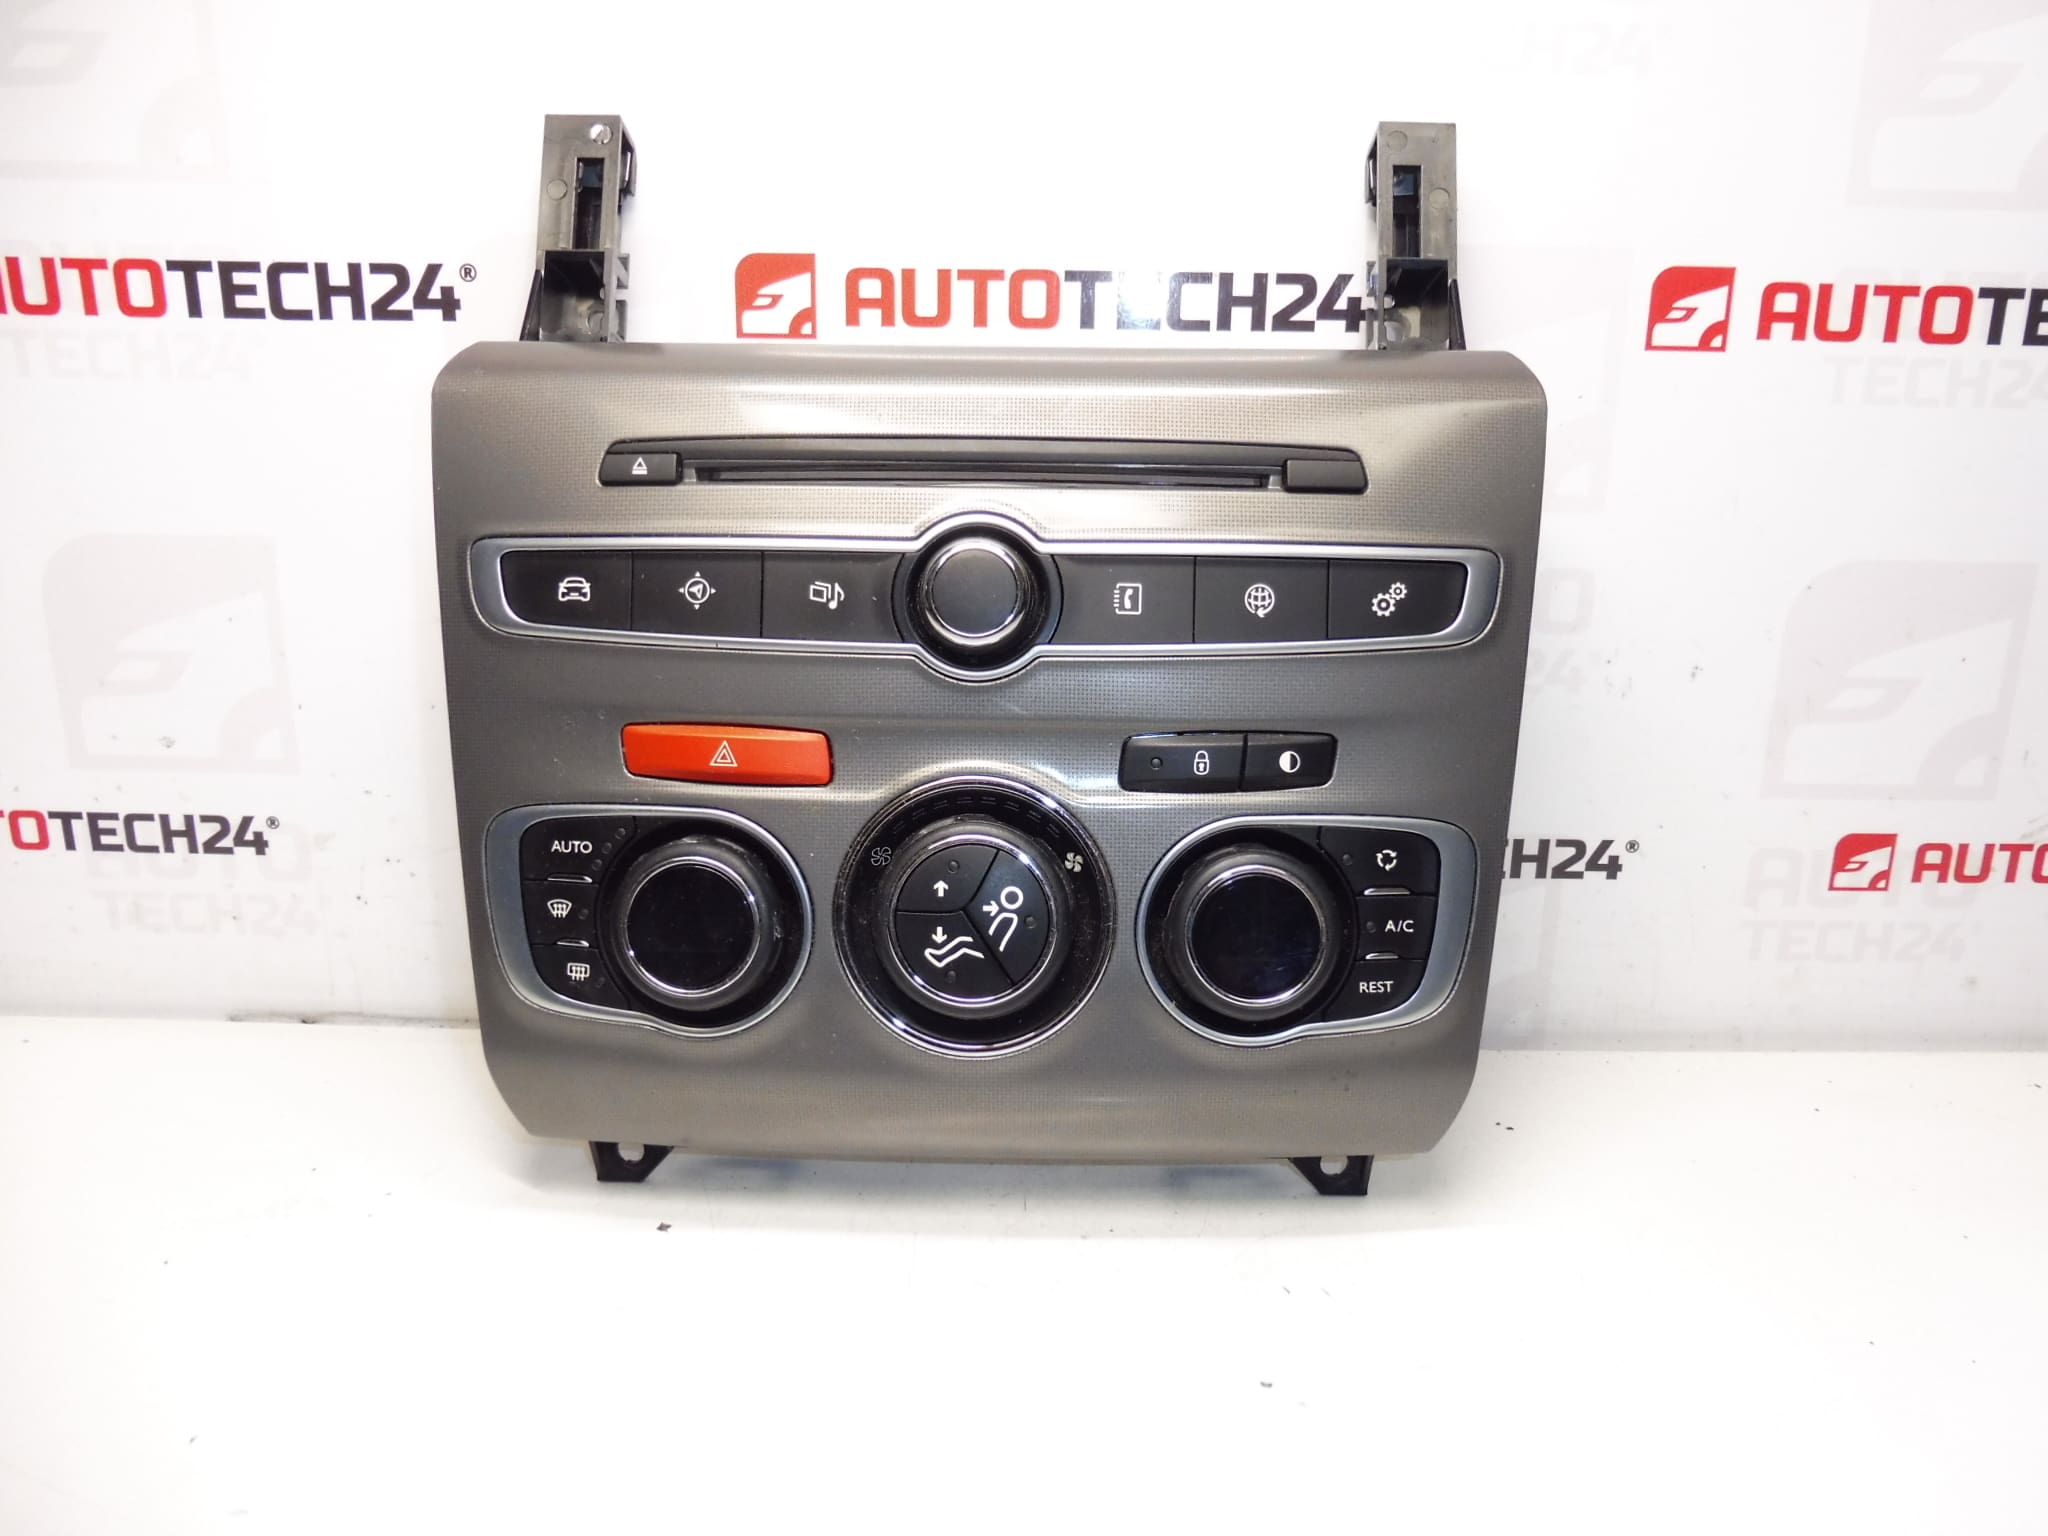
This multifunction control panel is a direct-fit replacement designed for the Citroën C4 II series. It consolidates HVAC (heating, ventilation and air conditioning) controls together with radio and navigation interface buttons, restoring full cabin command from a single ergonomic module. Built to OE form, fit and function, the panel is ideal for professional workshops and experienced DIY mechanics who need a reliable part referenced by product code 98100092XF. Clear button layout, integrated illumination and compatibility with factory infotainment systems make it a practical repair for vehicles with intermittent controls, failed backlighting or unresponsive command switches.
Technical Information
- Manufacturer: Stellantis / Citroën / Peugeot
- Model: Citroën C4 II (B7)
- Product Codes: 98100092XF
- Other Numbers: No additional reference numbers supplied
Function And Role
The unit provides centralized control of cabin temperature settings, fan speed, airflow direction and air conditioning functions, while also serving as the primary user interface for the radio and navigation system in cars equipped with the factory multimedia head unit. It transmits driver inputs to the vehicle’s climate and infotainment systems via the original wiring harness.
Compatibility And Fitment Notes
Intended for Citroën C4 II models (often referenced as B7) equipped with factory radio/navigation and integrated climate controls. Confirm the part number 98100092XF matches the unit removed from the vehicle before installation to ensure correct fitment and connector layout.
Installation Recommendations
- Disconnect the negative battery terminal before starting to avoid short circuits and to preserve electronic settings.
- Carefully remove the surrounding dash trim using plastic trim tools to prevent damage to clips and painted surfaces.
- Unscrew the module retaining screws and gently pull the panel forward to access electrical connectors; depress locking tabs and unplug harnesses.
- Fit the replacement by reconnecting all plugs and securing the module with original fasteners. Refit trim and reconnect the battery.
- After installation, start the vehicle and verify all functions—HVAC modes, fan speeds, temperature control, radio and navigation controls and backlighting. If necessary, allow the vehicle’s systems a short initialization cycle.
- If climate control functions appear erratic after fitment, verify connector seating and battery voltage; some vehicles may require a brief drive cycle or a system reset to re-establish proper communication between modules.
Common Failure Reasons
These panels commonly fail due to mechanical wear of tactile switches and potentiometers, deterioration of internal membranes or contacts, heat-related degradation of electronic components, or corrosion/poor contact at the electrical connectors. Backlight failure and worn button legends are frequent complaints in higher-mileage vehicles. Moisture ingress and repeated heavy use are the usual triggers that lead workshops to replace the control panel.
Advice For Professionals And DIY Installers
When replacing the unit in a workshop environment, keep a record of any diagnostic trouble codes and inspect associated fuses and wiring for signs of damage. For DIYers: work slowly when removing trim and connectors, take pictures for reference, and ensure all connectors are fully seated before reassembly. Using the correct trim tools and basic ESD precautions will reduce the risk of damage during handling.