Description
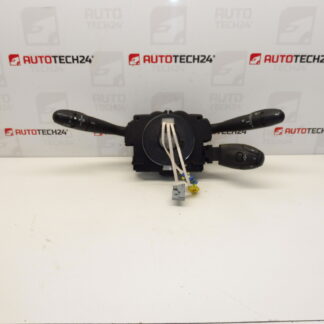
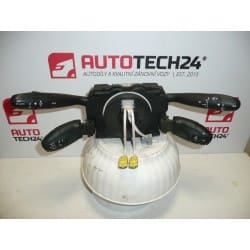
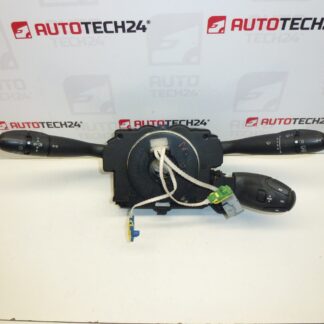
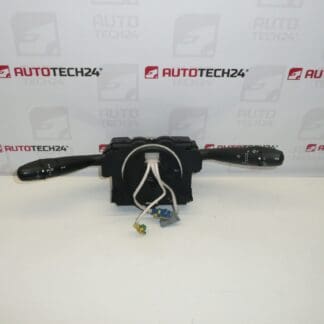
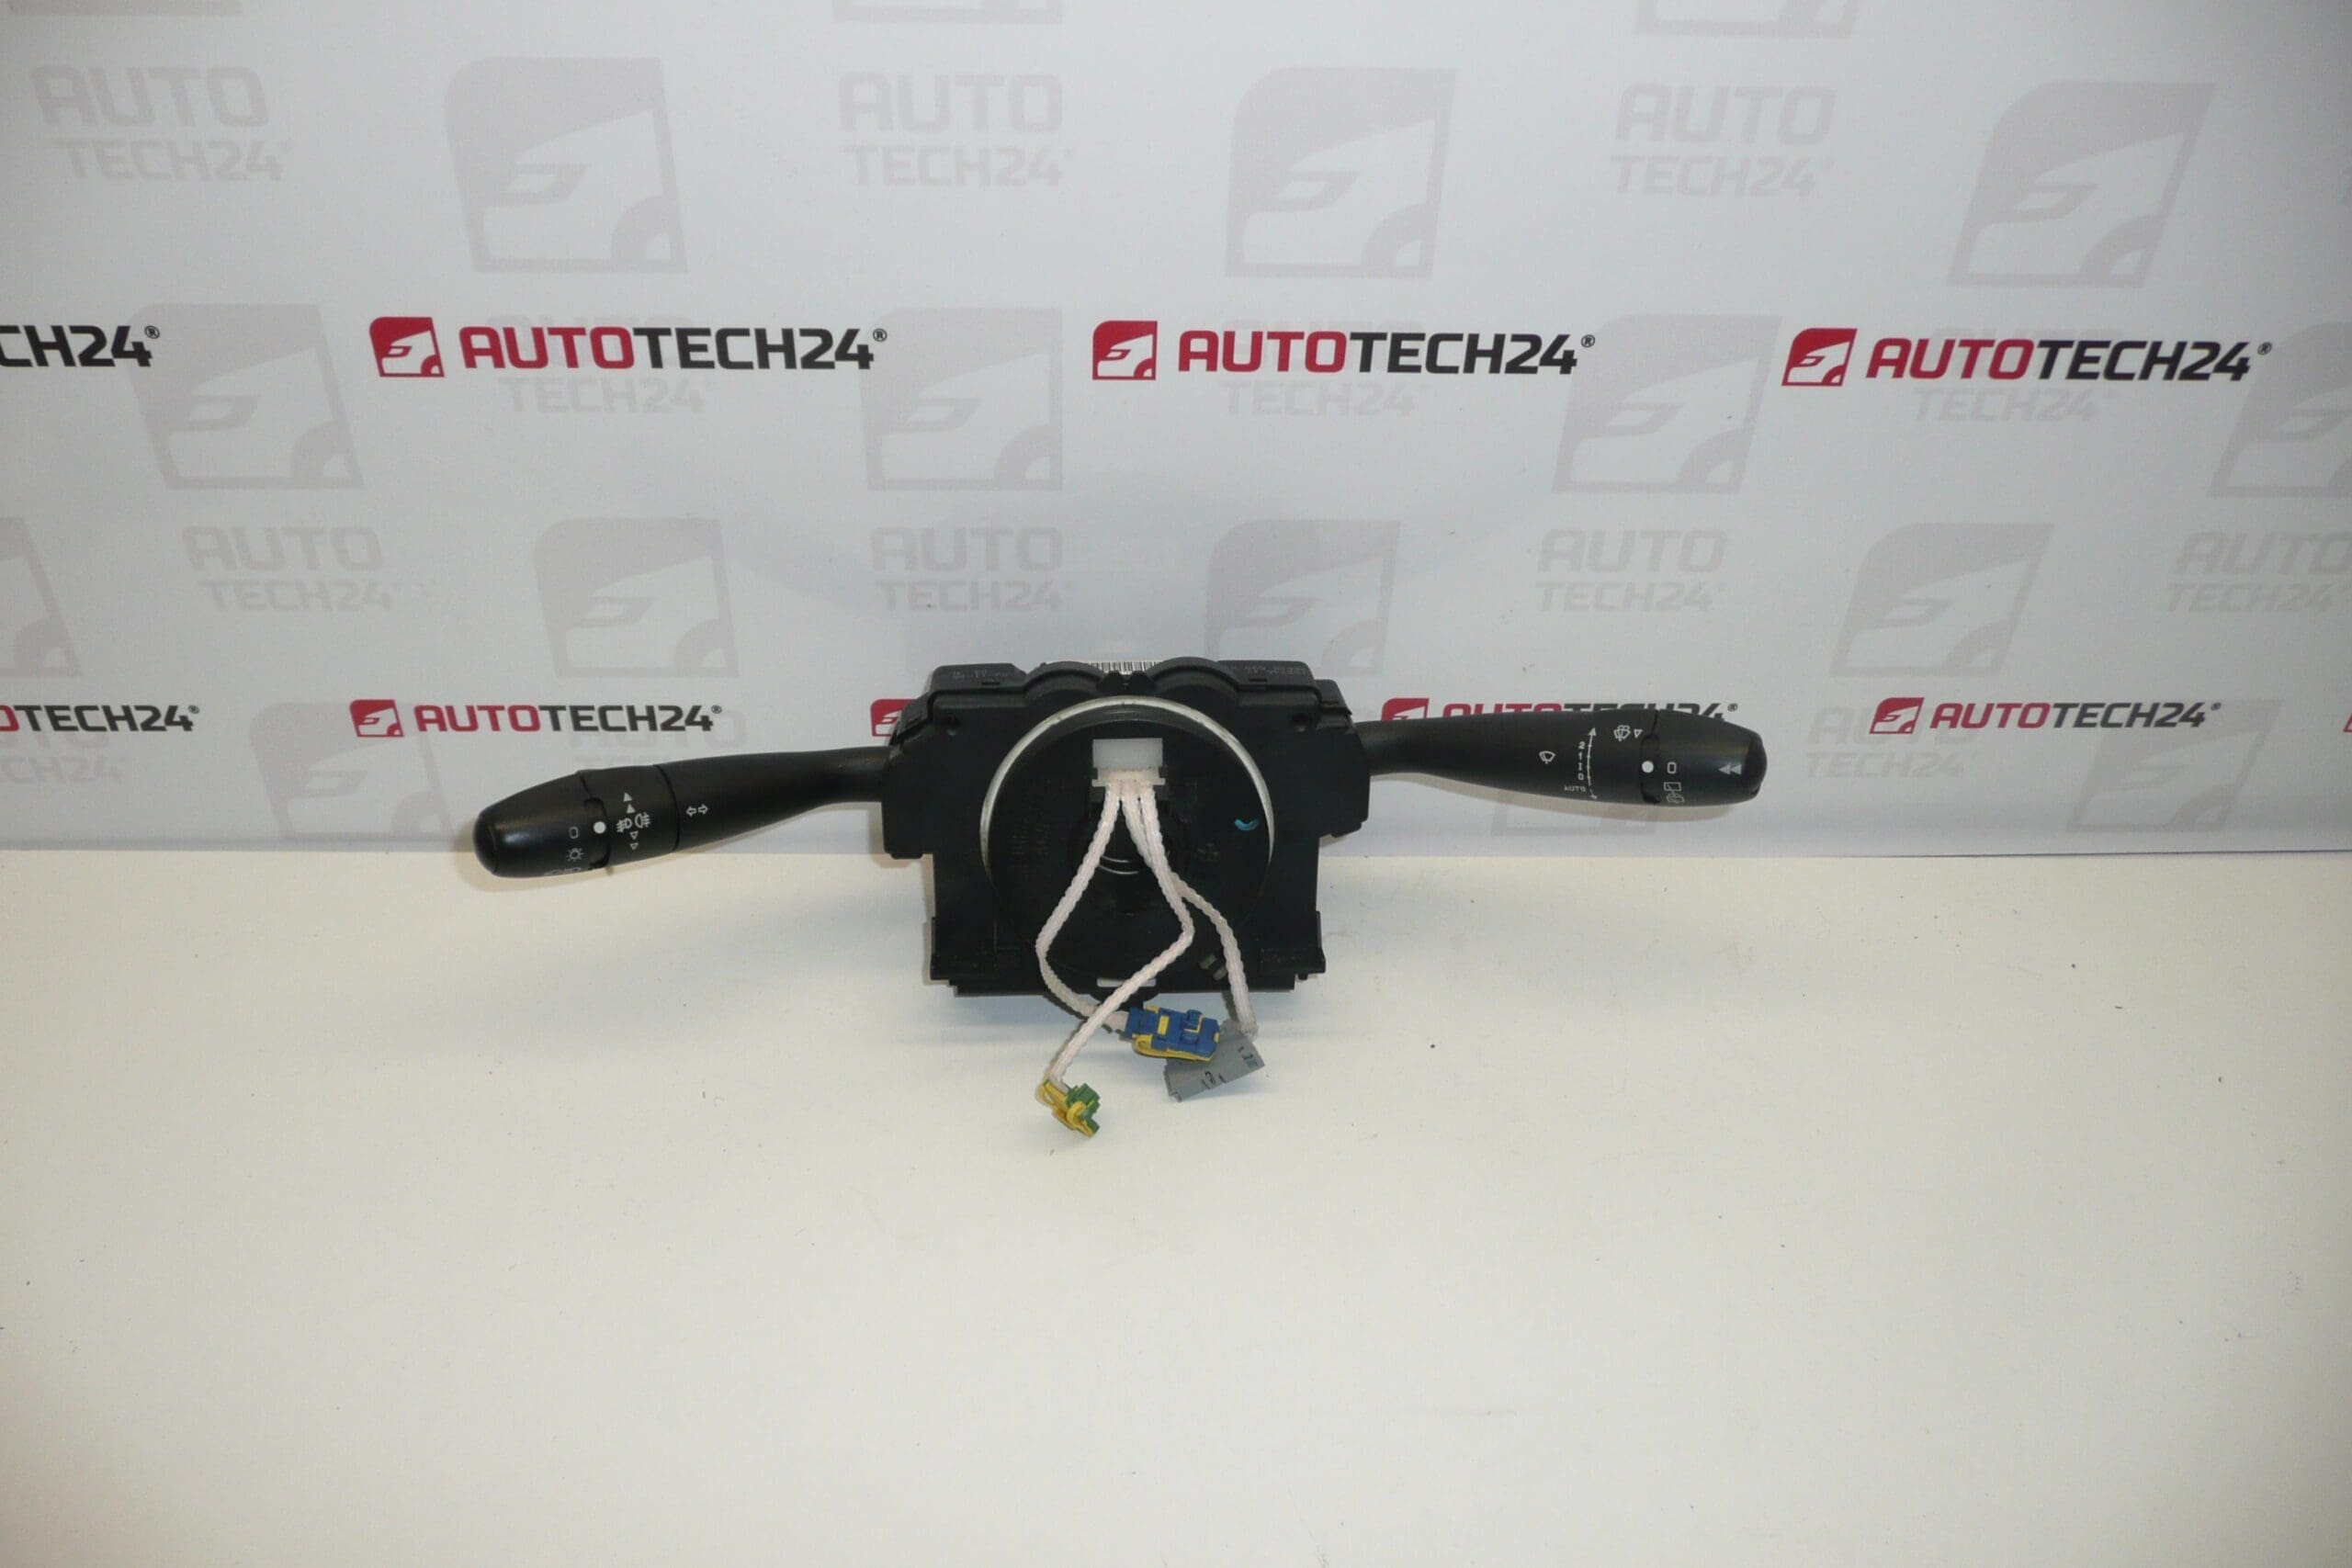
Controls under the steering wheel, multi-function control DELPHI COM2003 for Citroen and PEUGEOT cars
They control the fog lights, on-board computer, front and rear wiper, wiper sensor, on-board computer, ESP
Cruise control and car radio (controller must be supplied or transferred)
Part description
This used DELPHI COM2003 multifunction steering wheel control is for Citroën and Peugeot cars. It is an important electrical part that combines the control of multiple car functions into one unit and is often searched for under the product numbers 96605599XT and 6242A4.
The advantage is the practical solution of multiple functions in one module. According to the supplied documents, the driver provides operation of the following elements:
- fog lights,
- board computer,
- front and rear wiper,
- wiper sensor,
- ESP,
- cruise control,
- car radio – driver must be delivered or transferred.
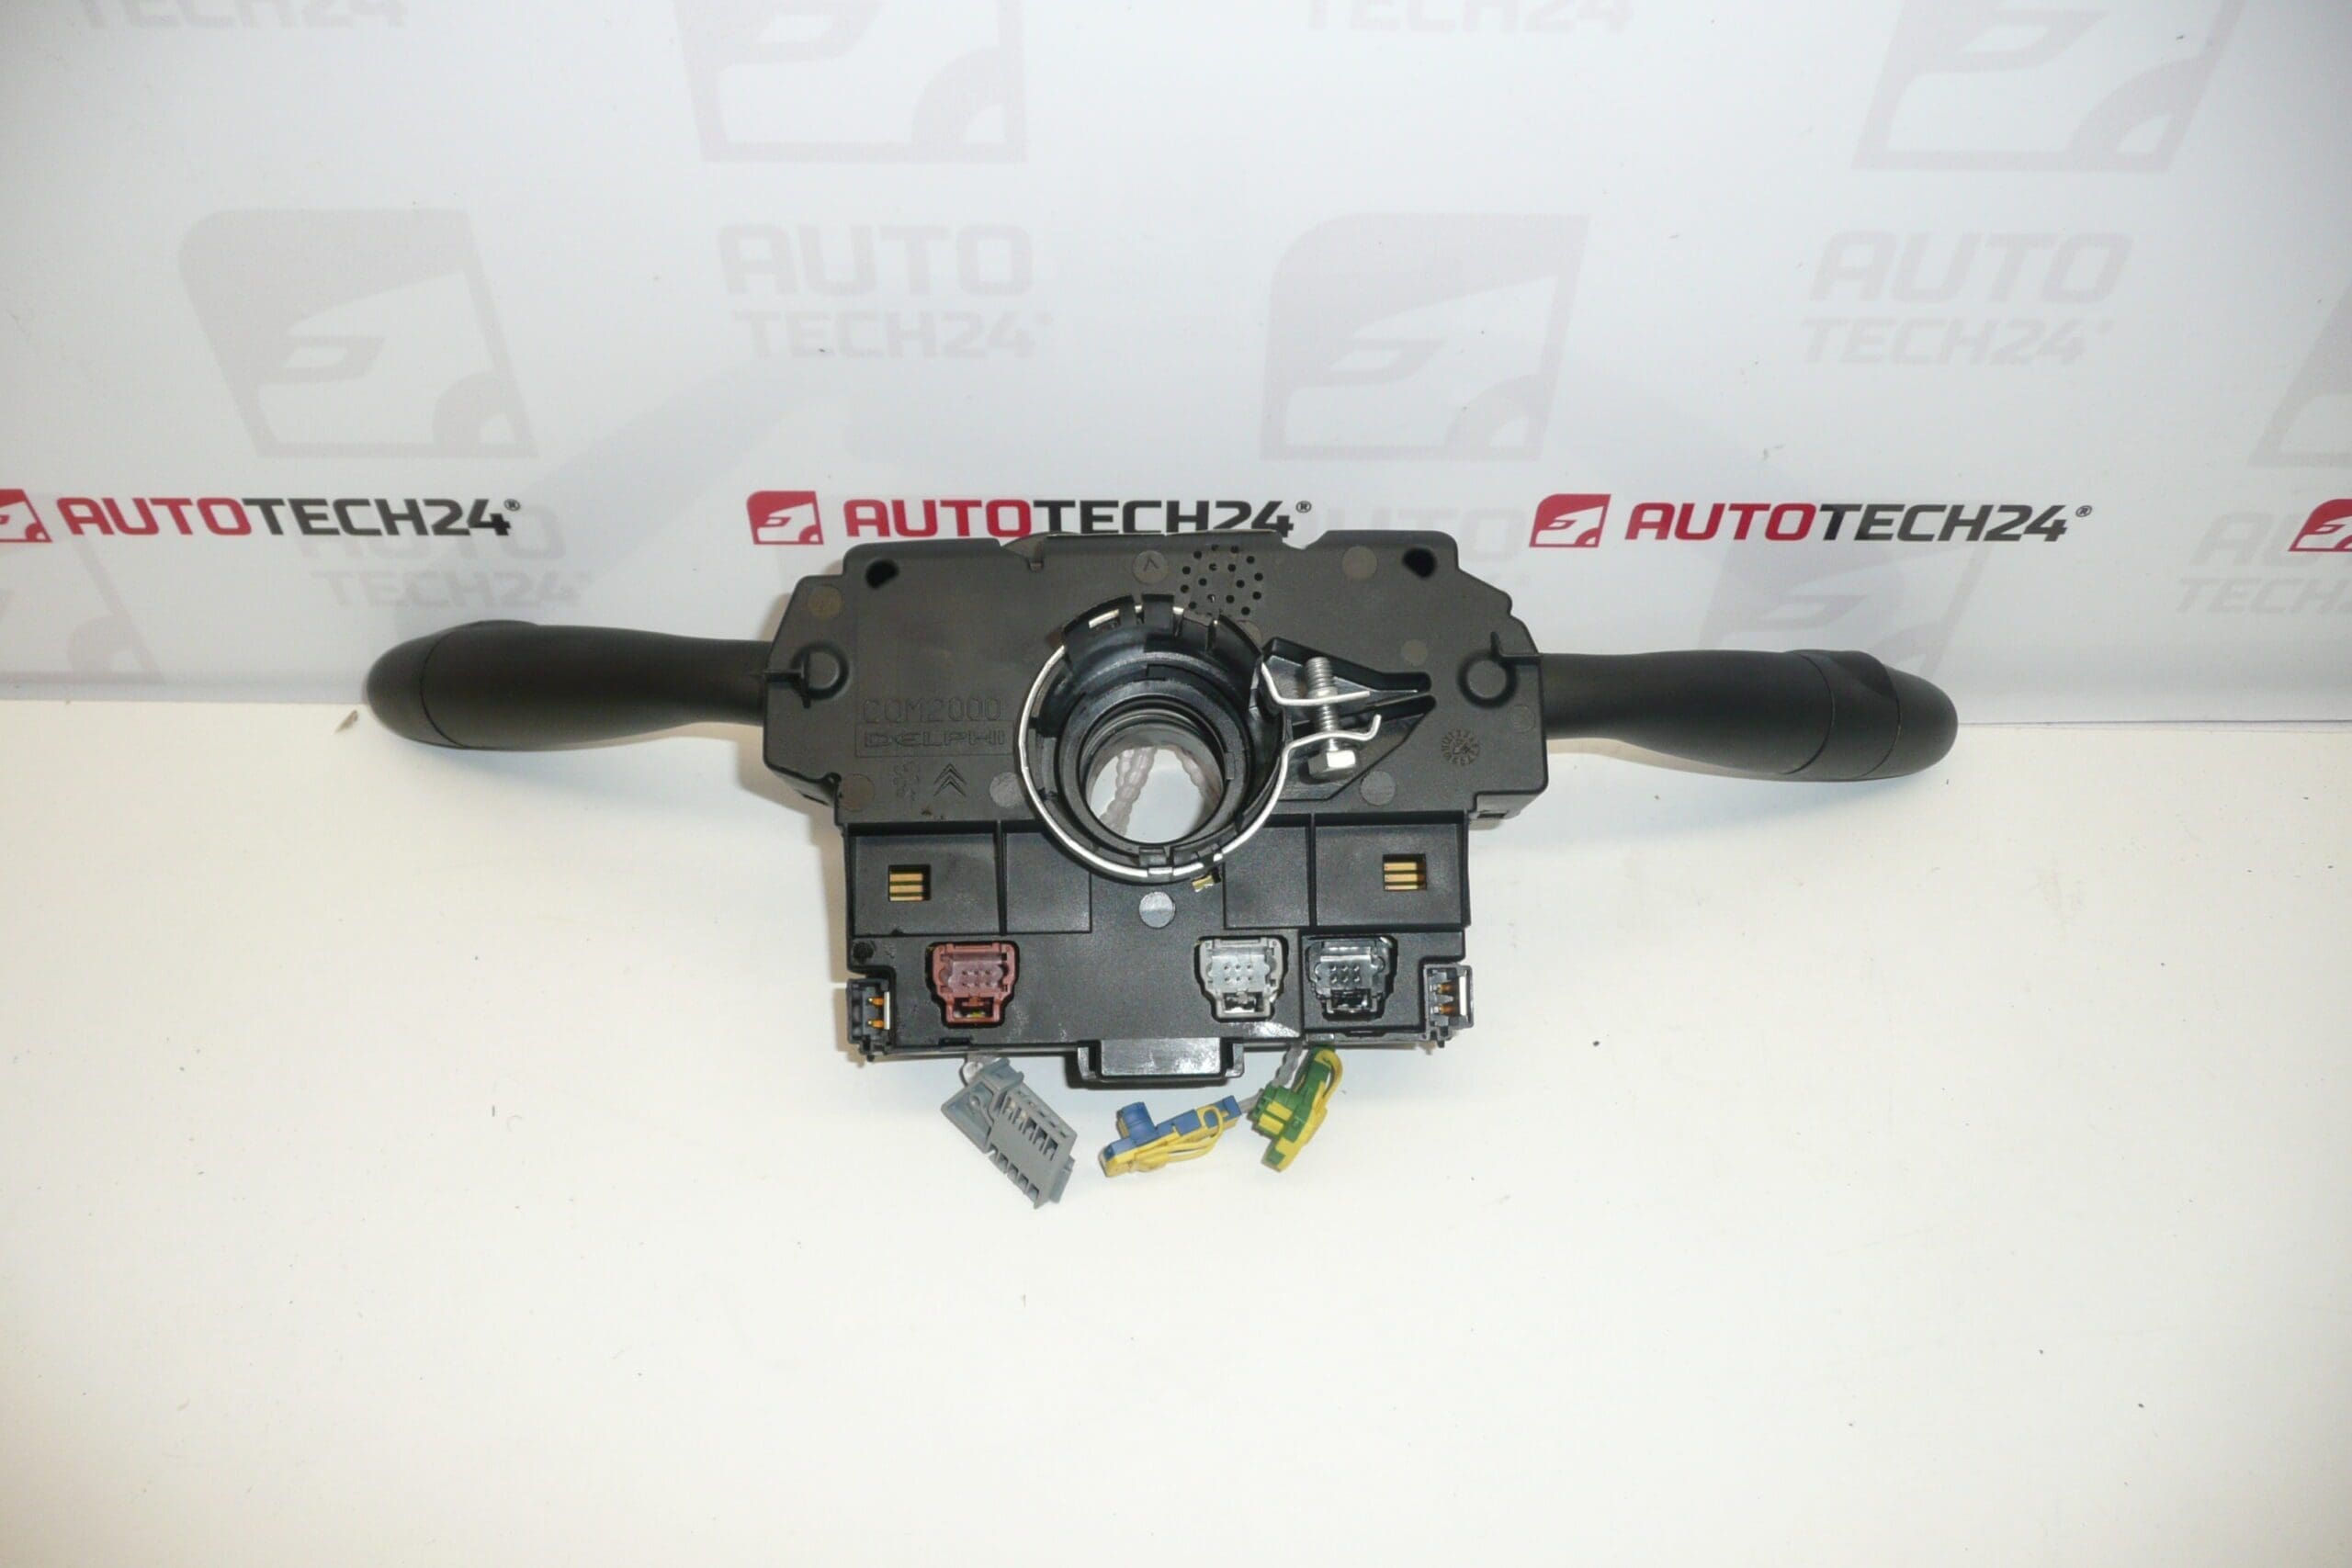
It is important for mechanics and home repairers that not only the physical shape of the part is decisive for these controllers, but also the matching of the connectors, equipment and markings on the label. That is why, when exchanging, it is advisable to carefully compare the old and new piece according to all available numbers and designs.
Technical information
- Manufacturer: DELPHI
- Model: COM2003
- Other numbers: 96605599XT, 6242A4, NFP
Product codes
- Product codes: 96605599XT, 6242A4
- Models according to documents / labels: Citroën C5, Citroën C8, Peugeot 307, Peugeot 406, Peugeot 807
- Other categories in the documents: 206, 307 II, 406, 807, BERLINGO II, C5 I, C8
Installation recommendations
Generally/typically for this type of part, the exact replacement procedure may vary depending on the specific model, steering column design and vehicle equipment. You need to work carefully with the controls under the steering wheel, especially because of the surrounding electrical components and the connection to other control elements.
1) Before assembly
- Check that the product numbers and part designation match, especially 96605599XT and 6242A4.
- Compare the connectors, the shape of the controller body, the attachment and the layout of the levers with the old part.
- Check for the presence of the functions you need to use – for example, control of wipers, fog lights, on-board computer, ESP, cruise control or car radio.
- For the control of the car radio, consider that it may be necessary to transfer or supply a separate controller, as indicated in the documents.
- Before starting work, disconnect the battery and wait for the car’s electrical system to calm down.
2) Necessary tools and materials
- set of common hand tools,
- screwdrivers or bits corresponding to the joints used,
- plastic crowbar for removing covers,
- clean cloth,
- contact cleaner, if applicable,
- protective gloves and enough light to work.
3) Step-by-step assembly procedure
- Secure the vehicle against movement and set the steering wheel to a suitable working position.
- Disconnect the battery and leave a sufficient time gap before the next intervention.
- Remove the covers around the steering column to gain safe access to the control under the steering wheel.
- Carefully document the original condition – the position of the connectors, the routing of the cables and the placement of individual parts.
- Disconnect the old controller’s electrical connectors carefully, without using excessive force.
- Release the original controller from the mount according to the design of the car and remove it.
- Compare the old and new part side-by-side, especially connectors, handles, shape of levers and presence of control functions.
- If the car radio controller is part of the solution and is not installed, transfer it or add it according to the design of the original piece.
- Install the new controller in the correct position and check that it is seated without tension and properly seated in the mount.
- Connect all connectors so that they are properly secured and there is no tension in the wiring.
- Before putting on the covers, check the free movement of the levers and that nothing mechanically interferes.
- Refit the steering column covers and restore power by connecting the battery.
-
4) Post-assembly checks and test drive/function verification
- Test the basic mechanical operation of all levers.
- Verify the operation of the wipers, fog lights, on-board computer and other available controls.
- If the car is equipped in this way, also check the system’s response to ESP, cruise control and car radio controls.
- Check that no function is triggered by itself and that the levers are held in the correct positions.
- On a short test drive, observe whether the control works smoothly and without interruptions.
5) The most common assembly mistakes + how to avoid them
- Exchanging a similar part for a different design – always compare numbers, connectors and equipment.
- Connector or latch damage – disconnect connectors gently and never force them.
- Incorrect seating in the holder – after assembly, check that the part is not in a crooked position and that the levers are free to move.
- Quick function check – always systematically test all available control modes after assembly.
- Normal wear and tear from long-term daily use of levers and control mechanisms.
- Mechanical stress caused by force control or rough handling.
- Wearing of internal contacts, which can be manifested by failure of individual functions.
- Moisture and dirt which can negatively affect electrical connections and accuracy of operation.
- Unprofessional disassembly or assembly which may damage the mount, connectors or the controller body itself.
- Age of the part and fatigue of the material, especially for frequently used multi-function controllers.