Description
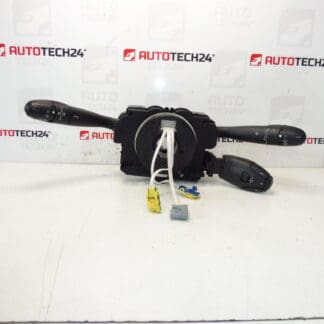
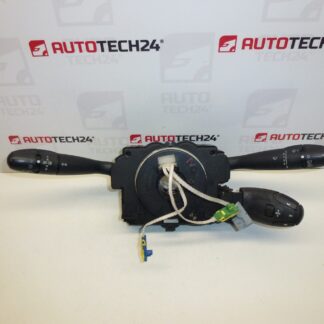
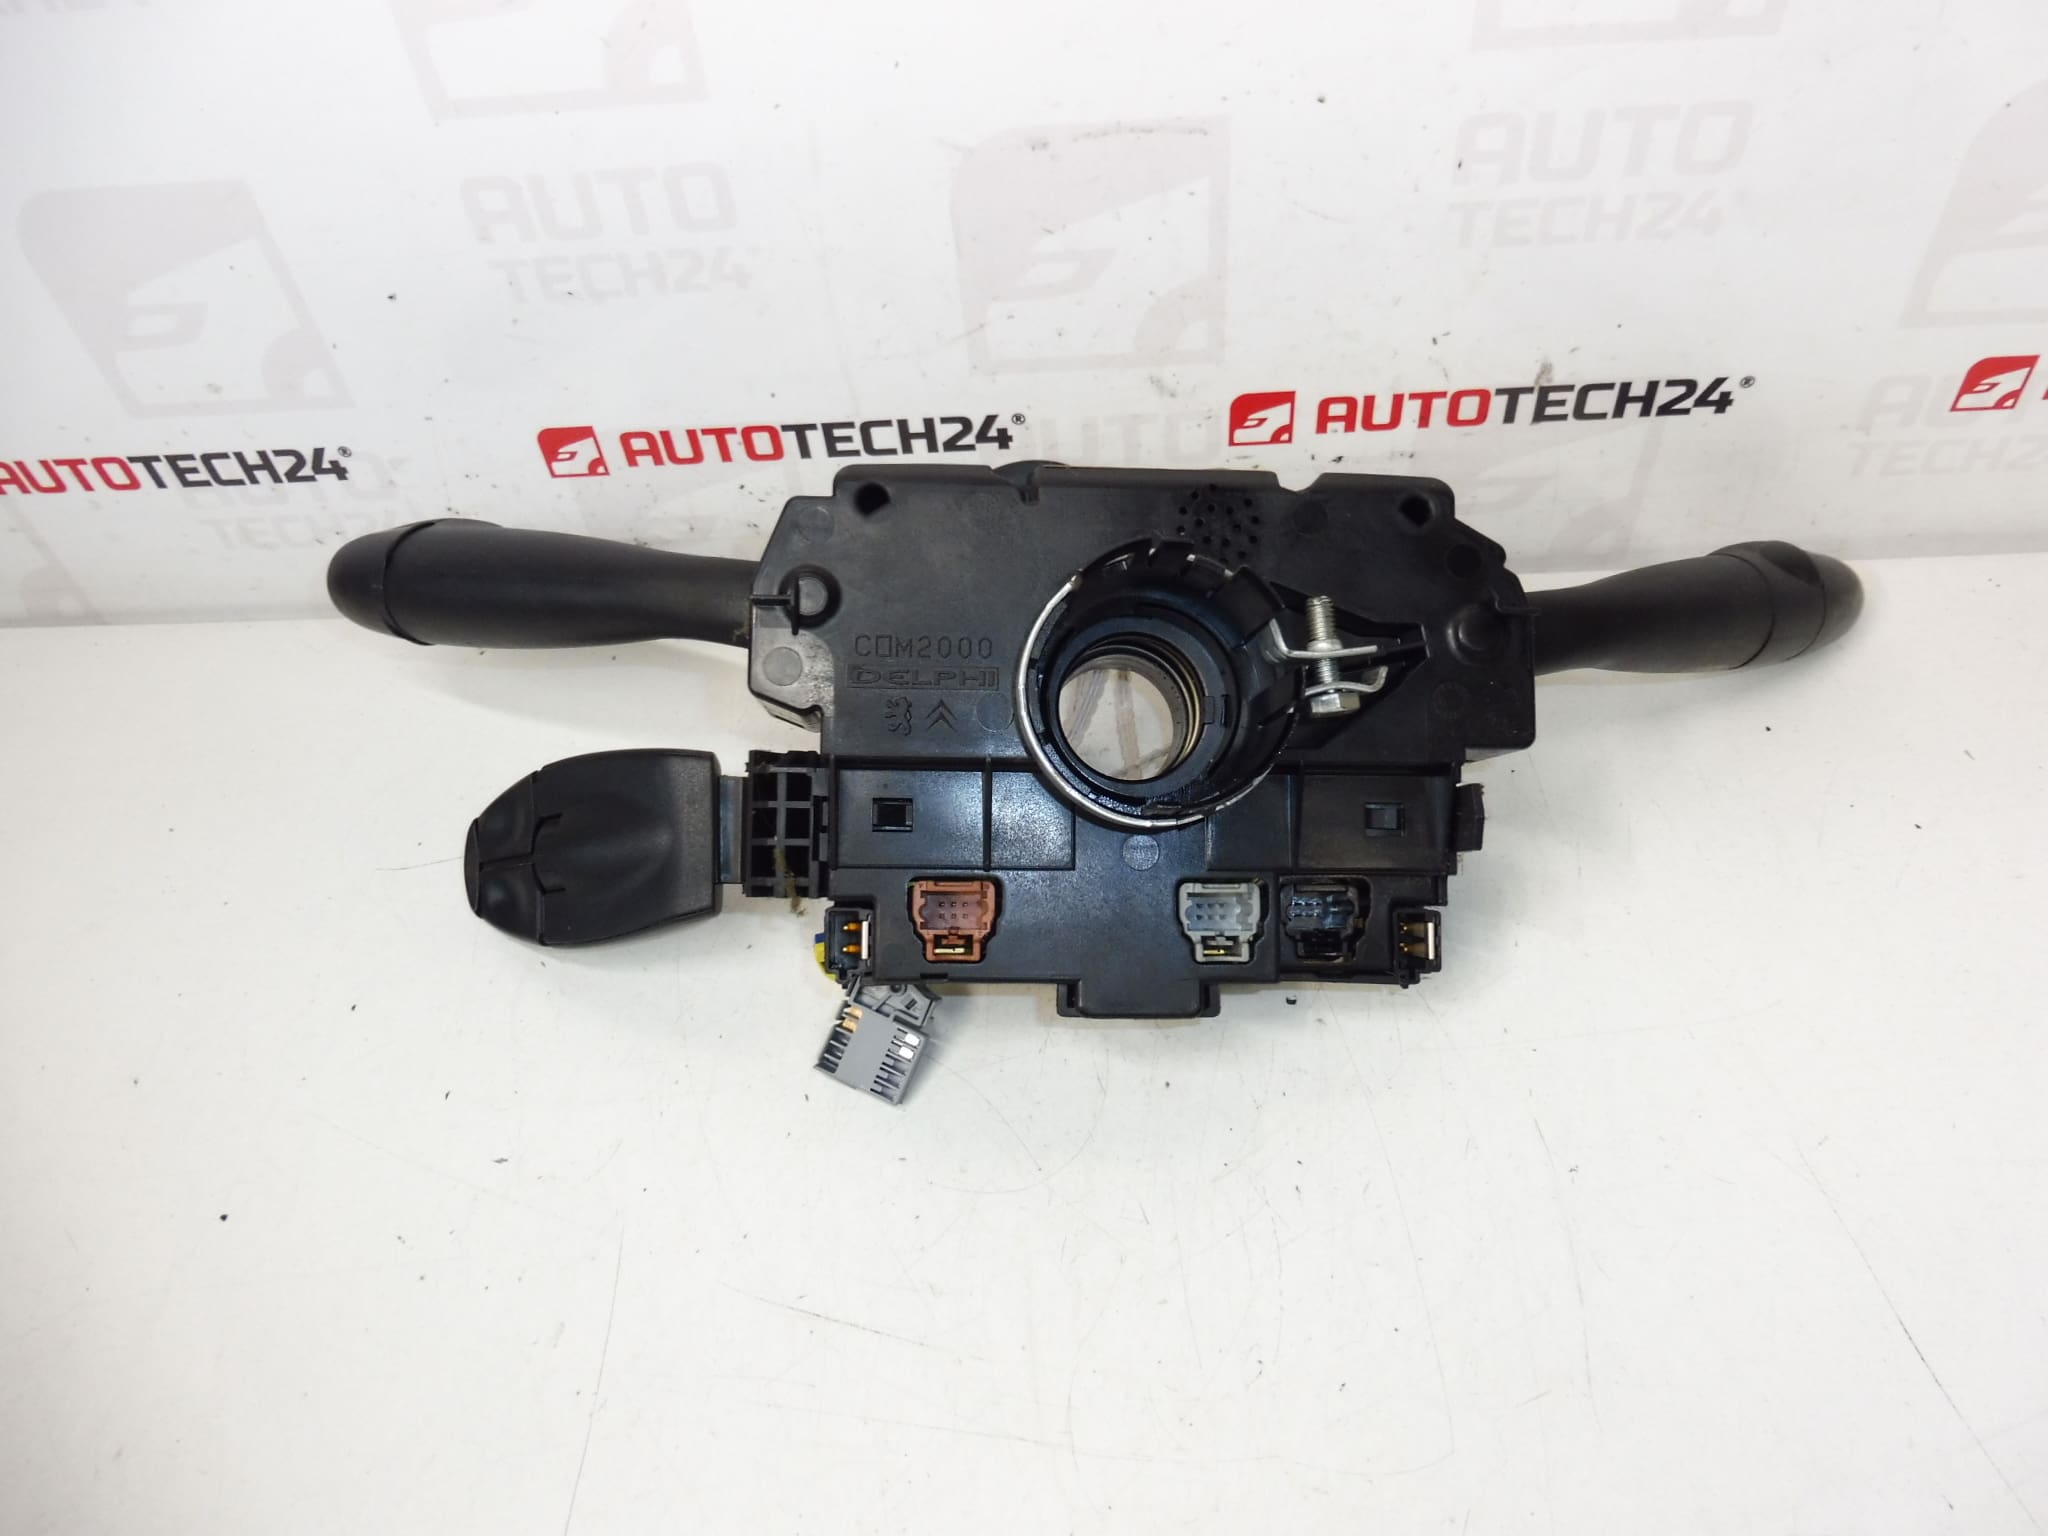
Steering column stalks, multifunction DELPHI COM2003 control stalk for Citroën and Peugeot vehicles. Controls fog lights, trip computer, front and rear wipers, rain sensor, ESP, cruise control and car radio (radio control must be supplied or the stalk transferred).
High-quality replacement multifunction stalk designed for Citroën and Peugeot models using the DELPHI COM2003 platform. This steering column switch assembly centralizes lighting and wiper commands, trip computer navigation and stability functions into one ergonomic stalk. Ideal for professional workshops and DIY mechanics who search by part number (96567445XT / 6242A4 / COM2003). Installing a correct multifunction stalk restores full driver control over fog lamps, wipers, cruise control and related convenience functions.
Technical Information
- Manufacturer: Delphi (OEM Supplier For Stellantis)
- Model: COM2003 Multifunction Stalk
- Product Codes: 96567445XT, 6242A4
- Additional Numbers: COM2003
- Recommended Vehicles: Peugeot 206; Peugeot 307 II; Peugeot 406; Peugeot 807; Citroën C5 I; Citroën C8; Berlingo II
Installation Recommendations
- Disconnect Battery: Always disconnect the vehicle battery before starting work and wait at least 10 minutes to allow airbag capacitors to discharge.
- Safety First: Secure the steering wheel in the straight-ahead position and follow manufacturer procedures to avoid damage to the airbag and steering column components.
- Access: Remove steering column trim panels to access mounting screws and the electrical connector for the stalk.
- Connector Handling: Carefully unplug the electrical connector; avoid pulling on the wiring harness and check connector terminals for corrosion before reassembly.
- Function Check: After installation, reconnect the battery and verify all stalk functions (lights, wipers, trip computer navigation, ESP indications, cruise control). Clear any stored fault codes using a diagnostic tool if necessary.
How The Part Is Replaced
Replacement typically involves removing the upper and lower steering column covers, unfastening the mounting screws that secure the stalk to the column, disconnecting the electrical plug, and fitting the new stalk in reverse order. Depending on vehicle equipment, some functions (for example radio controls or cruise functions) may require transferring an additional control module or re-using parts from the original stalk.
Why This Part Fails
- Mechanical Wear: Frequent mechanical use leads to worn contacts and plastic components, causing intermittent or lost functions.
- Contamination: Moisture ingress or dust can corrode electrical contacts inside the stalk or at the connector pins.
- Impact Damage: Damage from accidents or rough handling during previous repairs can break internal levers or mounting points.
- Electrical Faults: Short circuits or voltage spikes in the vehicle electrical system can damage internal electronics on multifunction stalks.
Notes For Mechanics And DIYers
This multifunction stalk is a common service item on older Citroën and Peugeot models. Matching the part number (96567445XT, 6242A4, COM2003) to the vehicle is the fastest way to confirm compatibility. When replacing the stalk, inspect the column wiring and connectors for damage and ensure secure mechanical mounting to avoid rattles and intermittent electrical faults.