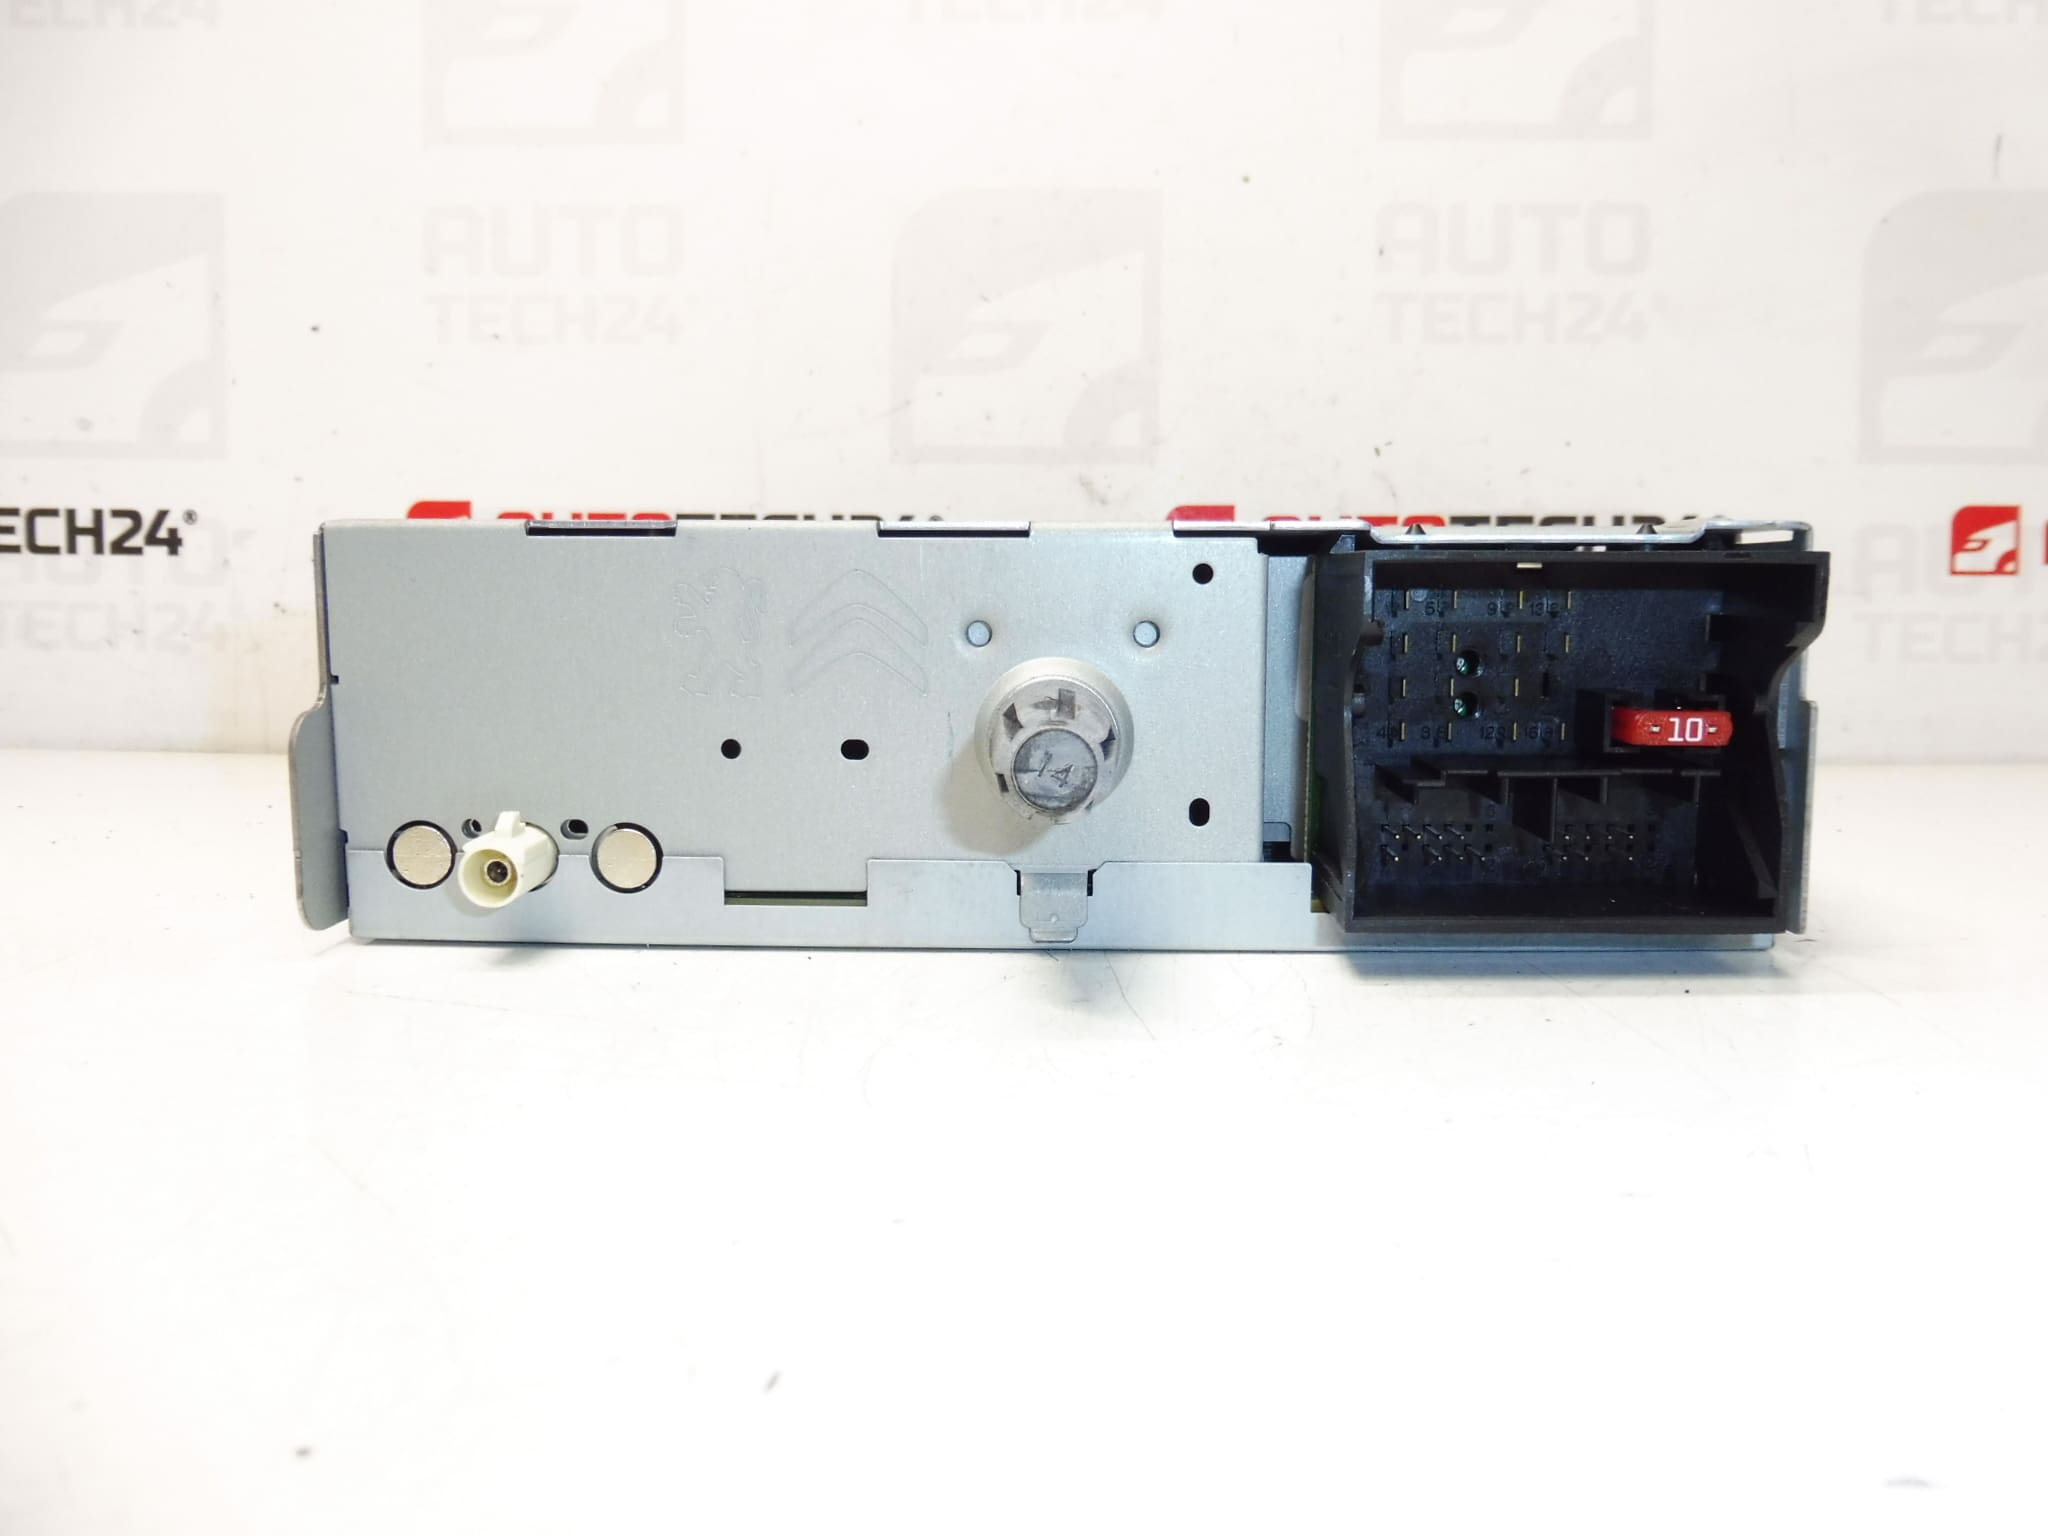
Description
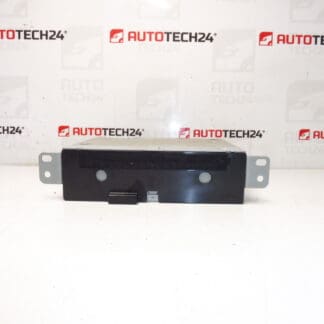
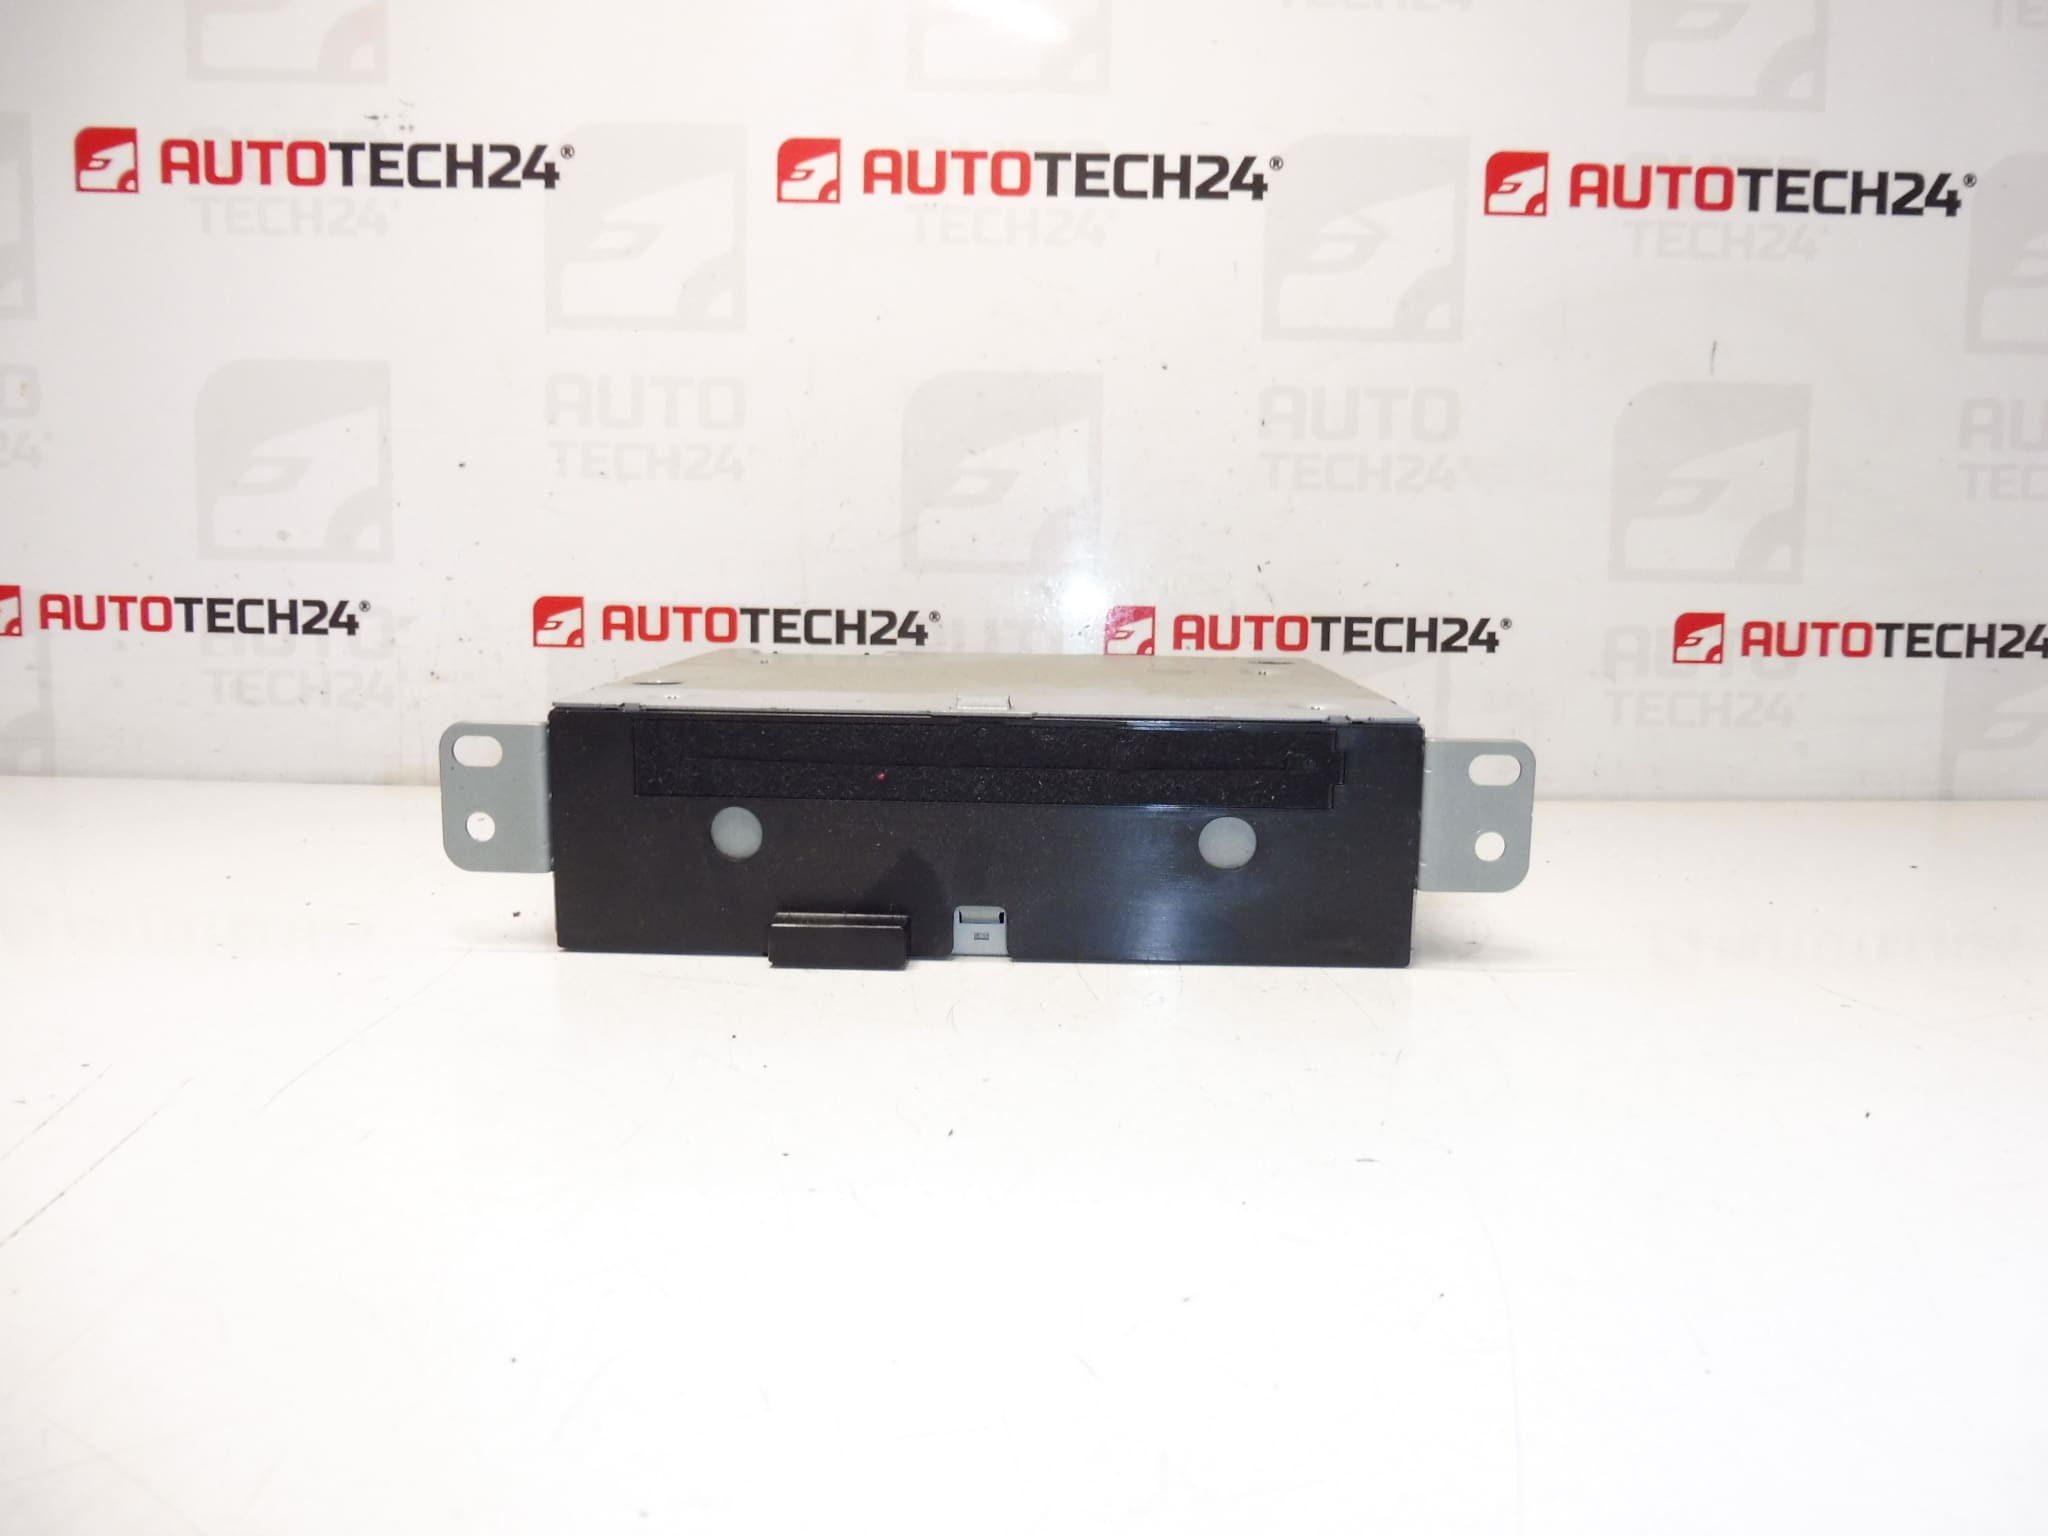
Car radio with CD for Citroën vehicles Citroën C4 B7. Tested – functional
Factory-fit CD car radio designed for Citroën C4 II (B7) models, offering reliable FM/AM reception and CD playback as a direct replacement for the original unit. This unit is a practical choice for professional workshops and DIY mechanics who need a straightforward, vehicle-specific audio unit. The radio is frequently searched by OE numbers and internal codes listed below, which makes identifying the correct replacement quick and easy.
Features And Application
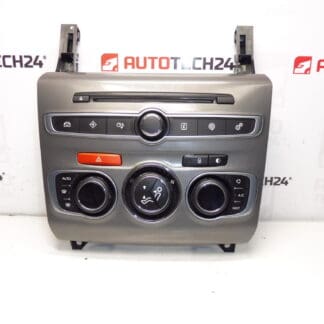
Built to integrate with the vehicle’s original wiring and dashboard mounting, the unit provides standard radio and CD functionality expected from a factory head unit. Typical functions include FM/AM radio tuning, CD audio playback, front-panel controls for volume and station/track selection, and direct fitment into the Citroën C4 II instrument panel. Suitable for technicians replacing a failed or malfunctioning original unit in compatible models.
Technical Information
- Manufacturer: Stellantis / Citroën / Peugeot
- Model: Citroën C4 II (B7)
- Product Codes: 9666994580, 6574SN
- Other Numbers: 1611729080, 1613842980
Installation Recommendations
- Disconnect The Battery: Always disconnect the negative terminal before starting to avoid short circuits and airbag faults.
- Remove Trim Panels: Use plastic trim tools to release dashboard bezels without scratching the finish.
- Unscrew The Head Unit: Remove the securing screws (commonly Torx or Philips depending on model) and slide the unit out carefully.
- Disconnect Connectors: Unplug The Main Wiring Harness, Speaker Plugs, And Antenna Connector. Note The Orientation Of Any Locking Tabs.
- Install The Replacement: Connect All Harnesses And Antenna, Slide The Unit Into The Mounting Cage, Secure Screws, And Refit Trim Panels.
- Test Before Final Assembly: Reconnect The Battery And Verify Radio Reception, CD Loading/Ejection, And Controls Work Correctly Before Reassembling The Trim.
Typical Tools: Plastic Trim Remover, Torx Set, Screwdriver Set, Multimeter (for quick checks of power/ground if needed).
Common Failure Causes
The most frequent reasons these head units fail are mechanical wear in the CD mechanism (stuck discs, failing spindle motor), optical pickup degradation, electrical issues such as corroded connectors or intermittent power/ground, and internal component faults caused by heat or moisture ingress. Symptoms to watch for include no power, intermittent sound, inability to read or eject CDs, and distorted radio reception.
Replacement Advice
If Replacing The Unit Due To CD Mechanism Failure, Consider Whether The Existing Harness And Antenna Are In Good Condition—Faulty Antenna Connections Or Grounding Problems Can Mimic Head Unit Failures. For Workshops: Keep A Set Of Common OE Codes Handy To Speed Up Identification. For DIY Mechanics: Take Photos Of Connector Positions Before Disconnecting To Ensure Correct Reassembly.
This radio is a practical, vehicle-specific replacement for Citroën C4 II owners and professionals. Search By The Product Codes Above To Quickly Find The Correct Unit For Your Vehicle.