Description
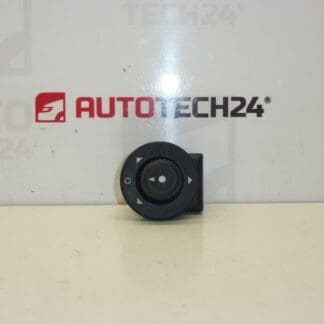
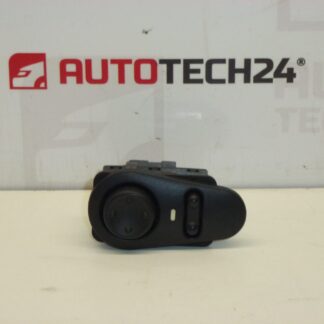
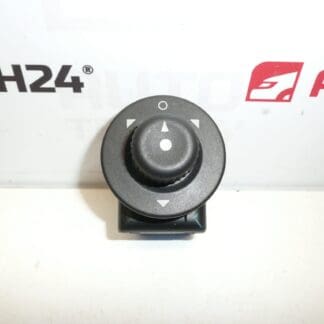
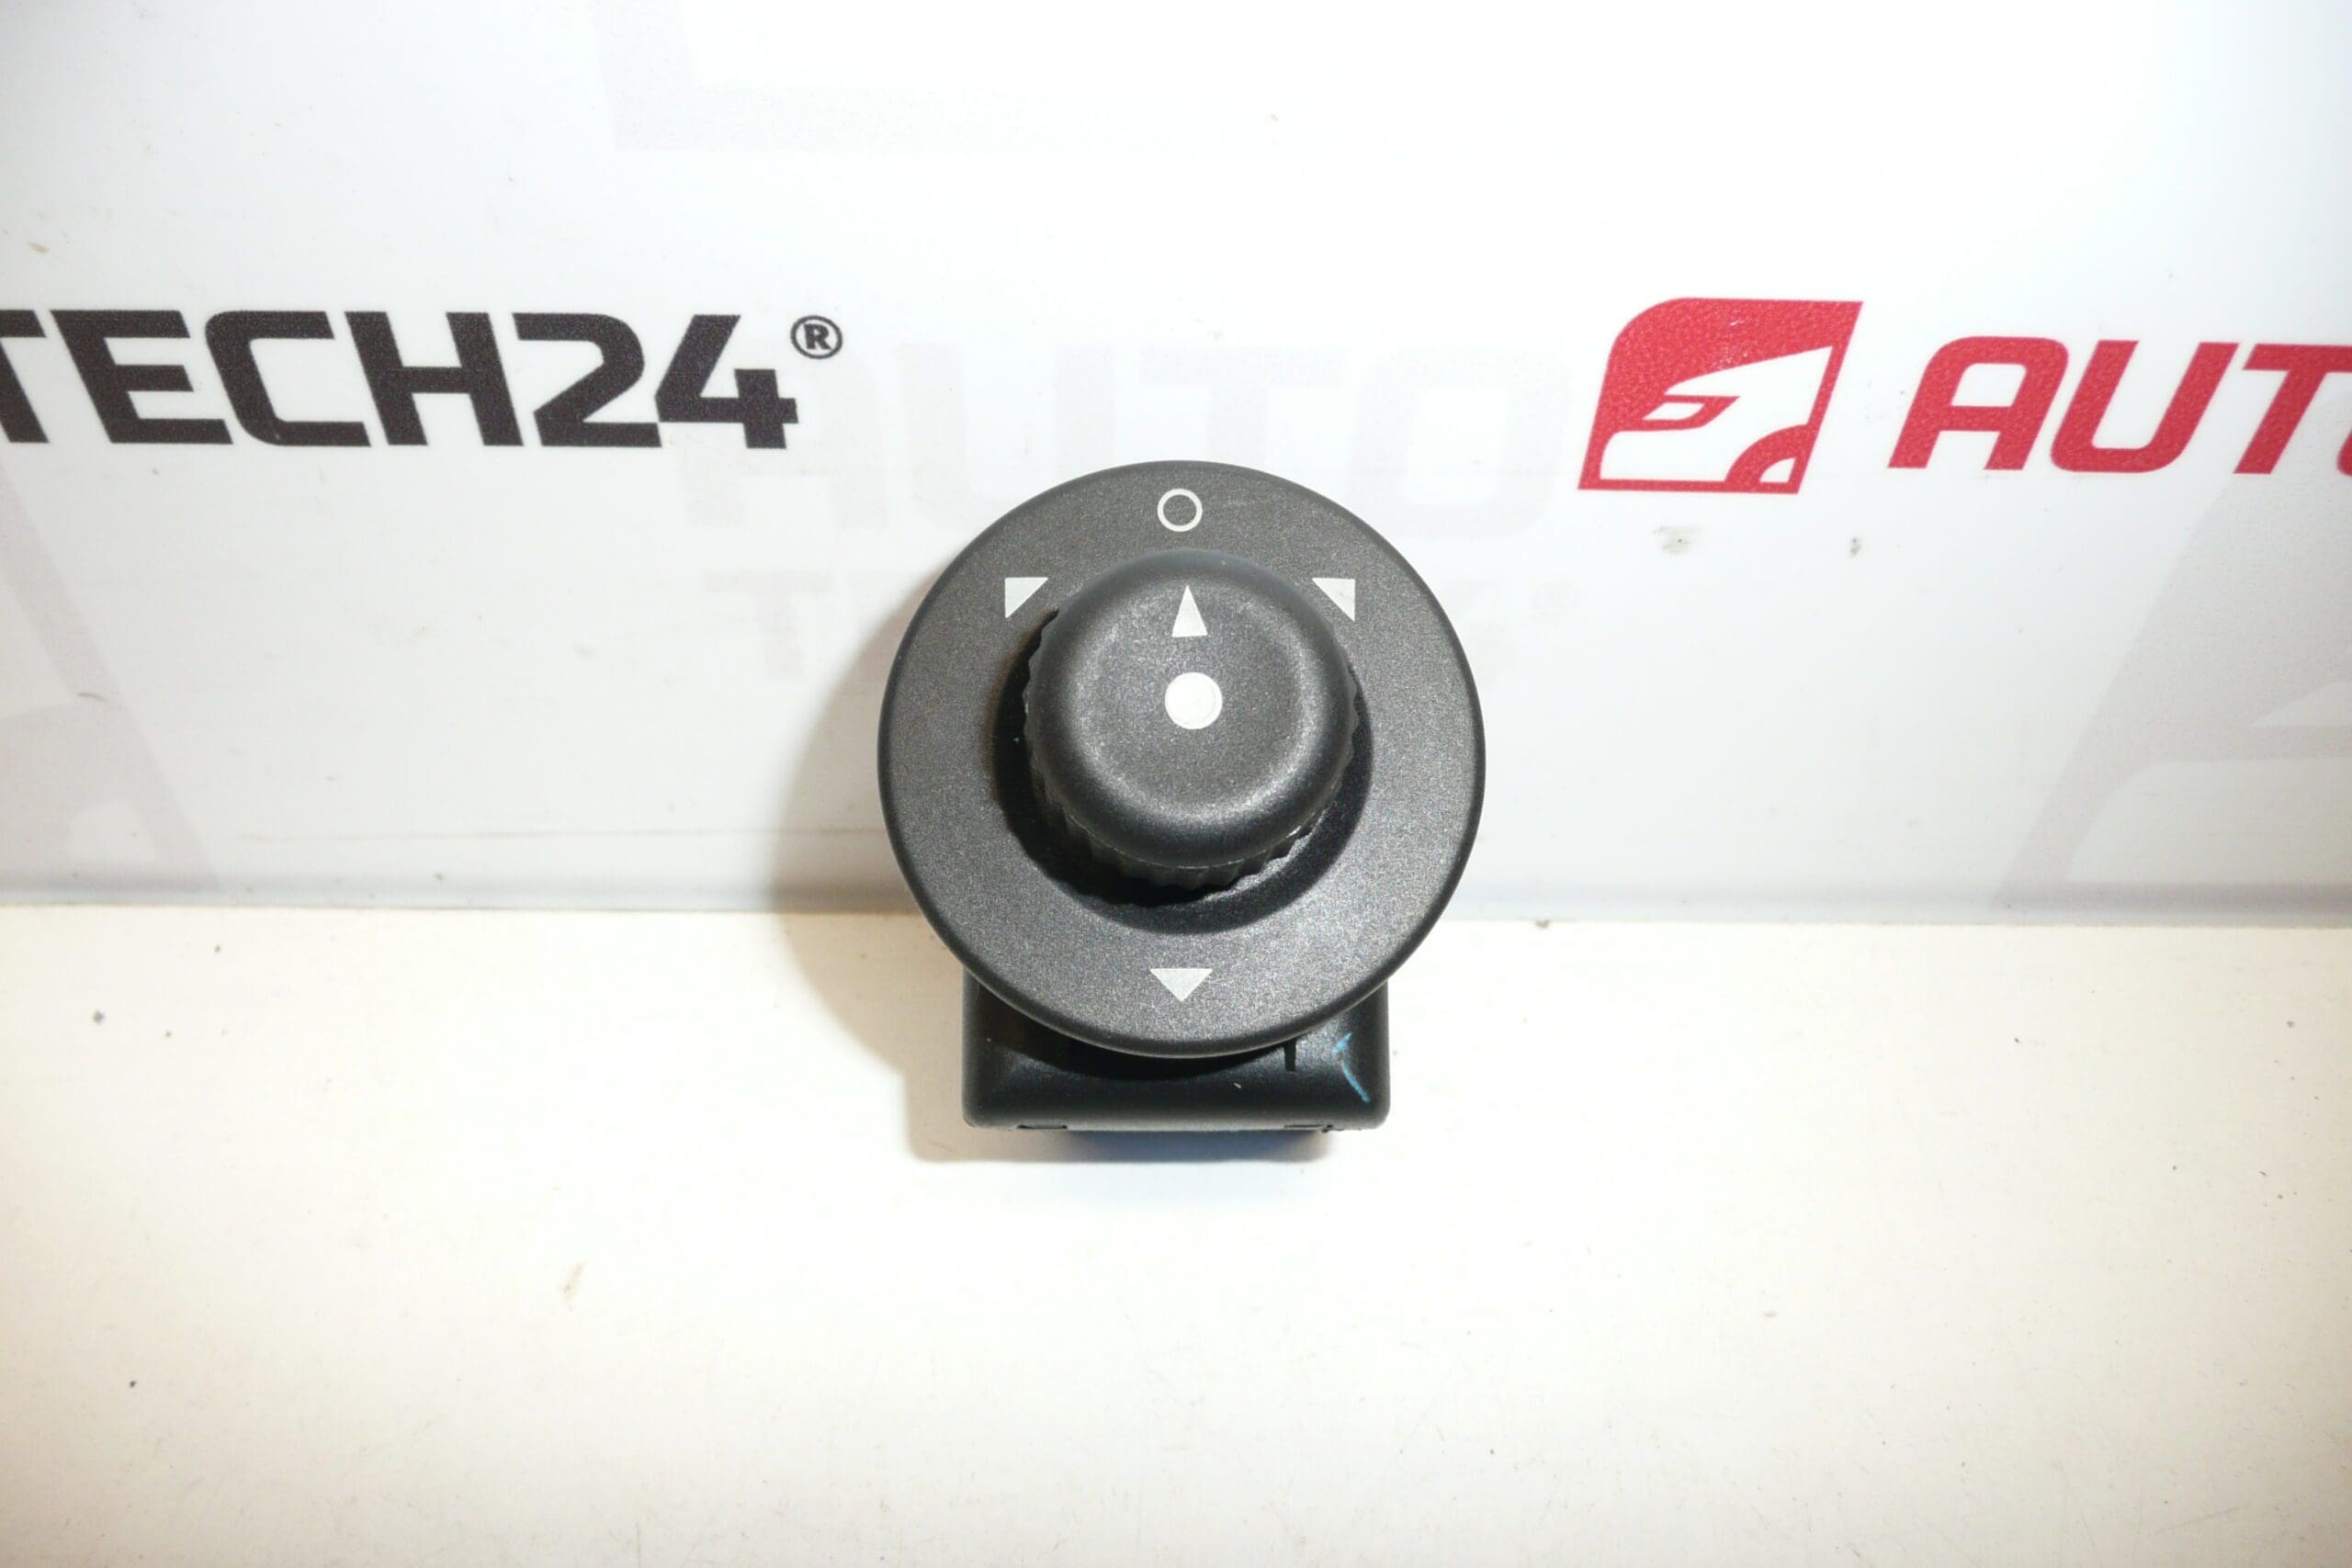
Rearview mirror driver for CITROEN and PEUGEOT
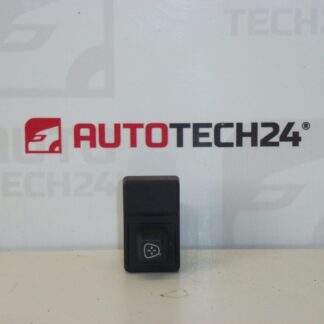
It also controls the car flap
Part description
The Citroën Peugeot rearview mirror controller used is used to control the electrical adjustment of the mirrors and also supports their tilting to the car. It is a suitable choice when replacing a damaged or unreliably responsive switch if it matches the original part and vehicle equipment.
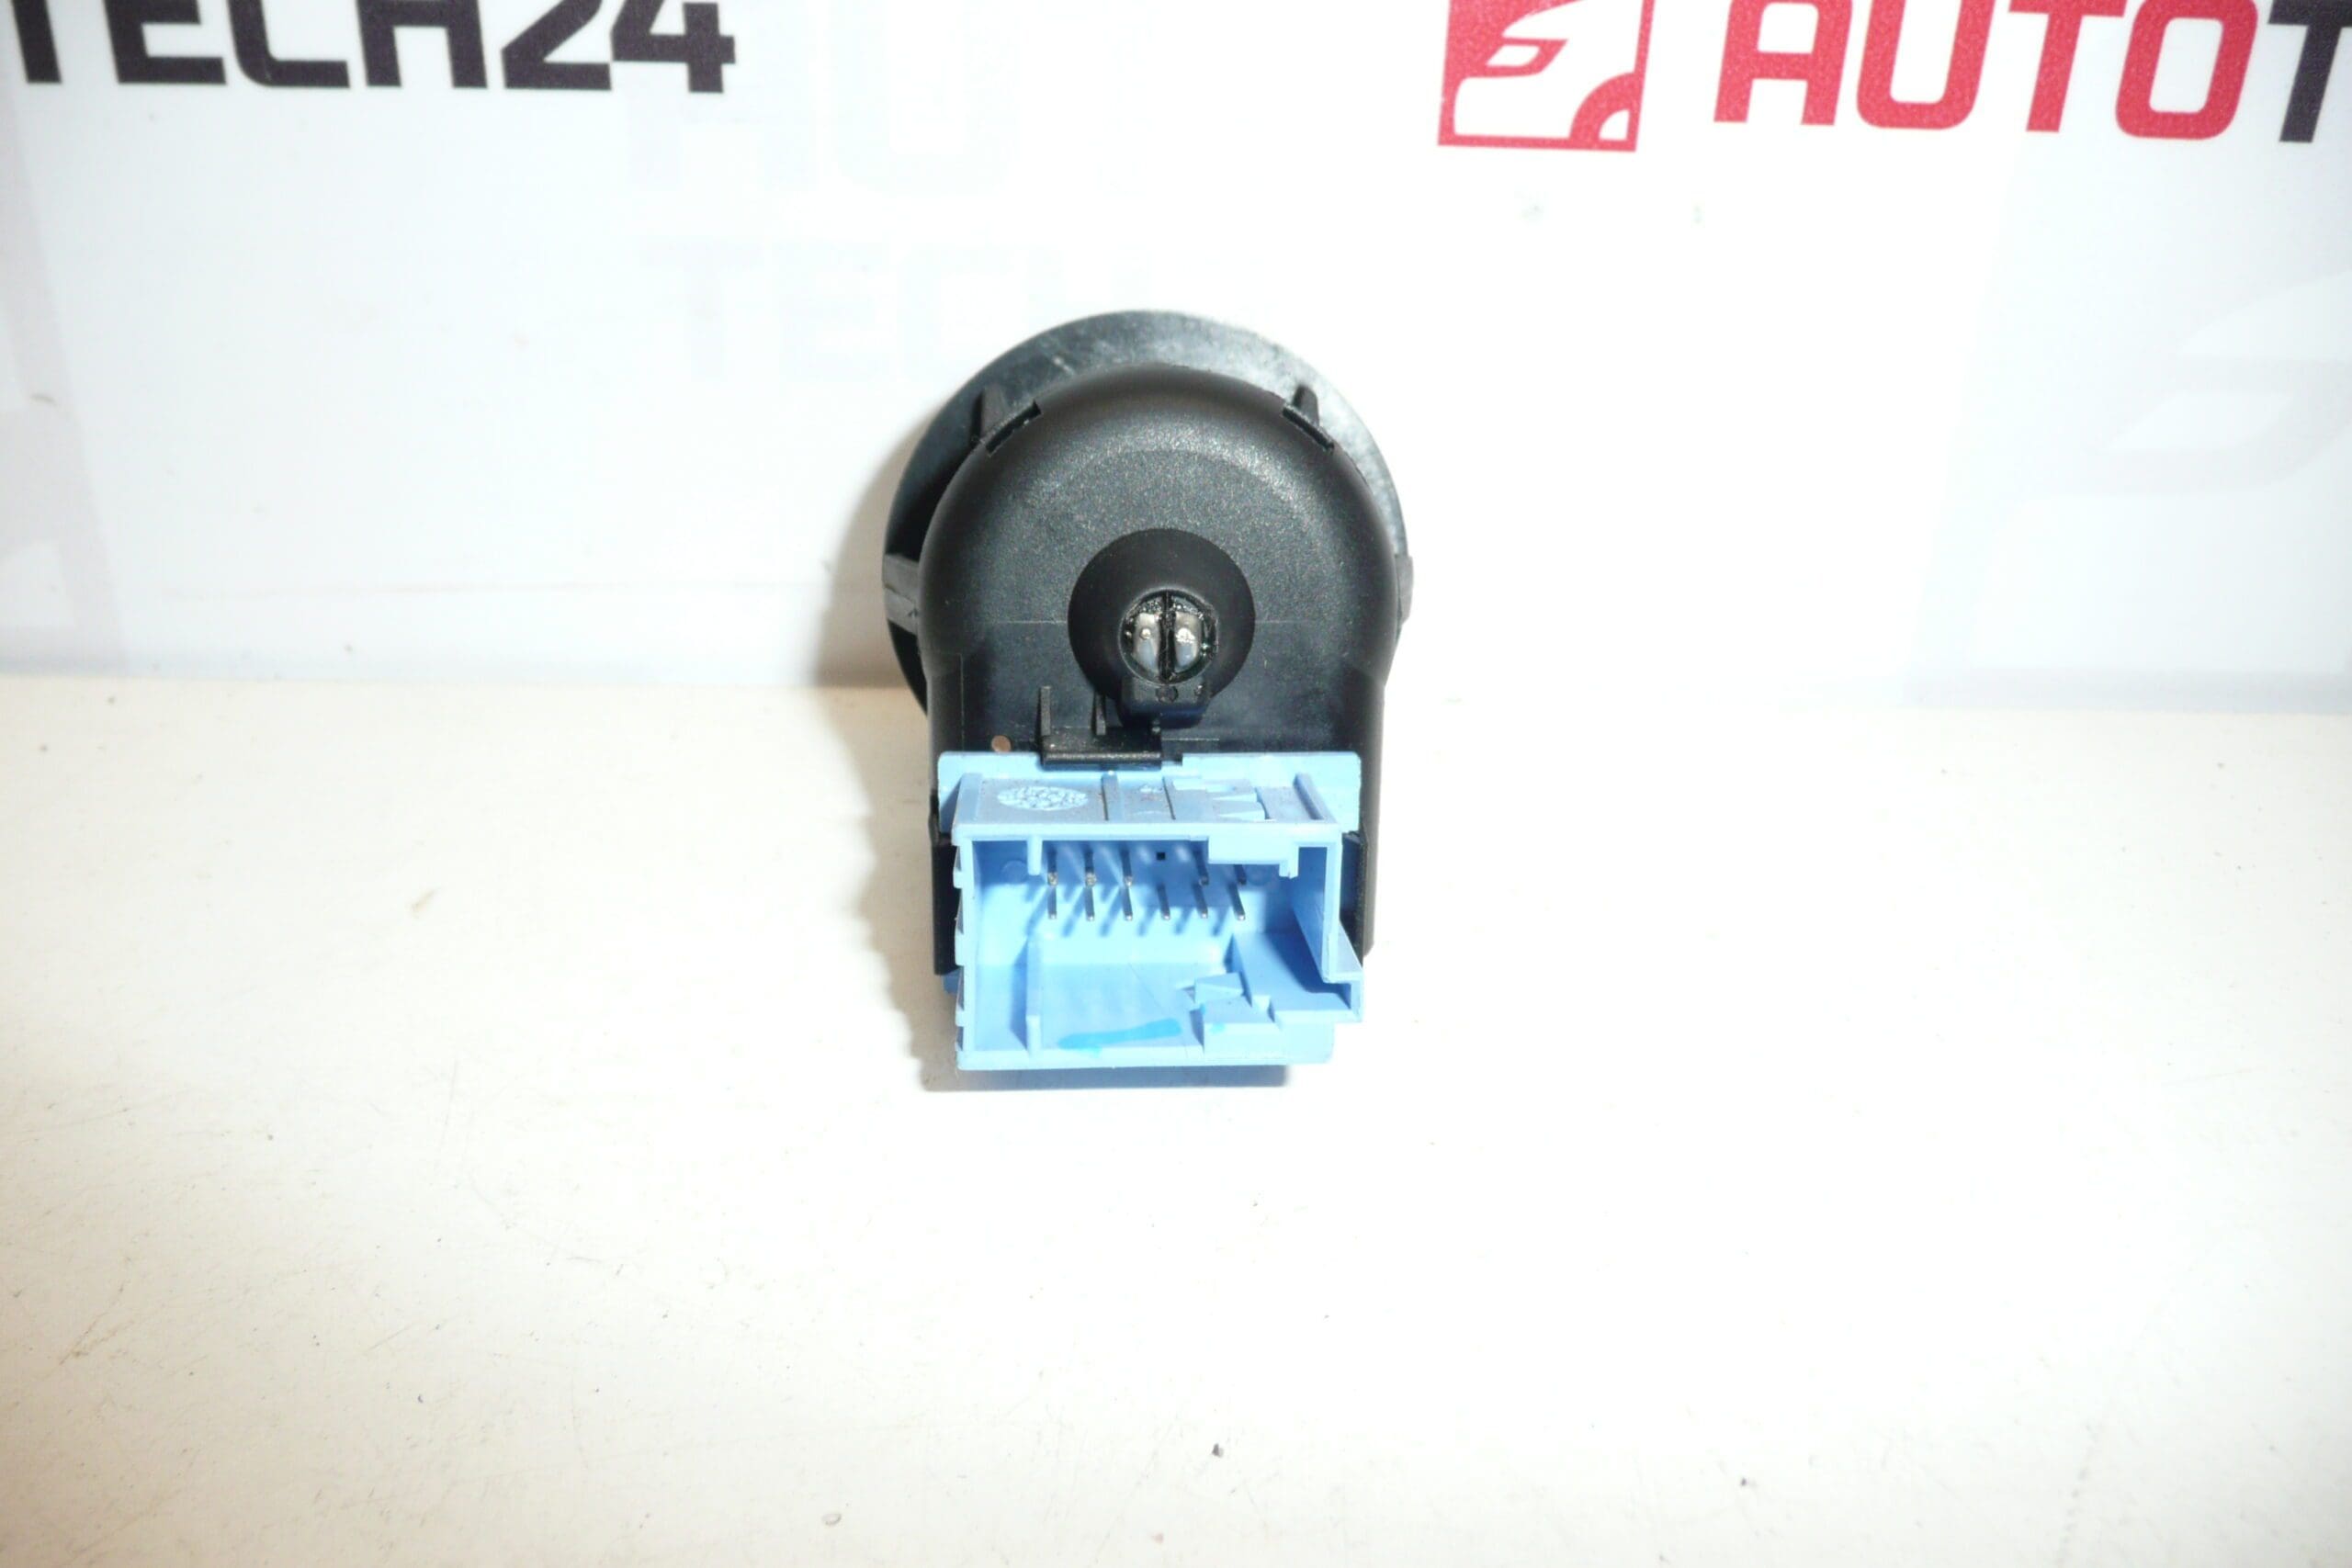
When choosing, focus in particular on the designation 6554N8 and 6490G0, connector design, mounting and available control functions. Identical appearance or the model name alone may not be enough to determine the correct variant. The tilting function requires the corresponding equipment of the car; replacing the driver alone will not add it to the vehicle.
Technical information
- Manufacturer: not specified; Stellantis CITROEN PEUGEOT mentioned in the documents.
- Model: Citroën Berlingo B9, Citroën C2, Citroën C3, Citroën C3 Pluriel, Citroën Xsara Picasso, Peugeot Partner Tepee.
- Other numbers: not specified; additional designation in the documents: NFP.
- Type of part: electric mirror control.
- Function: mirror control including tilting to the car.
- Condition: used car part.
The listed models are based on the product labels. The specific design of the controller must be compared with the original piece.
Product codes
- Product codes: 6554N8, 6490G0.
- Additional designation: NFP.
When looking for a replacement mirror controller, use the product numbers listed and compare the electrical and mechanical design of the part at the same time.
Installation recommendations
In general, the following procedure applies to this type of electric controller. The exact method of accessing, releasing the switch and disconnecting the electrical system depends on the specific model and make of the car. Follow its service documentation.
1) Before assembly
- Compare the product number, body shape, mounting, connector and pin arrangement with the original controller.
- Check the correspondence of the control positions and the folding function of the mirrors.
- Inspect the used part: it must not have a cracked attachment, bent contacts, traces of overheating or significant soiling of the connector.
- Verify that the problem is not caused by the wiring, the power supply or the mirror mechanism itself. A faulty driver is not the only possible cause of non-functional settings.
2) Necessary tools and materials
- Plastic tools for careful disassembly of lining.
- Ordinary hand tools according to the fastening design.
- A flashlight and a soft cloth for checking and cleaning the surroundings.
- If necessary, a suitable cleaning agent for electrical contacts; do not use it without verifying compatibility with the part material.
- For any electrical measurements, a multimeter and the corresponding circuit diagram.
3) Step-by-step assembly procedure
- Stop the vehicle safely, switch off the ignition and electrical appliances.
- Follow the prescribed procedure for putting the electronics to sleep and disconnecting the battery according to the vehicle documentation.
- Find out how to attach the controller and any surrounding paneling. Do not attempt to pry the part without knowing the location of the latches or fasteners.
- Carefully loosen the necessary covers or linings with a suitable tool to avoid damaging the visible surfaces.
- Release the controller from its mount and pull it out just enough to expose the connector. Do not strain the wiring.
- Unlock the connector and disconnect it by pulling on the body, not the wires.
- Check the vehicle connector, the condition of the contacts and the supply wires. Repair damaged or overheated connections first.
- Compare both controllers again. Do not forcefully connect the spare part or modify the connector due to a different design.
- Connect the replacement controller and verify that the connector is properly secured.
- Sit the controller into the mount and replace the trim. Be careful not to pinch or strain any wire.
- Restore power according to the vehicle manufacturer’s procedure and check all available functions.
-
4) Post-assembly checks and function verification
- On a stationary vehicle, verify the choice of individual mirrors and their adjustment in all available directions.
- If the car is equipped with electric tilting, try tilting and retracting the mirrors. Ensure free space for their movement in advance.
- Check that the controller holds firmly, does not stutter and responds without dropouts.
- Before driving, set the mirrors to a safe position. A test drive is not required for basic driver verification.
5) The most common assembly mistakes and how to avoid them
- Swapping similar variants: compare numbers, connector, mounting and functions, not just looks.
- Breaking the latches: release them gradually and without excessive force.
- Pulling on wires: always unlock the connector and grasp its body.
- Replace without determining the cause of the fault: if the problem persists, check other parts of the electric mirror control instead of repeatedly straining the switch.
- Mechanical wear of the control mechanism and contacts during long-term use.
- Ingress of moisture or liquids which can cause oxidation and unreliable electrical connections.
- Dust and dirt restricting the movement of the control element.
- Excessive force when operating or careless disassembly, which may crack plastic parts.
- Loose or damaged connection which can lead to malfunctions or overheating of contacts.
Reasons why the part is damaged
For rear-view mirror controls, common causes of malfunctions generally include:
These are general causes of failures of this type of part, not a description of the identified defects of the offered piece.