Description
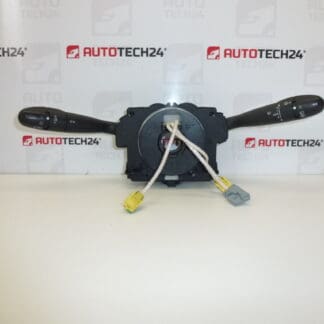
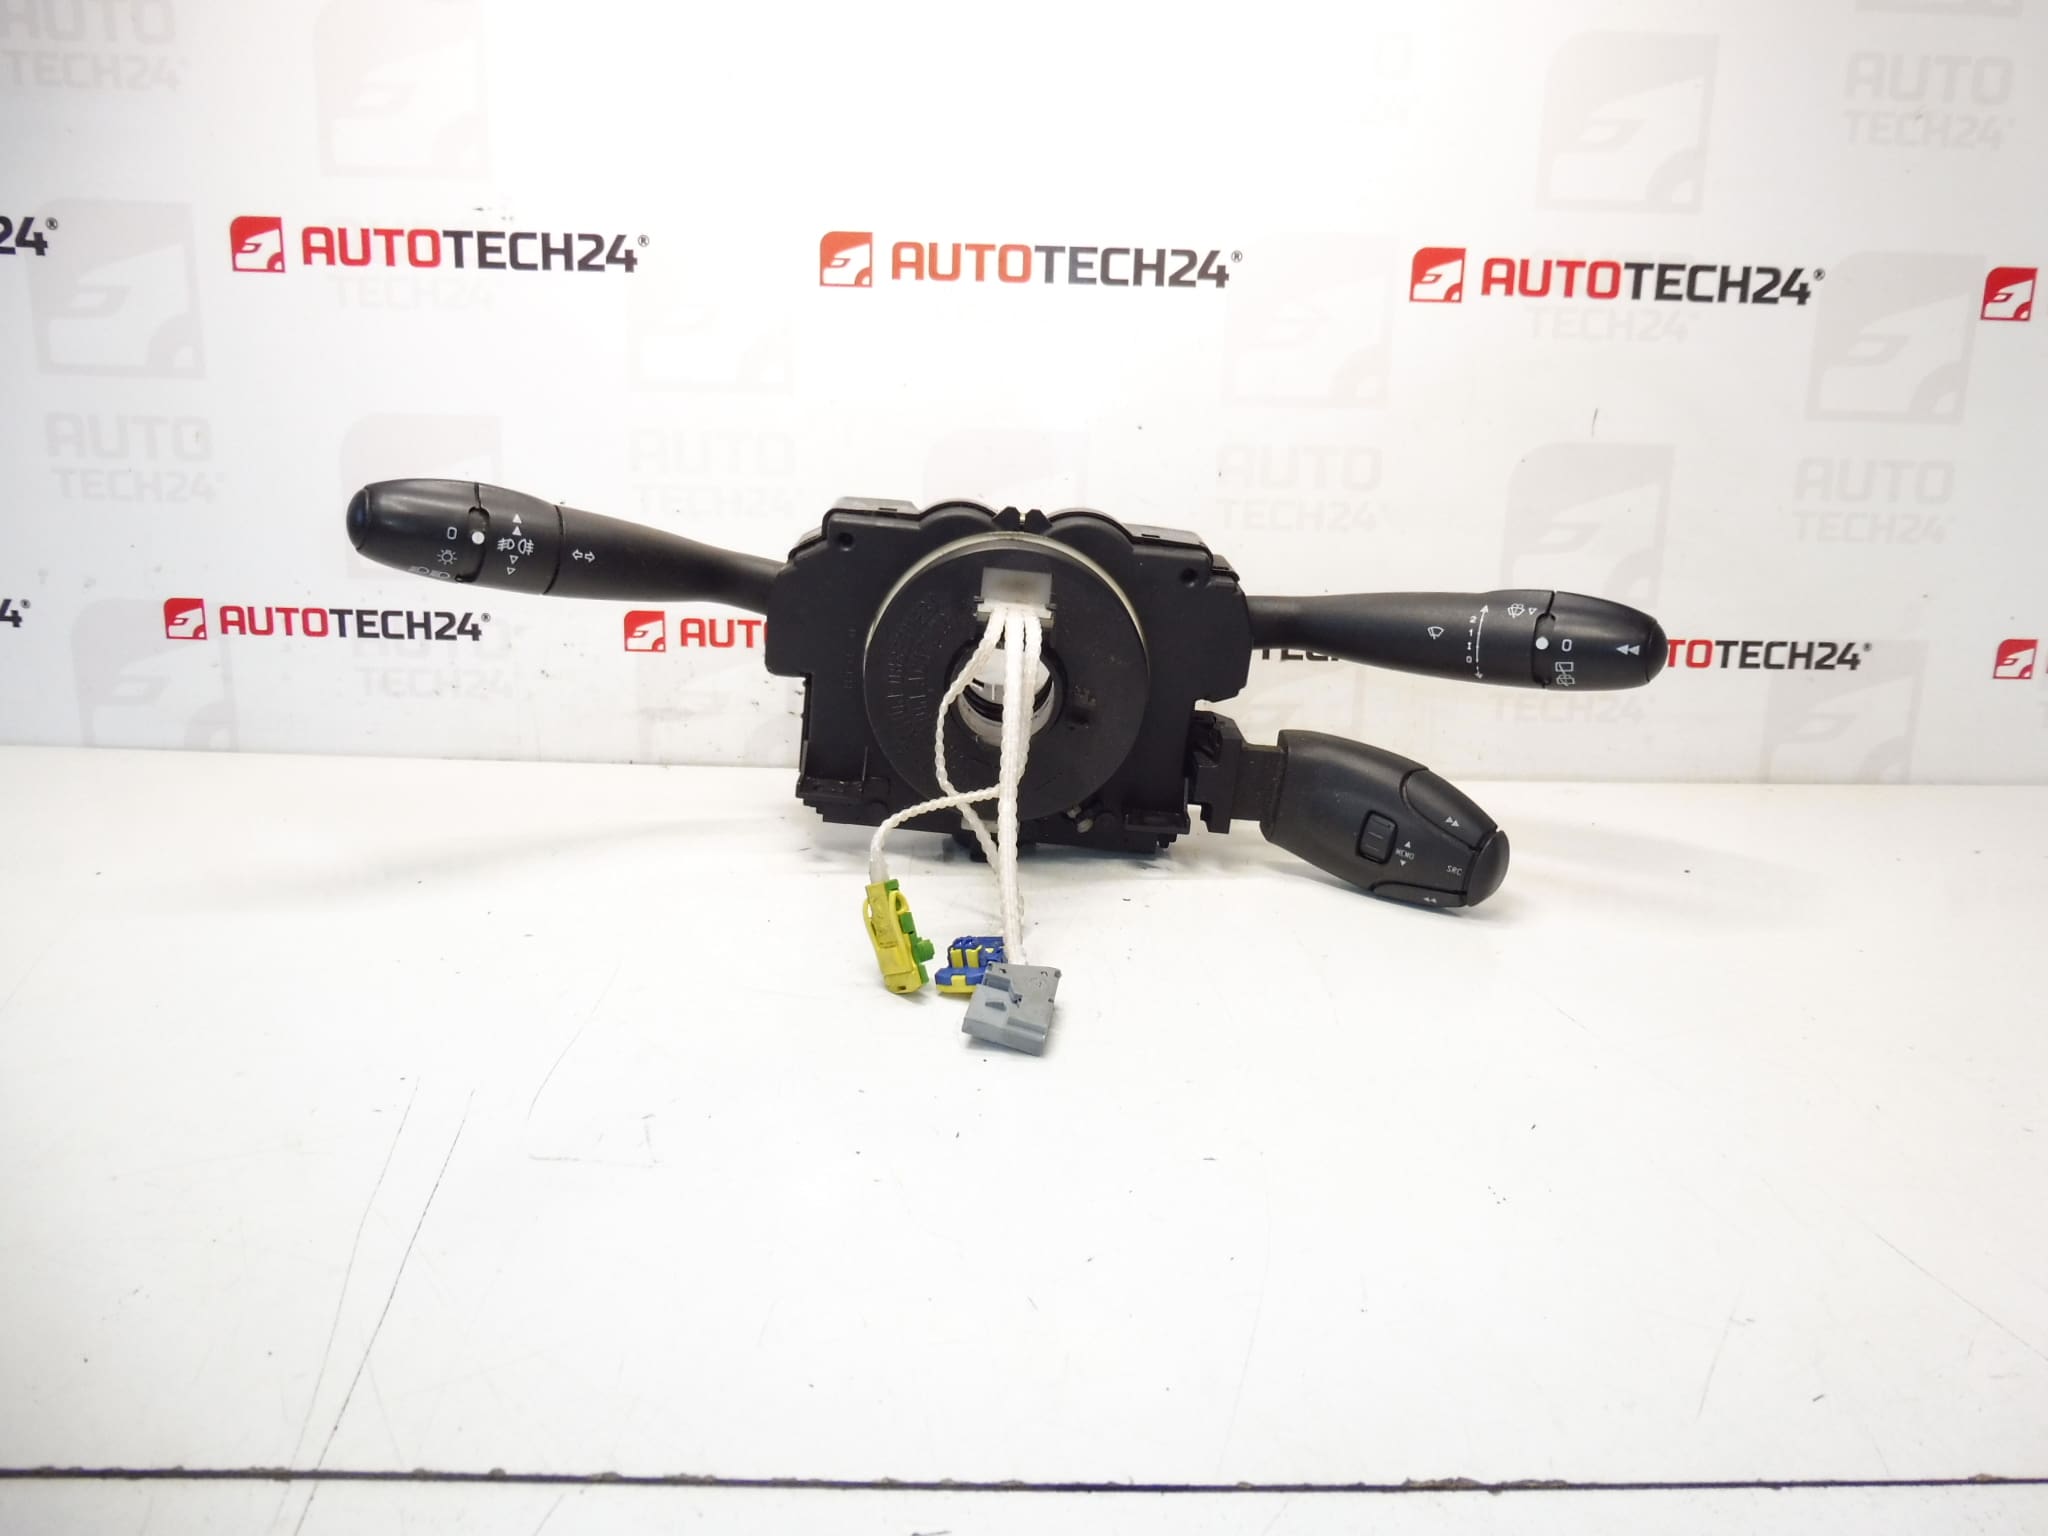
Controls under the steering wheel DELPHI COM 2000 lever for Citroen and Peugeot cars
They control the fog lights, the on-board computer, the wiper sensor, the horn, the cruise control and the car radio (the controller must be supplied or transferred)
Part description
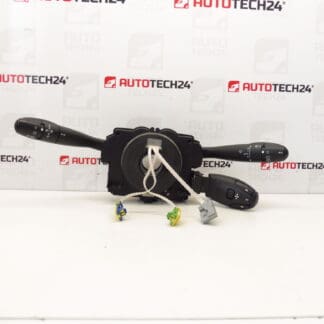
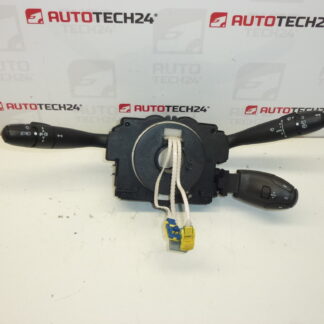
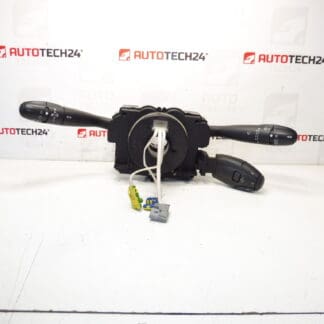
This used part is intended for Citroën and Peugeot cars and belongs to the steering wheel controller category. It is a set of DELPHI COM 2000 type levers that combines several frequently used functions into one unit. This makes replacement a suitable solution in cases where the original drivers show defects, erratic function or mechanical wear.
According to the supplied documents, the drivers provide the following functions:
- fog lights,
- board computer,
- wiper sensor,
- horn,
- cruise control,
- car radio – driver must be supplied or transferred.
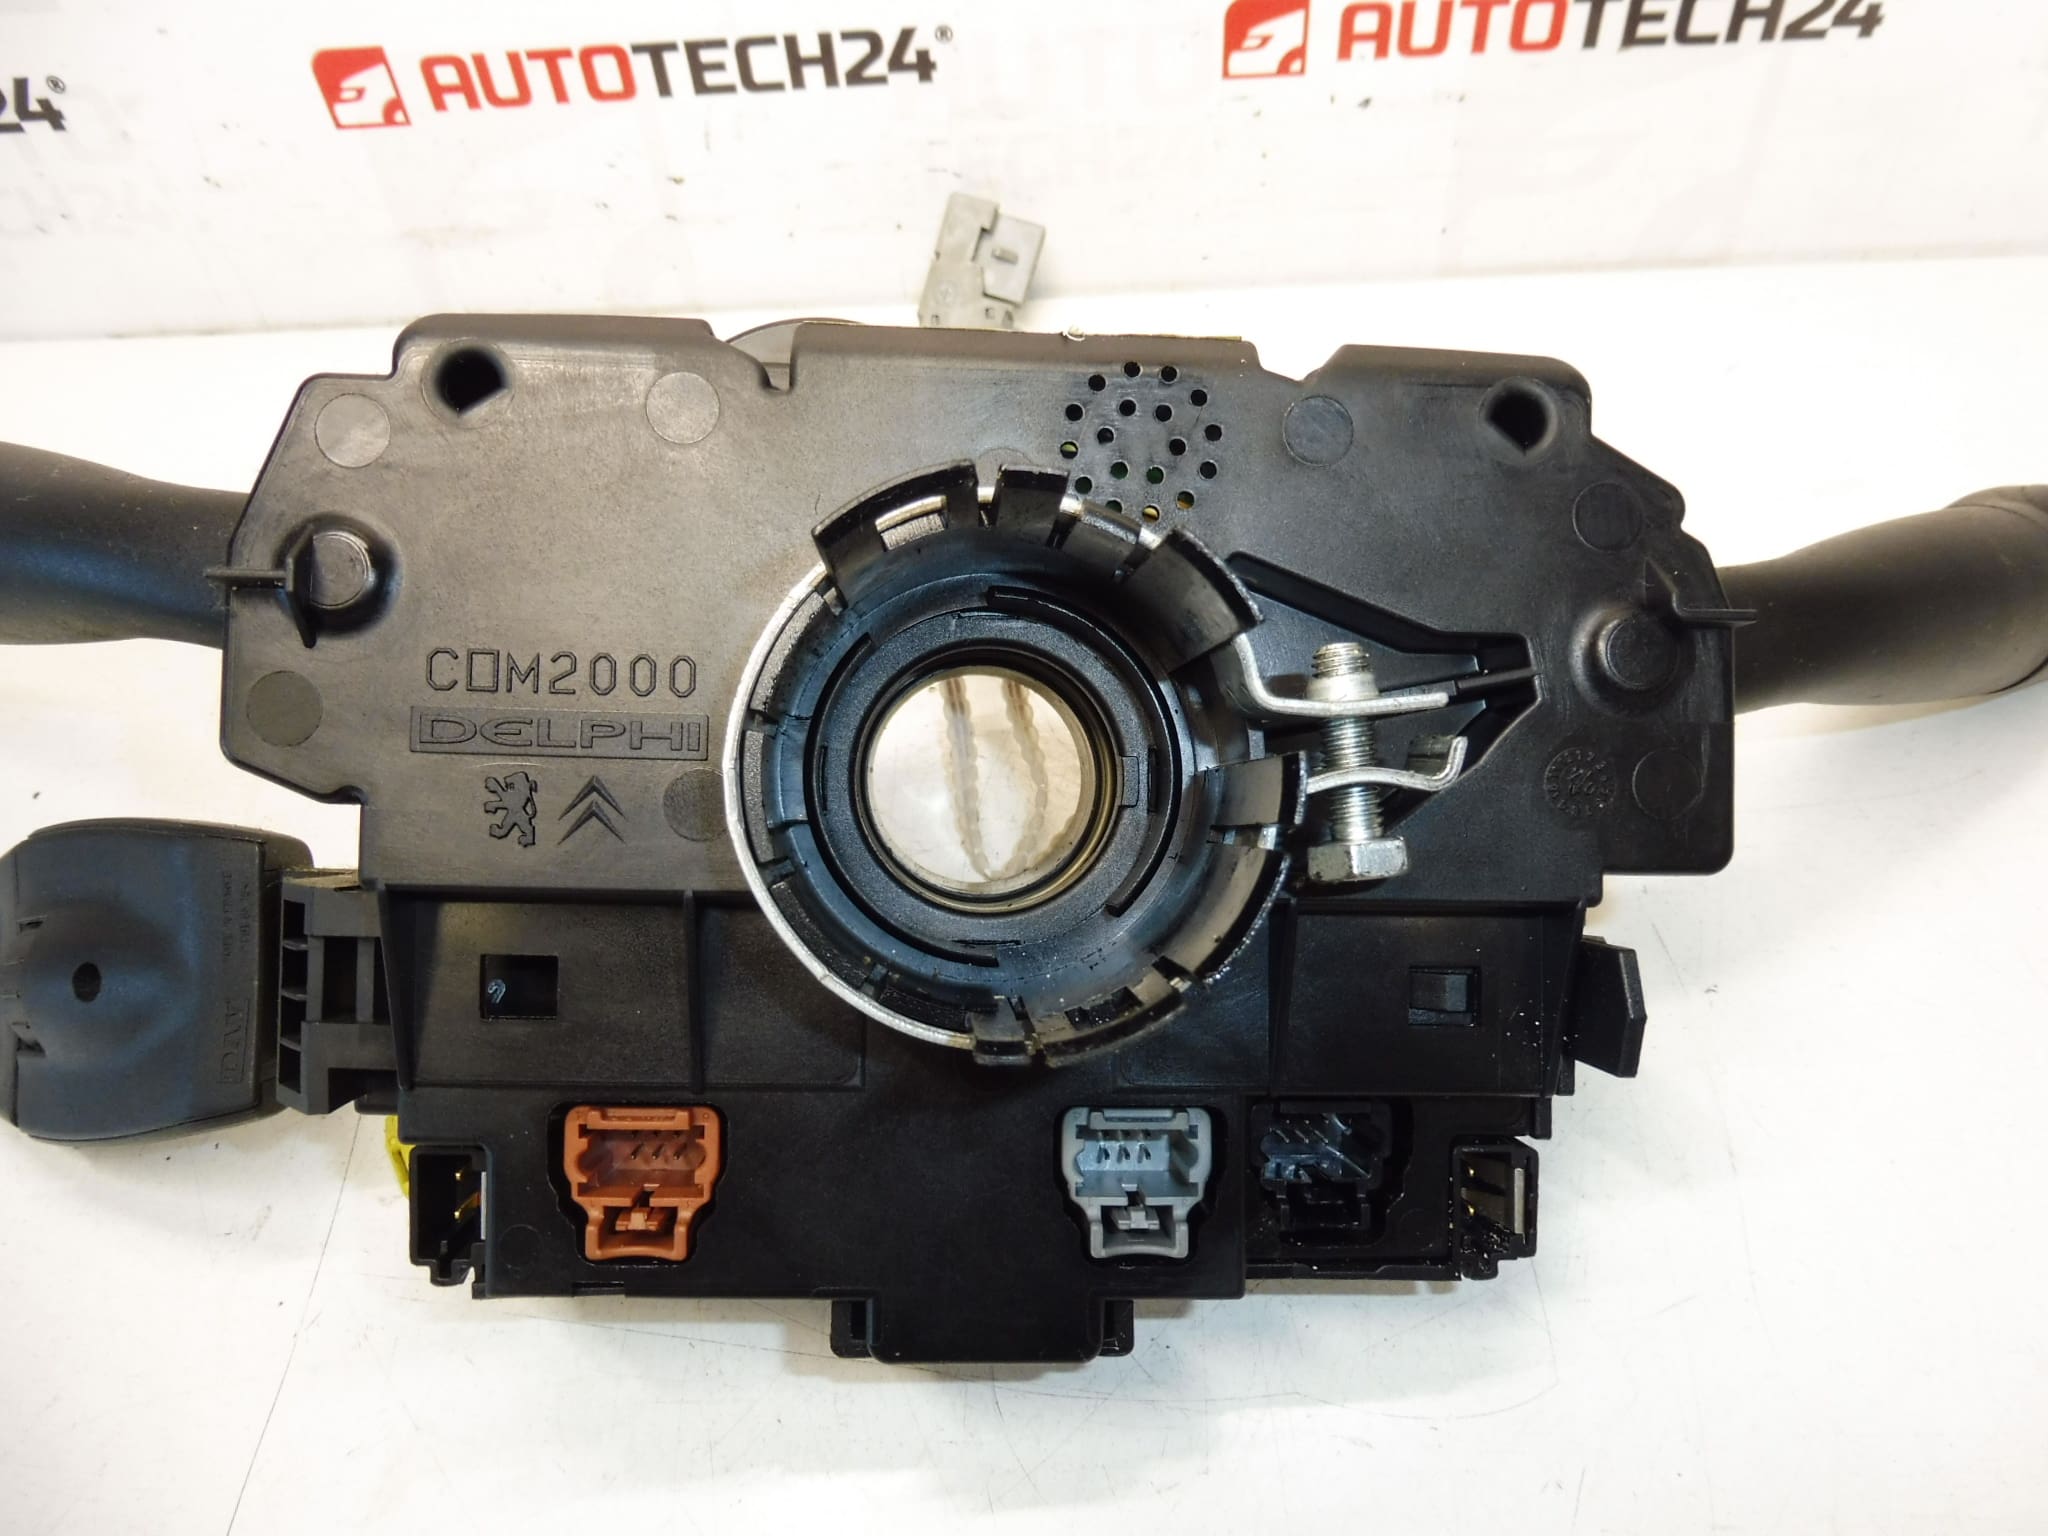
The advantage is the sought-after original marking, according to which the part can be easily found by both auto mechanics and people repairing the car themselves. When searching, the combination of catalog numbers and COM 2000 is often the most important.
Technical information
- Manufacturer: DELPHI
- Model: COM 2000
- Other numbers: 6239V7
Classification according to the documents: C5 I | Electrical components | Controls under the steering wheel.
Product codes
- Product codes: 96542558XT, 6242F9, 6239V7
- Models from labels / documents: Citroën C5, Citroën C8, CITROEN XSARA, Citroën Xsara Picasso, Peugeot 307, Peugeot 807
If you are looking for replacement steering wheel controls for Citroën or Peugeot, the product numbers are often the most reliable guide to choosing the right part.
Installation recommendations
Generally/typically care should be taken with the controls under the steering wheel due to the plastic latches, electrical connectors and connecting parts around the steering column. The exact steps may vary depending on the specific model and make of the car.
1) Before assembly
- Check that the product numbers and the overall design of the part match the old part.
- Compare the number and shape of connectors, mounting, position of levers and presence of control elements.
- Check the mechanical condition of the used part – for cracked brackets, damaged connectors or excessively worn levers.
- For the variant for the car radio, take into account that, according to the documents, it is necessary to deliver or hand over the controller.
2) Necessary tools and materials
- set of common hand tools,
- screwdrivers or bits corresponding to the joints used,
- plastic crowbar for removing covers,
- clean cloth,
- preparation for gentle cleaning of electrical contacts, if needed.
3) Step-by-step assembly procedure
- Turn off the ignition and let the car idle before working.
- Disconnect the battery to minimize the risk of damage to electrical parts.
- Dismantle the steering column covers according to the car design.
- Carefully access the control assembly under the steering wheel and visually inspect the wiring.
- Disconnect the electrical connectors so as not to damage the fuses and latches.
- Release the original drivers from their mounts and remove the part.
- Compare the old and new part side by side – especially the connectors, mounts and controls.
- If necessary, transfer the car radio controller according to the design of the original part.
- Place the replacement controls in place without force and check for proper fit.
- Connect the connectors and make sure they are firmly secured.
- Refit the steering column covers.
- Connect the battery and perform a basic function check.
-
4) Post-assembly checks and test drive/function verification
- Verify operation of levers in individual positions.
- Check the function of the fog lights, on-board computer, wiper sensor, horn, cruise control and possibly the car radio control.
- Make sure that the levers do not return incorrectly on their own and do not have excessive play.
- During a short test drive, observe whether the controls work smoothly and without interruptions.
5) The most common assembly mistakes + how to avoid them
- Interchanging a similar part – always compare the codes and connector designs.
- Damage to plastic covers or latches – do not use brute force when disassembling.
- Insufficiently secured connectors – test each connector with a light pull after connection.
- Overlooking the difference in the car radio driver – check if the driver is present or transferred before final assembly.
- Assembly without checking the function before complete assembly – check the basic functions before closing all the covers for good.
Reasons why the part is damaged
- Normal wear and tear from long-term daily use of levers and buttons.
- Mechanical stress during frequent operation or careless handling.
- Wearing of internal contacts, which can be manifested by failure of individual functions.
- Damage to connectors or wiring during previous disassembly or assembly.
- Intrusion of dirt into the mechanism of the controls, which can impair the operation of the levers.
- Aging of plastic parts, which can lead to cracking of holders or impaired fixation of the part.