Description
Airbag Control Unit For Peugeot 206
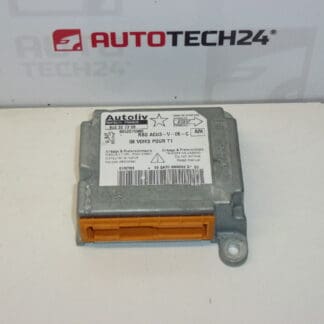
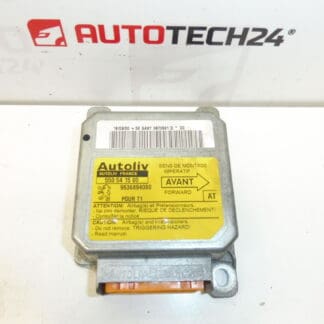
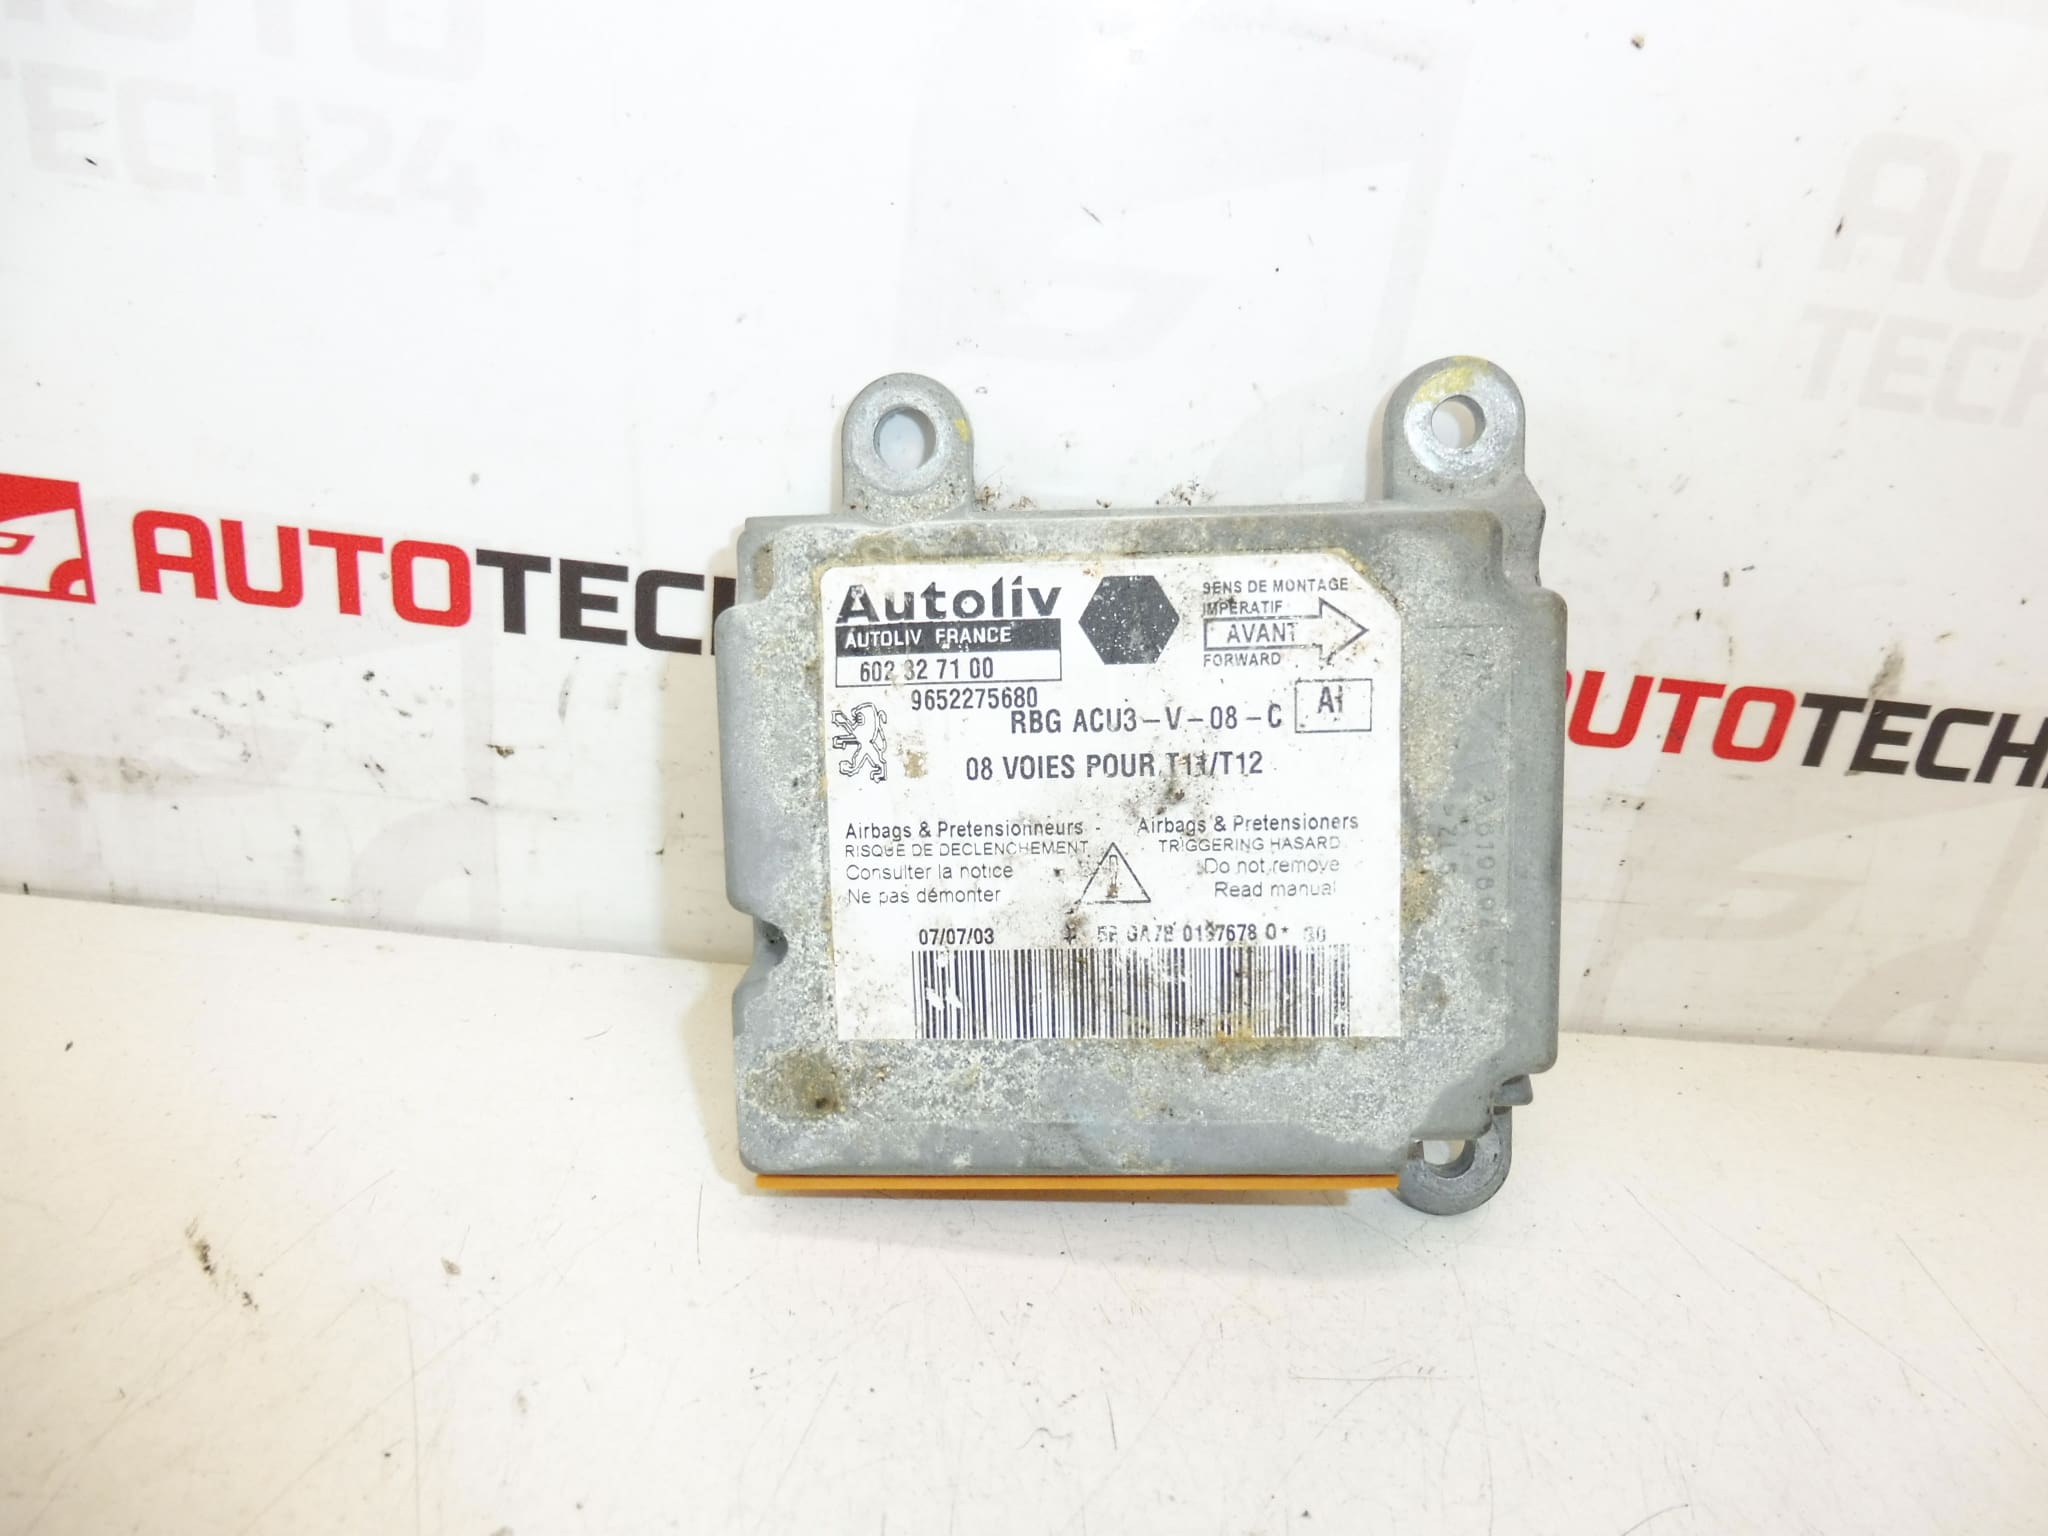
This Airbag Control Unit (SRS Module) is designed for the Peugeot 206 and is commonly referenced by OE numbers 9652275680, 602327100 and internal codes 6545GP / 6545GQ. Built to monitor crash sensors and deploy airbags and seatbelt pretensioners when required, the unit is a critical safety component. Mechanics and experienced DIYers will appreciate clear part-number identification and straightforward fitment information to speed up repairs and restore occupant protection.
Function And Purpose
The Airbag Control Unit continuously monitors inputs from impact sensors, seat occupancy and belt pretensioner circuits. In the event of a collision that meets deployment criteria, it triggers the appropriate airbags and pretensioners. It Also Records Crash Data And Diagnostic Trouble Codes (DTCs) That Help Identify Sensor Faults Or Wiring Problems.
Technical Information
- Manufacturer: Stellantis (Citroën / Peugeot)
- Model: Peugeot 206
- Product Codes: 9652275680, 602327100
- Additional Numbers: 6545GP, 6545GQ
Compatibility And Part Number Search
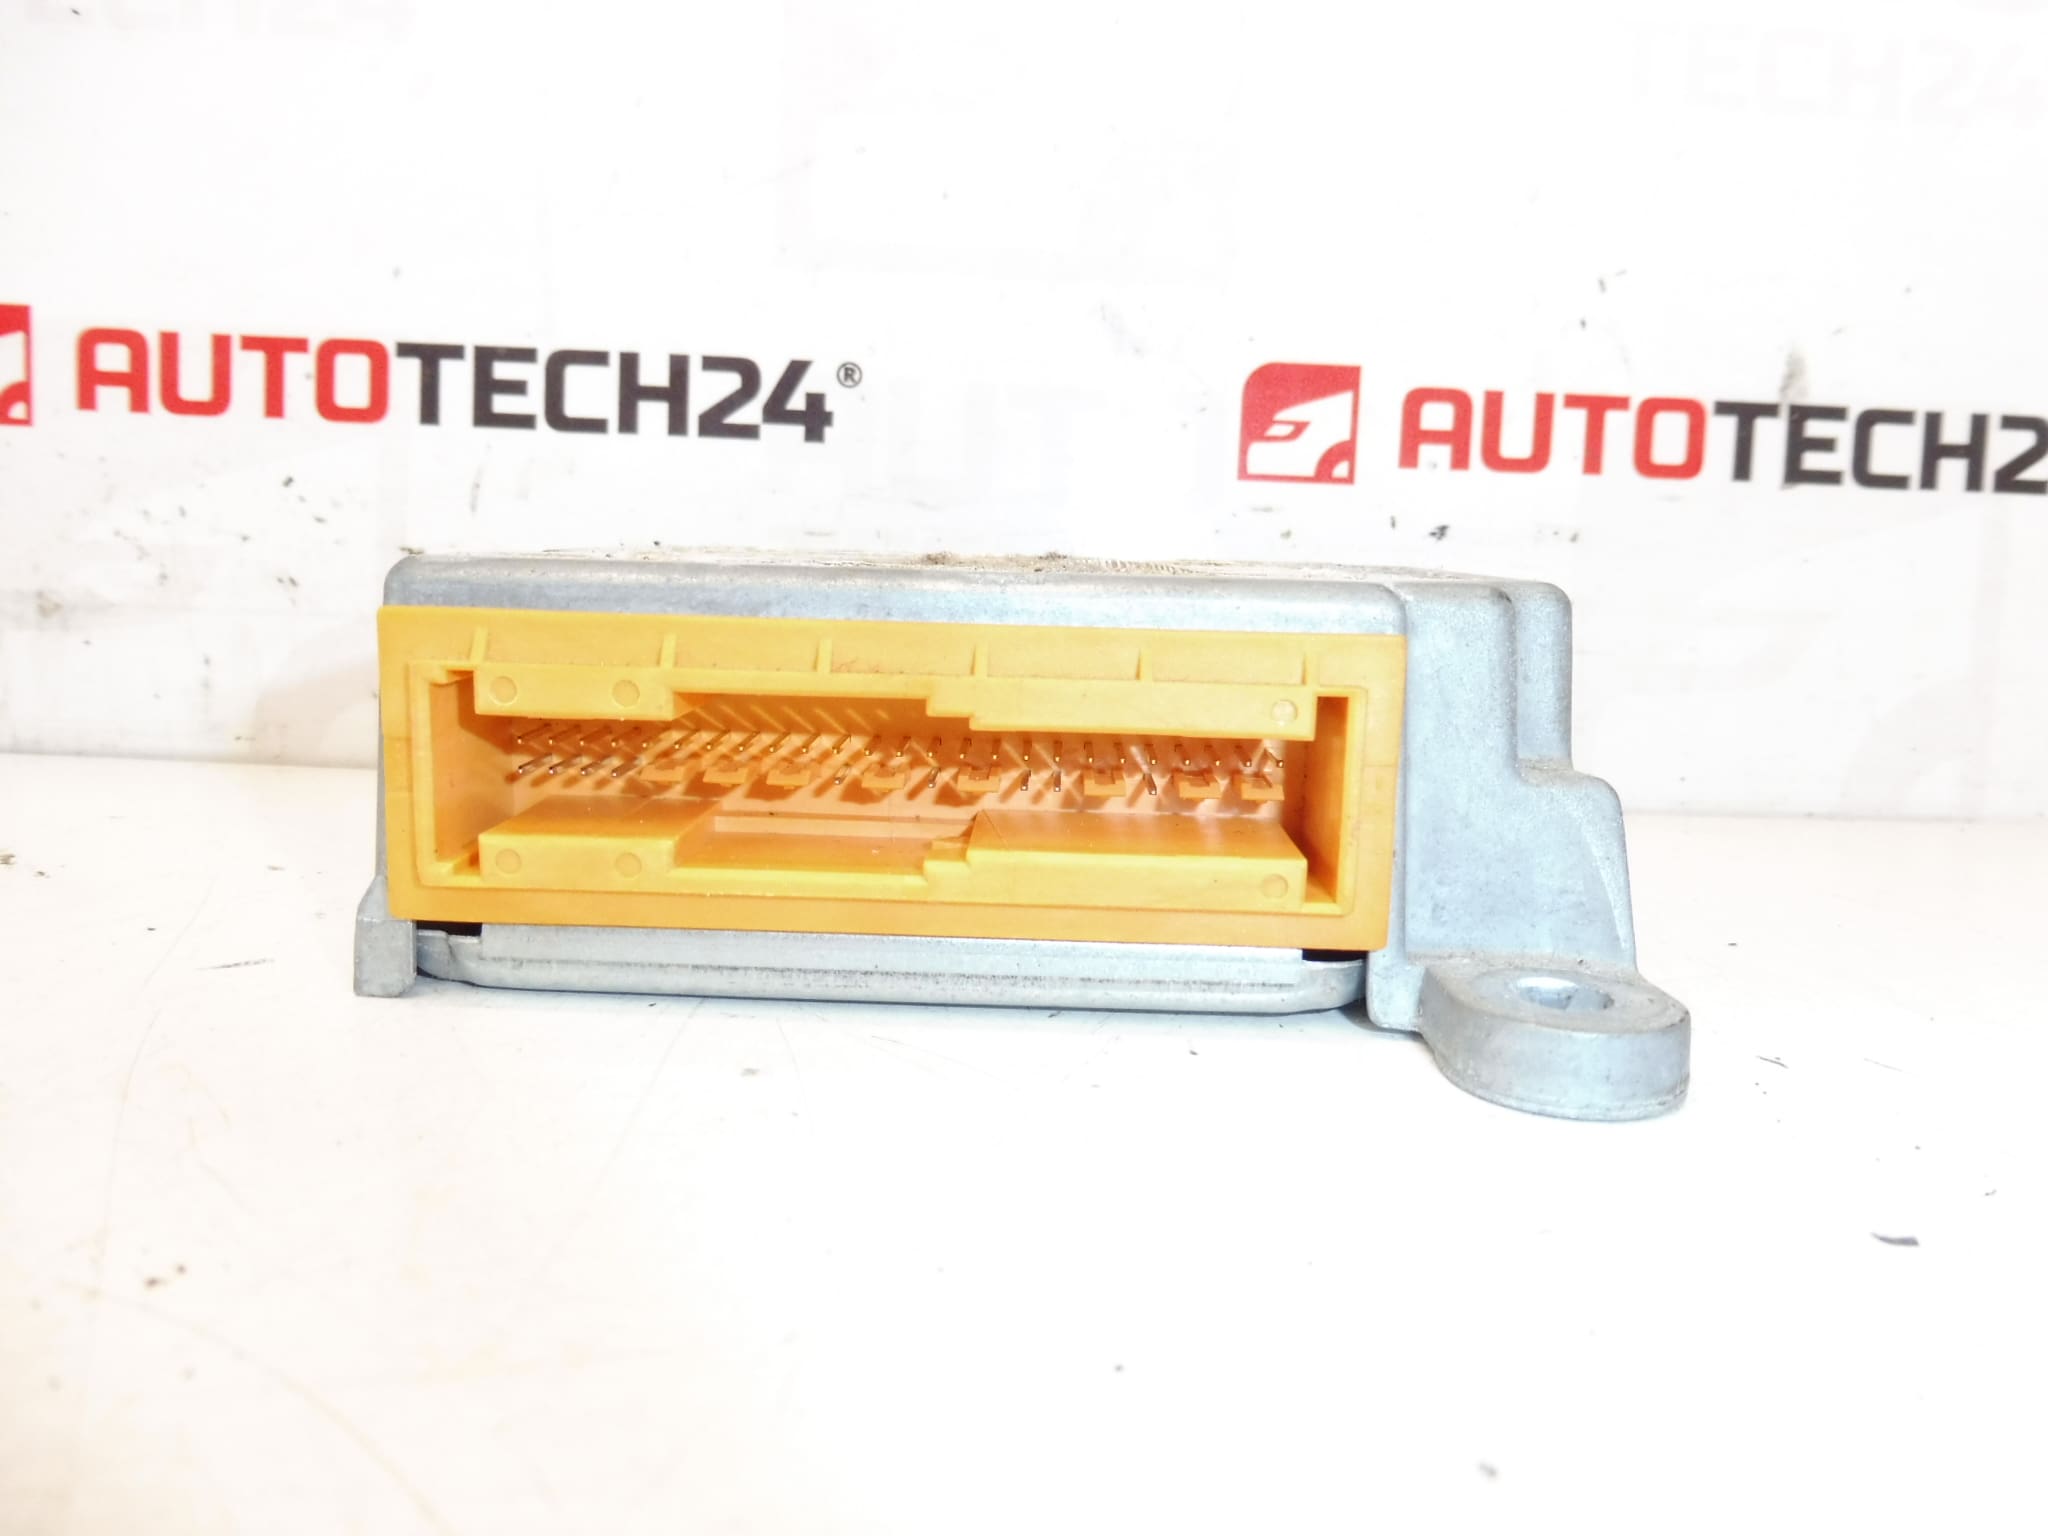
This unit is most commonly fitted to Peugeot 206 models. Because technicians frequently search by part number, the OE and code references above are included to help you verify fitment quickly. Always compare the unit labels and connector layout with the original module before installation.
Replacement Procedure
Replacement Should Be Performed By A Qualified Technician Or An Experienced DIYer With The Correct Tools. Basic Steps Include:
- Disconnect Battery And Wait The Manufacturer-Specified Time To Prevent Accidental Deployment.
- Locate The Airbag Control Unit (Generally Under The Center Console Or Under The Passenger Seat Depending On Chassis Variant) And Remove Fasteners.
- Carefully Disconnect Wiring Harnesses And Remove The Old Unit.
- Fit The Replacement Unit Ensuring Secure Connectors And Correct Orientation.
- After Installation, Use Appropriate Diagnostic Equipment To Clear Fault Codes And Verify System Integrity.
Installation Recommendations
- Always Disconnect The Battery Before Starting Work And Follow The Vehicle Manufacturer’s Safety Procedures.
- Inspect All Airbag Wiring, Connectors And Crash Sensors For Corrosion Or Damage; Repair As Needed Before Installing The New Unit.
- Ensure Connectors Are Fully Seated And Locking Clips Engaged To Avoid Intermittent Faults.
- After Installation, Perform A Full SRS System Check With A Diagnostic Tool Capable Of Reading Airbag Modules To Confirm Correct Operation.
Common Failure Causes
- Crash Deployment: Units Often Need Replacement After An Airbag Deployment Because The Module Stores Crash Data And May Be Locked Out.
- Electrical Damage: Short Circuits, Voltage Spikes Or Poor Grounding Can Corrupt The Unit Or Its Memory.
- Corrosion And Moisture Ingress: Water-Damaged Connectors Or Corroded Pins Lead To Faults Or Intermittent Signals.
- Connector Or Wiring Damage: Physical Damage From Previous Repairs Or Rodent Activity Can Cause Open Or Short Circuits.
Why Choose This Unit
For workshops prioritizing safety and speed of repair, choosing a unit with clearly listed OE references reduces diagnosis time and fitment errors. The included part numbers make it easy to match with the vehicle’s original module during ordering or inventory searches.
Note: The Airbag Control Unit Is A Safety-Critical Component. If You Are Unsure About Any Step Of The Replacement Or Diagnostics, Seek Assistance From A Qualified Automotive Technician With Experience In SRS Systems.