Description
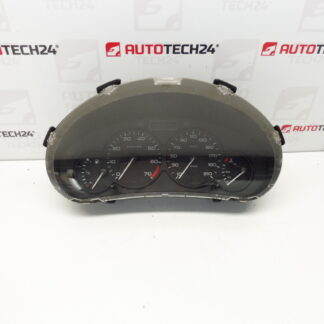
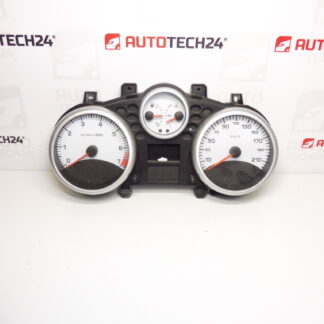
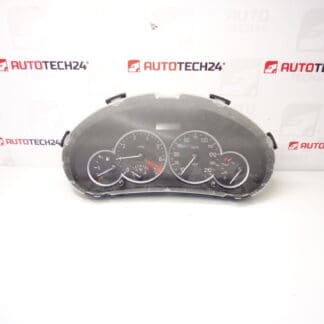
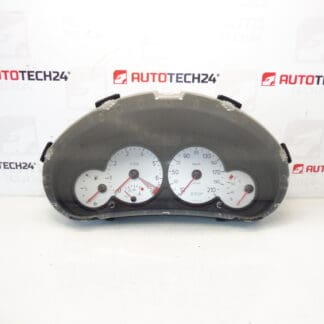
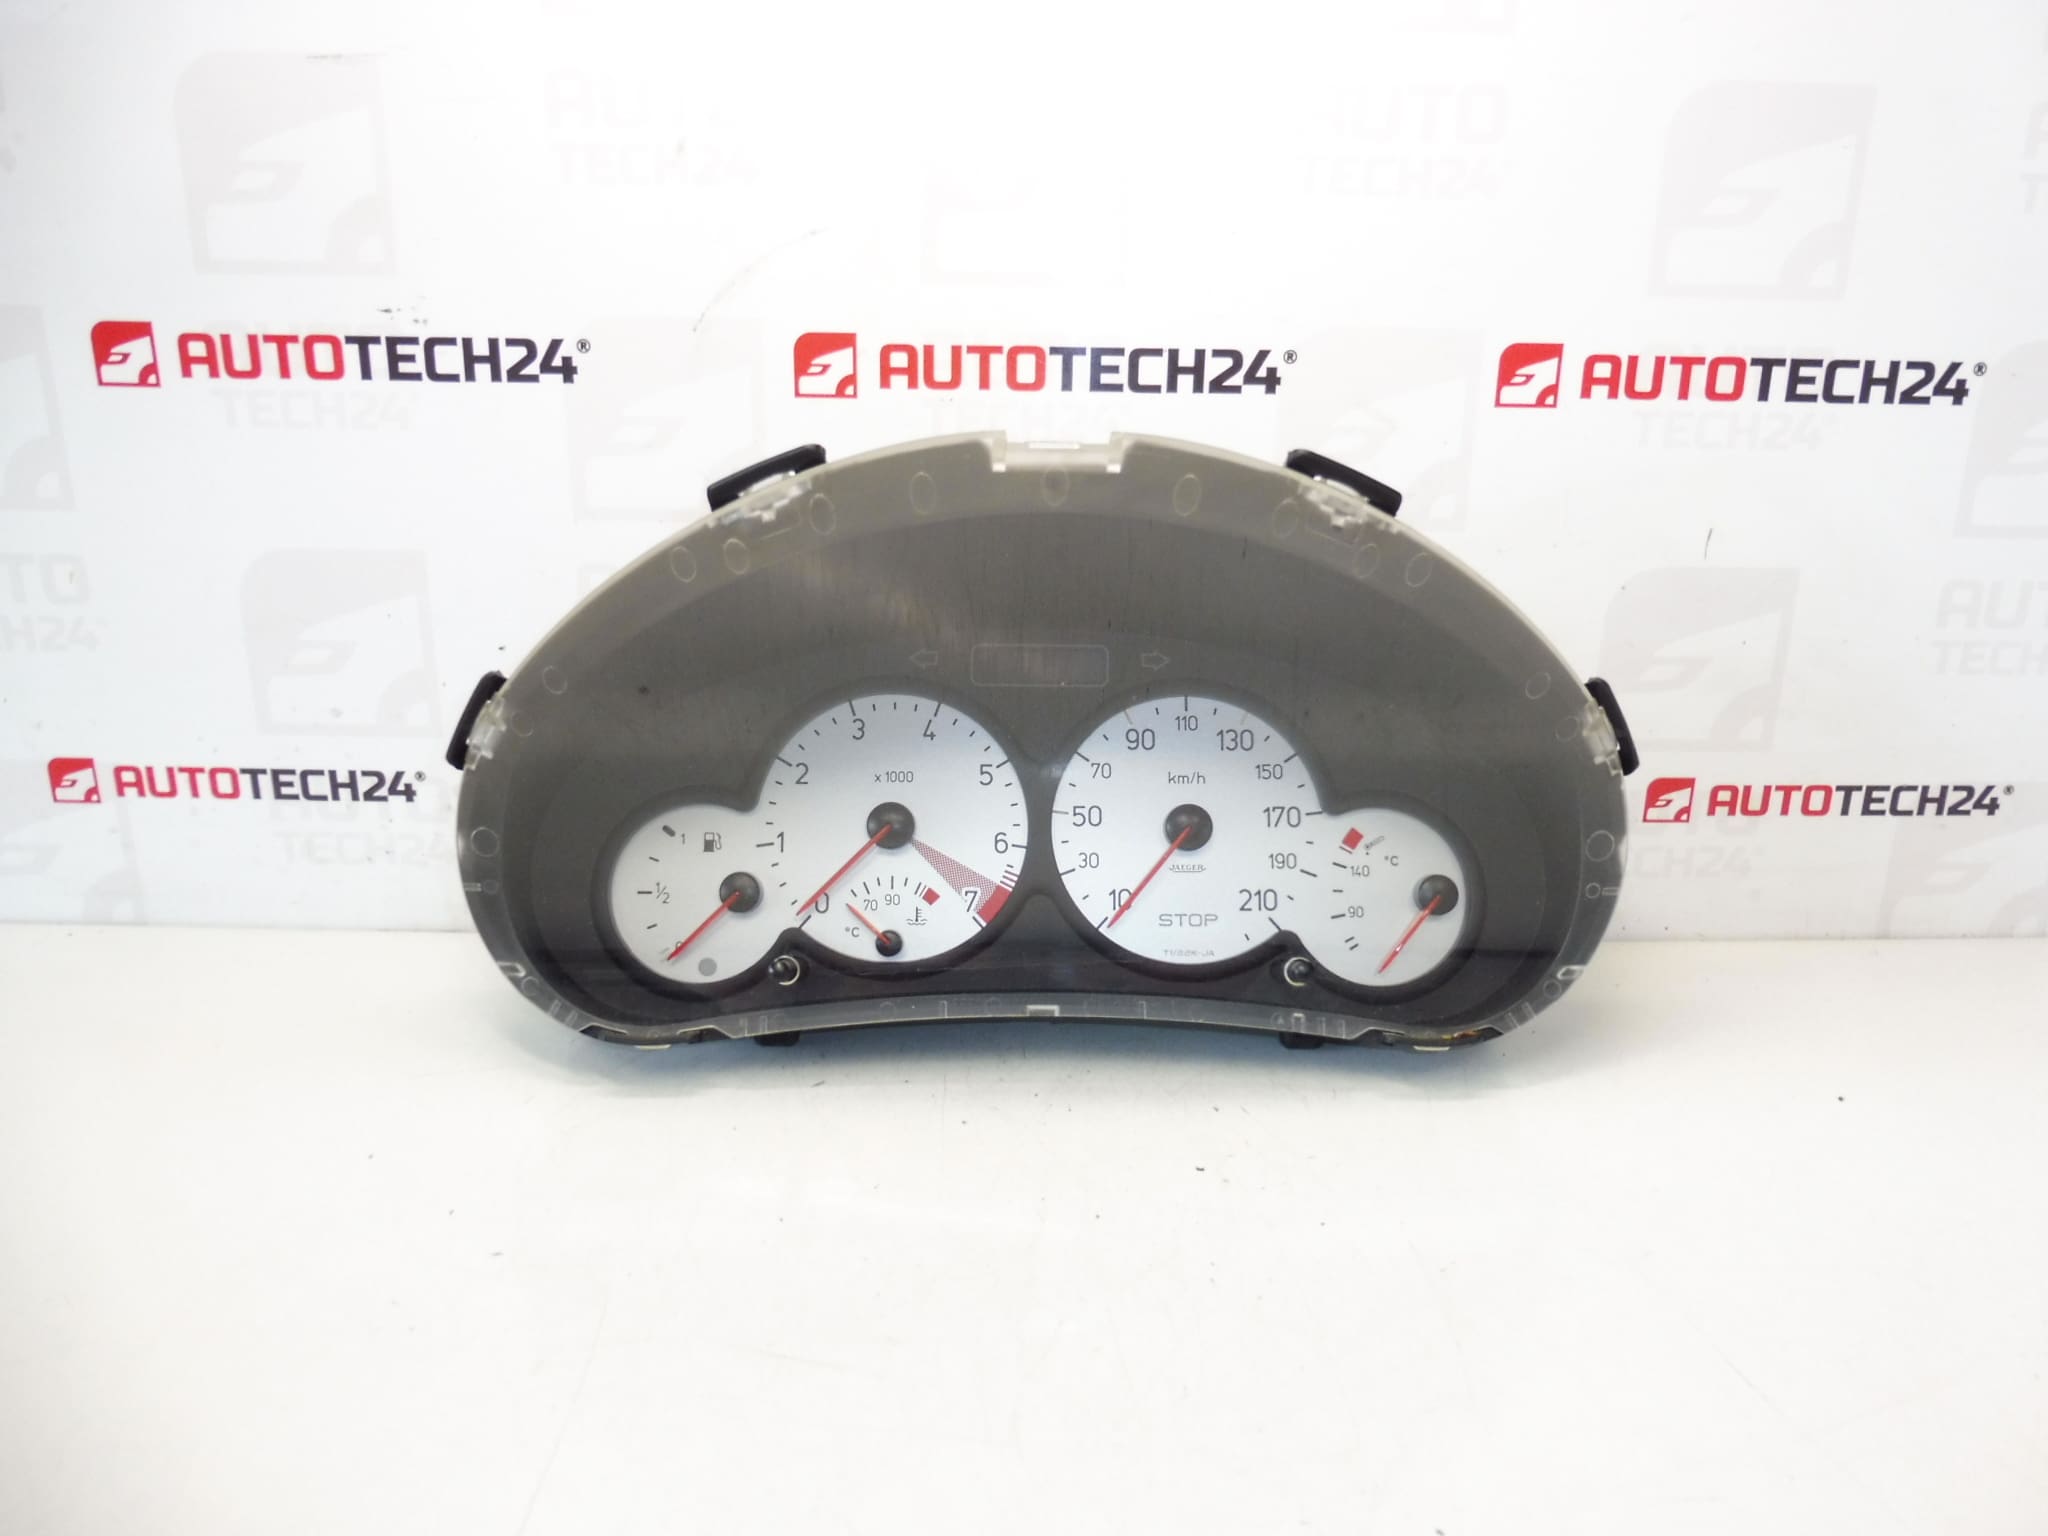
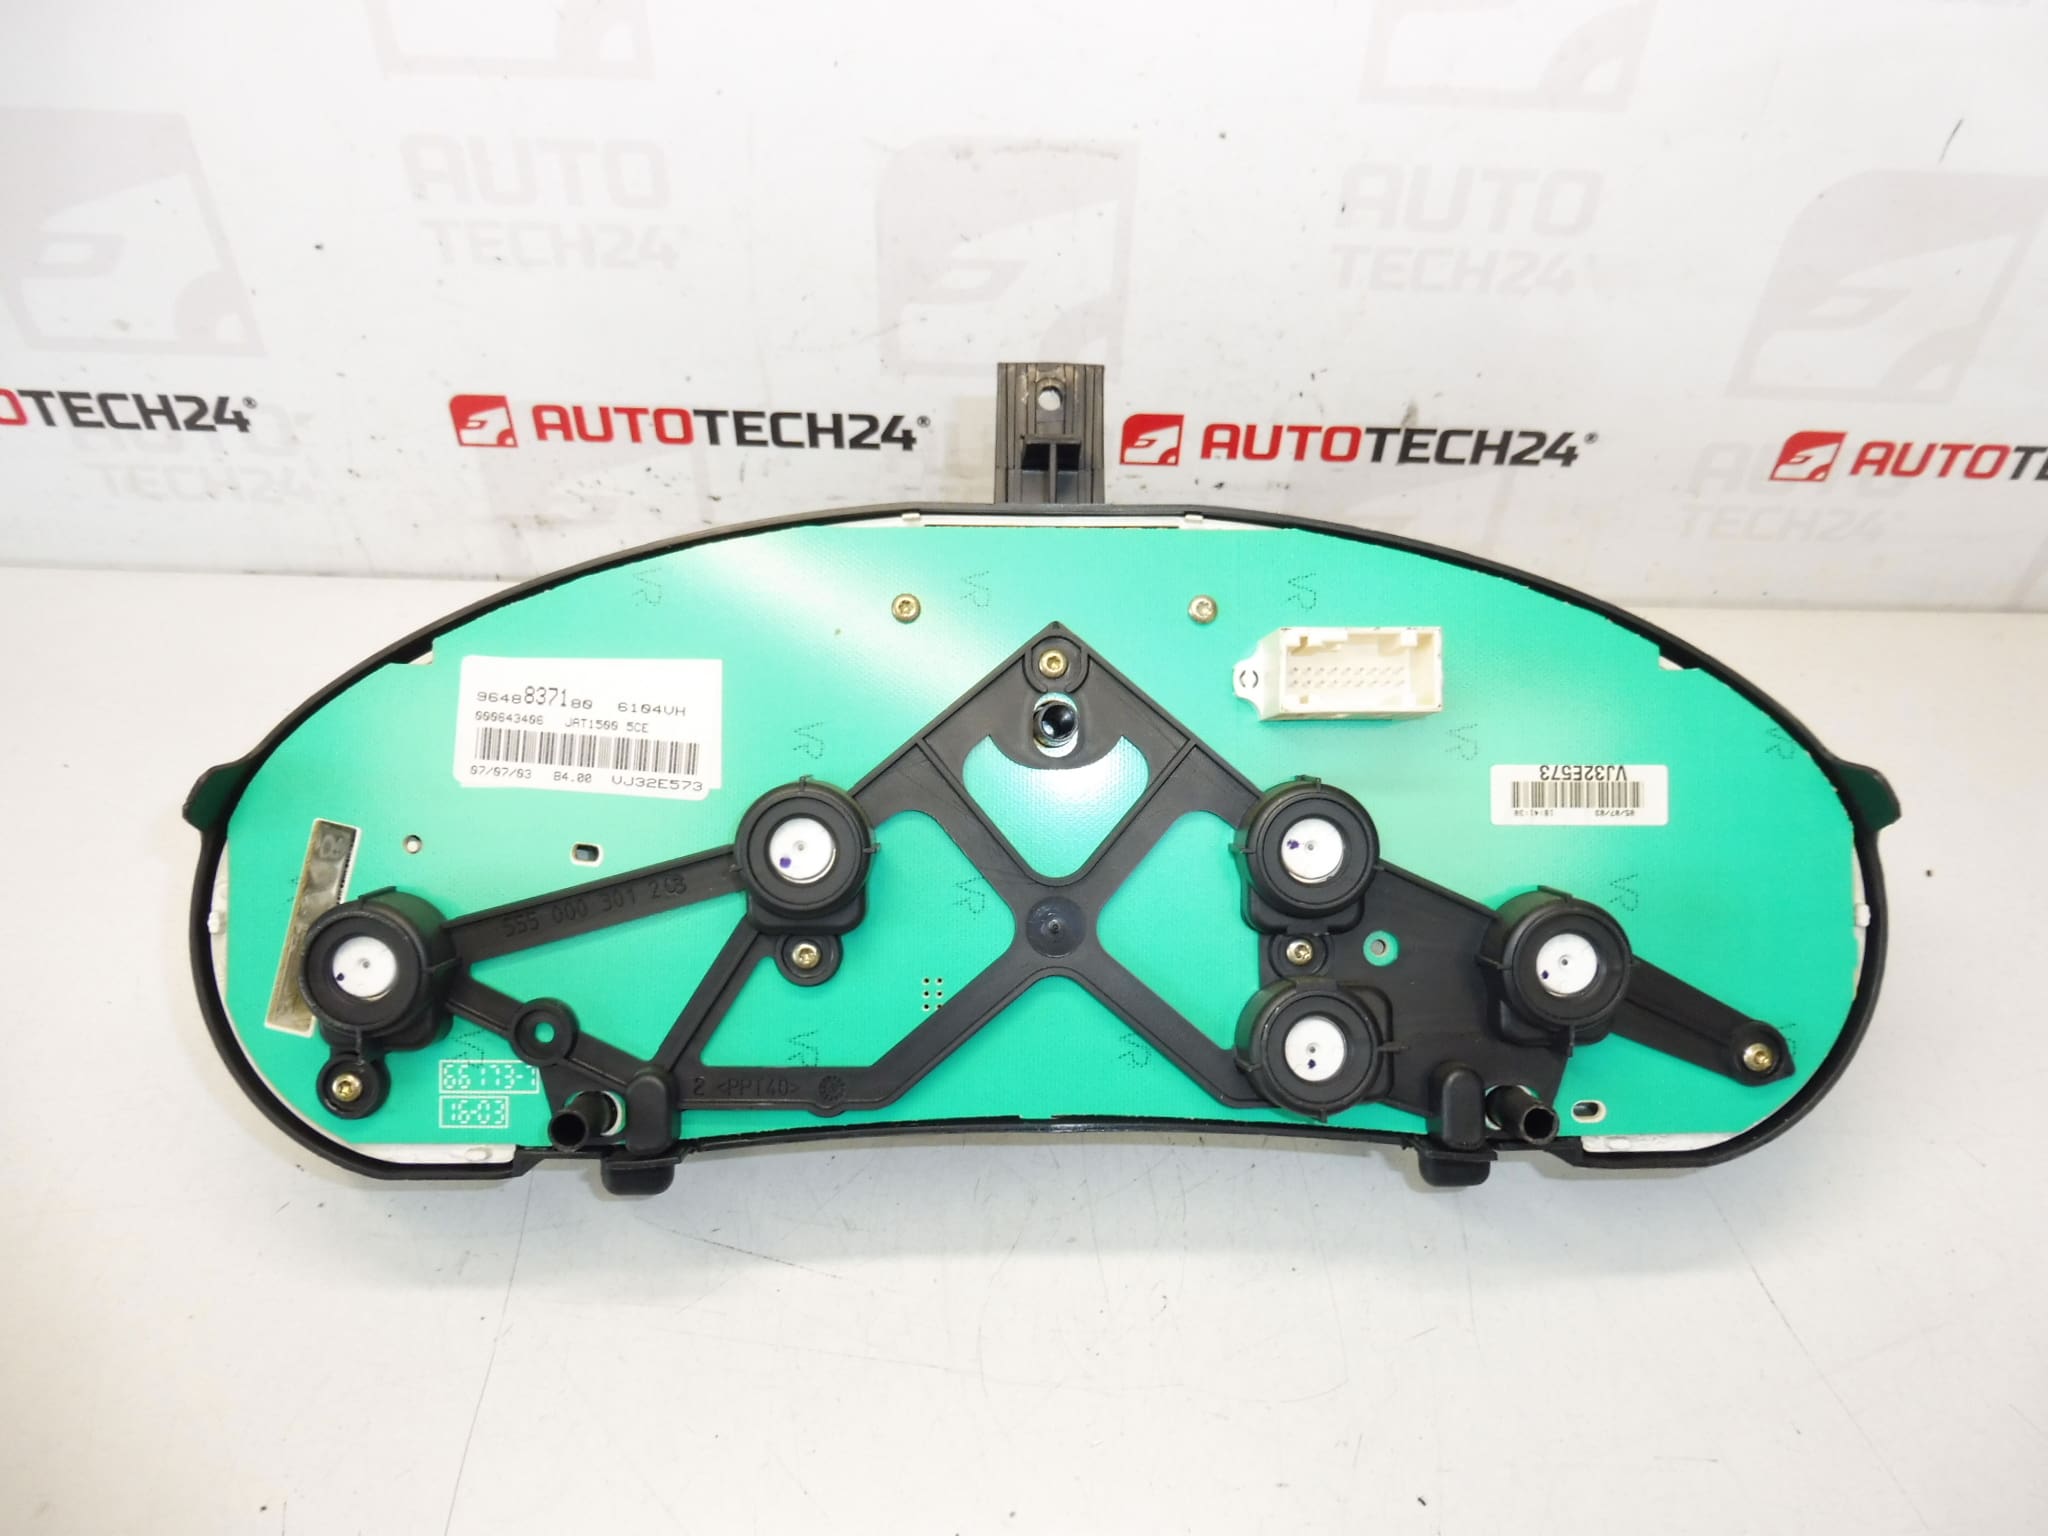
Instrument Cluster (Speedometer) from PEUGEOT 206 1.6 16V 2003
This instrument cluster is a direct-fit replacement for Peugeot 206 1.6 16V (2003) models and is commonly searched by OE references such as 9648837180, 6106FP and 6106FQ. Designed for professional garages and experienced DIYers, the unit restores clear speed, engine RPM, fuel level and indicator warning functions to the dashboard, helping to return accurate driver information and vehicle diagnostics.
Key Features
- Complete speedometer and tachometer readout with fuel gauge and warning indicators.
- Direct-fit for Peugeot 206 dashboards — plug-in replacement using original connectors.
- Suitable for workshop replacement and home repairs; commonly referenced by part numbers for fast locating.
- Analog needle display with integrated odometer and standard dashboard warning lamps.
Technical Information
- Manufacturer: Stellantis (Peugeot)
- Model: Peugeot 206 1.6 16V (2003)
- Product Codes: 9648837180; 6106FP; 6106FQ; NFP
- Additional Numbers: 6106FP; 6106FQ; 9648837180
Installation Recommendation
- Disconnect the battery before starting work to prevent electrical damage and airbag/airbag system warnings.
- Remove steering column covers and dashboard trim panels to access cluster mounting screws.
- Unscrew retaining fasteners, pull the cluster forward and carefully unplug all electrical connectors. Inspect connectors and wiring for corrosion or damaged pins.
- Fit the replacement unit, reconnect plugs securely and refit trim. Reconnect the battery and verify all gauges, warning lights and odometer operation.
- In most Peugeot 206 installations the cluster is plug-and-play and requires no additional coding. If the vehicle exhibits immobilizer or communication errors after fitment, professional diagnostic equipment may be required to clear fault codes or reinitialise systems.
How To Replace On Vehicle
- Park on a level surface, engage handbrake and disconnect negative battery terminal.
- Remove lower steering column shroud and upper trim; locate and remove screws securing the cluster bezel.
- Gently pull cluster forward to expose rear connectors; depress locking tabs and withdraw connectors.
- Install new cluster by reversing removal steps. Start vehicle and check speedometer, tachometer, fuel gauge, illumination and warning lights for proper function.
Why This Part Most Commonly Fails
- Age-Related Wear: Stepper motors and mechanical linkages that drive needles wear over time, causing inaccurate or stuck needles.
- Electrical Stress: Voltage spikes, poor grounding or intermittent power can damage internal electronics or backlight circuits.
- Moisture Ingress: Condensation or water entry leads to corrosion on connectors and printed circuit boards, producing intermittent faults or display failures.
- Solder Joint Fatigue: Thermal cycling can cause cracked solder joints on the instrument PCB, leading to flickering indicators or total failure.
Additional Notes
Customers often search using OE numbers 9648837180, 6106FP or 6106FQ — include these codes when looking for a matching cluster. Visually compare the connector layout and mounting points with your original unit to ensure compatibility. Routine checks of fuses, battery voltage and connector condition can prevent premature failures.