Description
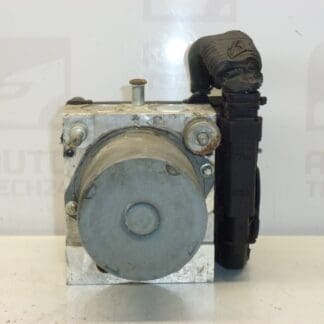
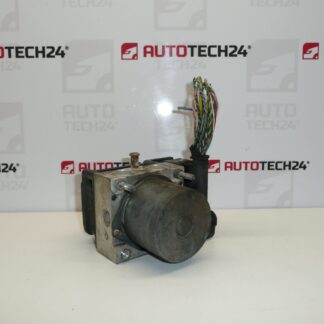
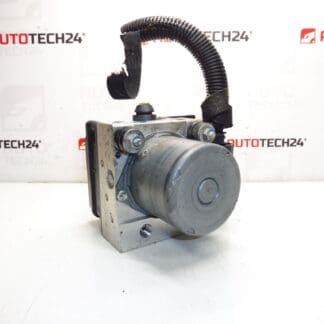
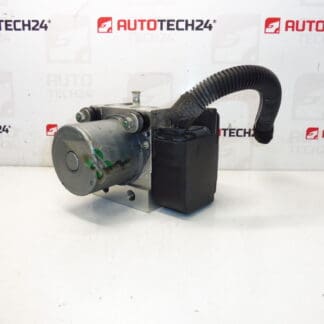
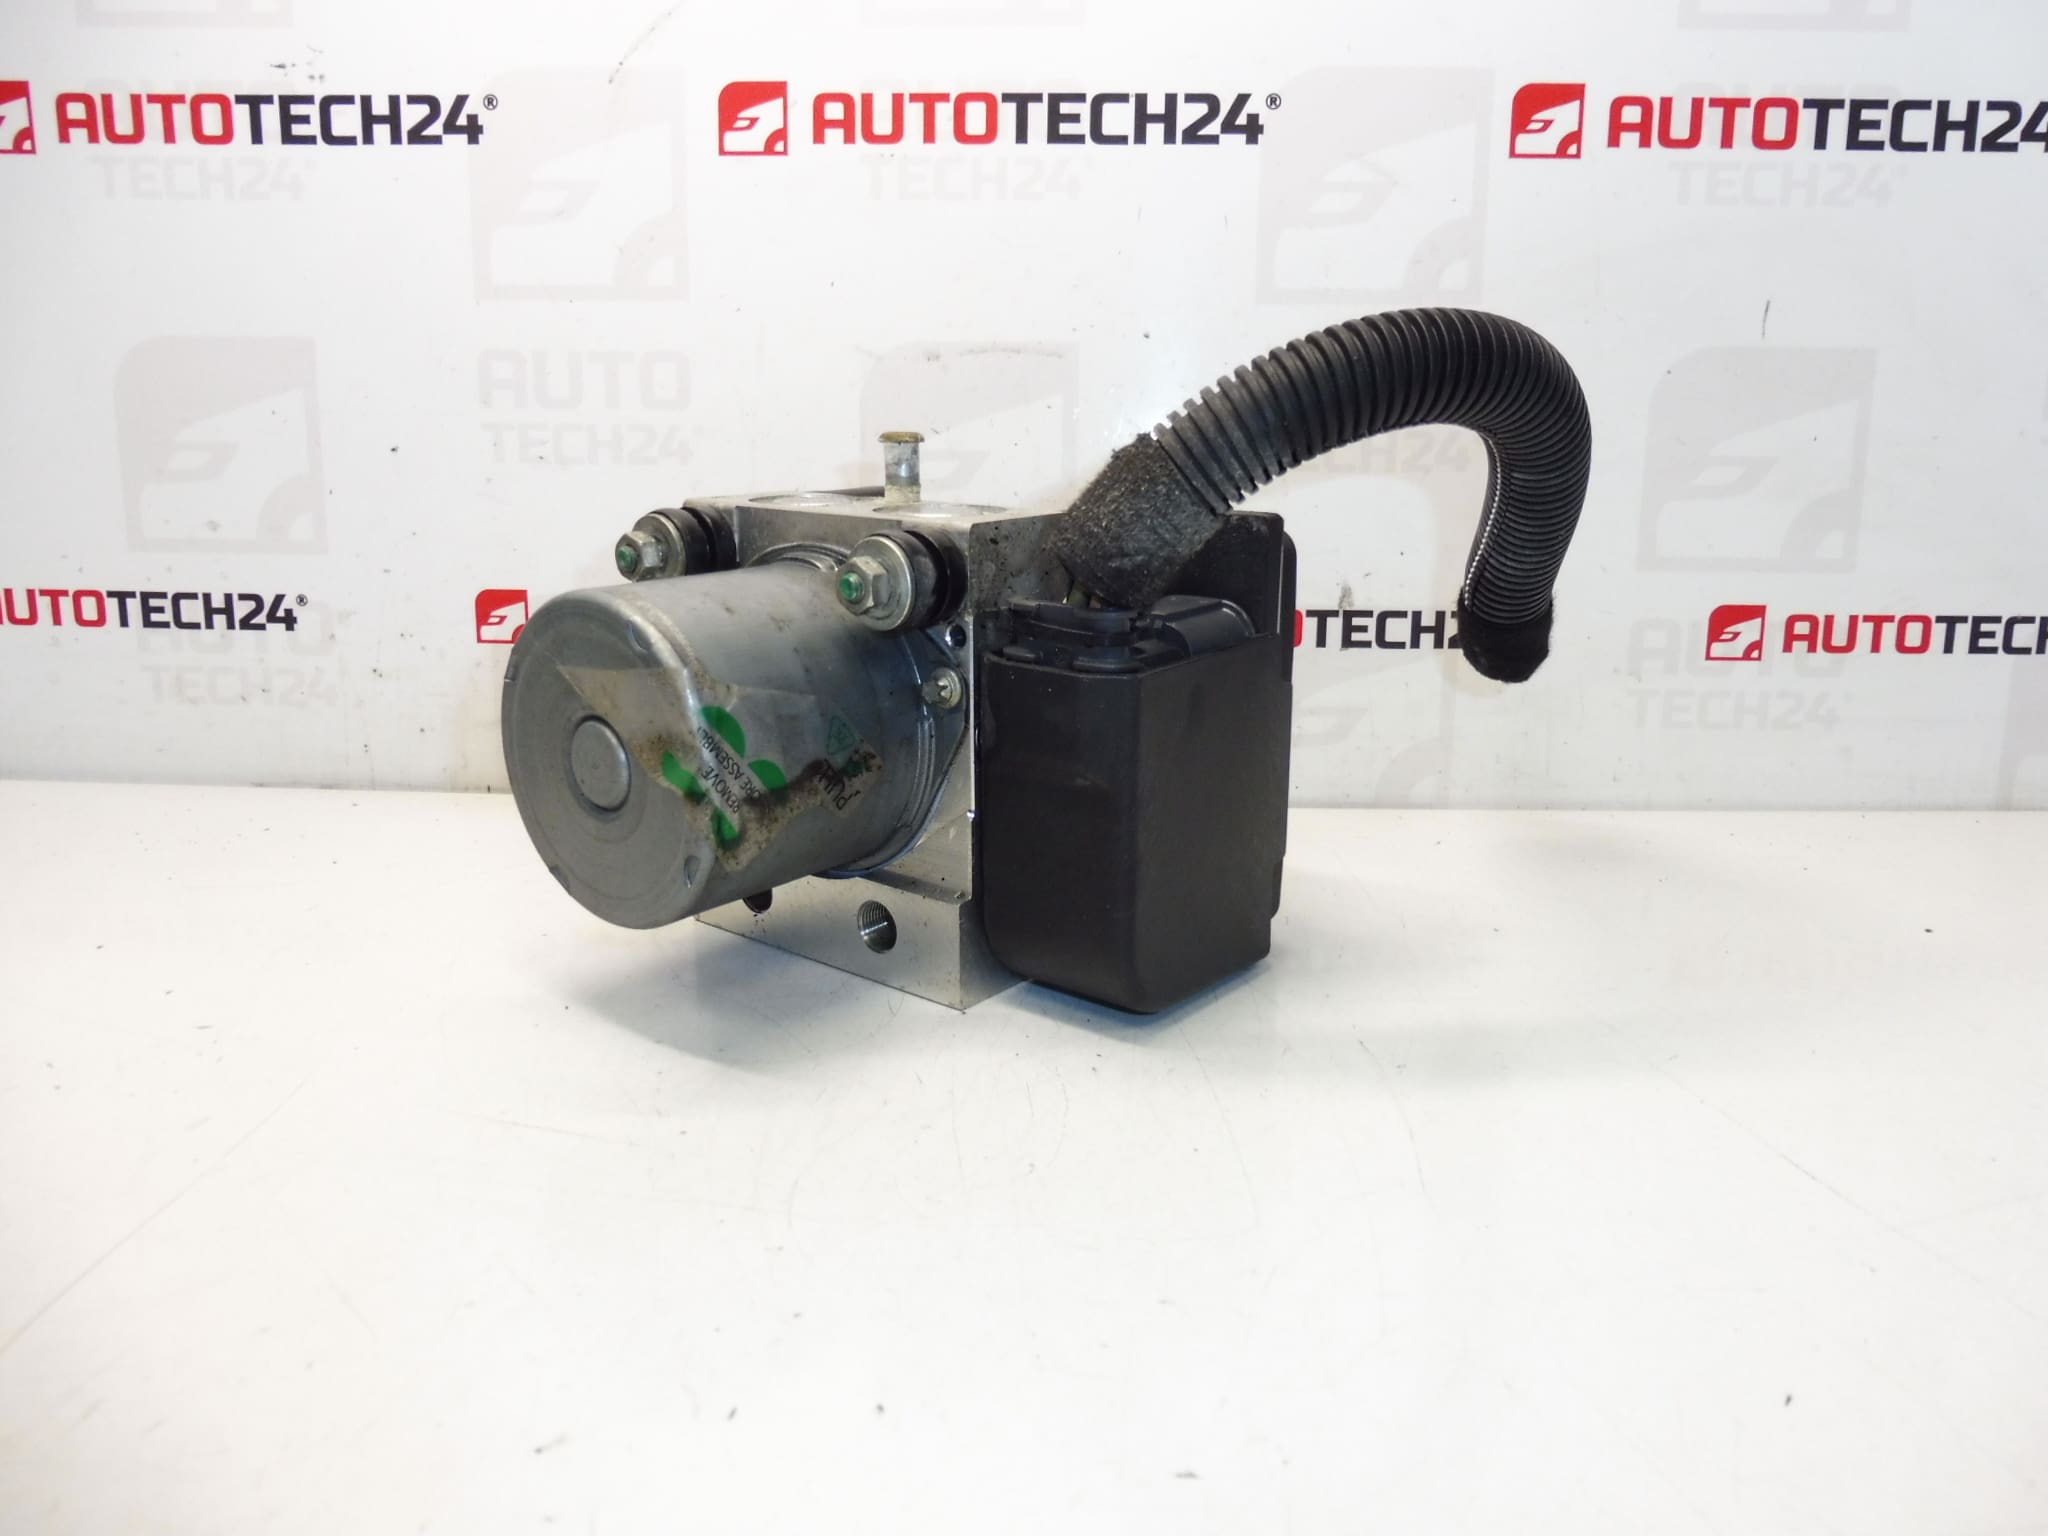
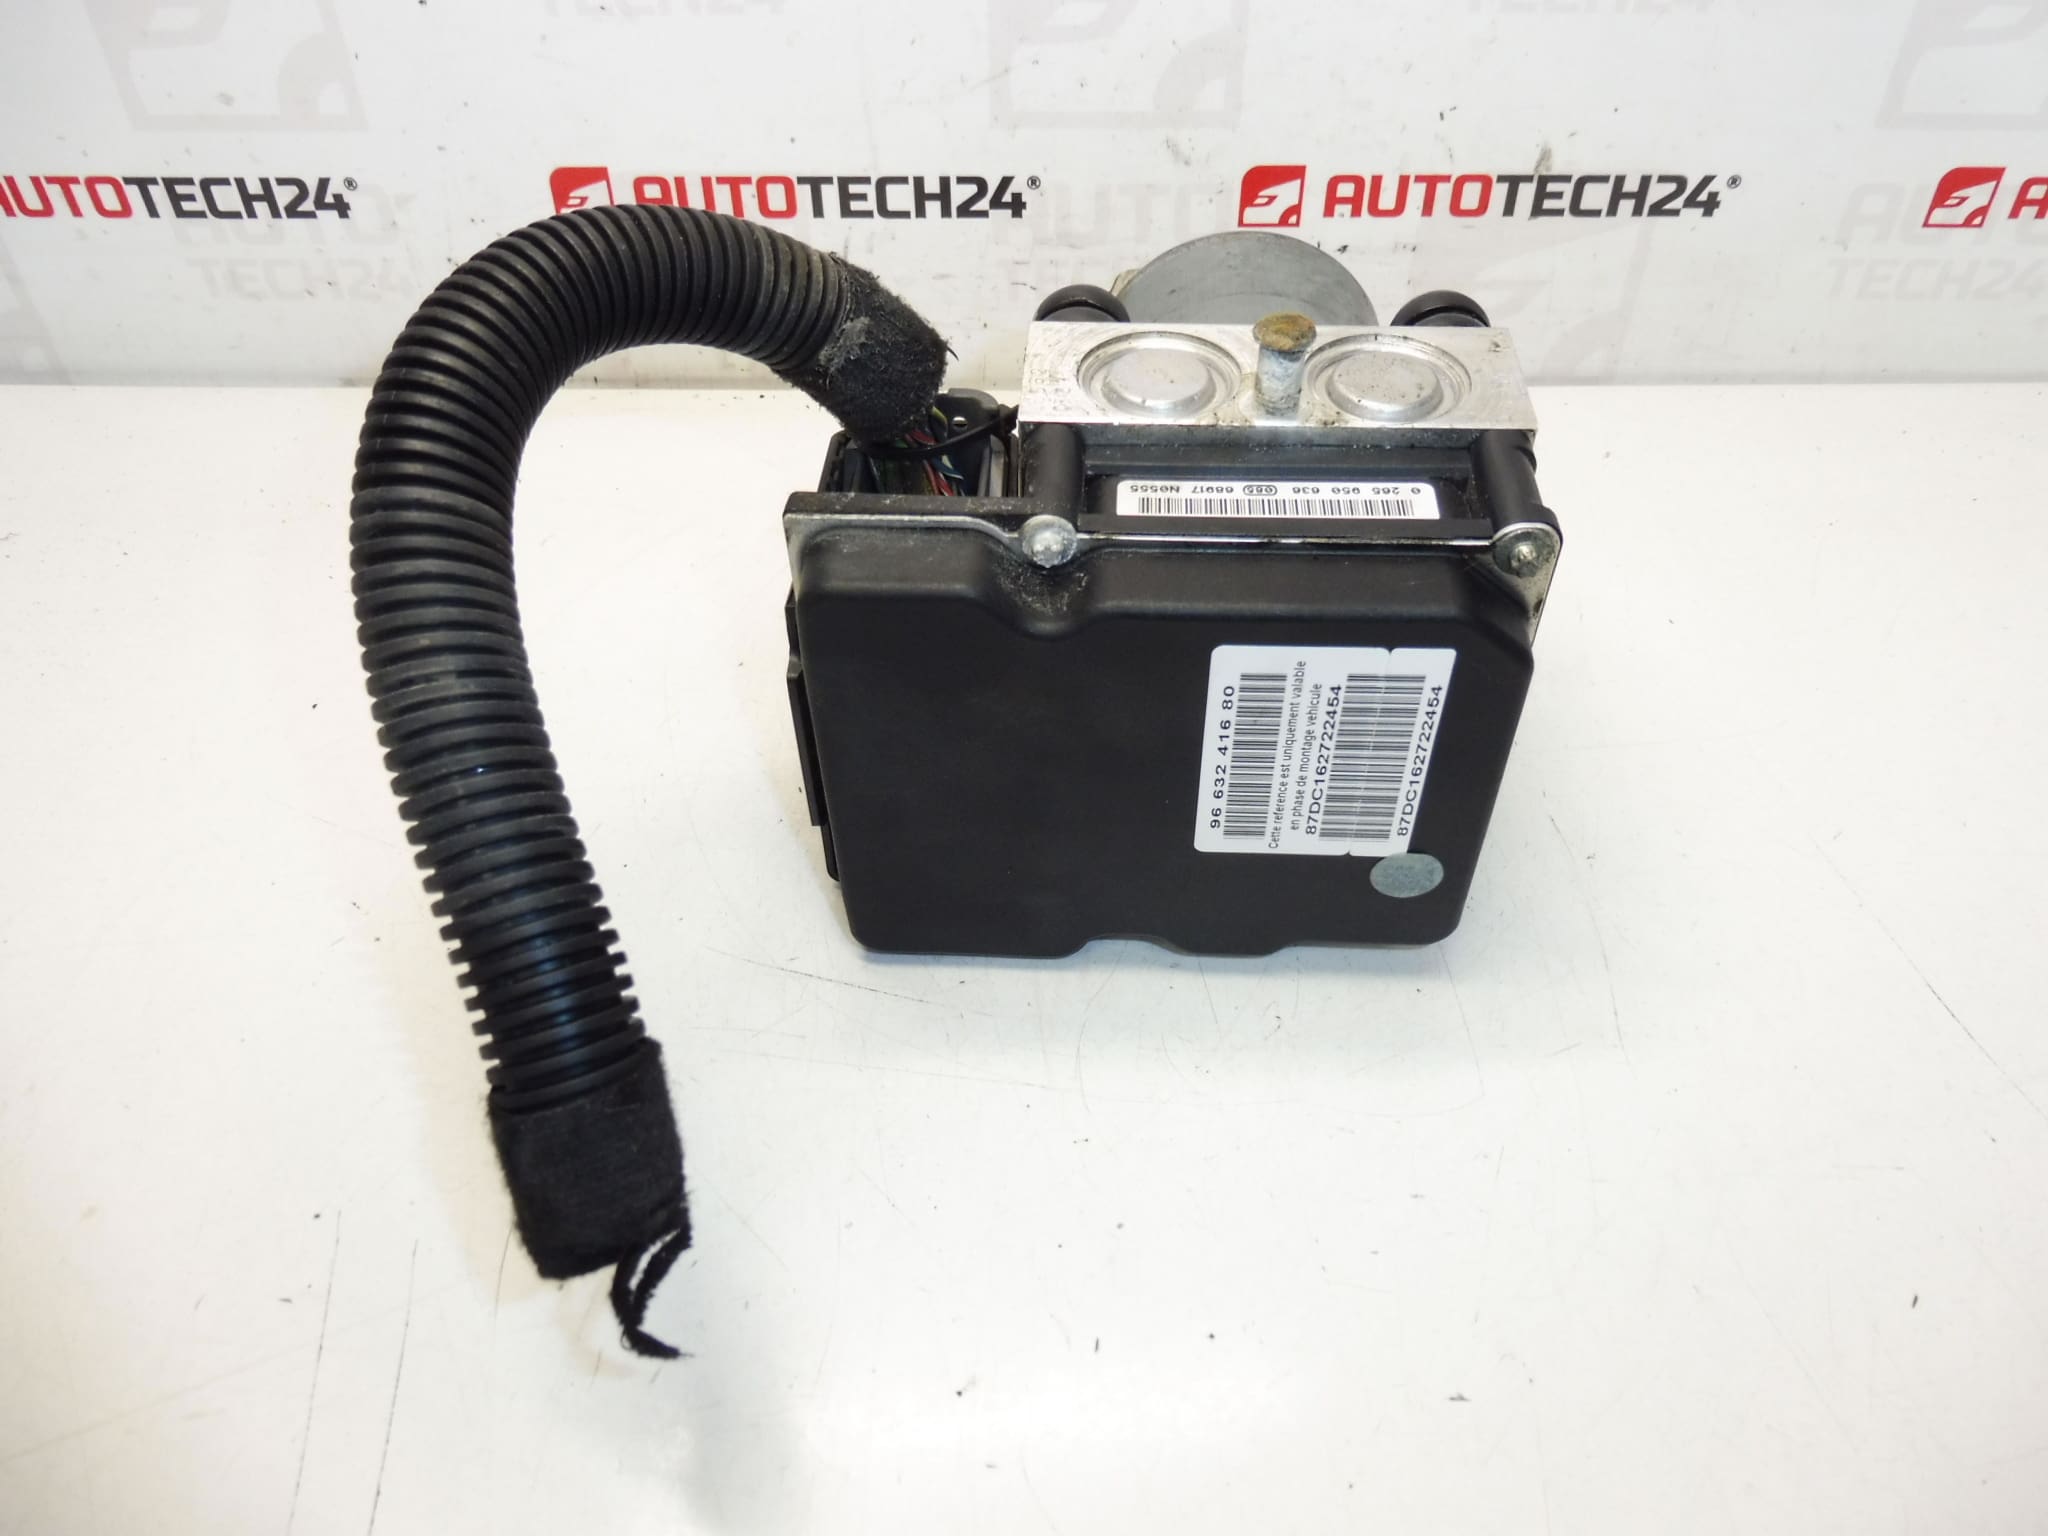
Control module, ABS pump, hydraulic ESP and ABS BOSCH unit for Citroën C4 and Peugeot 307. It is from a 2006 Peugeot 307 2.0 16V automatic. Comes with a section of wiring.
Overview
High-quality Bosch ABS/ESP hydraulic block and control module compatible with Citroën C4 and Peugeot 307 platforms. Ideal for professional workshops and experienced DIY mechanics searching by OE numbers (9663241680, 0265950636) or alternative references. The unit integrates the ABS pump, hydraulic valves and electronic controller to manage anti-lock braking (ABS), electronic stability control (ESP) and traction interventions. Supplied with a short wiring harness section to simplify replacement and connector alignment.
Key Benefits
- Direct fit for many Citroën C4 and Peugeot 307 applications — reduces diagnostic time when replacing a failed ABS/ESP module.
- Bosch engineering ensures precise hydraulic modulation for stable braking performance and improved safety in emergency maneuvers.
- Searchable by multiple product codes and part numbers commonly used in parts catalogs and workshop databases.
Technical Information
- Manufacturer: Bosch
- Model: Citroën C4, Peugeot 307
- Product Codes: 9663241680, 0265950636
- Other Numbers: 1682607580, 4541Q4, 4541Q5, 265950636, 9653241680
Installation Recommendations
Follow safe workshop procedures and use appropriate tools. Typical installation steps for a competent mechanic:
- Always disconnect the negative battery terminal before starting work to prevent electrical damage and airbag/ECU faults.
- Raise the vehicle and remove wheel(s) or undertray as needed to access the brake master cylinder area where the ABS/ESP unit is mounted.
- Carefully disconnect electrical connectors and label them if necessary. Disconnect brake lines with appropriate line wrenches; expect brake fluid loss.
- Remove mounting bolts and replace the unit as an assembly. If supplied, use the included wiring section to ensure correct connector positioning.
- After mechanical installation, bleed the brake system thoroughly (recommended: pressure or vacuum bleeding) to remove air from the ABS hydraulic circuit and brake lines.
- Clear fault codes and perform ABS/ESP initialization with a compatible diagnostic tool. Using PSA service tools (DiagBox/Lexia/PP2000) or a professional scanner will ensure proper adaptations and fault code removal.
Why This Part Most Often Fails
Common failure causes include:
- Corrosion and moisture ingress into electrical connectors or the hydraulic block, especially on older vehicles or in regions with road salt.
- Contaminated or degraded brake fluid causing internal valve or pump wear and contamination of manifolds.
- Electrical faults such as short circuits, damaged wiring or connector corrosion leading to intermittent operation or total loss of the controller.
- Mechanical wear of the pump motor or solenoid valves after years of service, often following high mileage or lack of maintenance.
Notes For Workshop Use
This unit is typically located next to the brake master cylinder and must be handled with care to avoid damage to brake lines and electrical connectors. After replacement, perform a full brake-test and road-test to verify ABS and ESP functionality under safe conditions. Keep brake fluid clean and follow manufacturer service intervals to prolong the life of the hydraulic block and pump.