Description
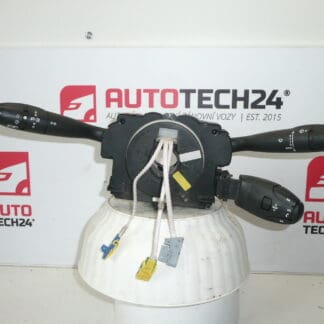
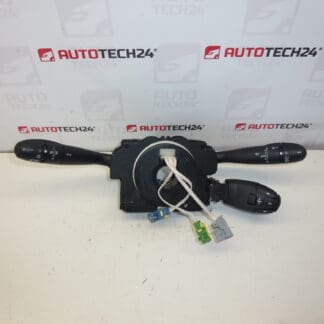
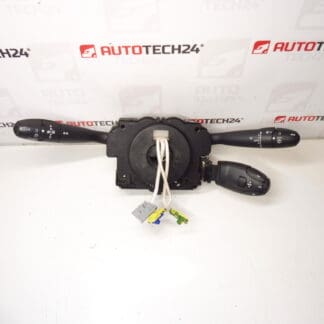
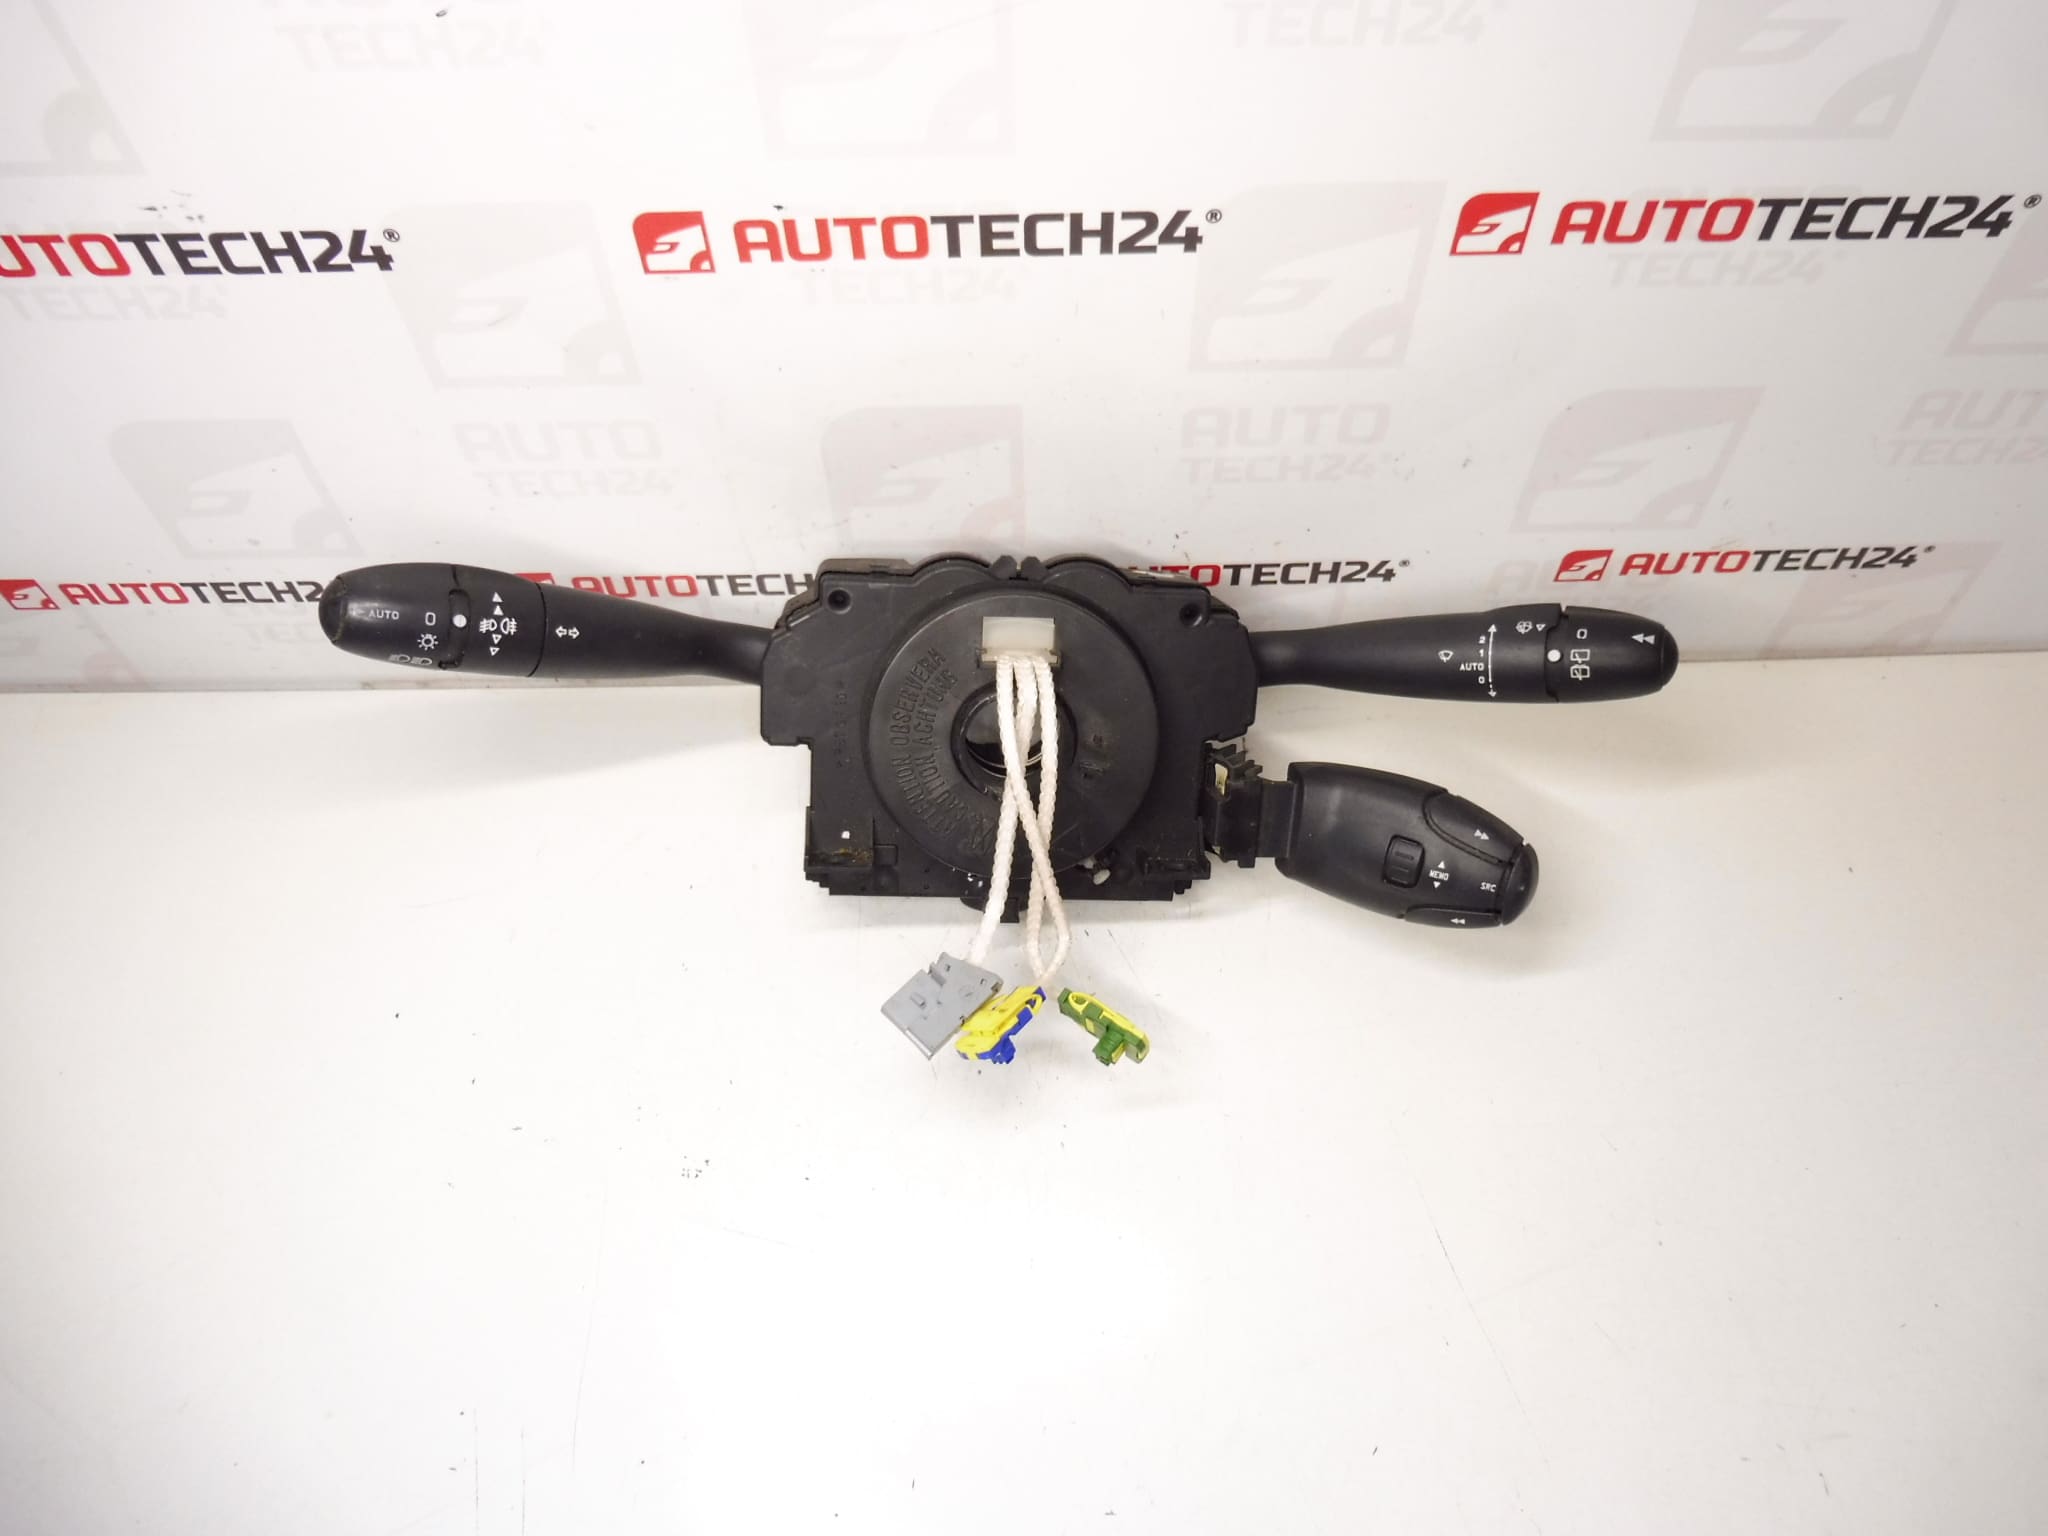
Steering Column Stalk Controls EATON COM 2000 For Citroën And Peugeot Vehicles. They Control Fog Lights, Trip Computer, Wiper Sensor, Horn, Cruise Control And Car Radio (Controller Must Be Supplied Or Transferred).
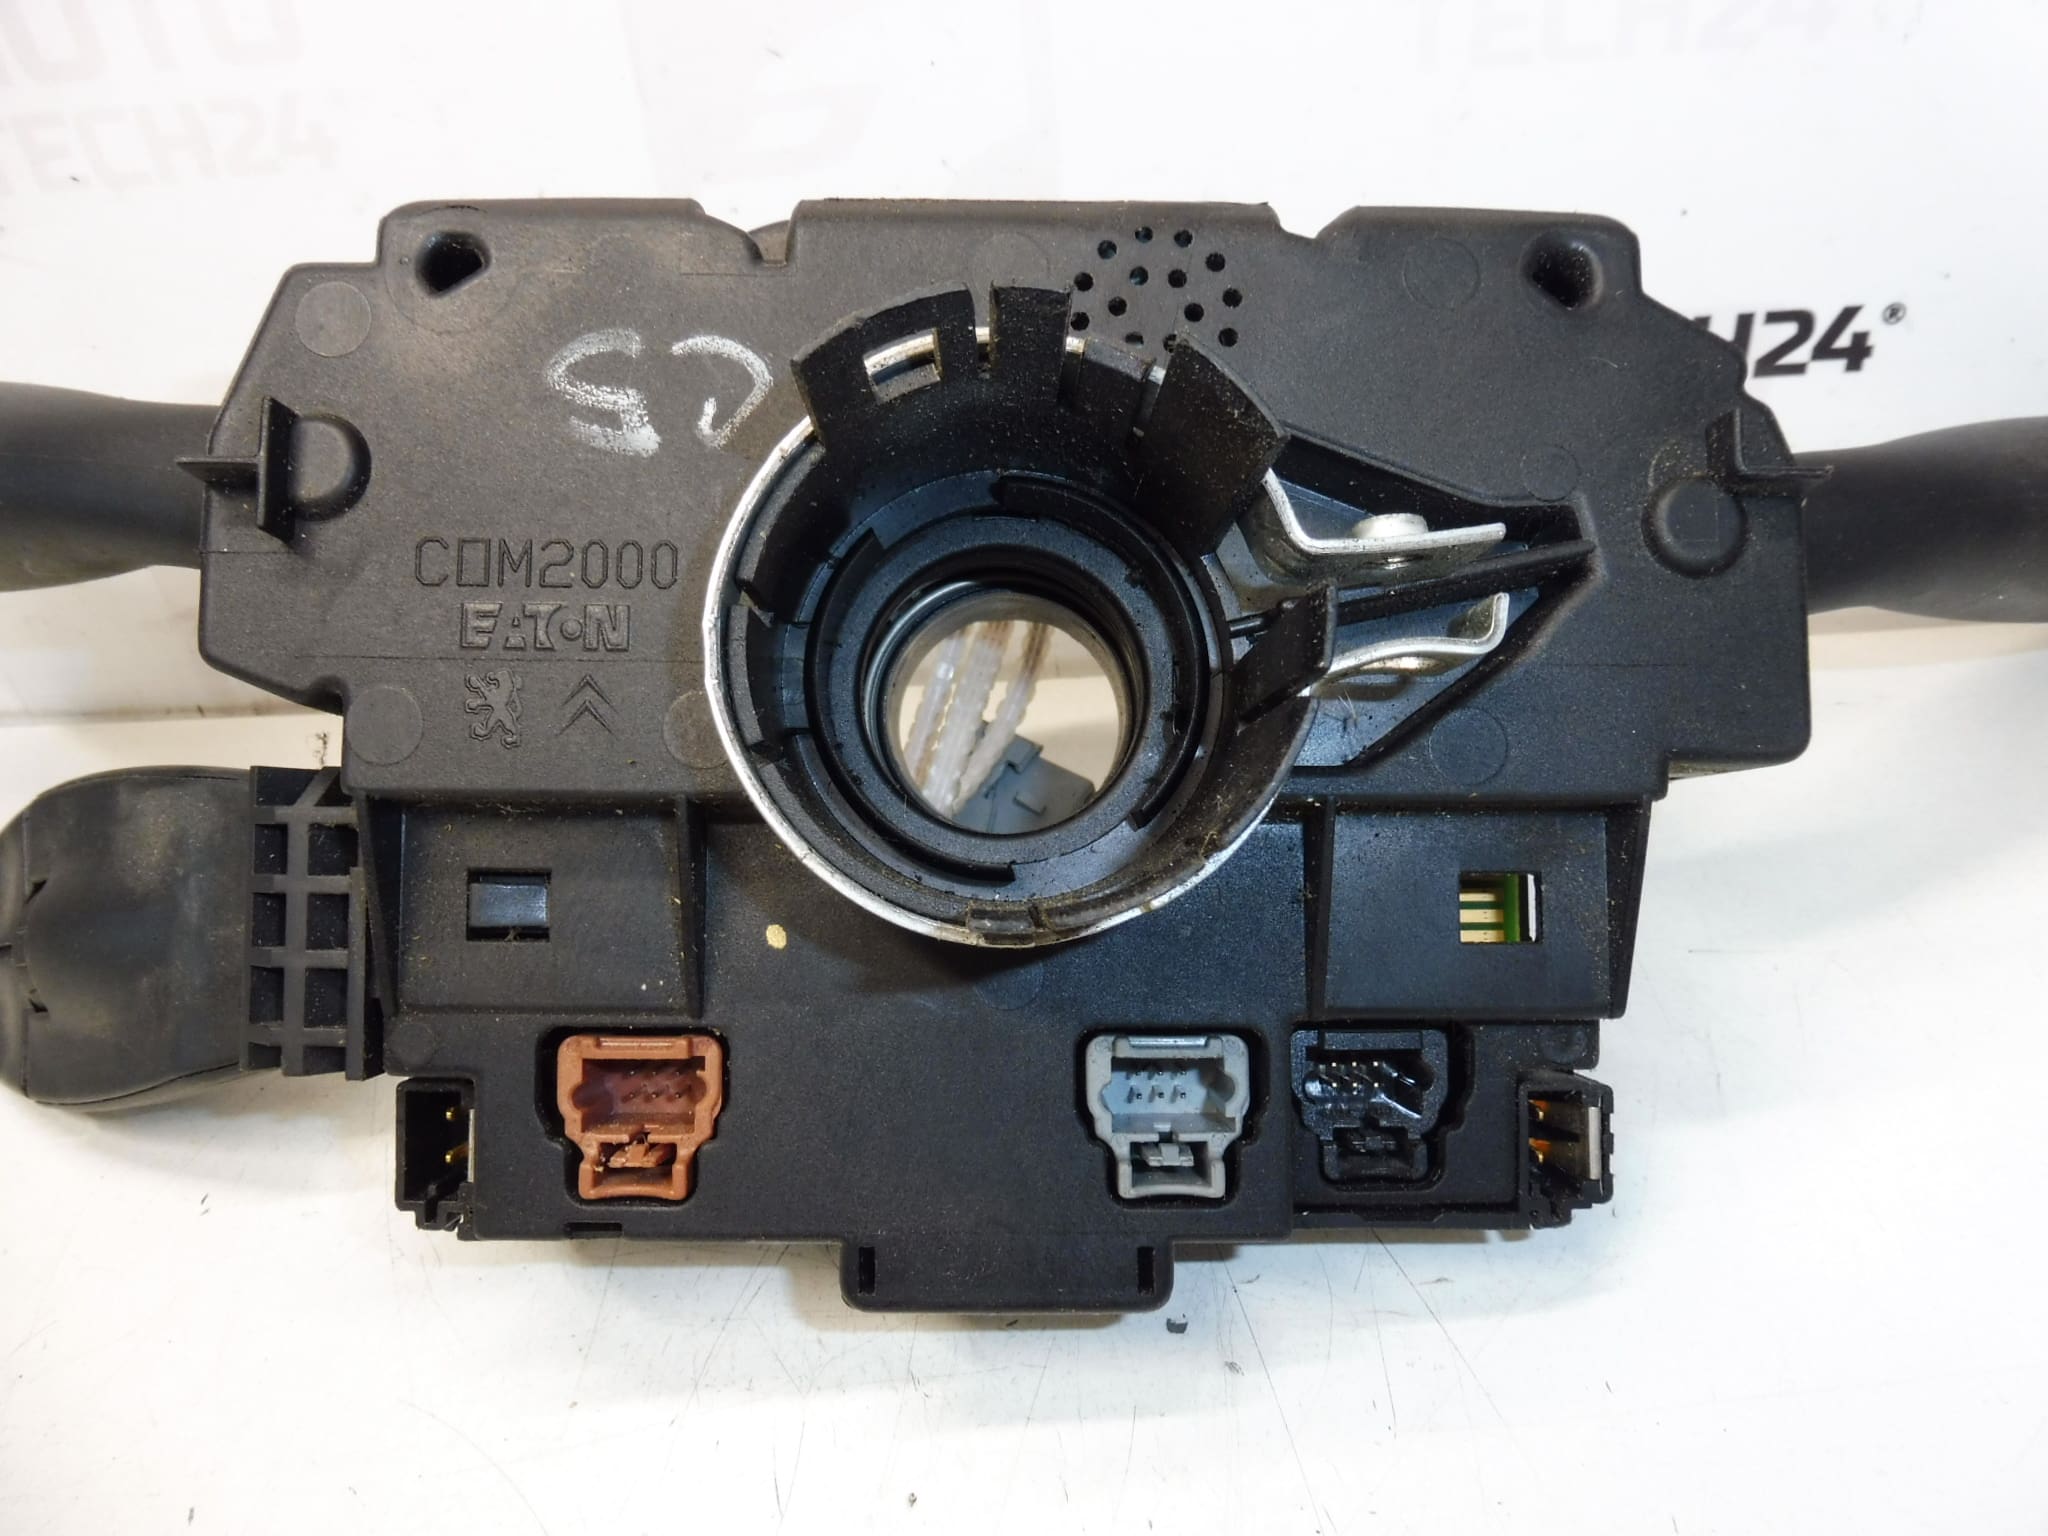
High-quality Steering Column Stalk Assembly Designed To Replace Faulty Or Worn EATON COM2000 Units On Various Citroën And Peugeot Models. This Multifunction Stalk Operates Fog Lights, Trip Computer Functions, Wiper Sensor Inputs, Horn, Cruise Control And Radio Controls (Radio Button Module May Need To Be Supplied Or Transferred From The Original Unit). The Part Is Commonly Referenced By Its Product Code 96375855ZL When Searching In Catalogs Or Online.
Technical Information
- Manufacturer: Eaton (Used On Stellantis Citroën/Peugeot)
- Model: COM2000 / Steering Column Stalk
- Product Codes: 96375855ZL, 963758555ZL
- Additional Numbers: 6242F9, COM2000
- Compatible Vehicles: Citroën C5 (I), Citroën C8, Citroën Xsara, Citroën Xsara Picasso, Peugeot 307, Peugeot 807
Function And Application
The Stalk Assembly Centralizes Several Controls On The Steering Column To Provide Convenient Access To Lighting, Wipers, Cruise Control, Horn And Radio Functions Without Removing Hands From The Wheel. It Interfaces With The Vehicle’S Steering Column Wiring Harness And The Central Electronics Unit To Transmit Switch Signals To The Relevant Systems.
How Replacement Is Performed
General Replacement Steps For Mechanics And Experienced DIYers:
- Disconnect The Battery And Wait A Few Minutes To Ensure Systems Are De‑energized.
- Remove Steering Column Trim Covers To Access The Stalk Fastenings.
- Unscrew The Mounting Screws And Carefully Unplug Electrical Connectors.
- Transfer Any Required Submodules (For Example Radio Control Buttons) If They Are Not Included With The New Stalk.
- Fit The Replacement Unit, Reconnect Connectors, Reassemble Trim And Reconnect The Battery.
- Verify All Functions: Indicators, Wipers, Fog Lights, Trip Computer Inputs, Horn, Cruise Control And Radio Controls.
Installation Recommendations
Always Disconnect The Battery Before Starting Work. Use Correct Trim Tools To Avoid Damage To Plastic Covers. Ensure Connectors Seat Properly And Retaining Clips Are Engaged. If The Radio Control Module Is Separate, Transfer It Carefully To Preserve Wiring And Connectors. After Installation, Check All Functions Under Static Conditions And During A Short Test Drive.
Why The Part Most Commonly Fails
Common Causes Of Failure Include Mechanical Wear Of Internal Contacts, Oxidation Or Corrosion On Electrical Contacts, Ingress Of Moisture Or Dirt, Broken Plastic Levers Or Mounting Clips And Intermittent Connector Faults. Frequent Use Of Buttons And Switches, Long Service Life Or Exposure To Humidity Accelerates Degradation.
Notes And Practical Tips
- Part Numbers Like 96375855ZL Are Often Used By Technicians And DIY Customers To Find The Correct Replacement Quickly.
- If Radio Controls Are Missing From The Supplied Unit, Plan To Transfer The Original Control Module Or Source The Specific Module Separately.
- After Replacement, Perform Functional Checks For All Associated Systems; Some Features May Require Additional Initialization In The Vehicle’S Settings, Depending On Model And Equipment.