Description
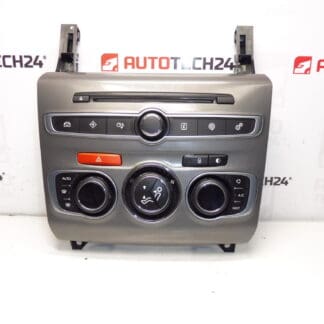
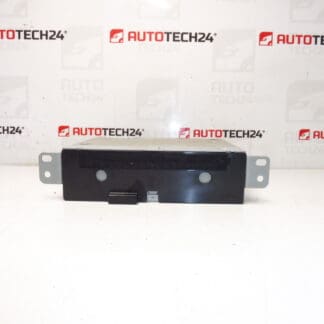
Heating control, air conditioning for CITROEN C4 B7 cars
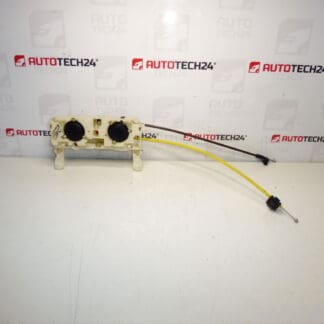
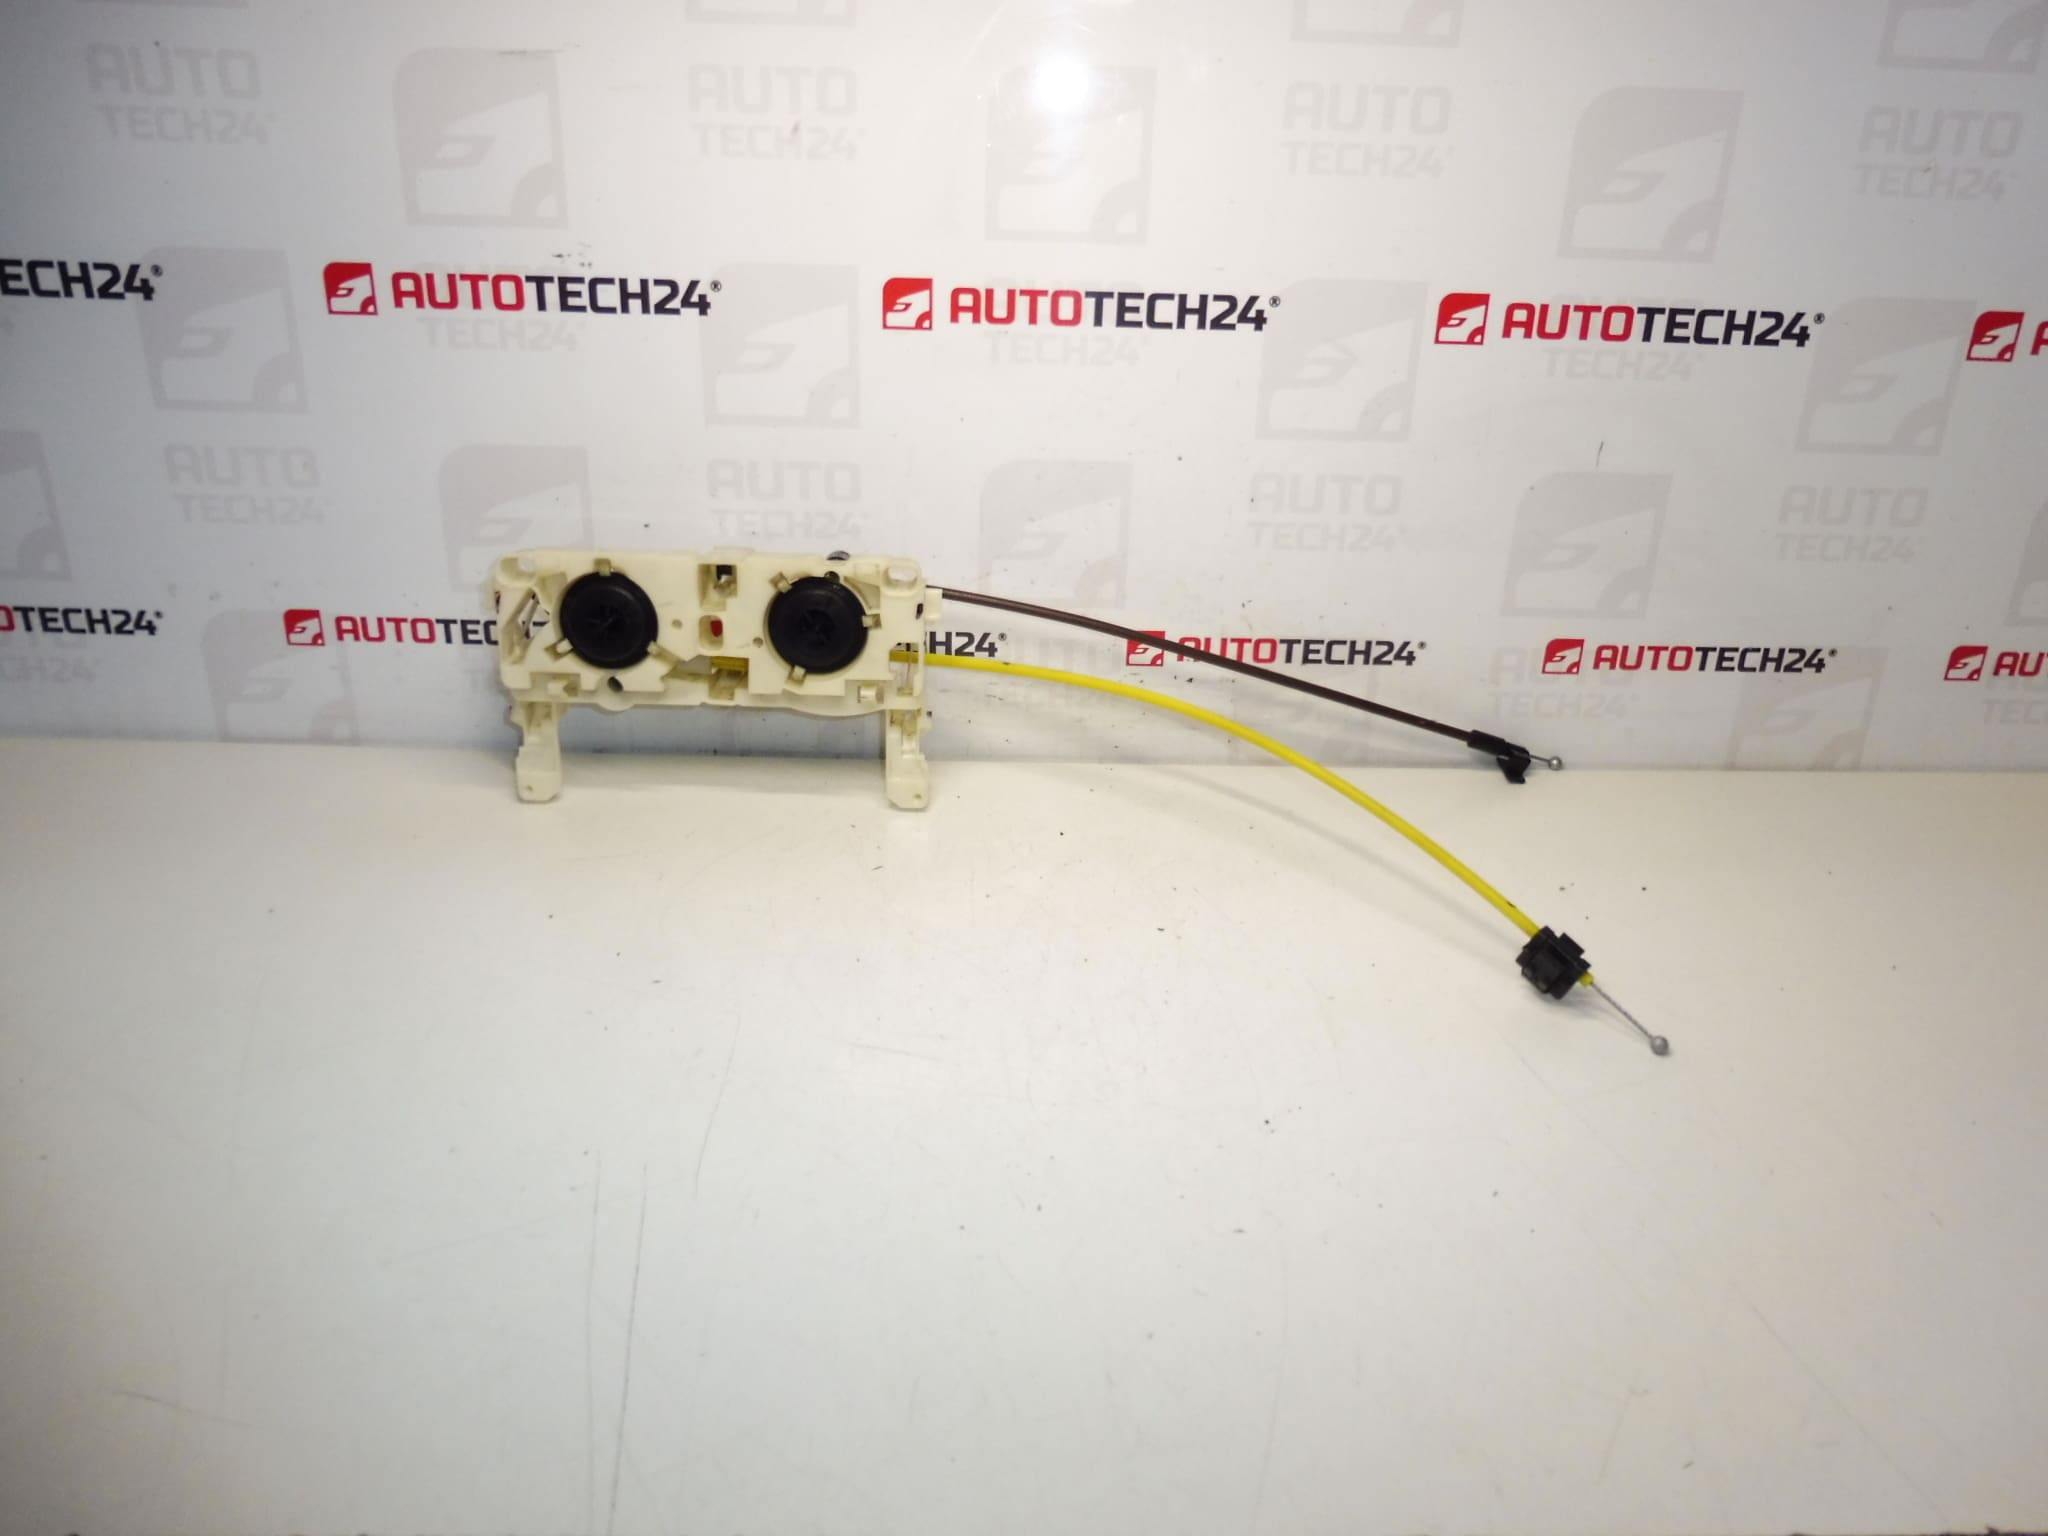
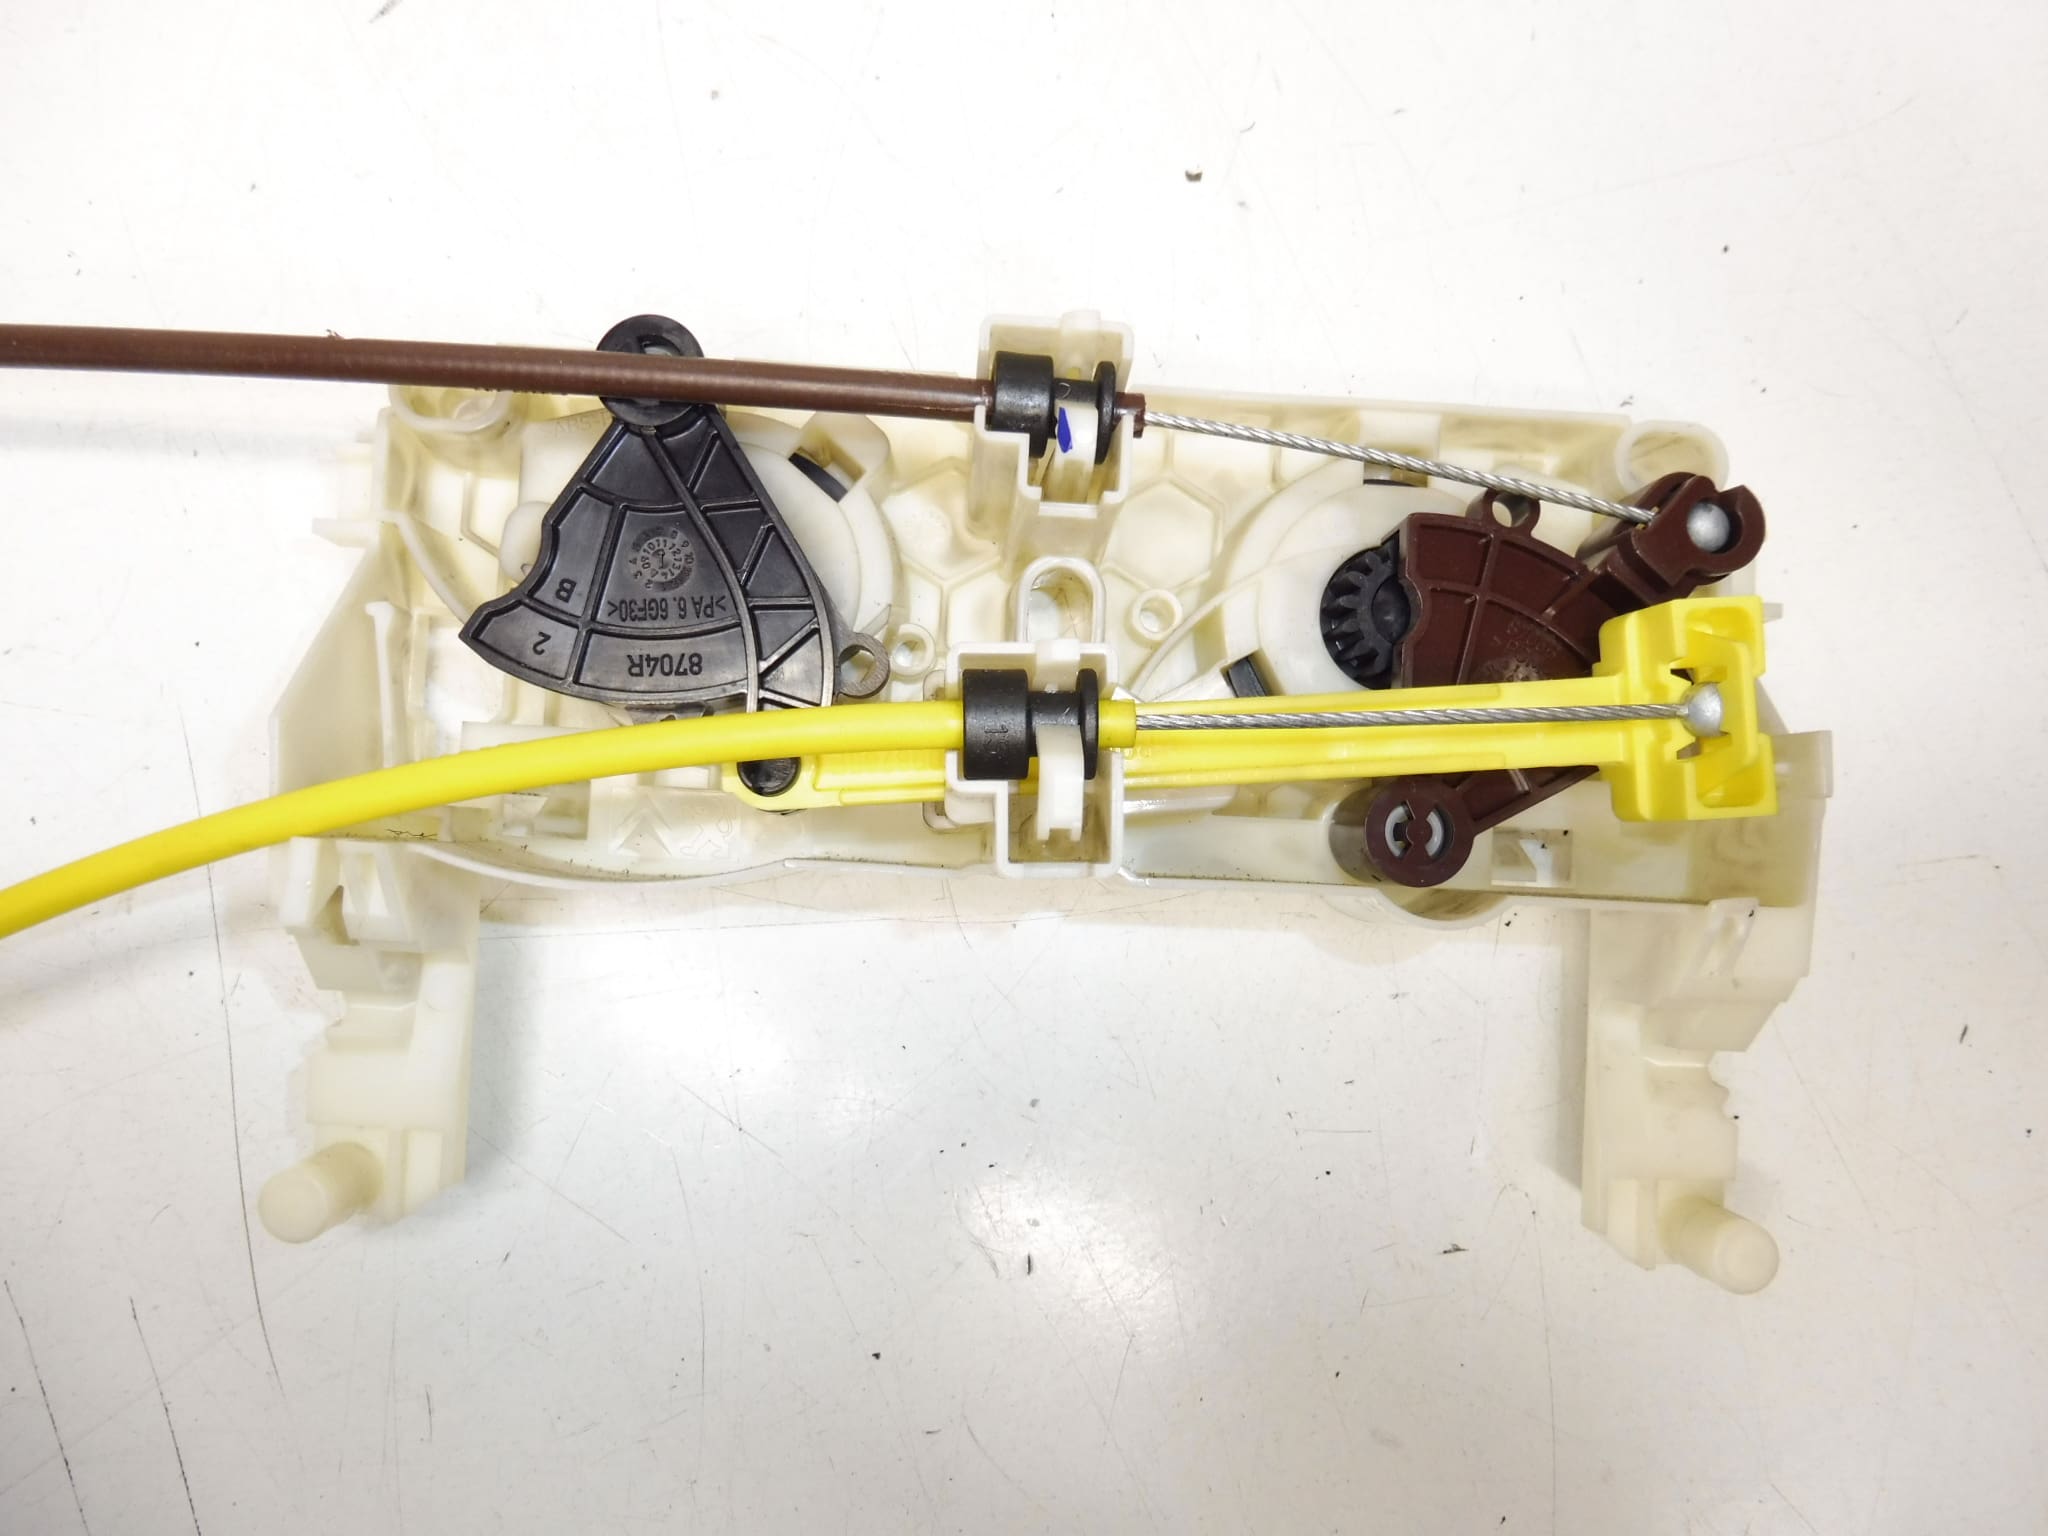
With control cables
Part description
This air conditioning and heating control is intended for Citroën C4 II / C4 B7 cars. It is a used original part from the Stellantis Citroën Peugeot group, which is suitable as a replacement for a malfunctioning, worn or mechanically damaged heating and ventilation control panel.
The part is equipped with control cables, which is important information when choosing the right design. When searching, this car part is often searched for by production numbers, so we recommend paying particular attention to the markings listed below. For auto mechanics and home repairs, it is an advantage that it is a specifically identifiable part with clearly traceable codes.
Technical information
- Manufacturer: Stellantis Citroën Peugeot
- Model: Citroën C4 II, Citroën C4 B7
- Other numbers: T1008542J, 6452V9, 6452W1
Product codes
- Product codes: T1008542J, 6452V9, 6452W1
- Model names: Citroen C4 II
Installation recommendations
Generally/typically for this type of part, the exact replacement procedure may vary depending on the specific design of the dashboard and control system in the car. With the heating and air conditioning control panel with cables, it is important to proceed carefully so as not to damage the plastic handles, connectors or the cables themselves.
1) Before assembly
- Check that all part numbers and connector designs match.
- Compare the new and original piece visually: panel shape, mounting, controls and cable connections.
- Check the condition of plastic parts, handles, pull rods and control mechanisms.
- Make sure the controls move smoothly and without excessive resistance.
2) Necessary tools and materials
- A common set of hand tools
- Plastic pry bar for panel removal
- Screwdrivers or bits according to the type of connecting material
- Flashlight
- Cleaning agent for plastic and electrical connections
- Protective gloves
3) Step-by-step assembly procedure
- Turn off the ignition and secure the vehicle against movement.
- Carefully remove the relevant dashboard trim or center section of the interior to gain access to the control panel.
- Unfasten the fasteners of the original control.
- Extend the panel only enough to allow safe access to the connectors and cables.
- Disconnect the electrical connectors without using excessive force.
- Carefully disconnect the control cables and note their position and attachment method.
- Compare the dismantled part with the spare part, especially the attachment points and the movement paths of the controls.
- Connect the wires to the replacement part in the same order as they were on the original panel.
- Plug in the electrical connectors and check that they are properly seated.
- Place the panel in place and fasten it without unnecessary pulling of the connecting material.
- Before reinstalling the trim, test the smooth operation of all controls.
- Reinstall the removed covers and interior trim.
-
4) Post-assembly checks and functional test verification
- Check that all controls move smoothly and without stuttering.
- Verify the response of heating, ventilation and air conditioning to changes in settings.
- Check that the panel fits properly in the dashboard and that there is no play or noise.
- After a short run, recheck the fit and function of the controls.
5) The most common assembly mistakes + how to avoid them
- Conversion of cables or their incorrect attachment – mark their position before disassembly.
- Damage to plastic latches – use appropriate plastic removal tools.
- Insufficiently seated connector – always check that it is firmly seated after connecting.
- Assembly without comparing the old and new part – always check the numbers and design.
- Force manipulation of the controls – for the stiffener mechanism, first check the correct routing and attachment of the cables.
Reasons why the part is damaged
- Normal mechanical wear from long-term use of controllers.
- Damage to the control cables or their attachment, which can increase the resistance during control.
- Crack or fatigue of plastic parts and latches.
- Excessive force during operation, especially if the mechanism does not run freely.
- Contamination of the internal mechanism or long-term load from interior temperature fluctuations.
- Damage due to unprofessional disassembly or previous repair.