Description
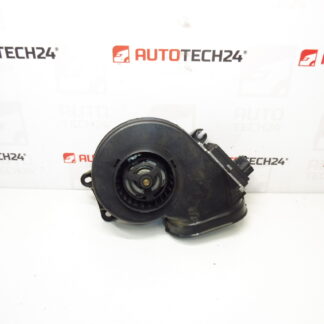
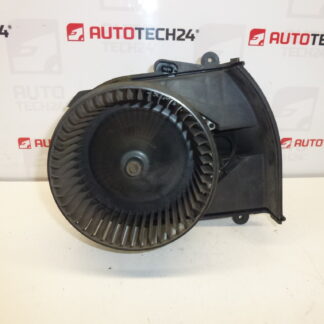
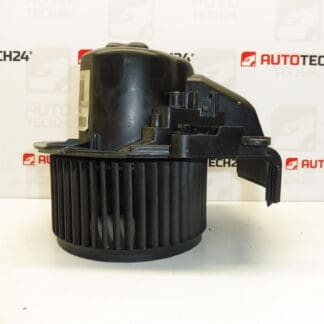
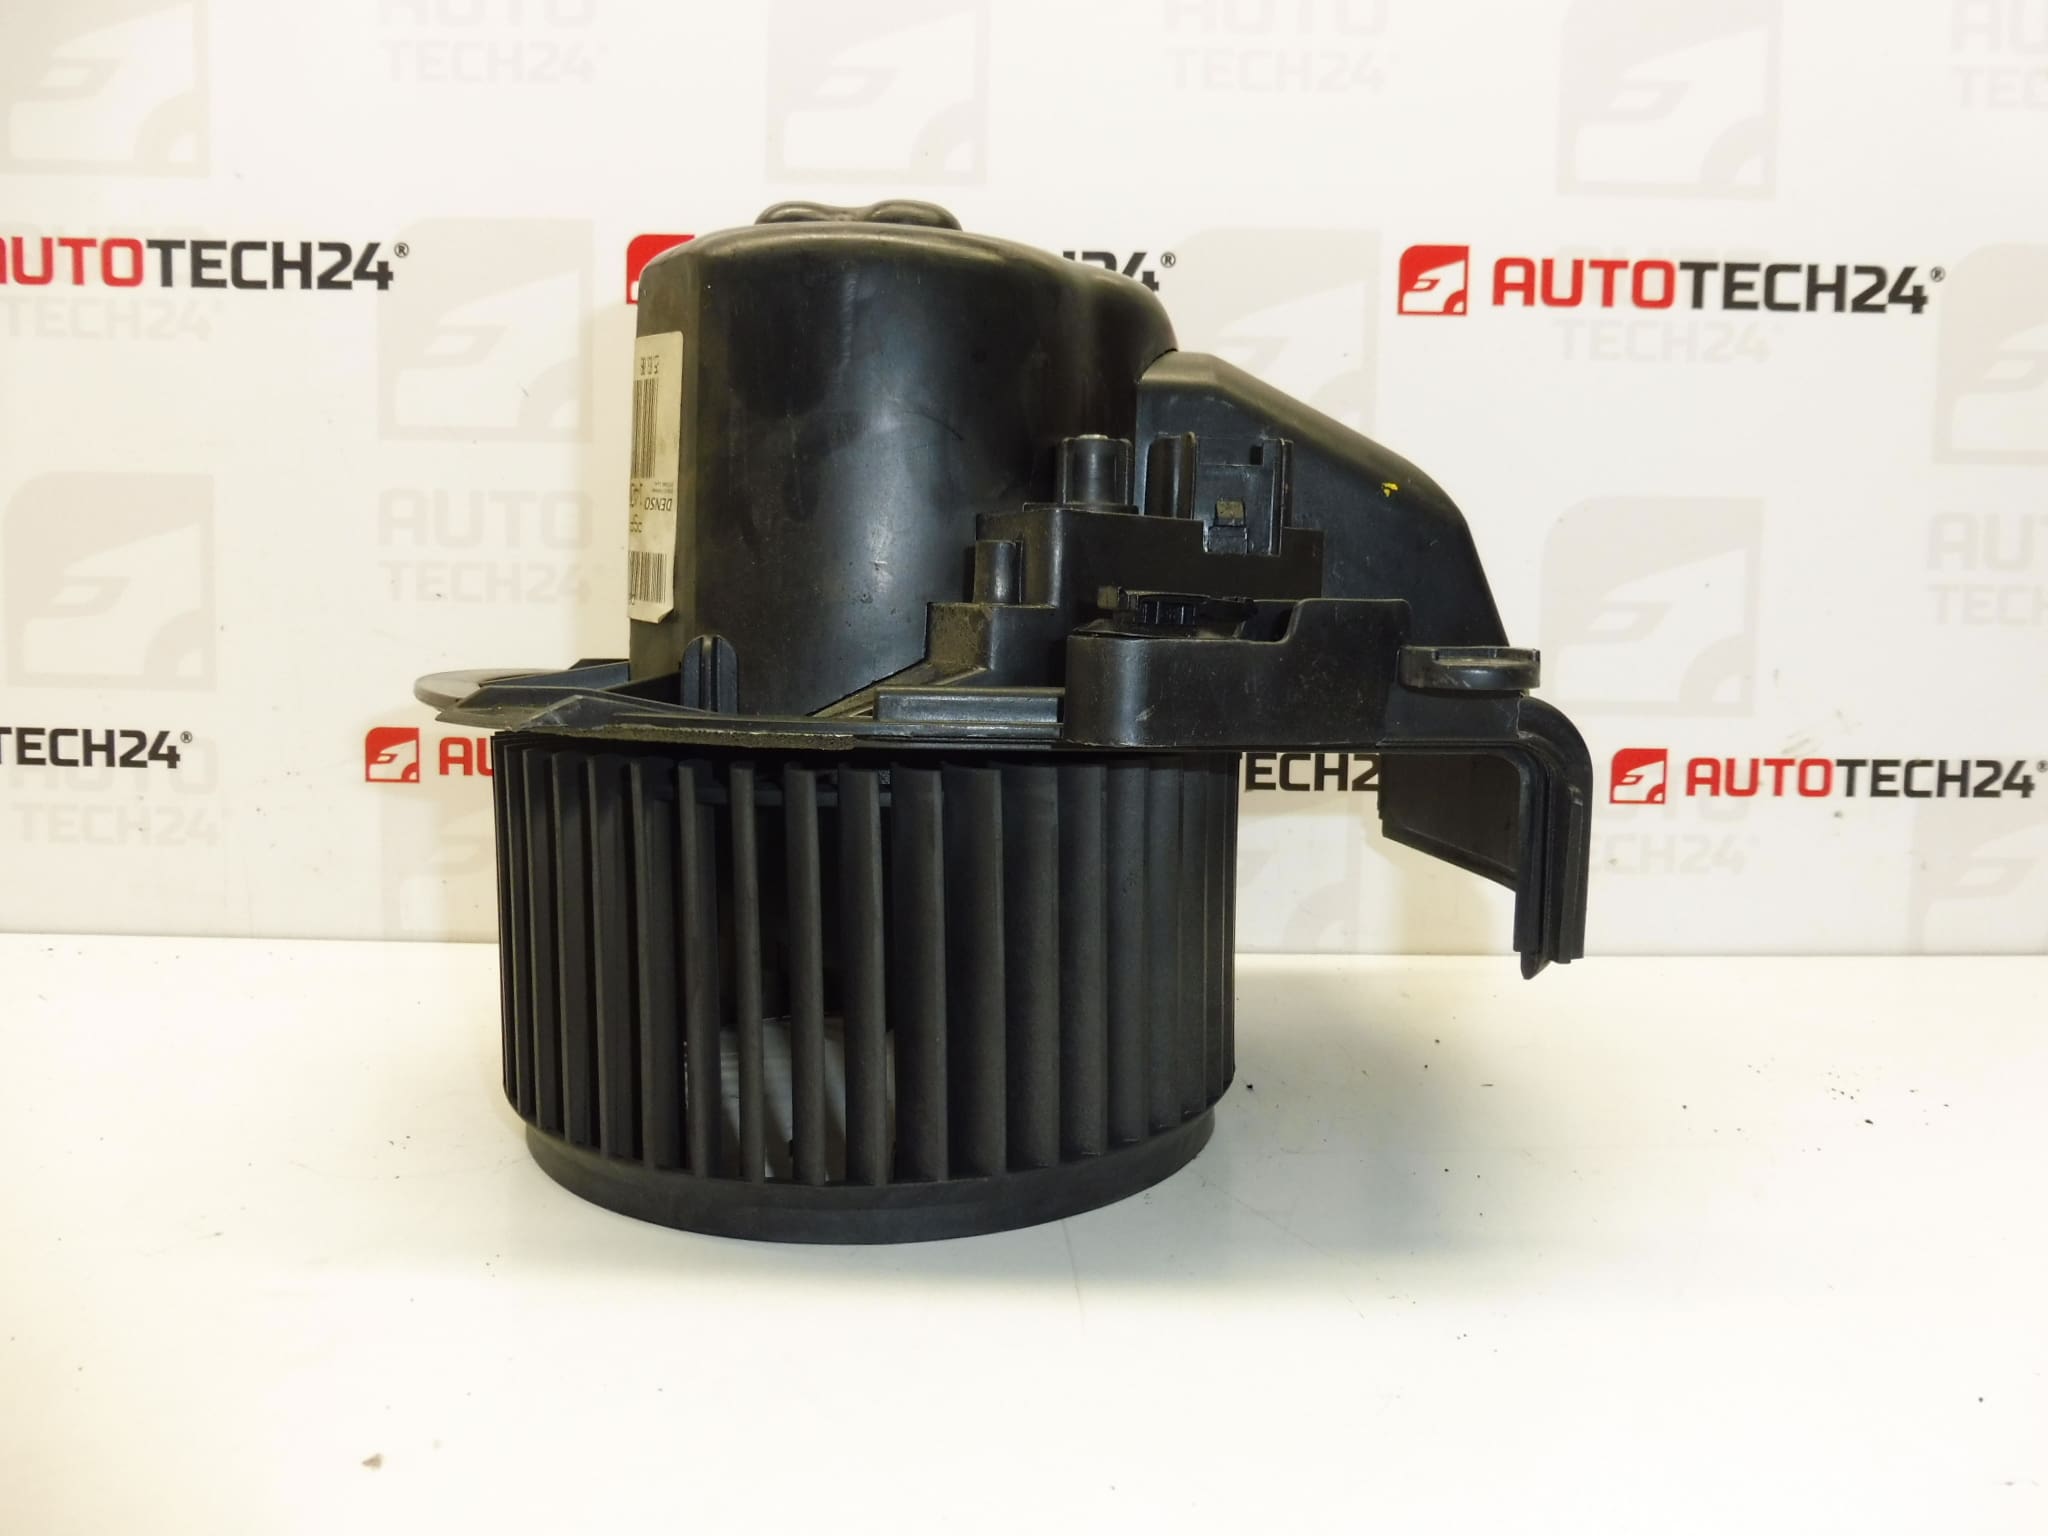
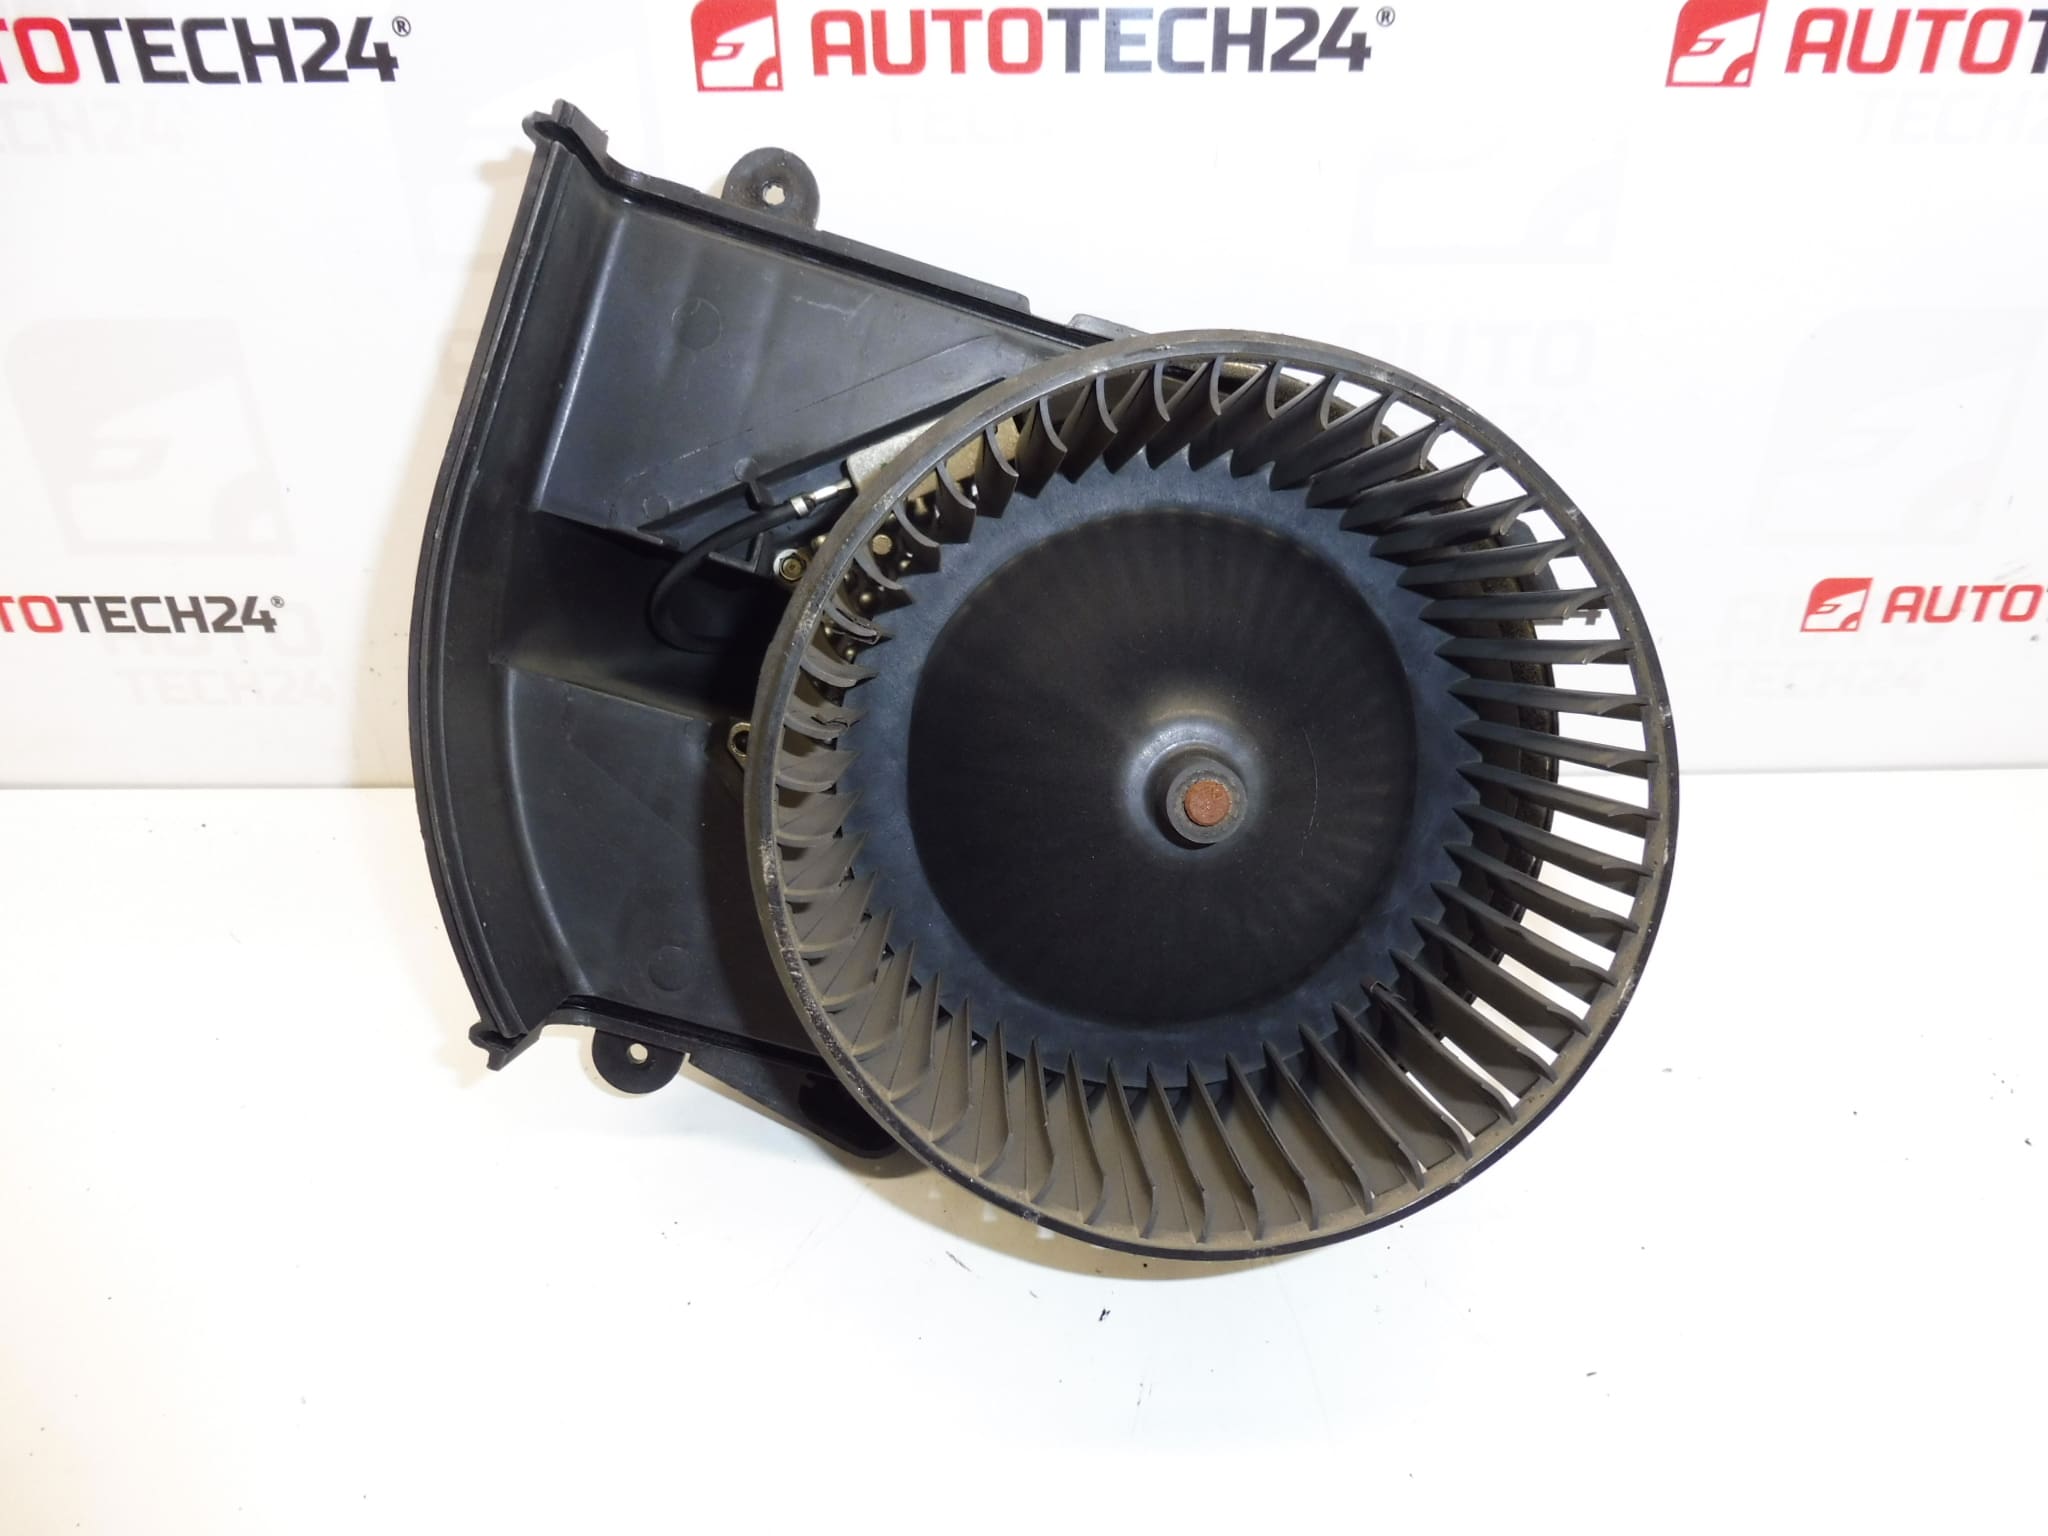
Air fan for CITROEN C8 and PEUGEOT 807
Part description
This air fan (heating/air conditioning fan) is designed for Citroën C8 and Peugeot 807 cars. It serves to ensure air flow through the heating and air conditioning system, thanks to which the blower and cabin heating work as they should. In the event of a malfunction, it is typically manifested by weak or irregular air flow, fluctuating fan power, or a complete failure.
This is a used part suitable as a quick and reasonably priced replacement, especially if you are looking for a part by a specific part number.
Technical information
- Manufacturer: Stellantis (Citroën / Peugeot)
- Model: Citroën C8, Peugeot 807
- Other numbers: 1499032080, 6441T9, 6441Y5
Product codes
- Product codes: 1400970280, 1499032080, 6441T9, 6441Y5
Installation recommendations
Generally/typically for replacing the heater/air conditioning fan on PSA cars, the exact procedure may vary depending on the equipment and design of the vehicle. Below is a practical general procedure for this type of part.
1) Before assembly (checks of used part)
- Compare the part codes (especially 1400970280 / 6441T9) with the old part.
- Check the compatibility of the connector (shape, number of pins, securing) and attachment.
- Visually check whether the impeller (turbine) rotates freely and does not rub anywhere.
- Check for cracks in the plastic parts, damaged bed/bearing or broken threads/mounts.
2) Necessary tools and materials
- Basic set of bits and sockets, screwdrivers
- Plastic pry bar for removing upholstery/covers (to minimize damage)
- Flashlight
- Contact cleaner (optional) and cloth
3) Step-by-step assembly procedure
- Turn off the ignition and disconnect the battery for safety.
- Get access to the fan by removing the necessary covers/paneling (according to the specific car design).
- Disconnect the electrical connector of the fan (release the connector lock, do not pull on the cables).
- Remove the fan fasteners (screws/latches according to design).
- Carefully remove the fan from the body so as not to damage the surrounding plastic parts.
- Check the area and, if necessary, remove debris (leaves, dust) that could cause noise or overload.
- Insert the new (used) fan in the correct position and seat it without force.
- Secure the fan with fasteners.
- Connect the electrical connector; if necessary, treat the contacts with a cleaner and check for firm seating.
- Reinstall all removed covers/trims.
- Connect the battery.
- Test fan operation at different speeds and check for unusual noises.
-
4) Post-assembly checks and test drive/function verification
- Verify the smooth change of revolutions and stable operation without vibration and whistling.
- Check that the fan does not fall out during shocks (contact/connector).
- After a short ride, listen again for friction or resonance.
5) The most common assembly mistakes + how to avoid them
- Connector replacement / incomplete snapping → always check the connector lock and secure fit.
- Forced seating outside the correct position → the fan must sit naturally; if it cannot be inserted, look for an obstacle or wrong rotation.
- Unremoved impurities in the body → clean the space, otherwise noise and overload may return.
- Cabling damage during disassembly → do not manipulate by pulling on the wires, use plastic pryers.
Reasons why the part is damaged
- Clogging with dirt (dust, leaves) → higher resistance, noise, fan motor overload.
- Bearing wear/storage → whistling, vibration, gradual loss of power up to seizing.
- Long-term operation at high performance → faster wear and heating.
- Electrical problems in the power supply (bad contact, connector oxidation) → blackouts, speed fluctuations.
- Moisture penetration → corrosion of contacts and deterioration of the function of the electrical part.