Description
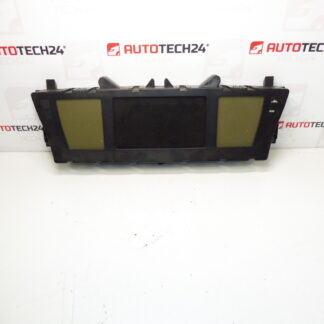
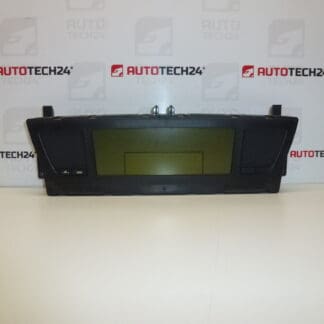
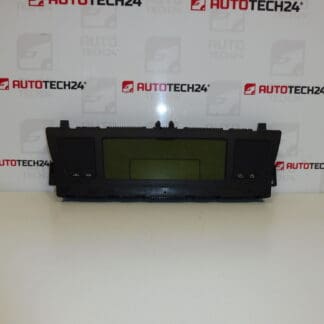
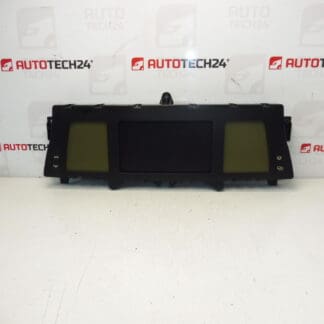
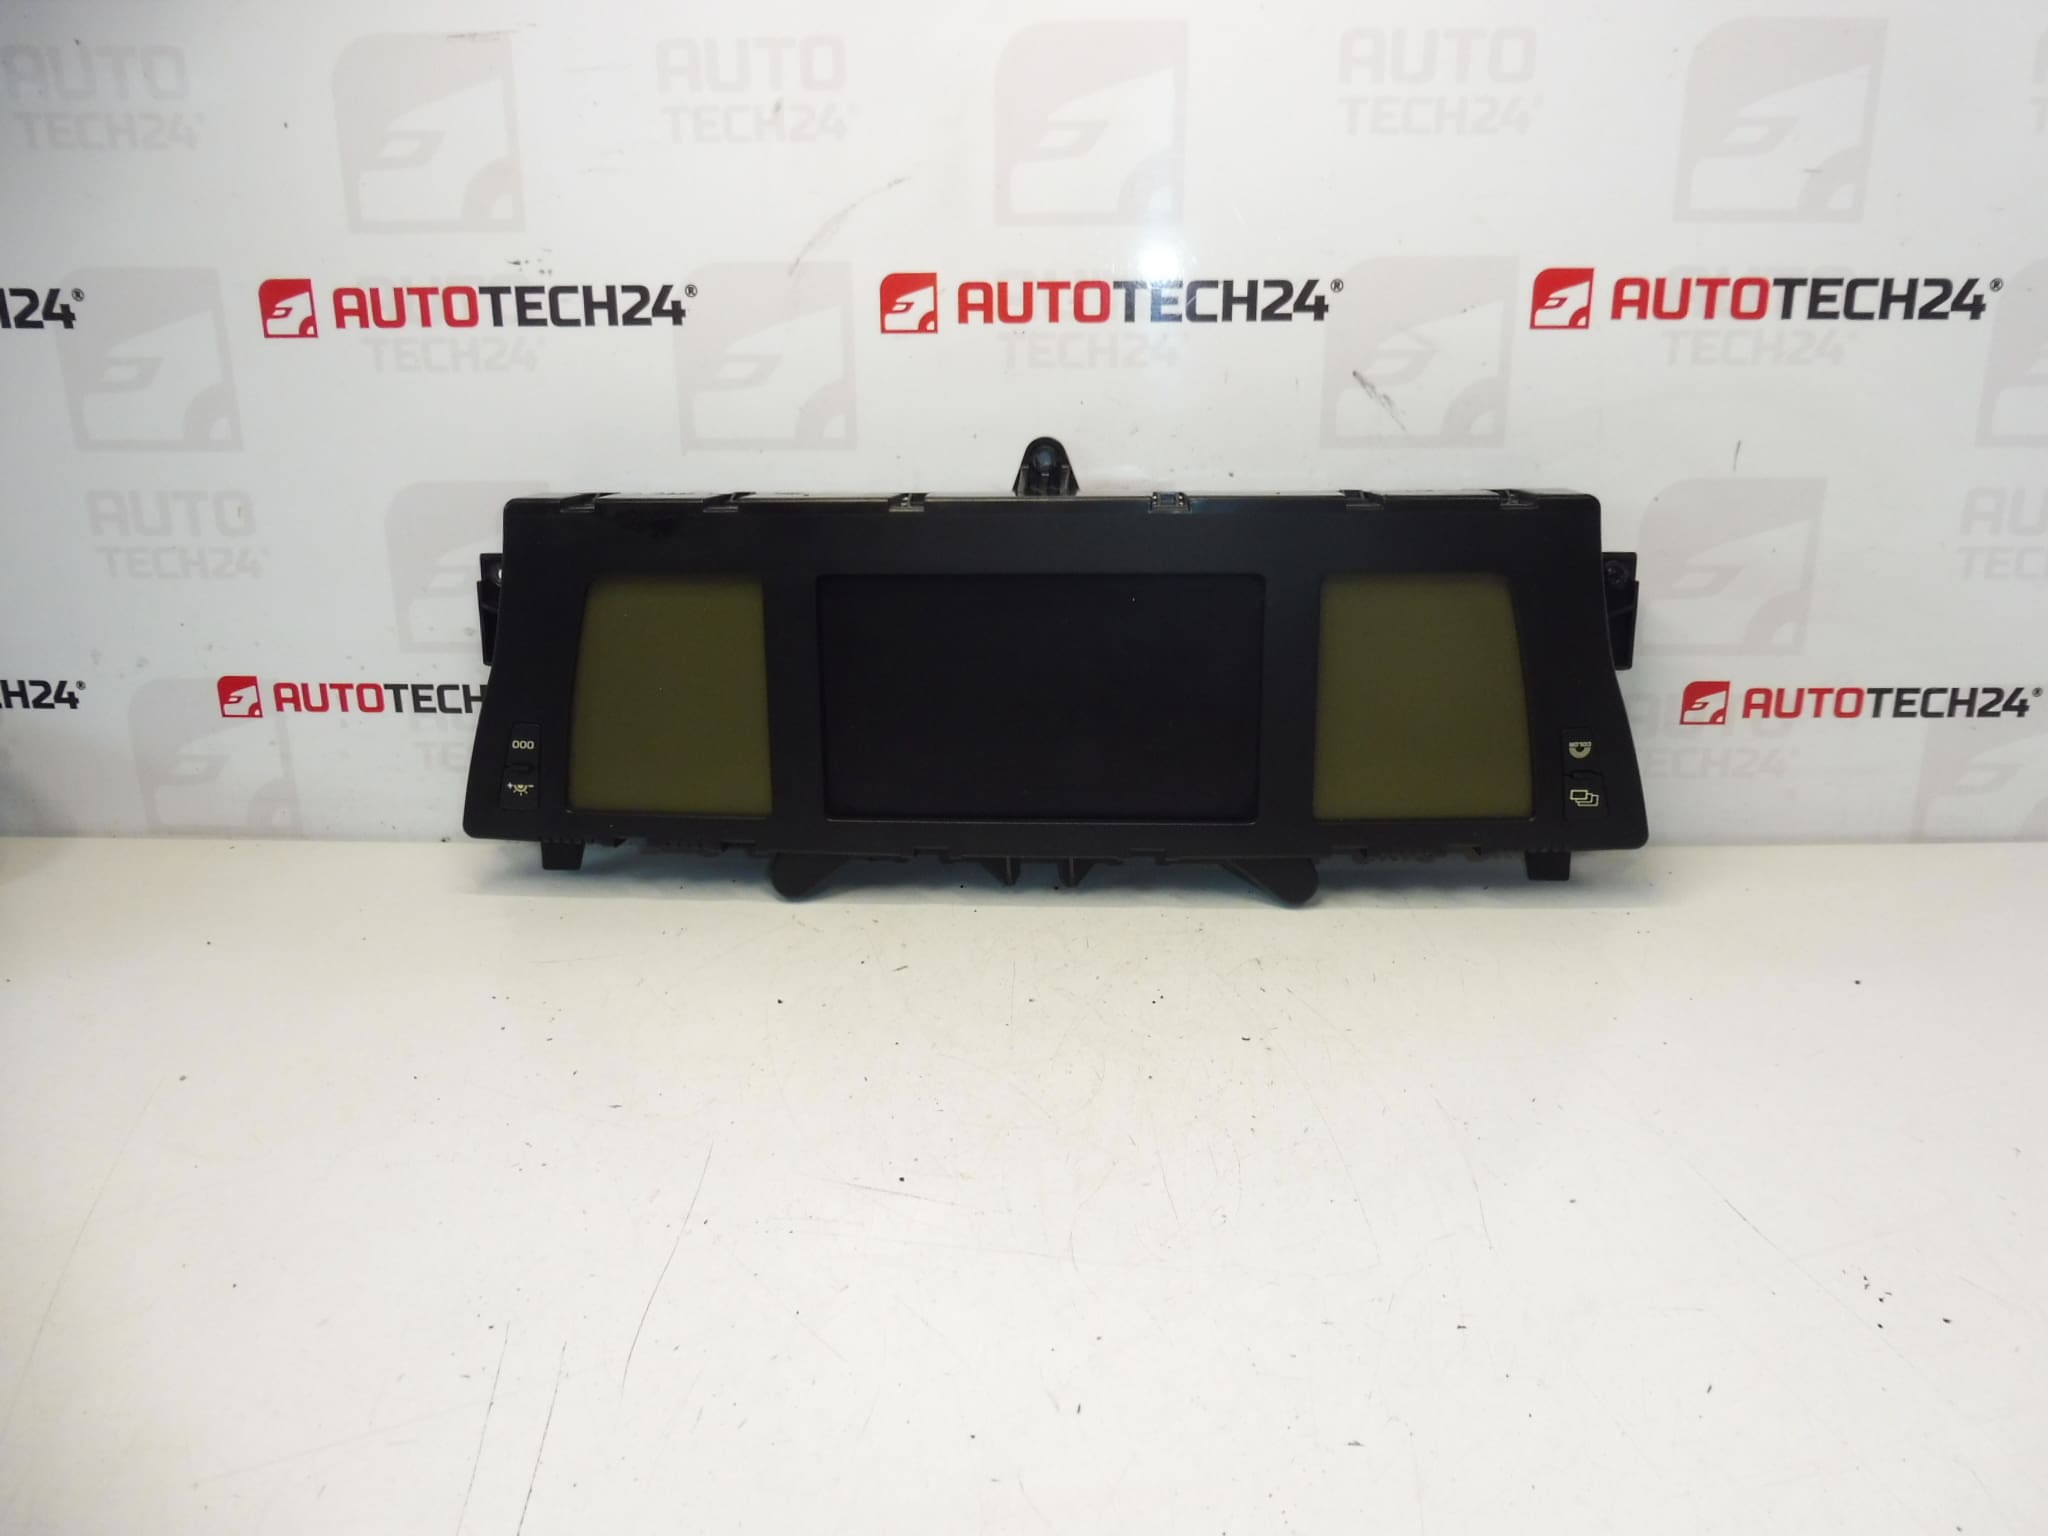
Instrument Cluster With Navigation For Citroën C4 Picasso And Grand Picasso Up To 2013. Mileage Approx. 152,000 Km.
This used instrument cluster with integrated navigation is a direct fit for Citroën C4 Picasso and Grand Picasso models up to 2013. It combines speedometer, tachometer, odometer and multifunction display with built-in navigation interface, making it a complete dashboard solution when replacing a damaged or non-functioning cluster. Ideal for professional workshops and experienced DIYers who search by part number (see Technical Information below).
Key Features
– Complete instrument cluster assembly including analog/digital gauges and navigation display.
– Displays: Speedometer, Tachometer, Odometer, Fuel Gauge, Warning Lights and Onboard Navigation Readout.
– Direct OEM fitment for the listed models and part numbers; plug-in connectors match factory harnesses physically, but electronic adaptation may be required.
– Suitable for mechanics and skilled self-repairers looking for a cost-effective replacement part.
Technical Information
- Manufacturer: Stellantis (Citroën / Peugeot)
- Model: Citroën C4 Picasso / Grand Picasso (Up To 2013)
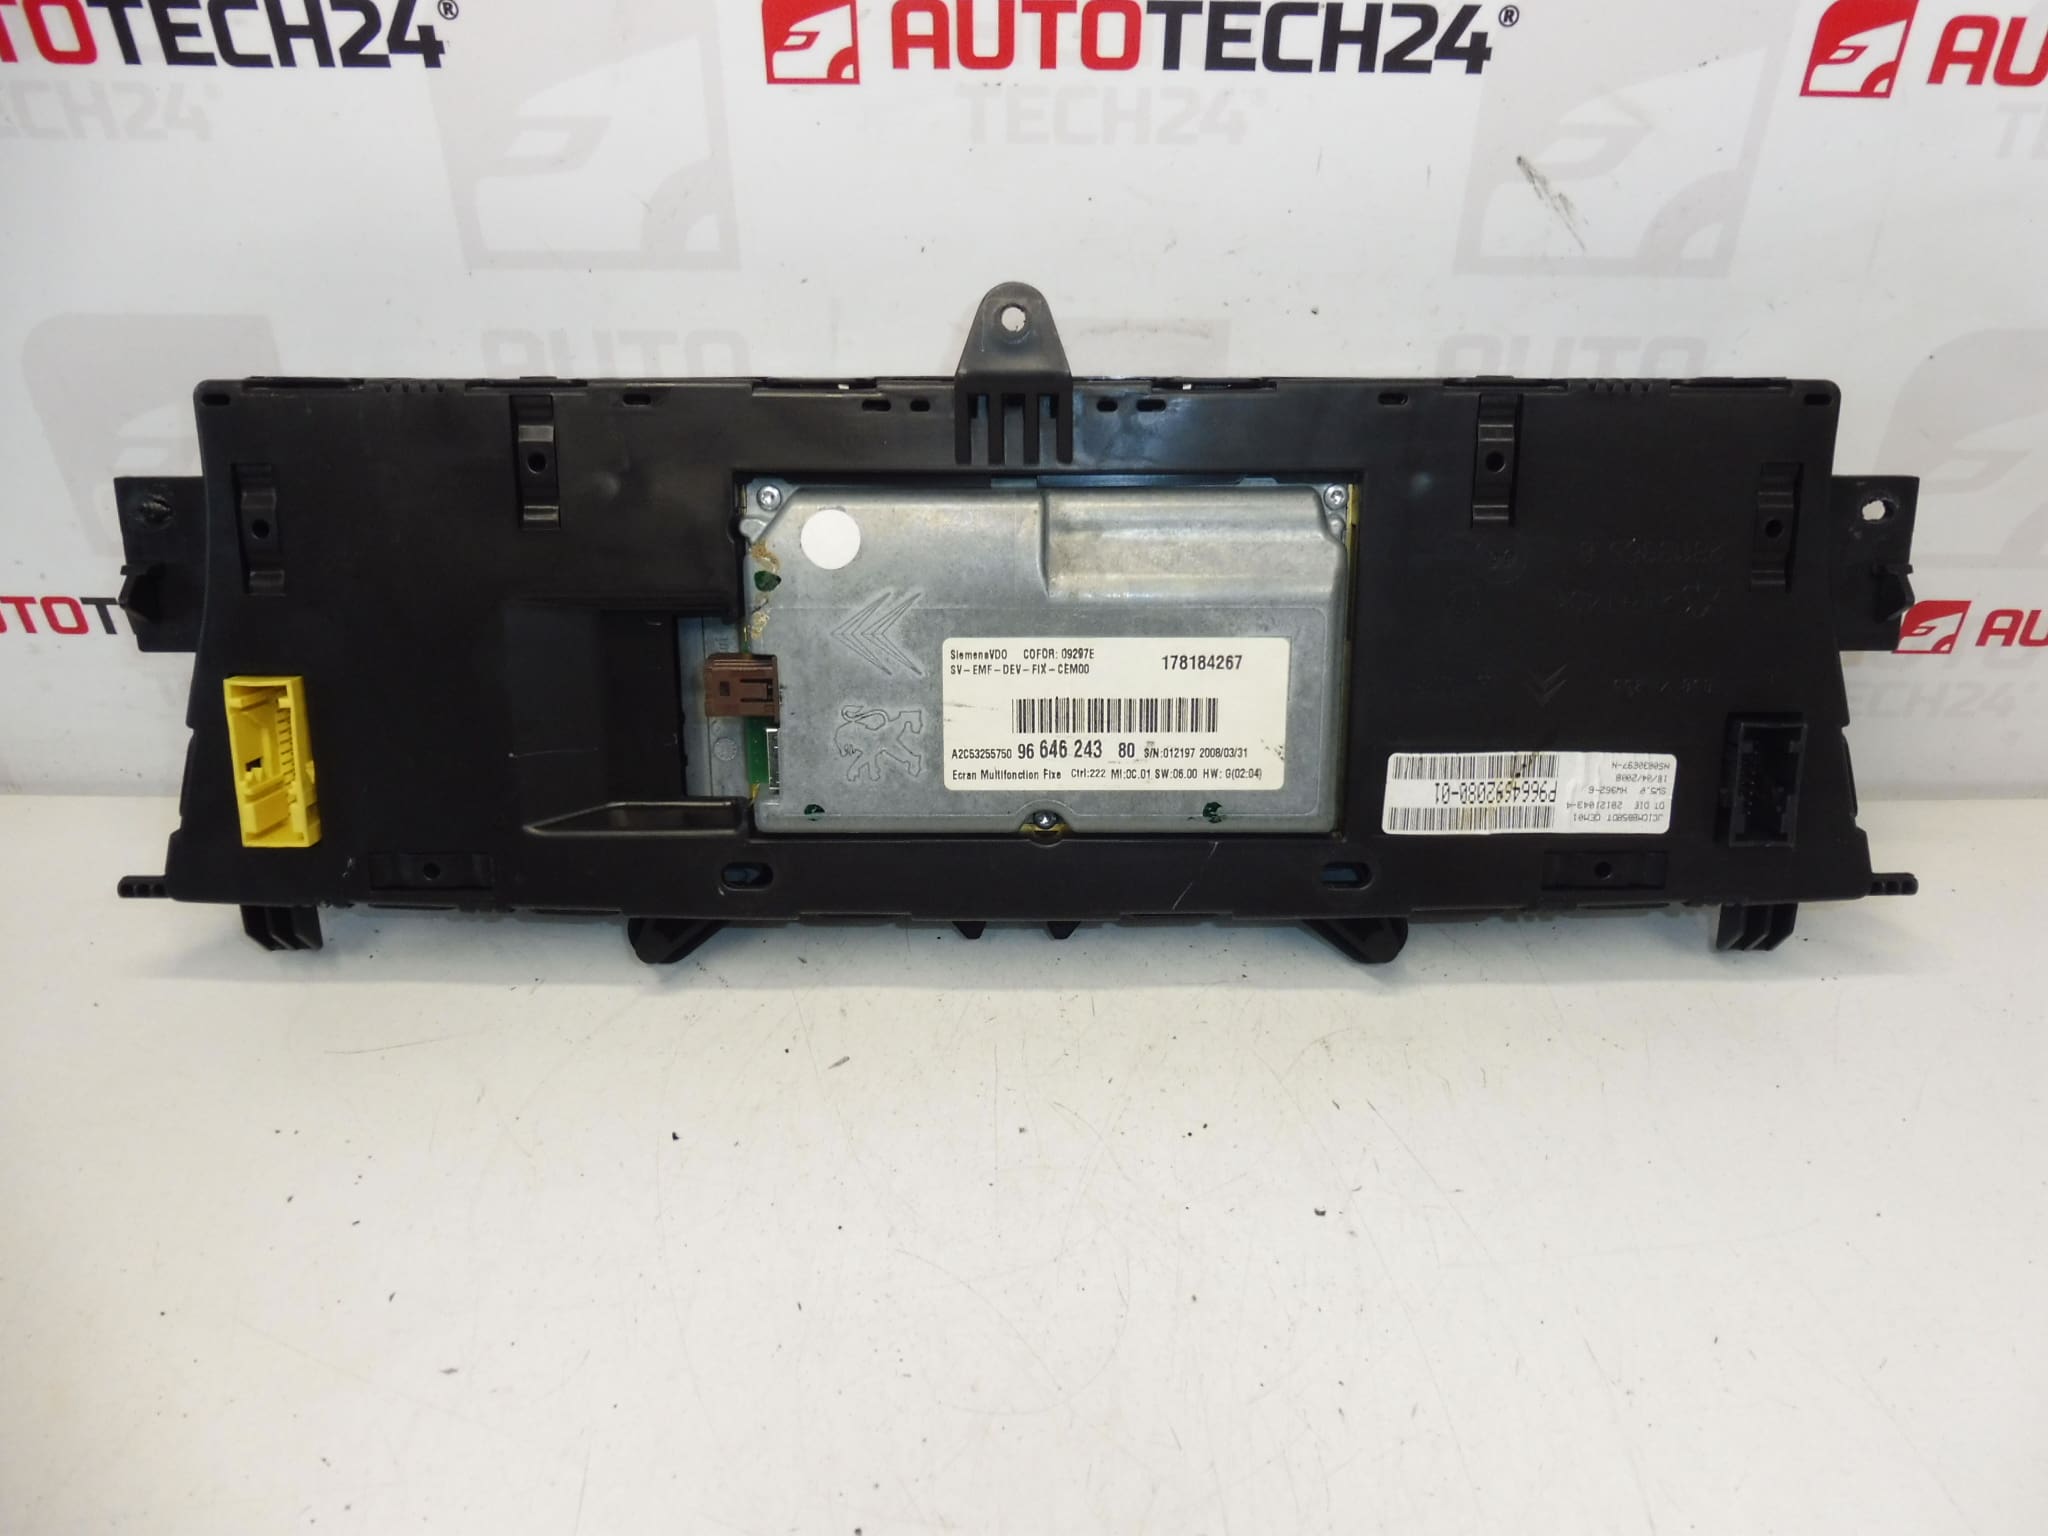
- Product Codes: P9664692080-01, 9664692080, 9664624380
- Other Numbers: 6103W1, NFP
Installation Recommendations
- Always disconnect the battery before starting work to avoid short circuits and airbag system faults.
- Remove trim panels carefully to access the cluster; keep screws and fasteners organised.
- Unplug connectors gently—avoid pulling on wiring. Inspect connector pins for corrosion or damage before installation.
- After mechanical installation, perform electronic adaptation/coding where required. Some clusters may need configuration to match immobilizer, mileage and vehicle options.
- For coding and advanced adaptation use compatible PSA diagnostic tools (DiagBox/Lexia/PP2000) or have the procedure carried out by a qualified technician.
- Handle the unit with care to prevent ESD damage and avoid exposure to moisture.
How The Part Is Replaced
Typical replacement steps: disconnect battery; remove lower dash trim and instrument surround; unscrew and withdraw the cluster; disconnect electrical connectors; fit the replacement cluster, reconnect connectors and screws; reconnect battery; run diagnostic checks and perform any required coding/adaptation. Allow time for calibration of displays and confirmation of warning lamp behaviour.
Why This Part Typically Fails
Instrument clusters commonly develop faults due to age and wear: fatigue of solder joints on circuit boards, failing stepper motors for analogue gauges, degraded capacitors or backlight LEDs, connector corrosion and occasional water ingress. Electrical surges or interrupted power during vehicle battery work can also cause electronic faults. Symptoms include flickering or blank displays, erratic gauge readings and loss of navigation or warning indicators.
Notes For Buyers
This unit is listed with the part numbers above and is intended for vehicles matching those codes. The mileage shown on the unit at removal was approximately 152,000 km. Physical fitment is OEM-style, but electronic adaptation may be necessary to restore full vehicle compatibility and immobilizer functions.
Recommended For
Mechanics, auto electricians and experienced DIY enthusiasts repairing Citroën C4 Picasso and Grand Picasso dashboards who require an OEM-style instrument cluster with navigation and identified part numbers 9664692080 / 9664624380 / P9664692080-01.