Description
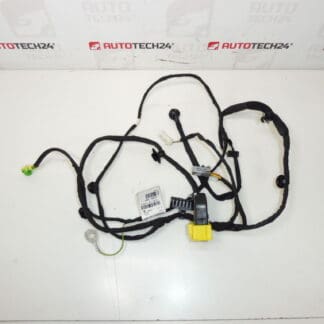
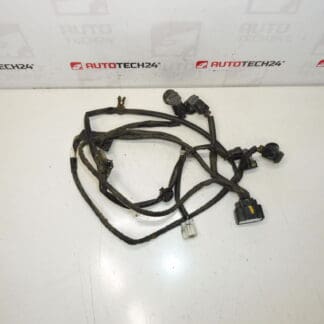
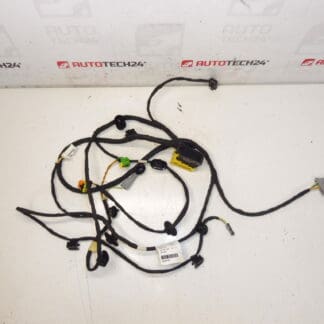
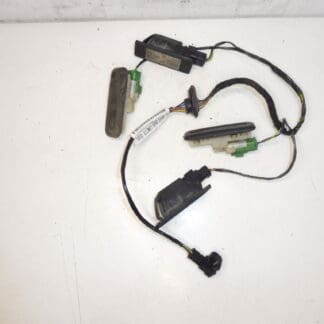
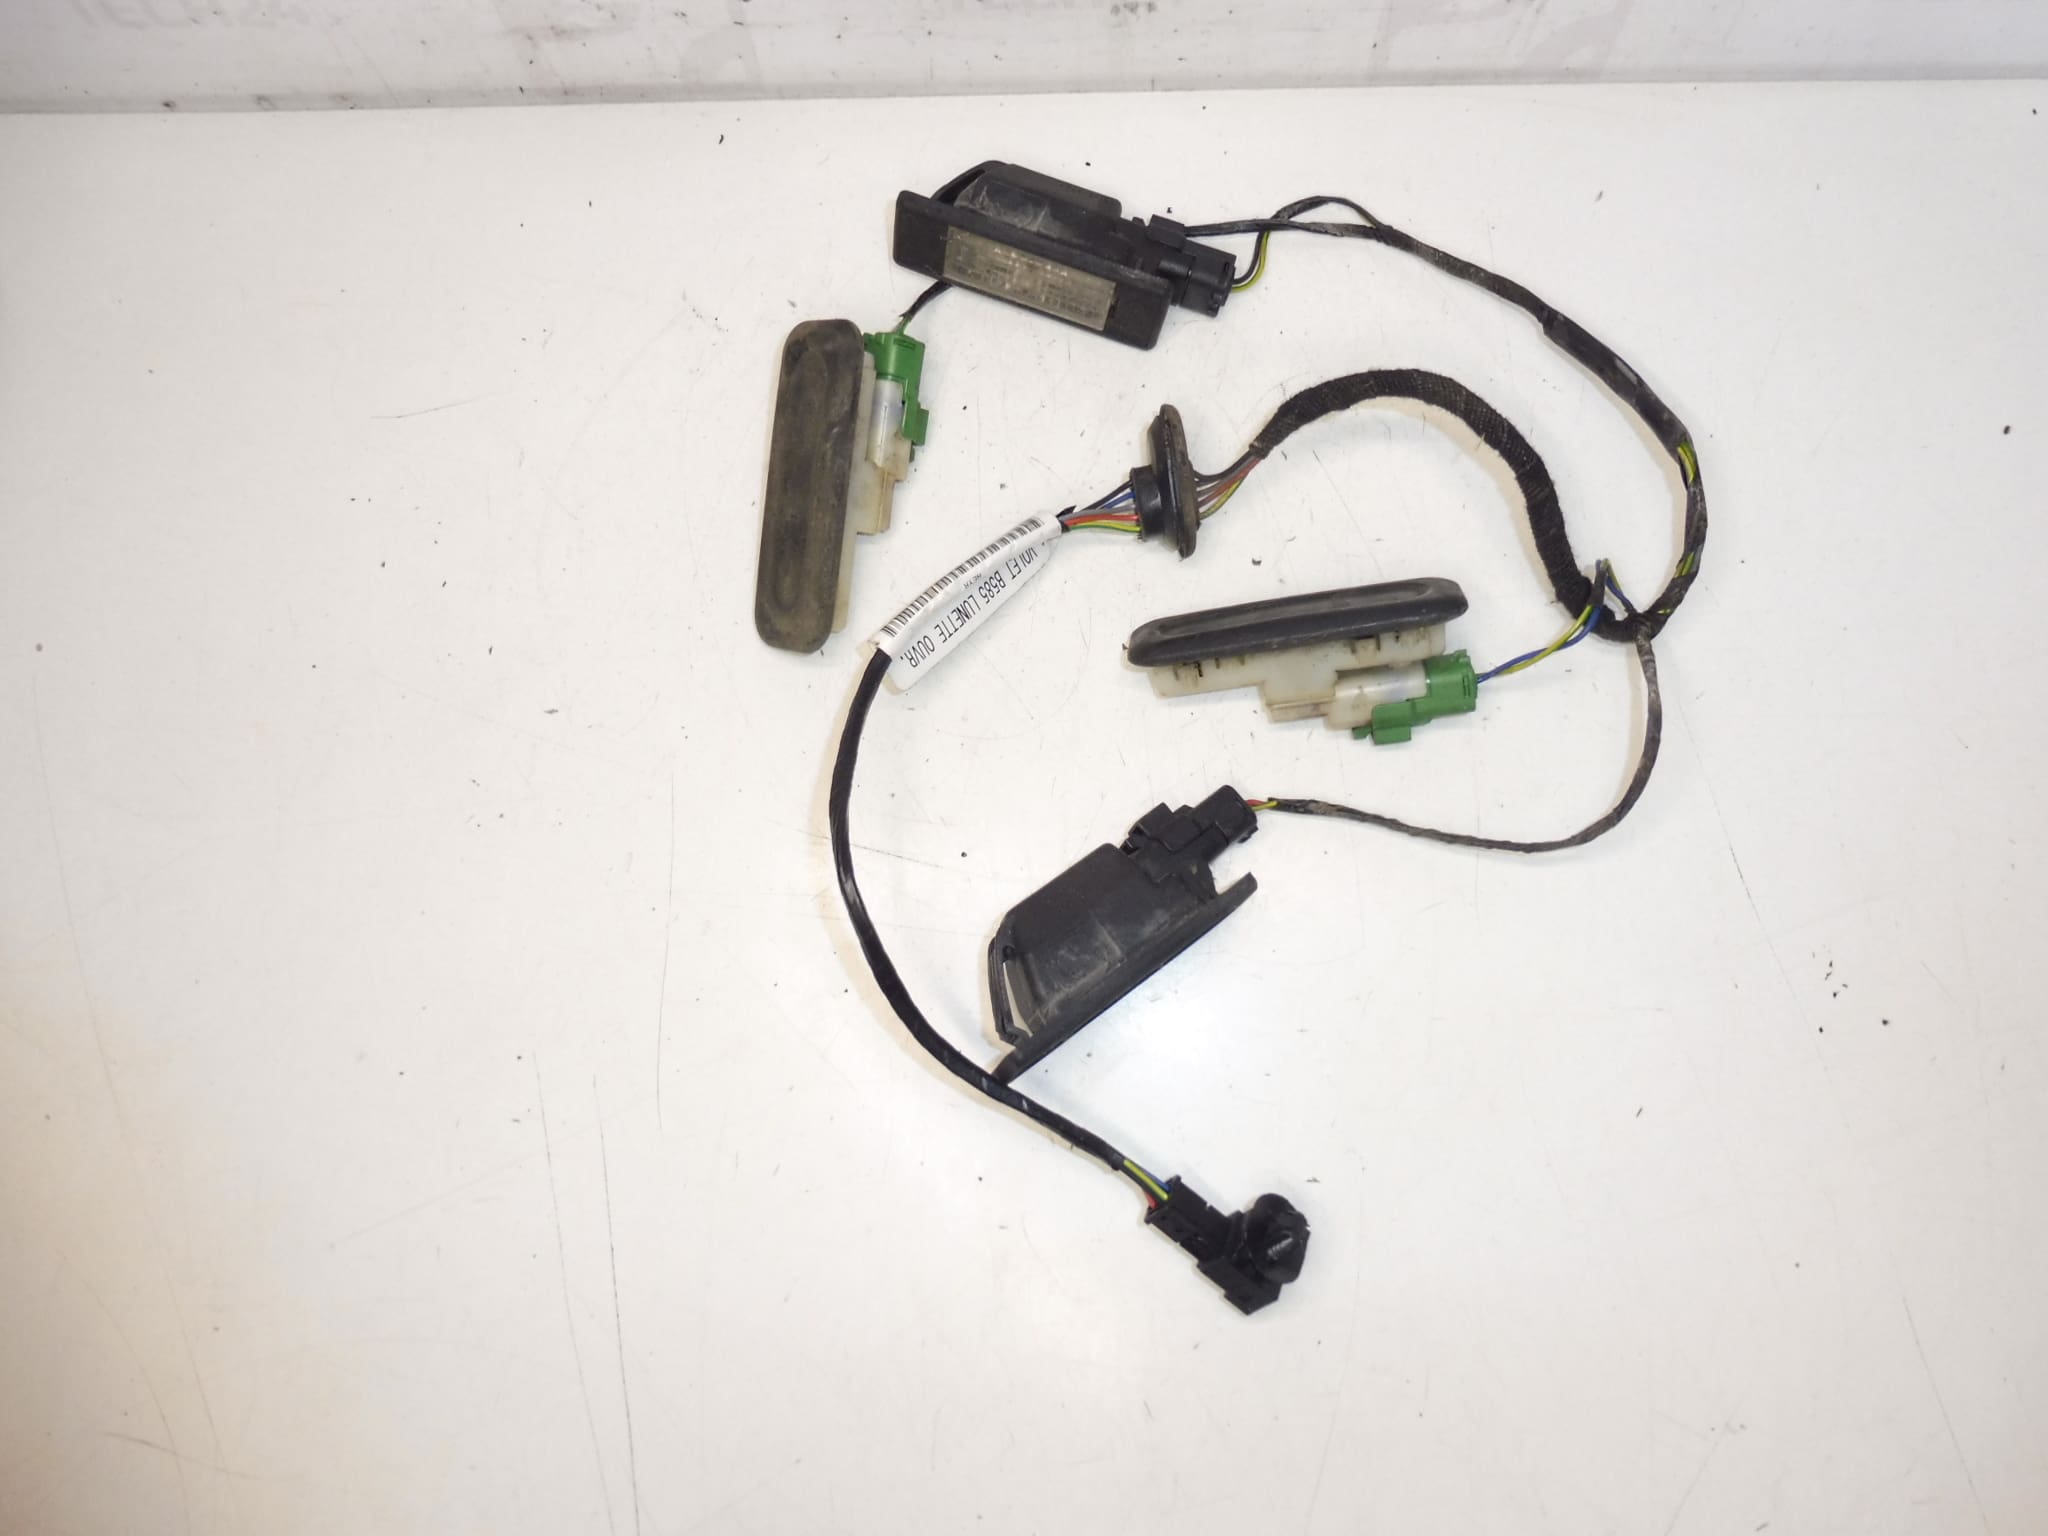
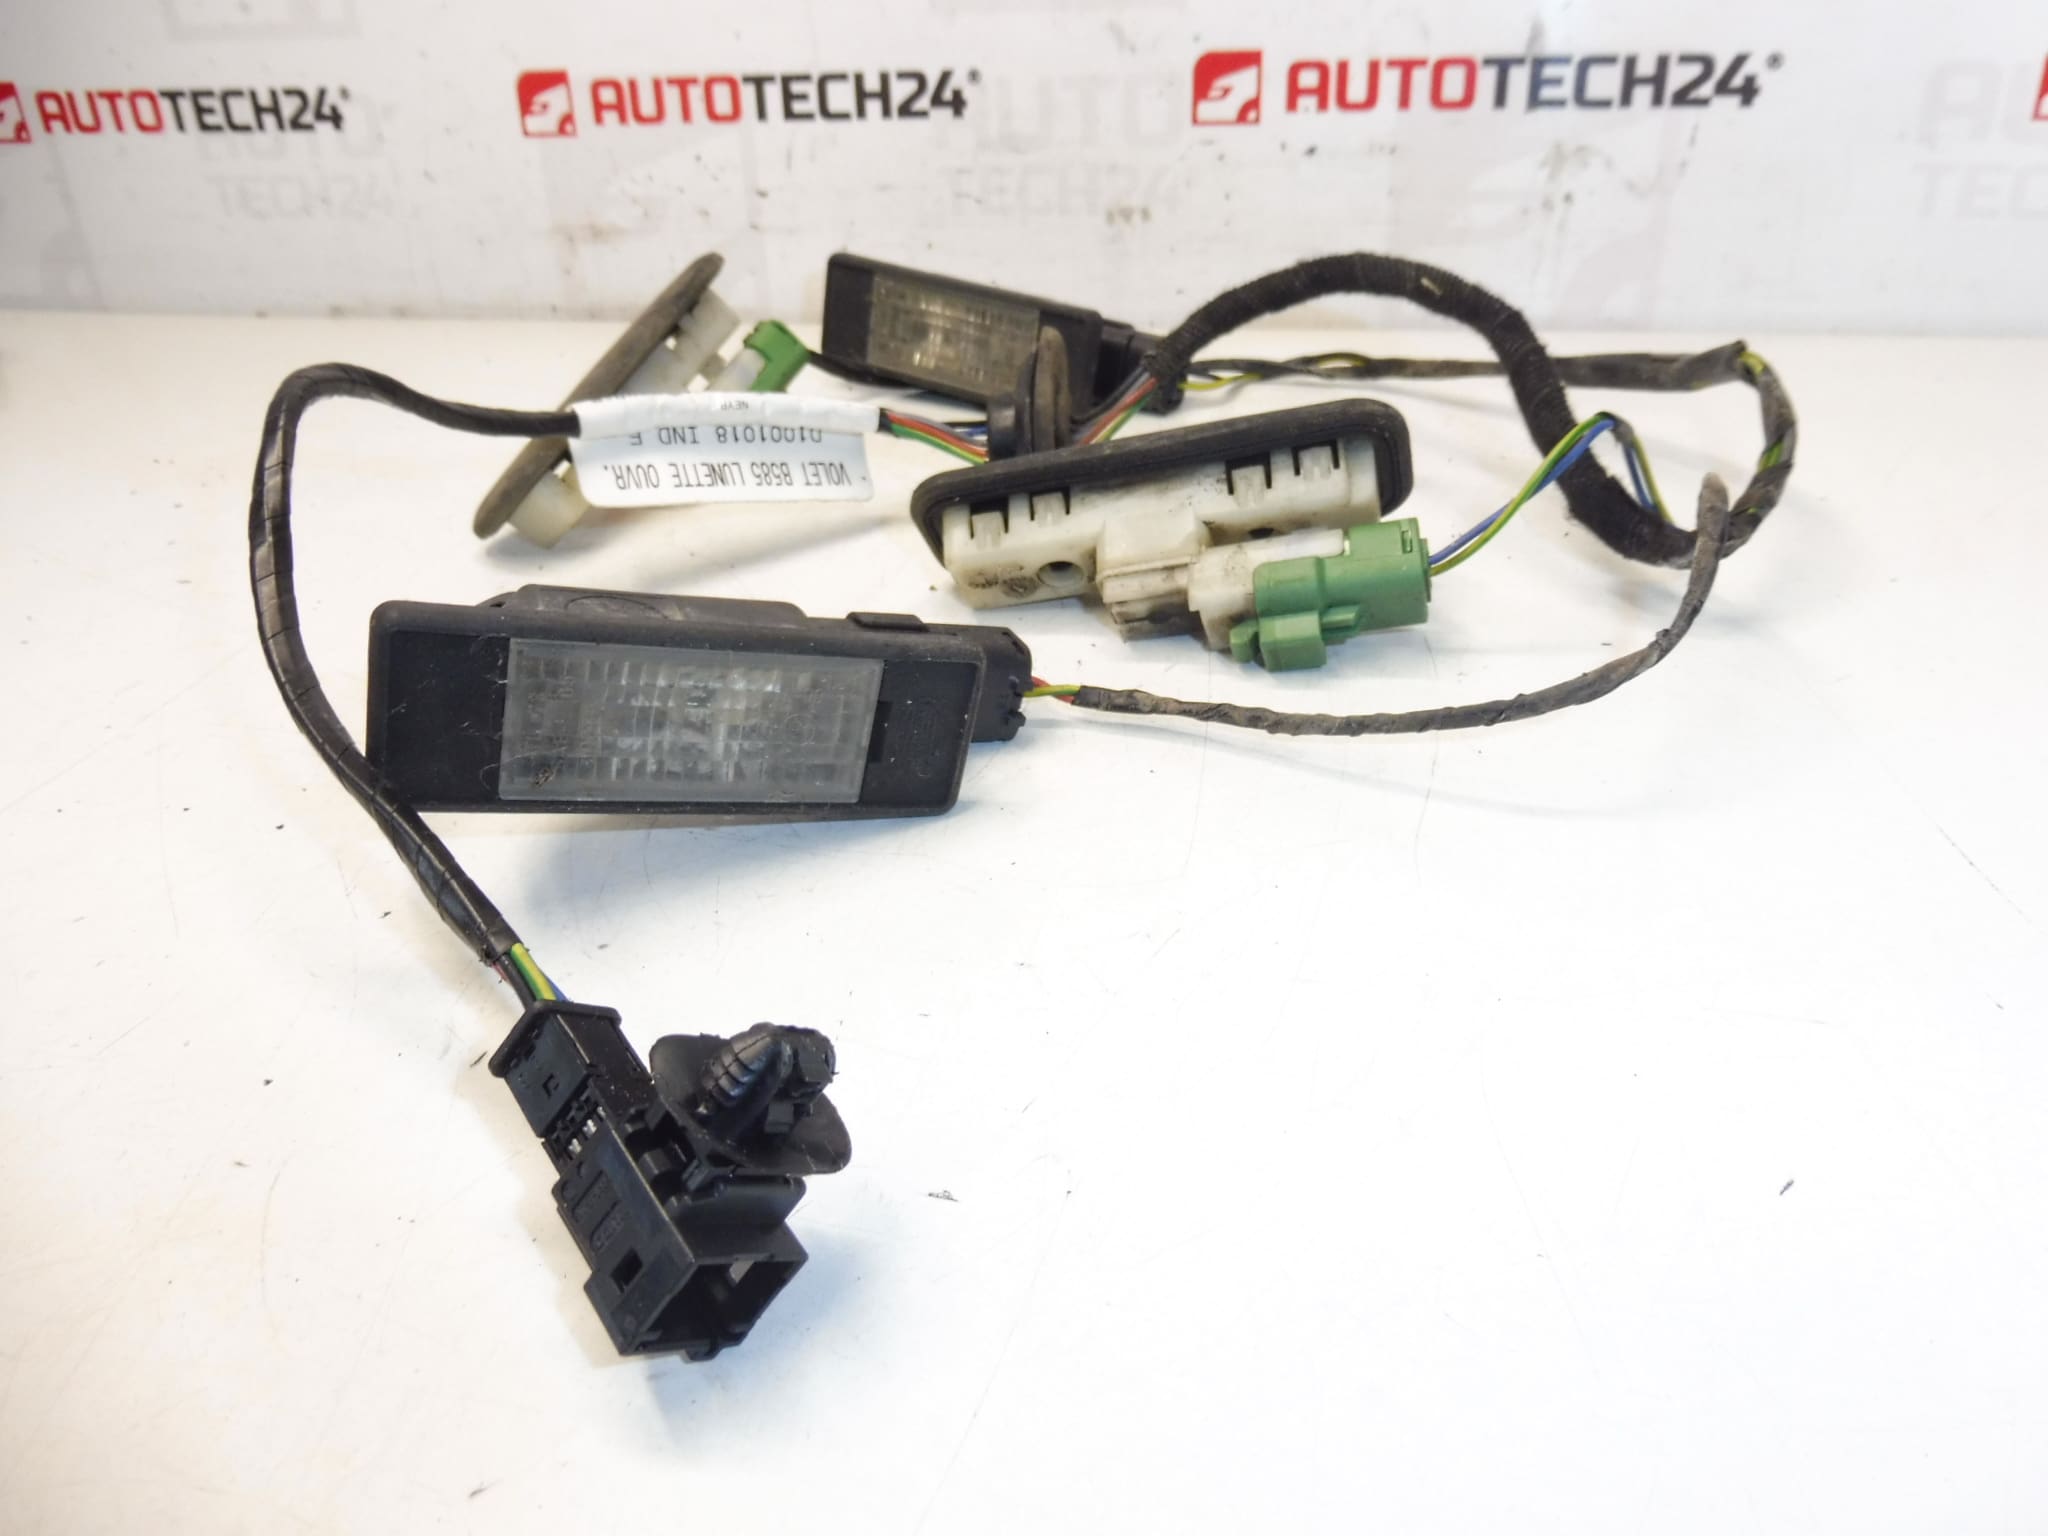
Rear tailgate wiring harness for Citroën C4 Picasso first series. With switches for the rear glass and tailgate and license plate illumination. With tilting rear window.
This genuine-style tailgate wiring harness is designed for the rear hatch of the Citroën C4 Picasso (first generation) and carries the original product references 9658919280 and 6534QZ. It supplies switches and lighting for the tailgate area and routes signals and power to rear hatch components. Ideal for professional workshops and DIY mechanics looking to restore reliable electrical function to the rear hatch, this harness helps eliminate intermittent faults caused by broken conductors or corroded connections.
Technical Information
- Manufacturer: Stellantis / Citroën
- Model: Citroën C4 Picasso (First Generation)
- Product Codes: 9658919280, 6534QZ
- Additional Numbers: 6534 QZ (alternate formatting)
Compatibility
Fits Citroën C4 Picasso first generation rear tailgate applications. Confirm compatibility by checking the part numbers 9658919280 or 6534QZ against the vehicle’s original harness label and the equipment fitted to the hatch (e.g., tilting rear window, license plate illumination).
Function
- Provides electrical connection for rear glass switches and tailgate locking/unlocking mechanisms.
- Supplies power to license plate illumination and other hatch-mounted lights.
- Routes signals for rear-hatch accessories depending on vehicle equipment (wiper, heated rear window, central locking, etc.).
Replacement Procedure
- Disconnect The Battery Before Work To Prevent Short Circuits And Protect Vehicle Electronics.
- Open The Tailgate And Remove Interior Trim Panels Carefully To Access The Harness And Connectors.
- Disconnect All Tailgate Electrical Connectors And Any Retaining Clips Or Grommets Securing The Harness.
- Feed The New Harness Through The Factory Grommet, Reroute Along Original Clips And Fasteners To Avoid Pinching.
- Reconnect All Plugs, Ensure Firm Seating, Reassemble Trim Panels And Reconnect The Battery.
- Test All Functions (Locks, Lights, Rear Window Switch, Wiper, Defogger) Before Final Assembly.
Installation Recommendations
- Always Disconnect The Battery Before Starting Work.
- Use A Dielectric Grease On Exposed Connectors To Reduce Corrosion Risk.
- Replace Any Damaged Grommets To Maintain A Watertight Seal Where The Harness Passes Through The Tailgate Seal.
- Secure The Harness With Original-Style Clips To Prevent Chafing; Avoid Sharp Bends At Hinge Areas.
- Verify Connector Pin Alignment And Ensure No Bent Pins Before Mating Plugs.
- Test All Electrical Functions Thoroughly Before Reinstalling Interior Panels.
Most Common Failure Causes
- Repeated Flexing At The Tailgate Hinge Causing Wire Breaks In The Bending Zone.
- Corrosion Of Connectors Due To Water Ingress Or Damaged Grommets.
- Physical Damage When Loading Cargo Or During Trim Removal/Installation.
- Wear From Age And Environmental Exposure Leading To Intermittent Contacts.
Replacing the harness with the correct code (9658919280 / 6534QZ) restores reliable electrical performance to the rear hatch and prevents recurring faults caused by broken conductors or poor grounding. For technicians, careful routing and sealing at the grommet are the most important steps to ensure long-term reliability.