Description
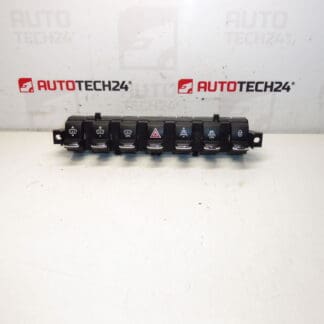
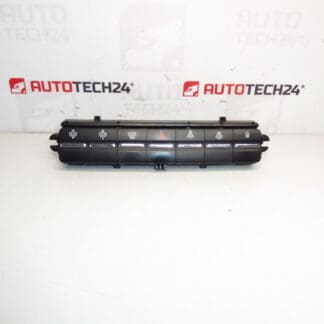
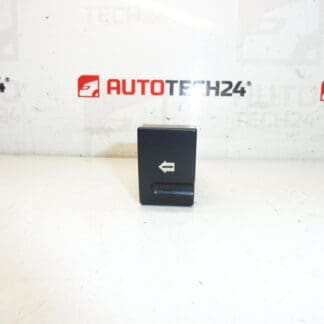
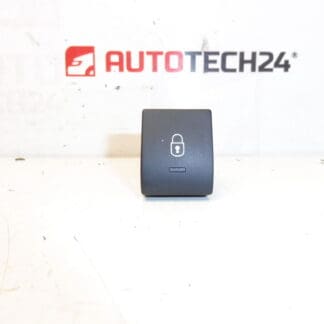
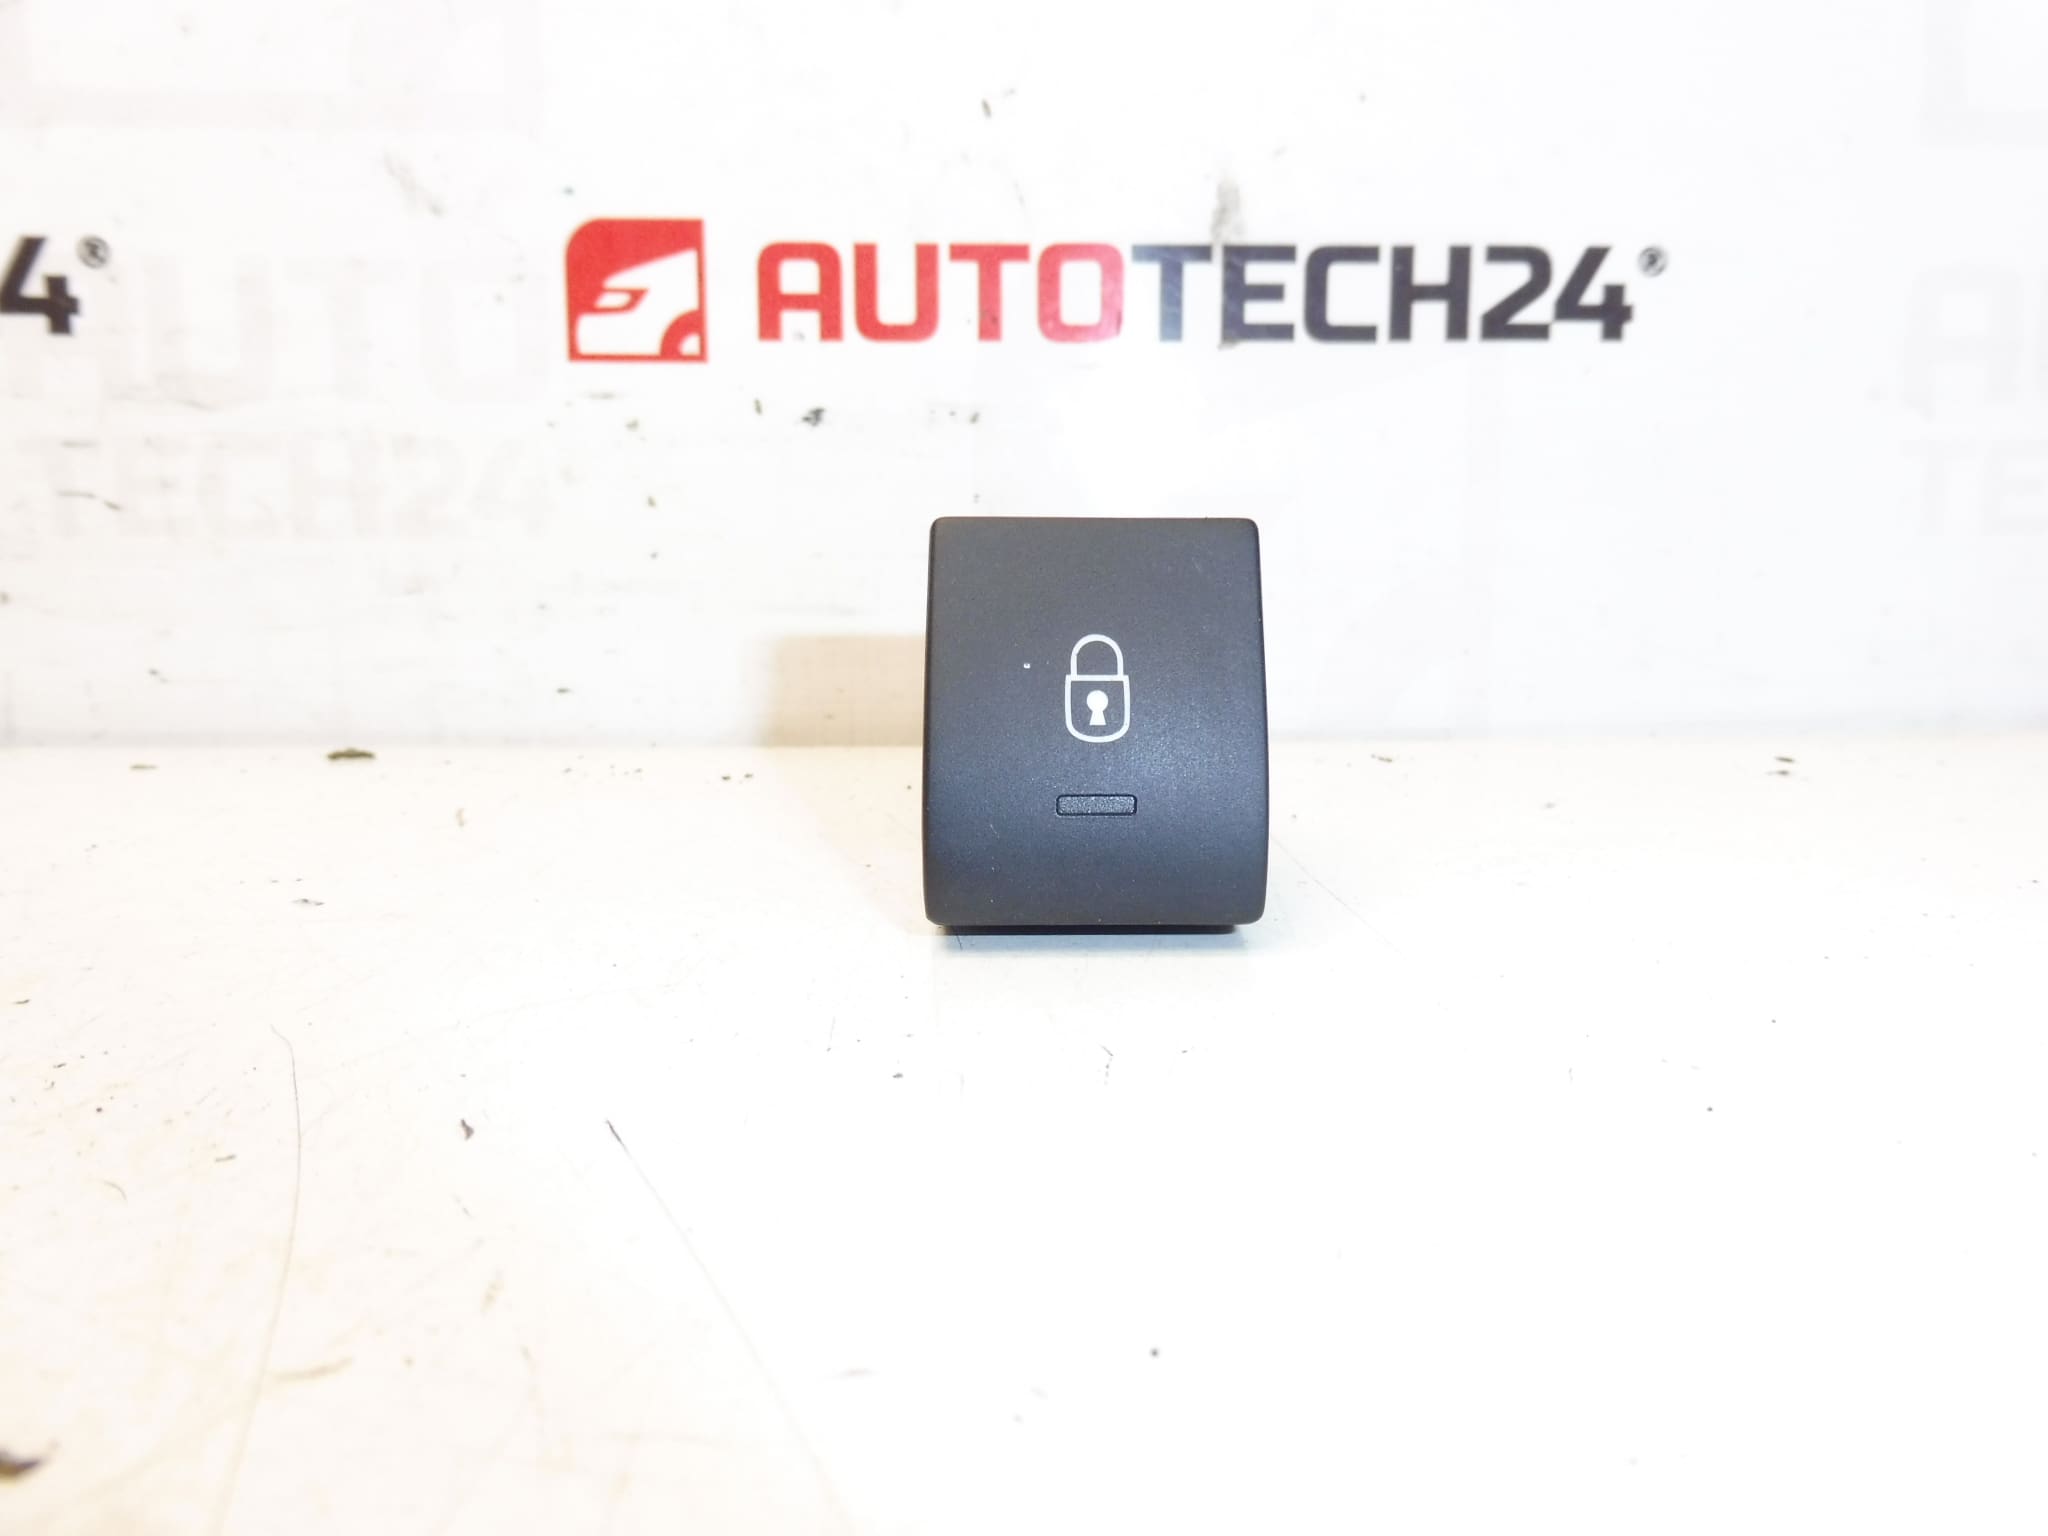
Central locking control unit for PEUGEOT 3008 T84 and 5008 T87
This central locking control unit is designed for Peugeot 3008 I (T84) and Peugeot 5008 I (T87) models. It controls door locking/unlocking functions triggered by remote key fob, door switches and internal locking commands. The module communicates with the vehicle body network to manage actuators, safety interlocks and central locking logic. Often searched by part numbers, this unit is a common replacement when remote locking or intermittent locking behaviour appears.
Function And Typical Symptoms
The unit manages central locking commands and coordinates signals between the remote key receiver, door lock actuators and the vehicle lighting/immobiliser logic. Typical symptoms of a failing unit include:
- No response to remote key fob or central lock button.
- Intermittent locking/unlocking or partial operation (one or more doors not responding).
- Unintended locking/unlocking cycles or erratic behaviour.
- Related fuses blowing repeatedly or electrical faults recorded on the body network.
How Failures Occur
Failure causes commonly include moisture ingress, corrosion on connector pins, internal solder joint fatigue, voltage spikes from poor battery connections or jump-starting, and mechanical wear of connected actuators placing excess load on the controller. Damage after body repairs, water leaks in door seals or long-term exposure to damp conditions are frequent contributors.
How To Replace
Replacement is suitable for experienced mechanics and competent DIYers. General replacement steps:
- Disconnect the negative battery terminal before any work to avoid electrical damage.
- Locate the module — on Peugeot 3008/5008 it is typically installed in the passenger compartment (often behind the glovebox, under the dash or near the centre console) depending on production year and specification.
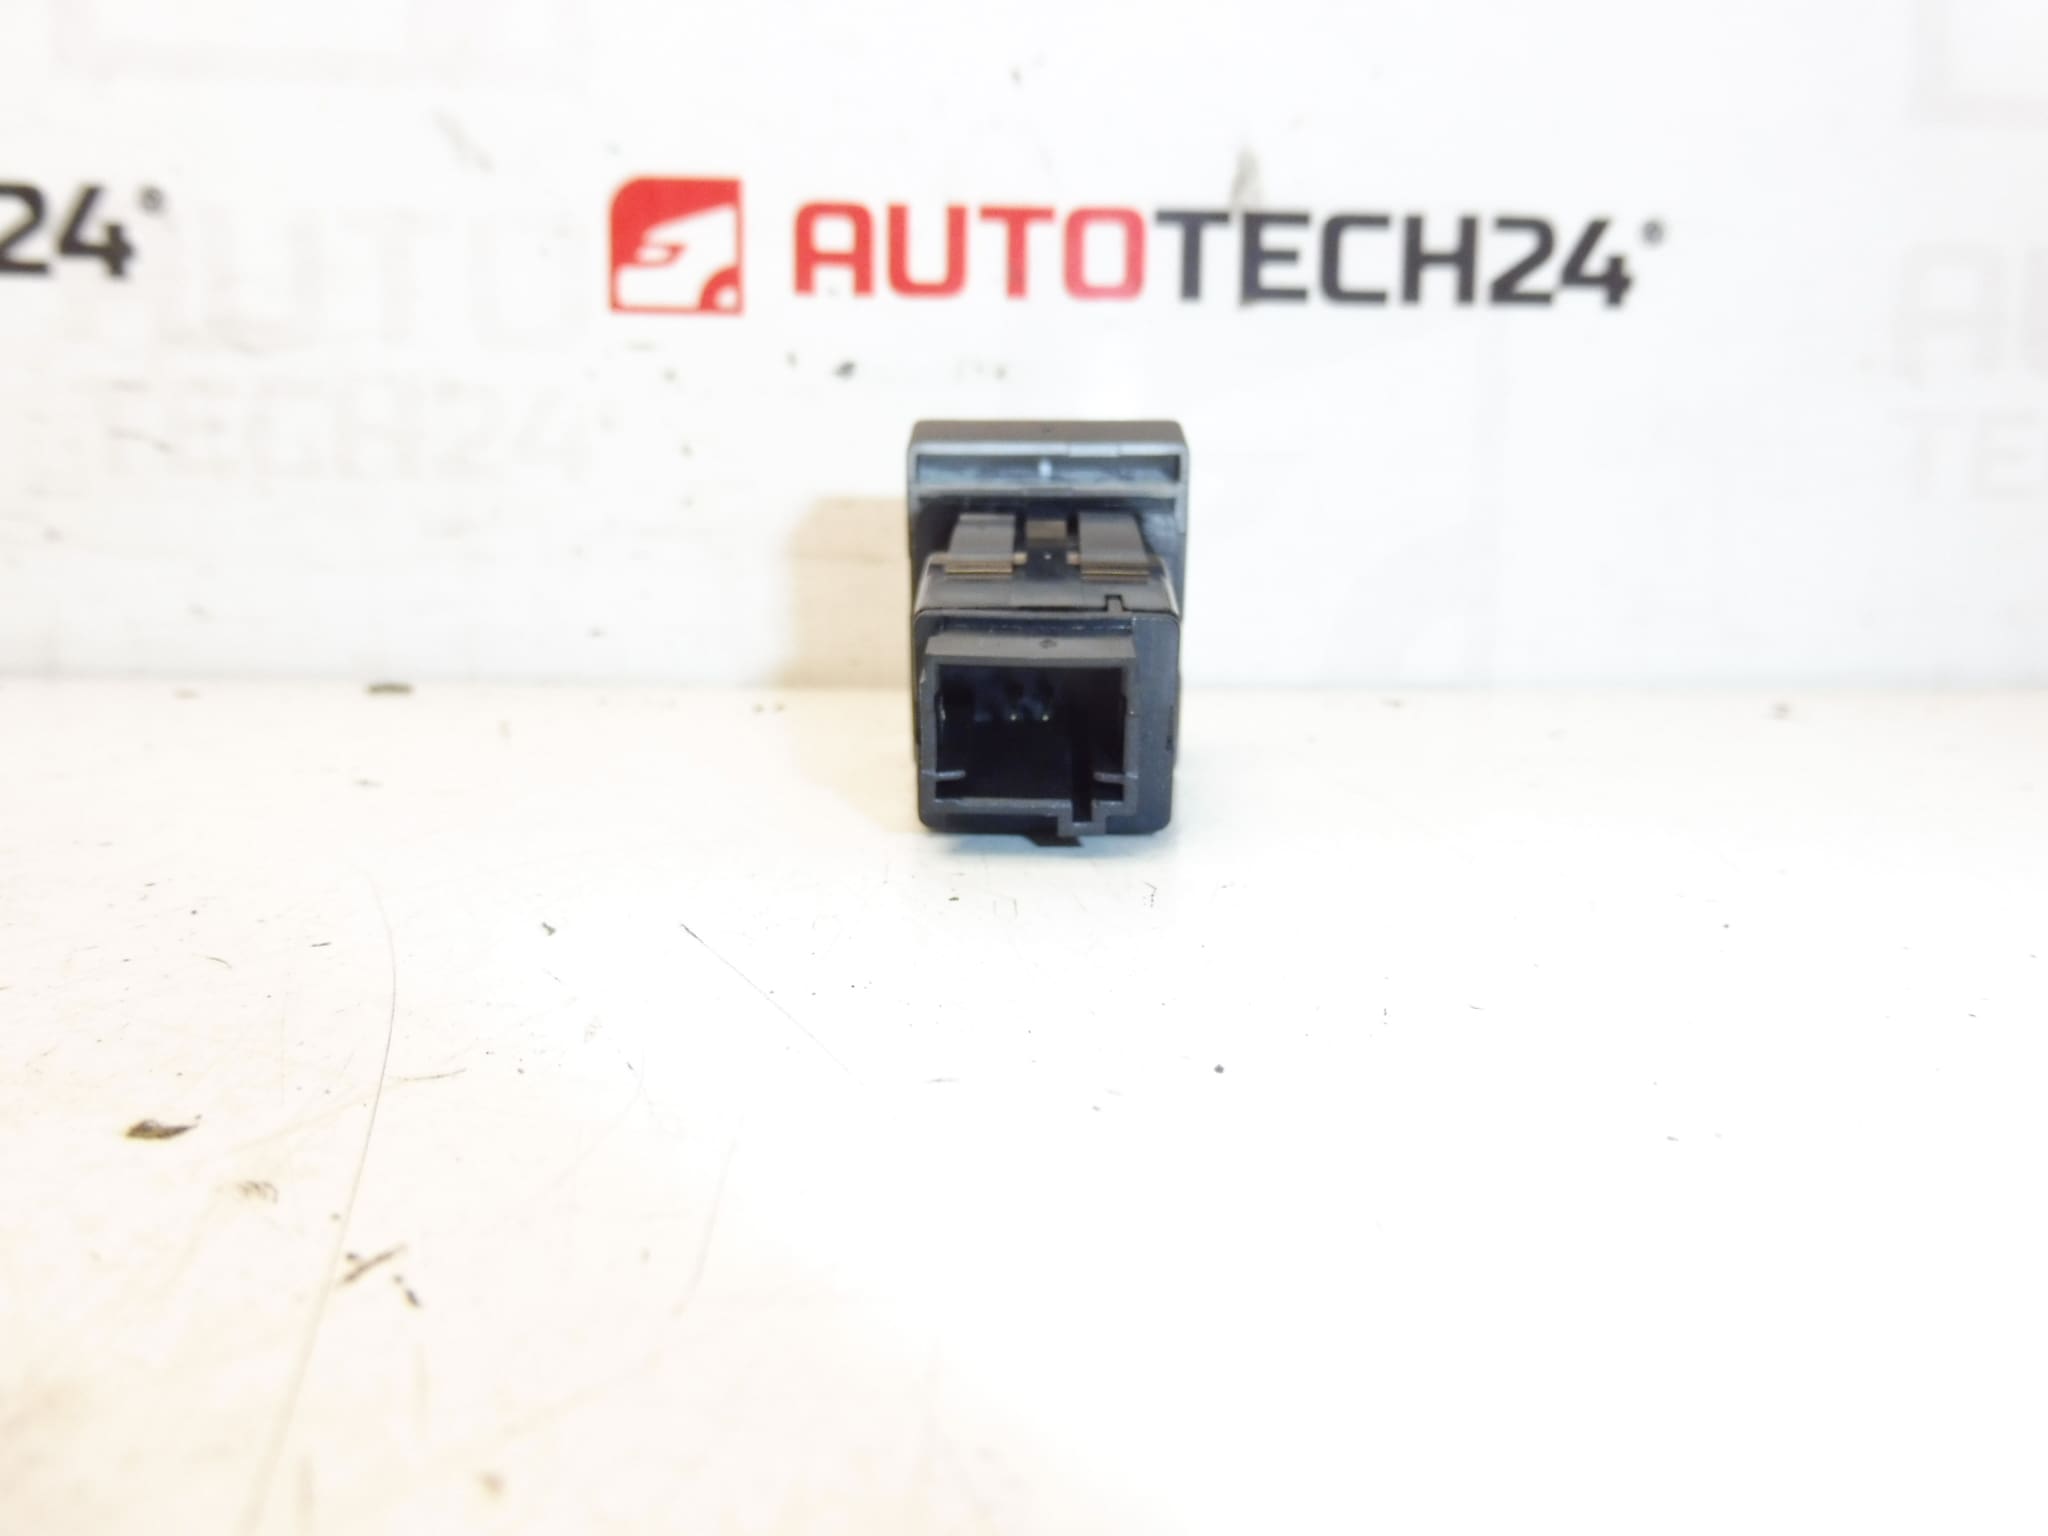
- Remove trim panels to access the unit, unfasten mounting screws and carefully unplug all multi-pin connectors. Inspect connectors and wiring for corrosion or damage.
- Fit the replacement unit, secure mounting, reconnect the connectors and reassemble trims.
- Restore battery connection and verify central locking operation from all inputs (remote, door switches, internal button). If required, perform any relearning or configuration steps described in official documentation.
Installation Recommendations
- Always disconnect the battery before removing or installing the unit.
- Inspect and clean connector pins and harness grommets; replace any damaged seals to prevent future moisture ingress.
- Use dielectric grease on connectors after cleaning to reduce corrosion risk.
- After installation, check all door functions, interior switches and remote operation. Clear any stored body module faults if present.
- For vehicles with advanced security or immobiliser linking, programming or configuration using PSA diagnostic equipment may be necessary. Have appropriate diagnostic tools available if required.
Technical Information
- Manufacturer: Stellantis (Peugeot/Citroën)
- Model: Peugeot 3008 I (T84), Peugeot 5008 I (T87)
- Product Codes: 96652390ZD, 96652390XT, 6490Z3
- Other Numbers: 96652390ZD, 96652390XT, 6490Z3
Why Choose This Part
Genuine OE-referenced control units ensure correct electrical interfaces and reliable communication with the vehicle body network. Replacing a faulty unit with the correct part number restores full central locking functionality and prevents intermittent faults that can affect vehicle security and convenience.
Final Notes
This control unit is commonly searched by the part numbers listed above. If you are experienced with vehicle electrics you can perform the swap following the steps above; otherwise, have a qualified technician carry out the replacement to ensure proper inspection of wiring and post-installation checks. Order now to restore reliable central locking on affected Peugeot 3008 and 5008 models.