Description
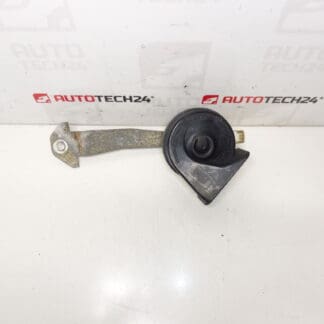
Horn horn for Peugeot 207
With bracket to the body
Part description
This horn / horn with holder is intended for Peugeot 207 cars and comes with a holder for attachment to the bodywork. It is an electrical component that is used for acoustic signaling and is often solved as a quick replacement when the original horn is not working or the sound is weak.
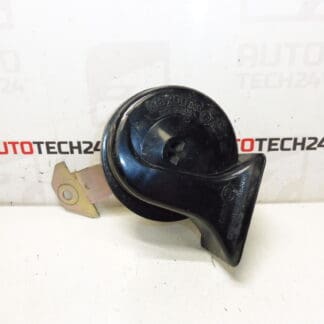
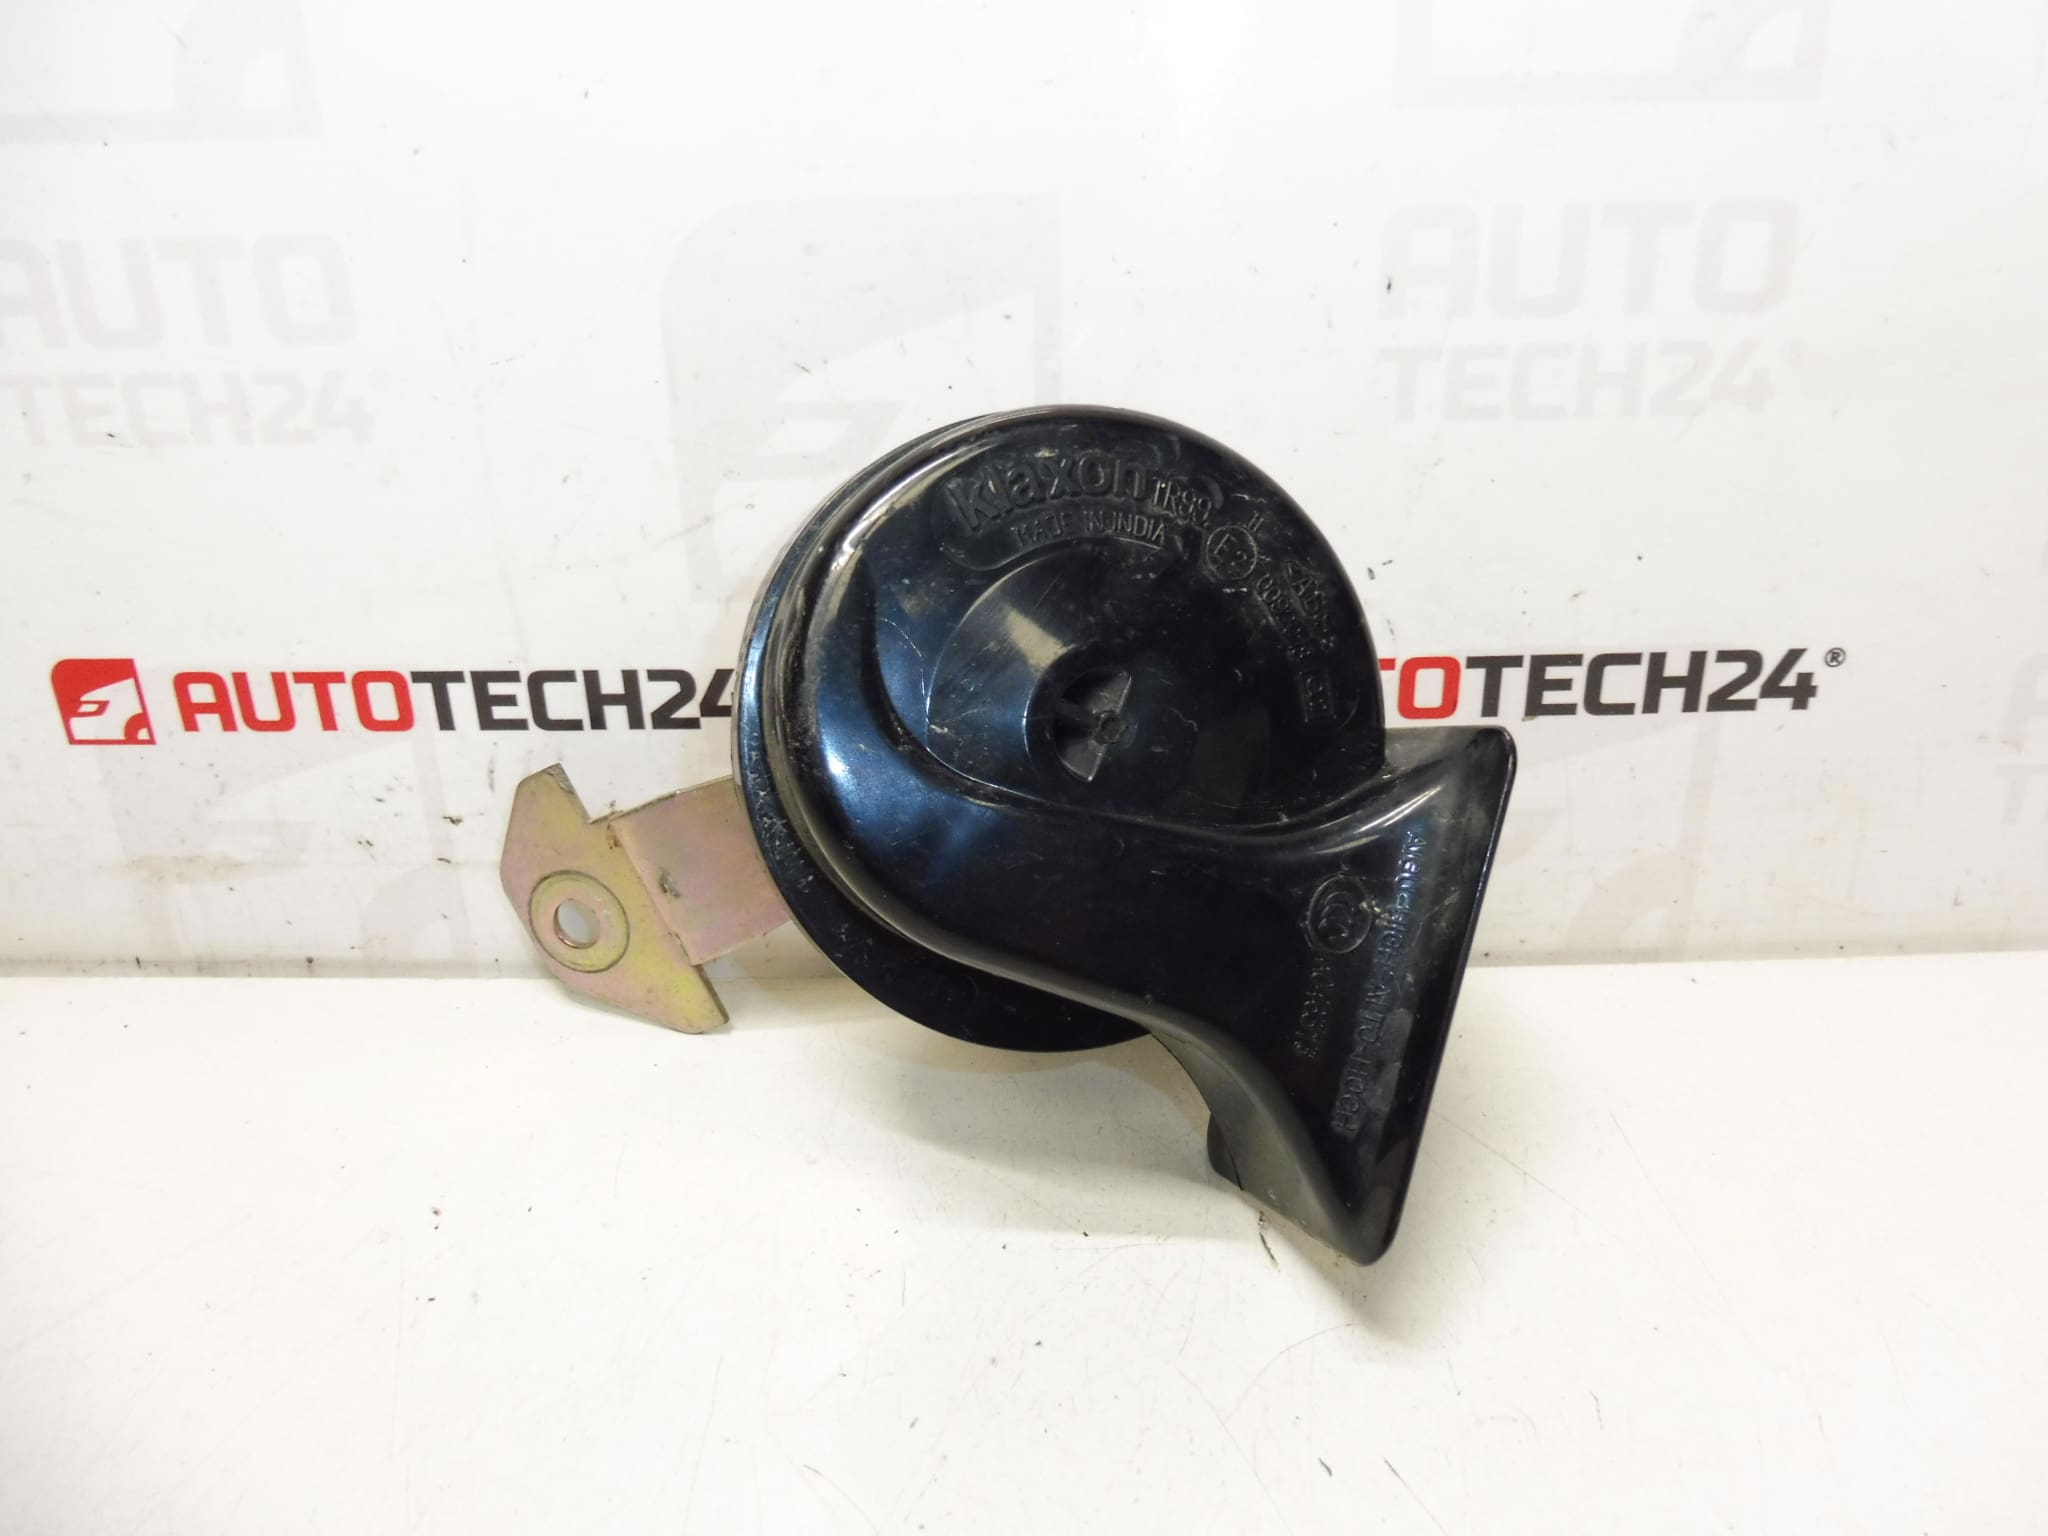
For the correct selection, it is crucial to compare the design of the part (shape, attachment, connector) and especially the product number 6236J0, by which this part is most often searched for.
Technical information
Product codes
- Product codes: 6236J0
Installation recommendations
Generally/typically for changing the horn (horn) it is a simple electrical change, but the exact access and removal of the covers depends on the specific design of the car.
1) Before assembly (checks of the used part, what to compare with the old part)
- Check that the part corresponds to the marking 6236J0 and that it is intended for Peugeot 207.
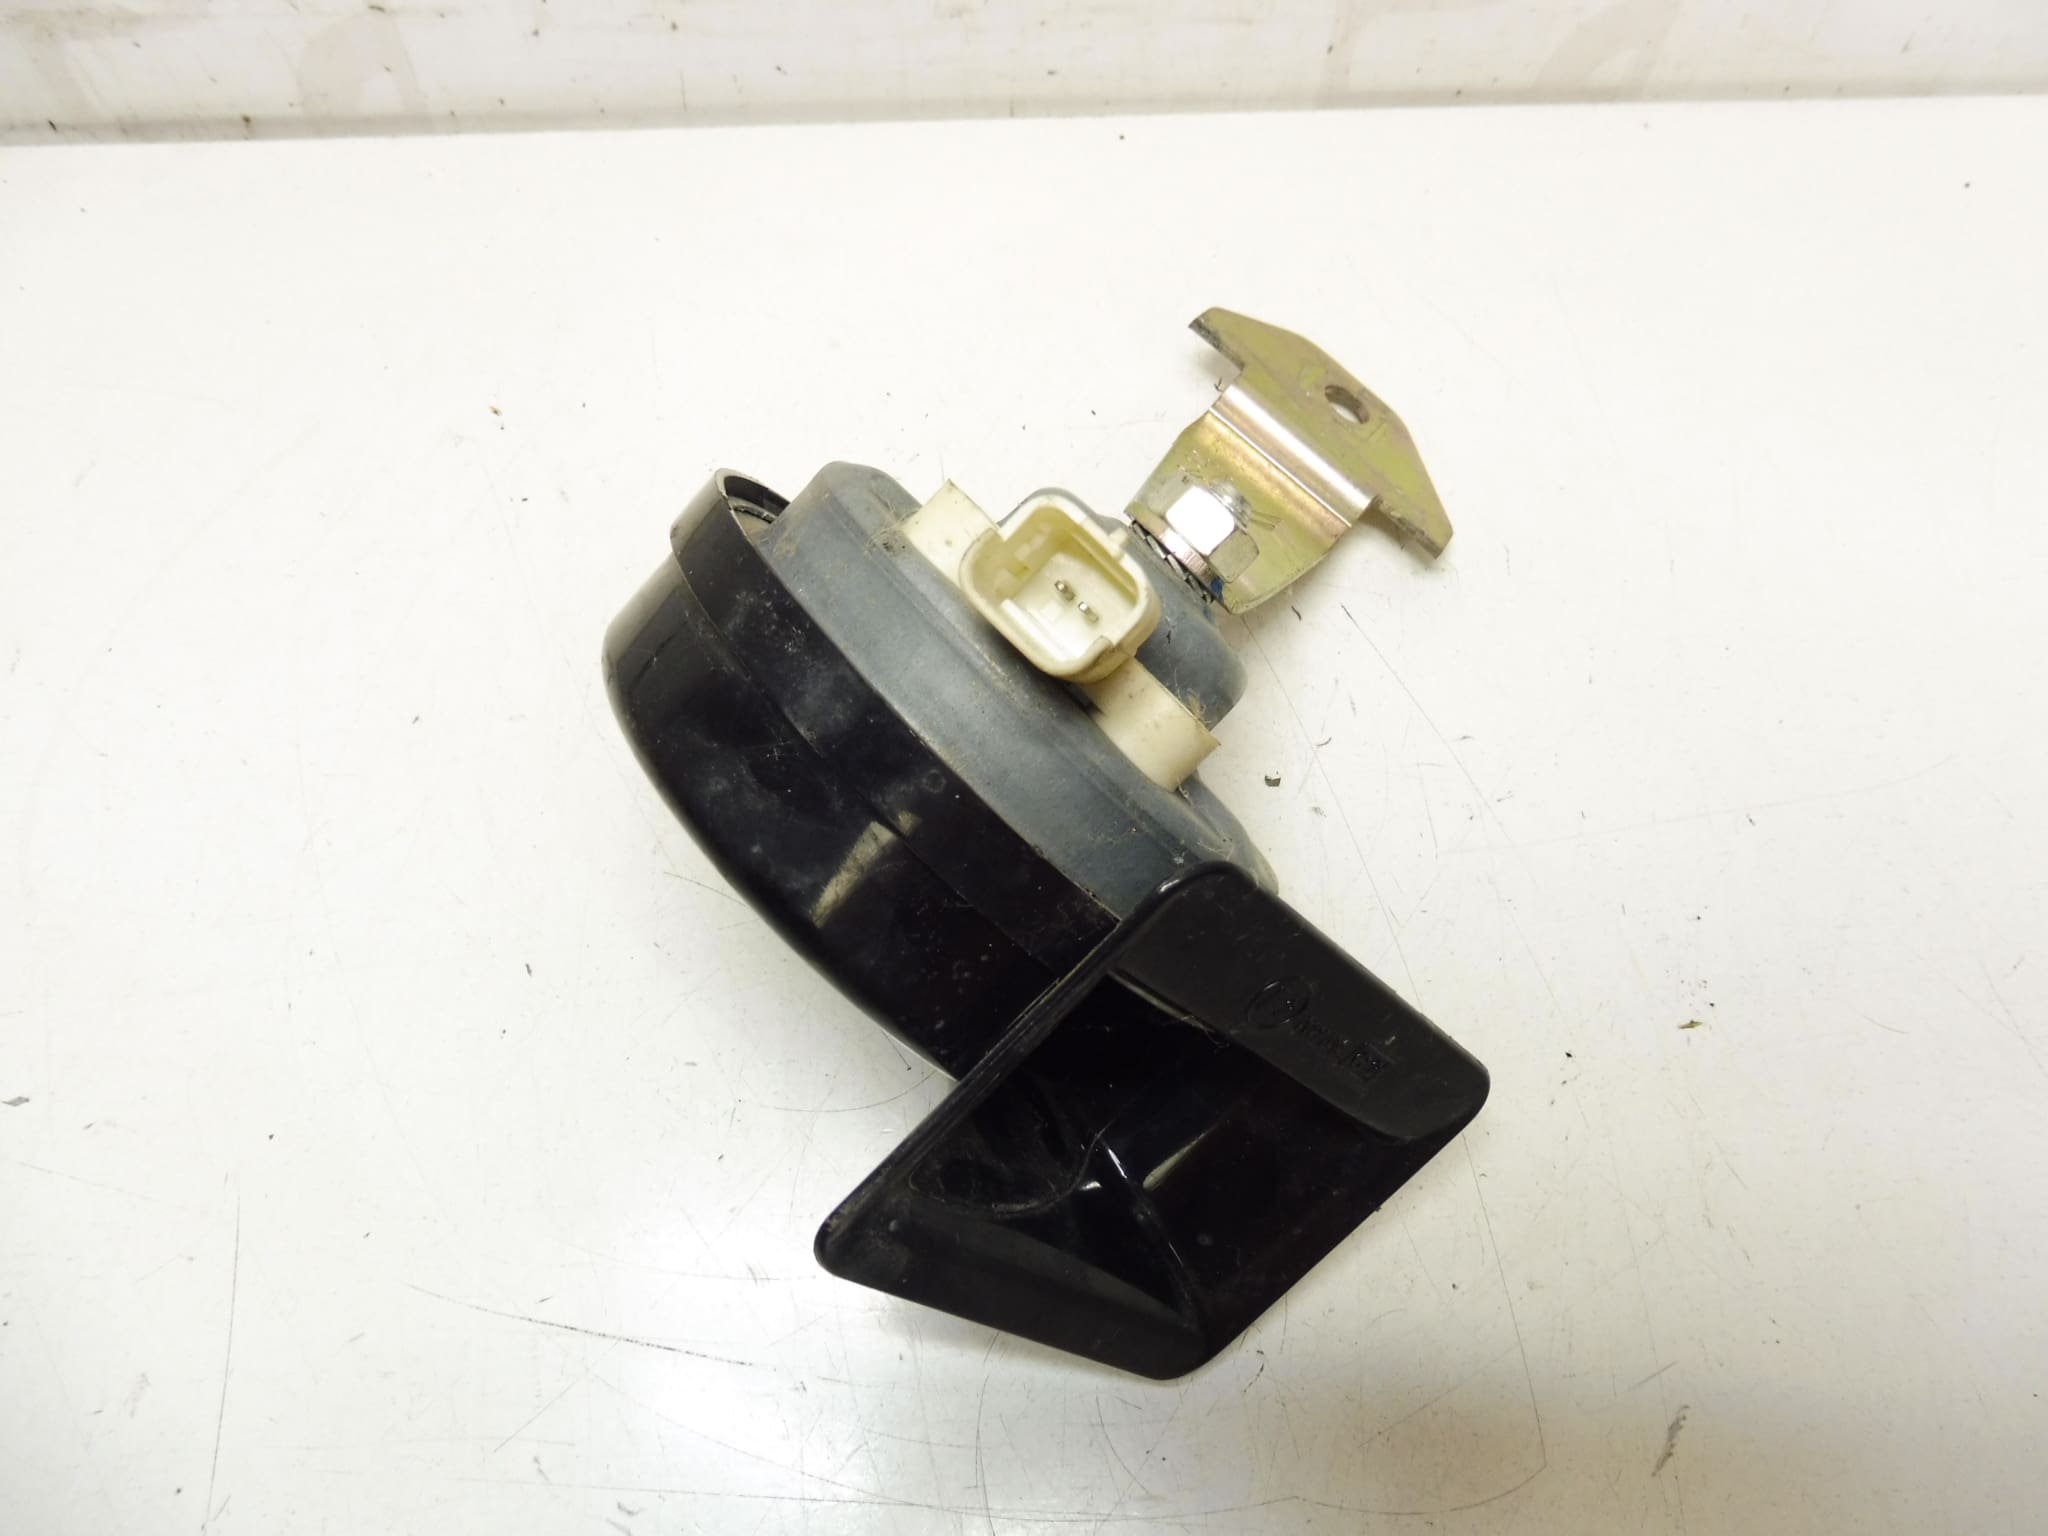
- Compare with the old piece: type of connector, shape of the horn, position and design of the holder and mounting spacing.
- Check the condition of the cable connector (unbroken lock, no corrosion) and the strength of the holder.
2) Necessary tools and materials (in general, without specific extra parts)
- Basic set of hand tools (ratchet/wrenches/bit attachments according to the type of joints on the vehicle)
- Screwdrivers and possibly a tool for plastic clips/upholstery
- Contact cleaner for electrical connectors (as needed)
- Work lamp and protective gloves
3) Step-by-step assembly procedure
- Secure the vehicle against movement and turn off the ignition.
- Disconnect the battery (typically the negative pole) to avoid a short circuit when handling the connector.
- Get access to the horn – depending on the car design, it may be necessary to remove some of the covers/coverings.
- Locate the original horn and check the wiring to it.
- Disconnect the electrical connector (release the connector lock without prying).
- Unfasten the fastening and remove the horn including the holder (if the holder is part of the assembly).
- Prepare the new part: clean the mating surfaces and, if necessary, treat the connector with contact cleaner.
- Install the horn with the holder in its original position and fasten it.
- Connect the electrical connector and verify that it is properly engaged and that there is no tension on the cable.
- Put back all the removed covers/clips and check that nothing rubs and nothing is loose.
- Connect the battery.
-
4) Post-assembly checks and test drive/function verification
- Verify the function of the horn (steady and clear sound without dropouts).
- Check that the holder holds firmly and the part does not move.
- After a short ride, re-check the mounting and routing of the wiring (so that it does not rub against the surrounding parts).
5) The most common assembly mistakes + how to avoid them
- Forgotten to disconnect the battery → risk of short circuit; always disconnect before working with connectors.
- Poorly engaged connector → the horn does not work or falls out; once connected, pull lightly to verify the lock.
- Incorrect attachment/tension of the holder → vibration and noise; assemble without tension, align the contact surfaces.
- Pinched or chafed wiring when reassembling the covers → guide the cable so that it does not come into contact with sharp edges.
Reasons why the part is damaged
- Corrosion and moisture (especially in the area of the connector and contacts), leading to dropouts or weak sound.
- Foulage and long-term exposure to water/salt from traffic.
- Damage to the holder or attachment due to vibration, impact or improper handling.
- An electrical problem in the circuit (oxidation of the connector, poor contact) that can overload the horn or cause it to malfunction.