Description
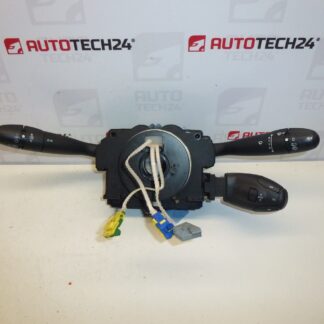
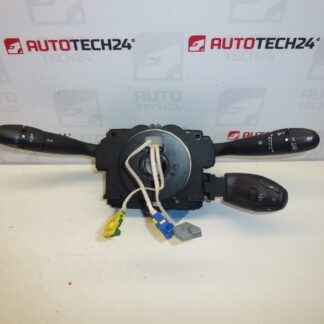
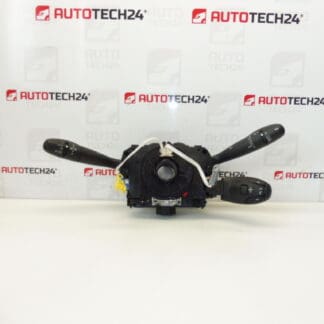
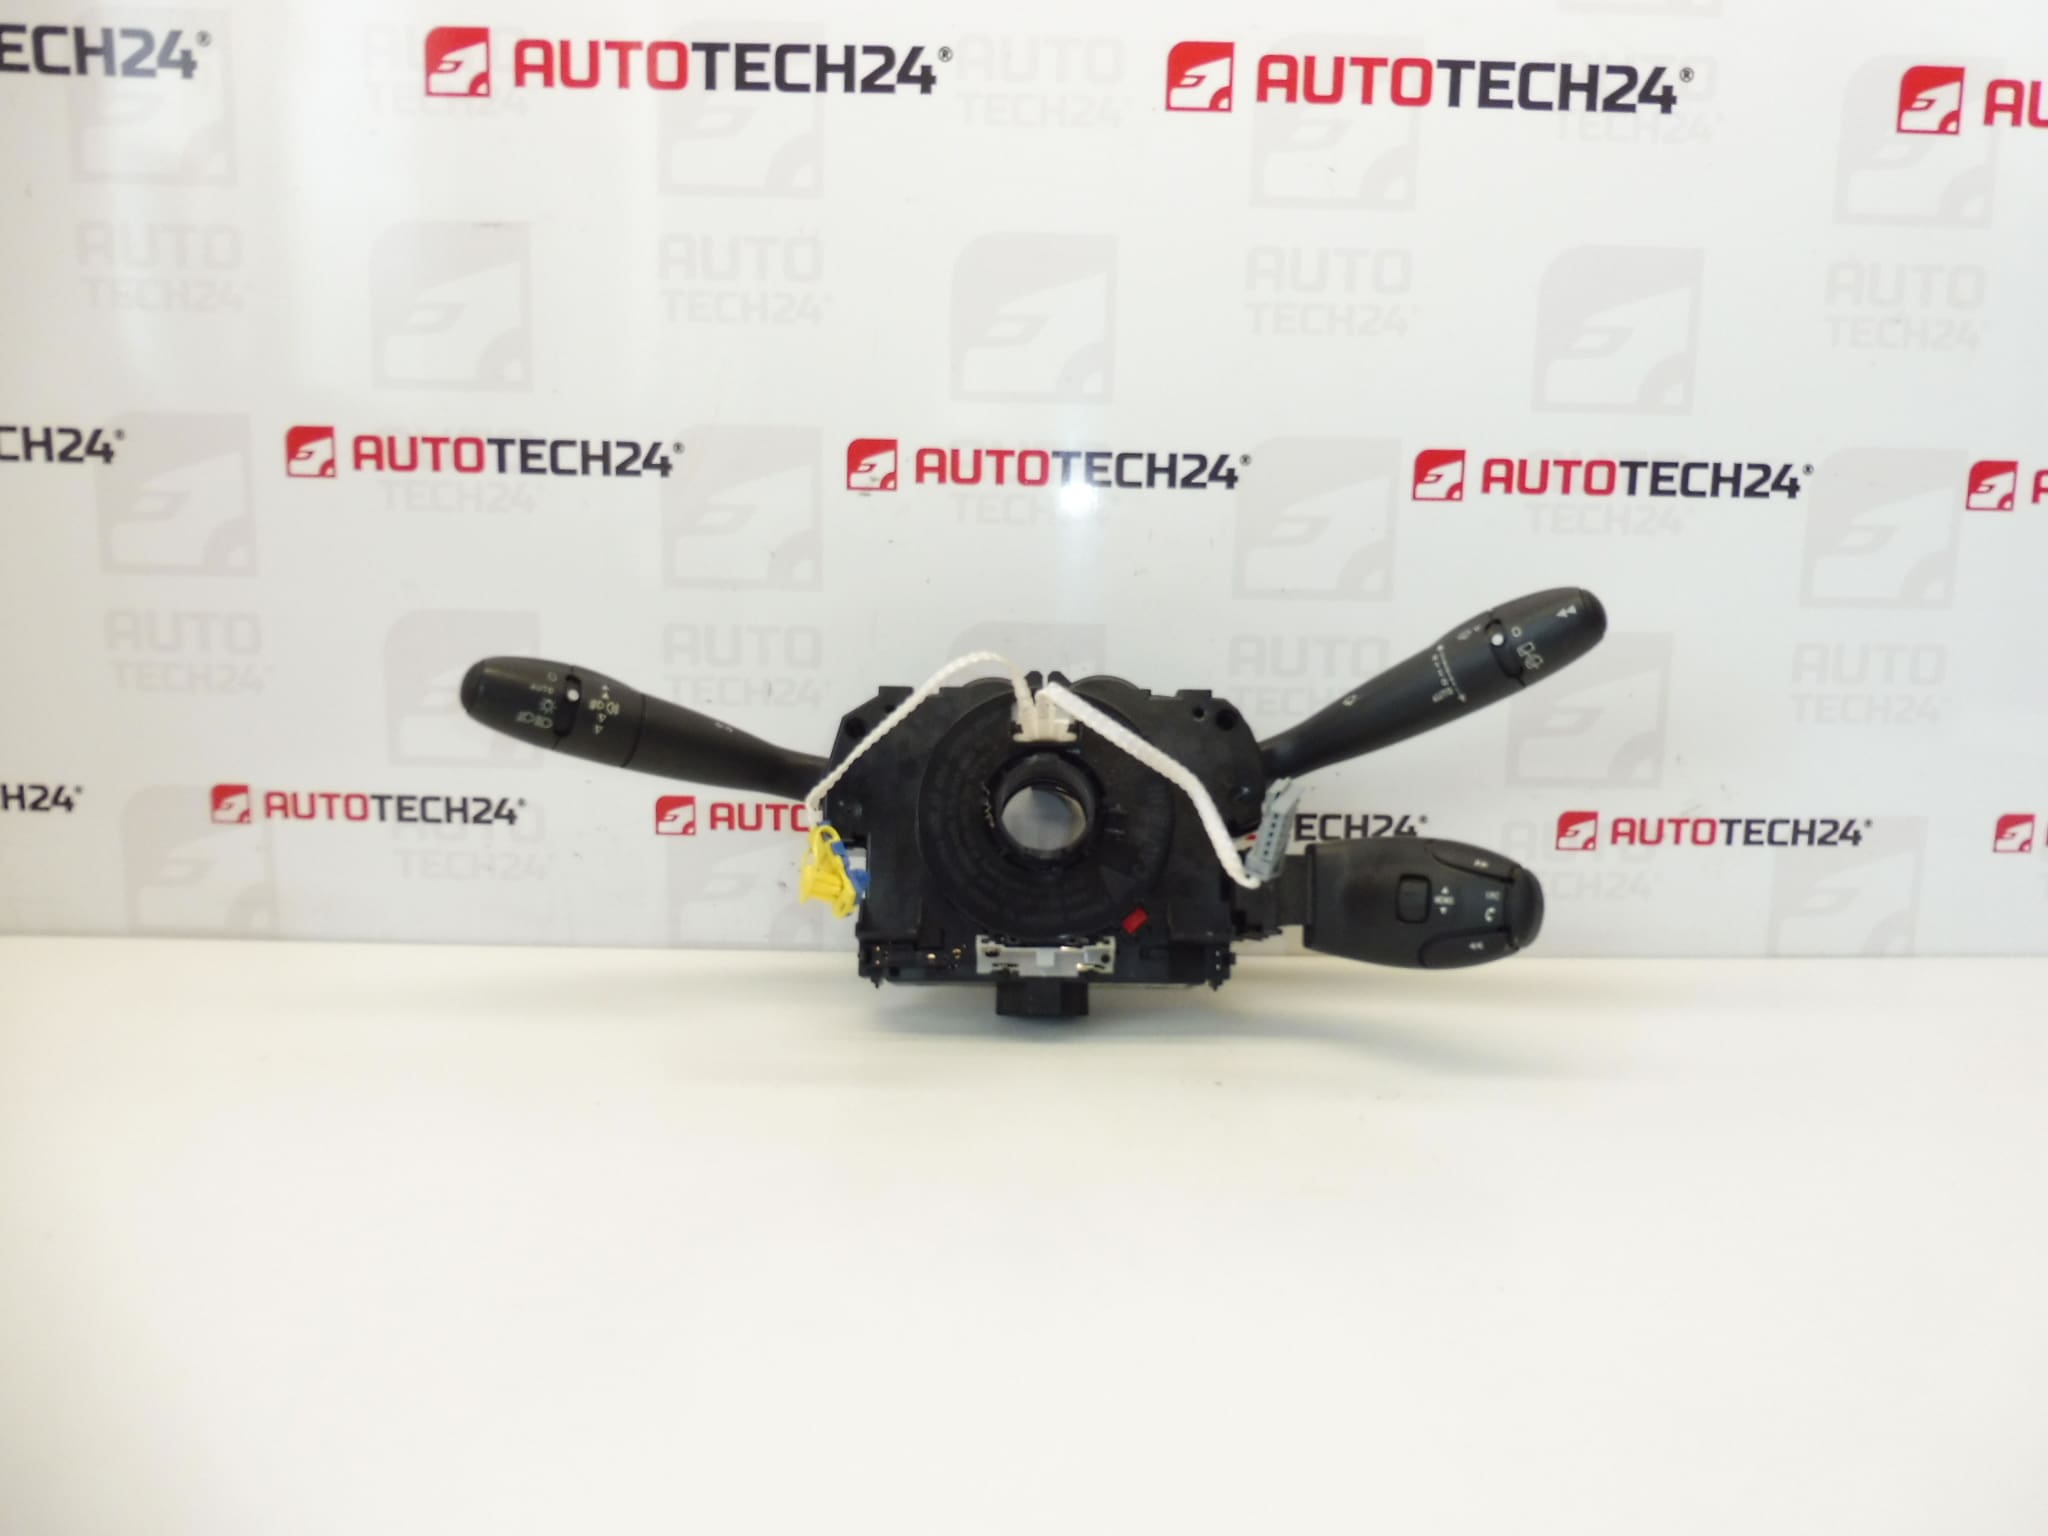
Steering column stalk controls DELPHI COM2005 for Peugeot 308 and Citroën C3 Picasso. Controls ESP, fog lights, front and rear wipers, and the trip computer.
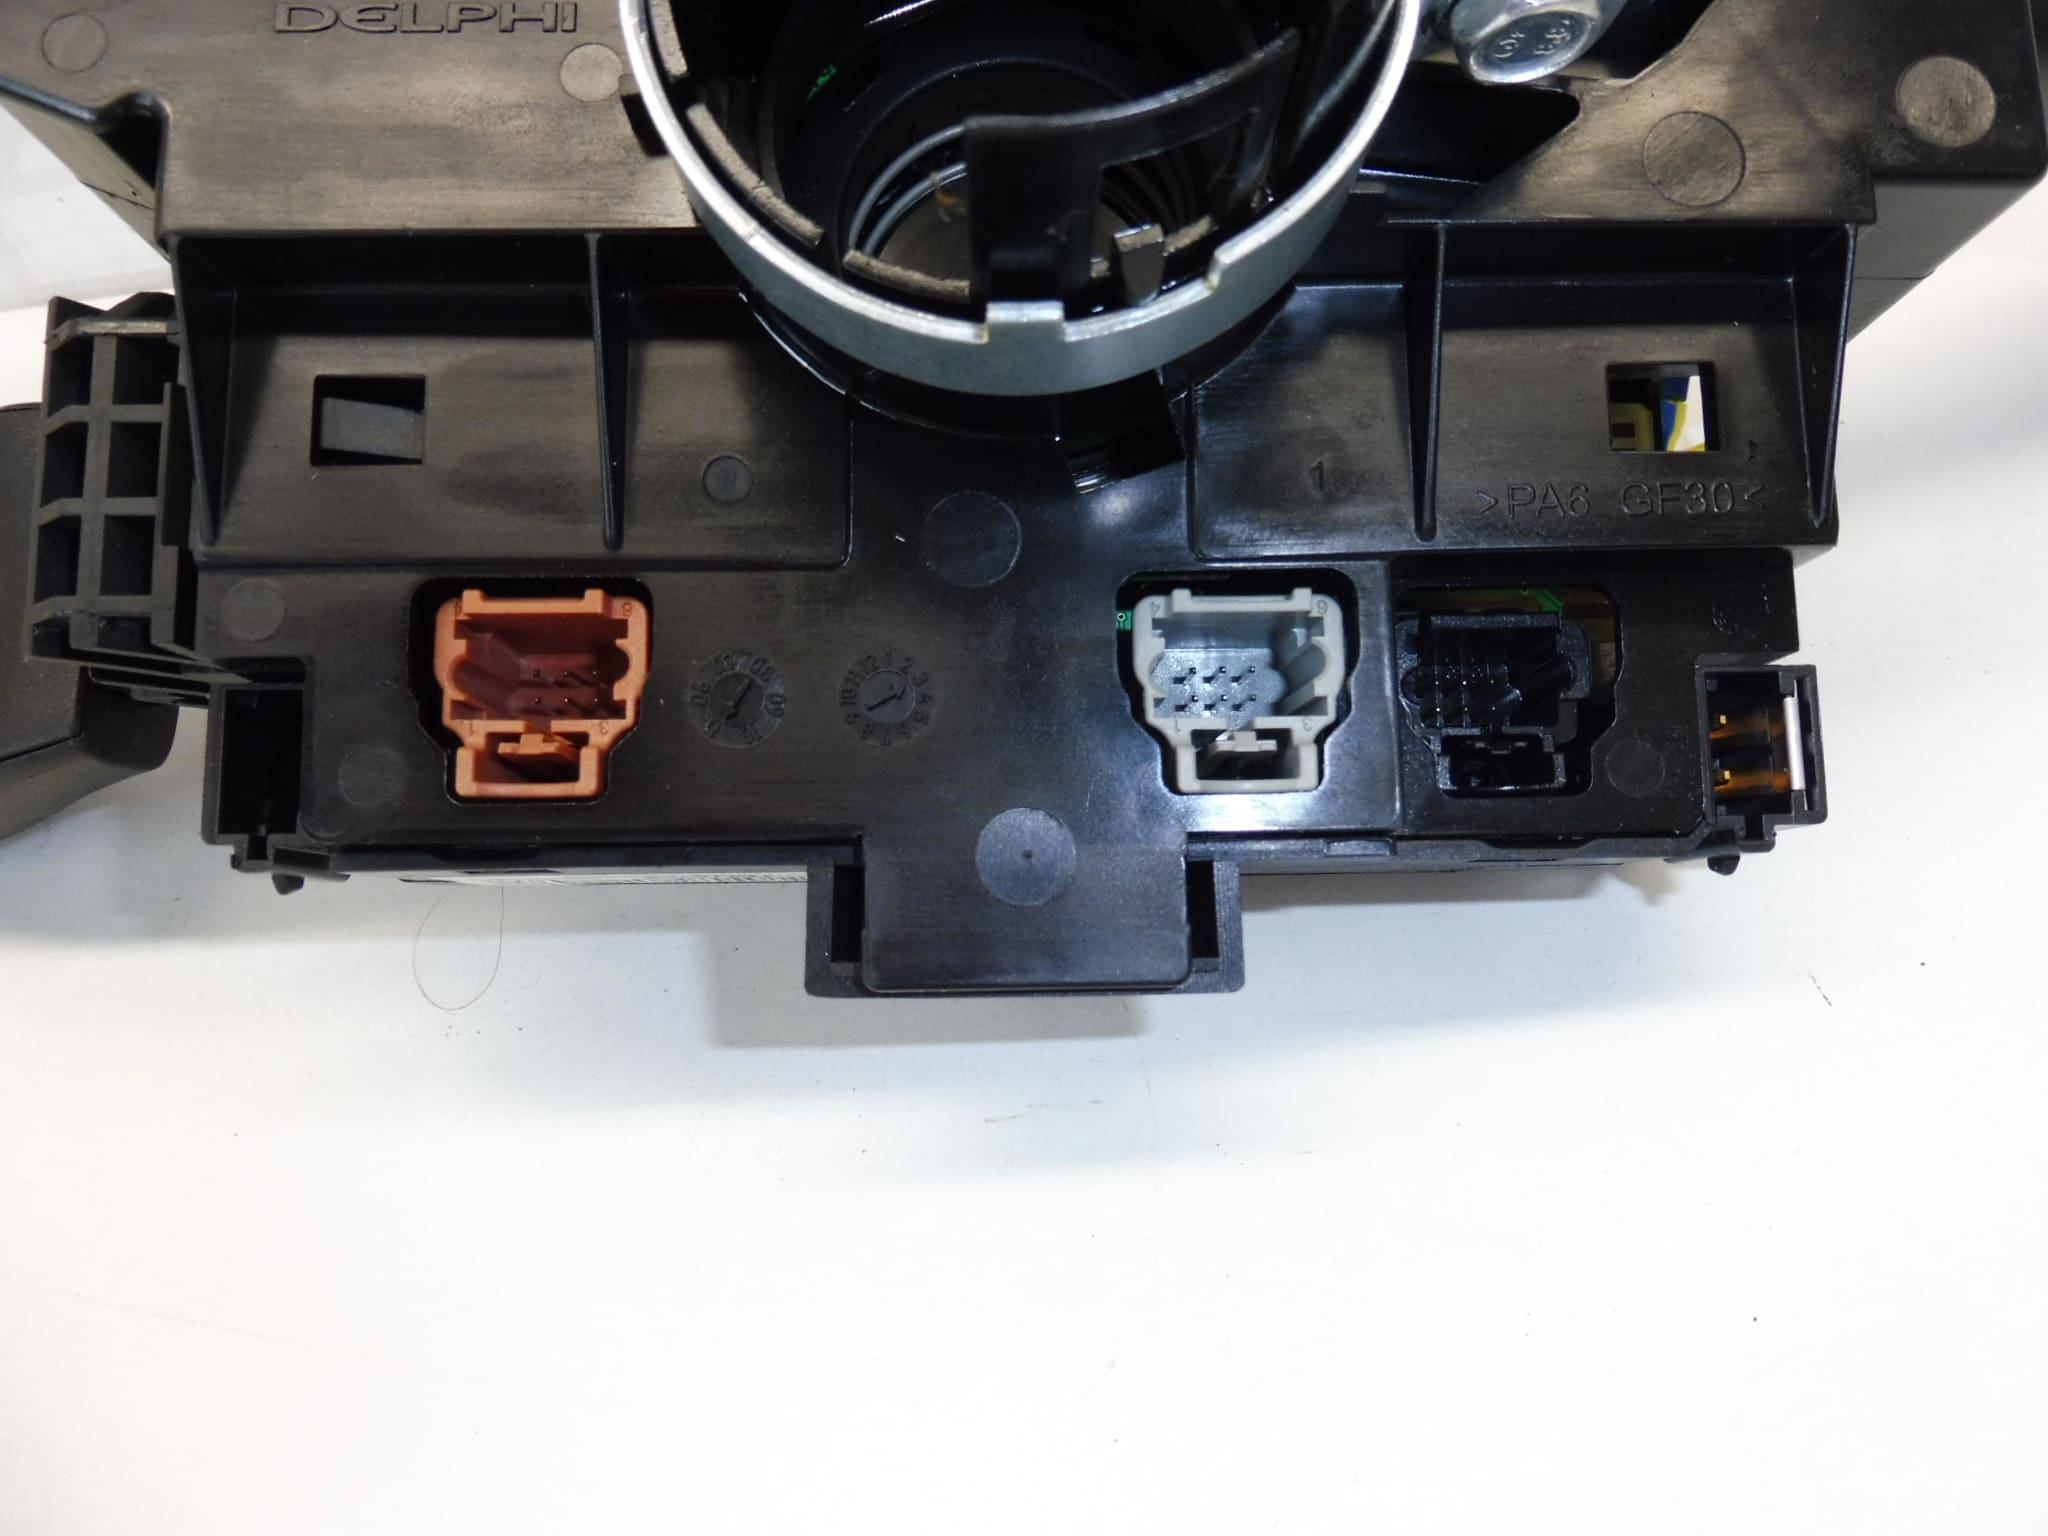
High-quality steering column stalk assembly suitable for Citroën and Peugeot vehicles equipped with the Delphi COM2005 system. This multifunction stalk operates vehicle stability control (ESP), fog lights, both front and rear wipers, and the instrument cluster/trip computer controls. The part is commonly searched by OEM reference numbers (96643943XT, 98062014XT, 98016686XT, 6242PK), so including these codes in your search increases the chance of finding the exact unit.
Key Features
- Multifunction Control: One stalk handles ESP/traction inputs, fog light switching, front and rear wiper functions, and trip computer scrolling/selection.
- Direct Fit: Designed for steering columns of compatible Peugeot 308 (first generation) and Citroën C3 Picasso models.
- OEM Supplier Type: Delphi COM2005 electrical architecture.
- Searchable By Part Numbers: 96643943XT, 98062014XT, 98016686XT, 6242PK, COM2005 — useful keywords for fast identification.
Technical Information
- Manufacturer: Delphi
- Model: Peugeot 308 I; Citroën C3 Picasso
- Product Codes: 96643943XT; 98062014XT; 98016686XT
- Other Numbers: 6242PK; COM2005
Installation Recommendations
Always follow safe working procedures. Before beginning work, disconnect the battery and wait the manufacturer-recommended time to prevent accidental airbag deployment and to protect vehicle electronics. Remove the steering wheel trim and lower/upper column covers to access the stalk assembly. Unplug the wiring connector(s), release retaining clips or screws, and replace with the new stalk, ensuring connectors engage fully and clips/screws are secured to the original torque where specified. After installation, check all functions (wipers, fog lights, ESP inputs, and trip computer controls) for correct operation. If the vehicle exhibits stored error codes after replacement, clear codes and re-check; professional diagnostic equipment may be required for full fault clearing.
Why This Part Fails Most Often
- Electrical Wear: Repeated switching causes contact wear or intermittent connections inside the stalk.
- Moisture and Corrosion: Water ingress or humidity can corrode contacts and connectors, leading to erratic behavior.
- Mechanical Fatigue: Plastic levers and internal mechanisms can fracture after years of use or from excessive force.
- Connector Issues: Loose or damaged plugs and wiring can mimic stalk faults; inspect harnesses during replacement.
Typical Symptoms Indicating Replacement
- Intermittent or Non-Working Wipers (Front Or Rear)
- Fog Lights Fail To Switch On/Off
- ESP/Traction Warning Light Or Loss Of Related Functions
- Trip Computer Controls Not Responding
- Physical Play Or Stiffness In The Stalk Lever
Additional Notes
This component is usually not a scheduled wear item — replace it when faults or physical damage appear. Because these stalks are commonly identified by their OEM references, including the part numbers in searches improves findability in online catalogs and search engines. When diagnosing, check connectors and wiring for damage before replacing the stalk to avoid unnecessary parts replacement.