Description
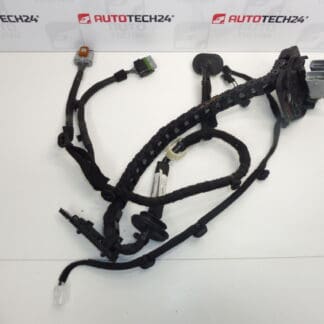
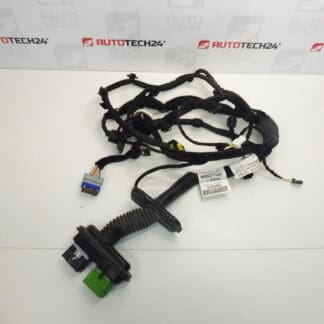
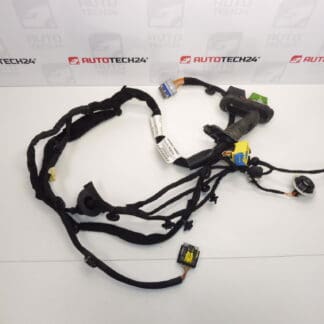
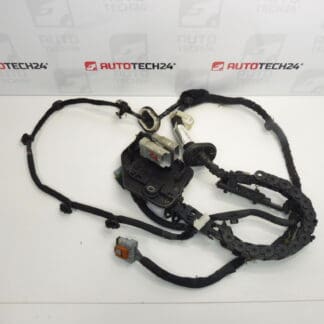
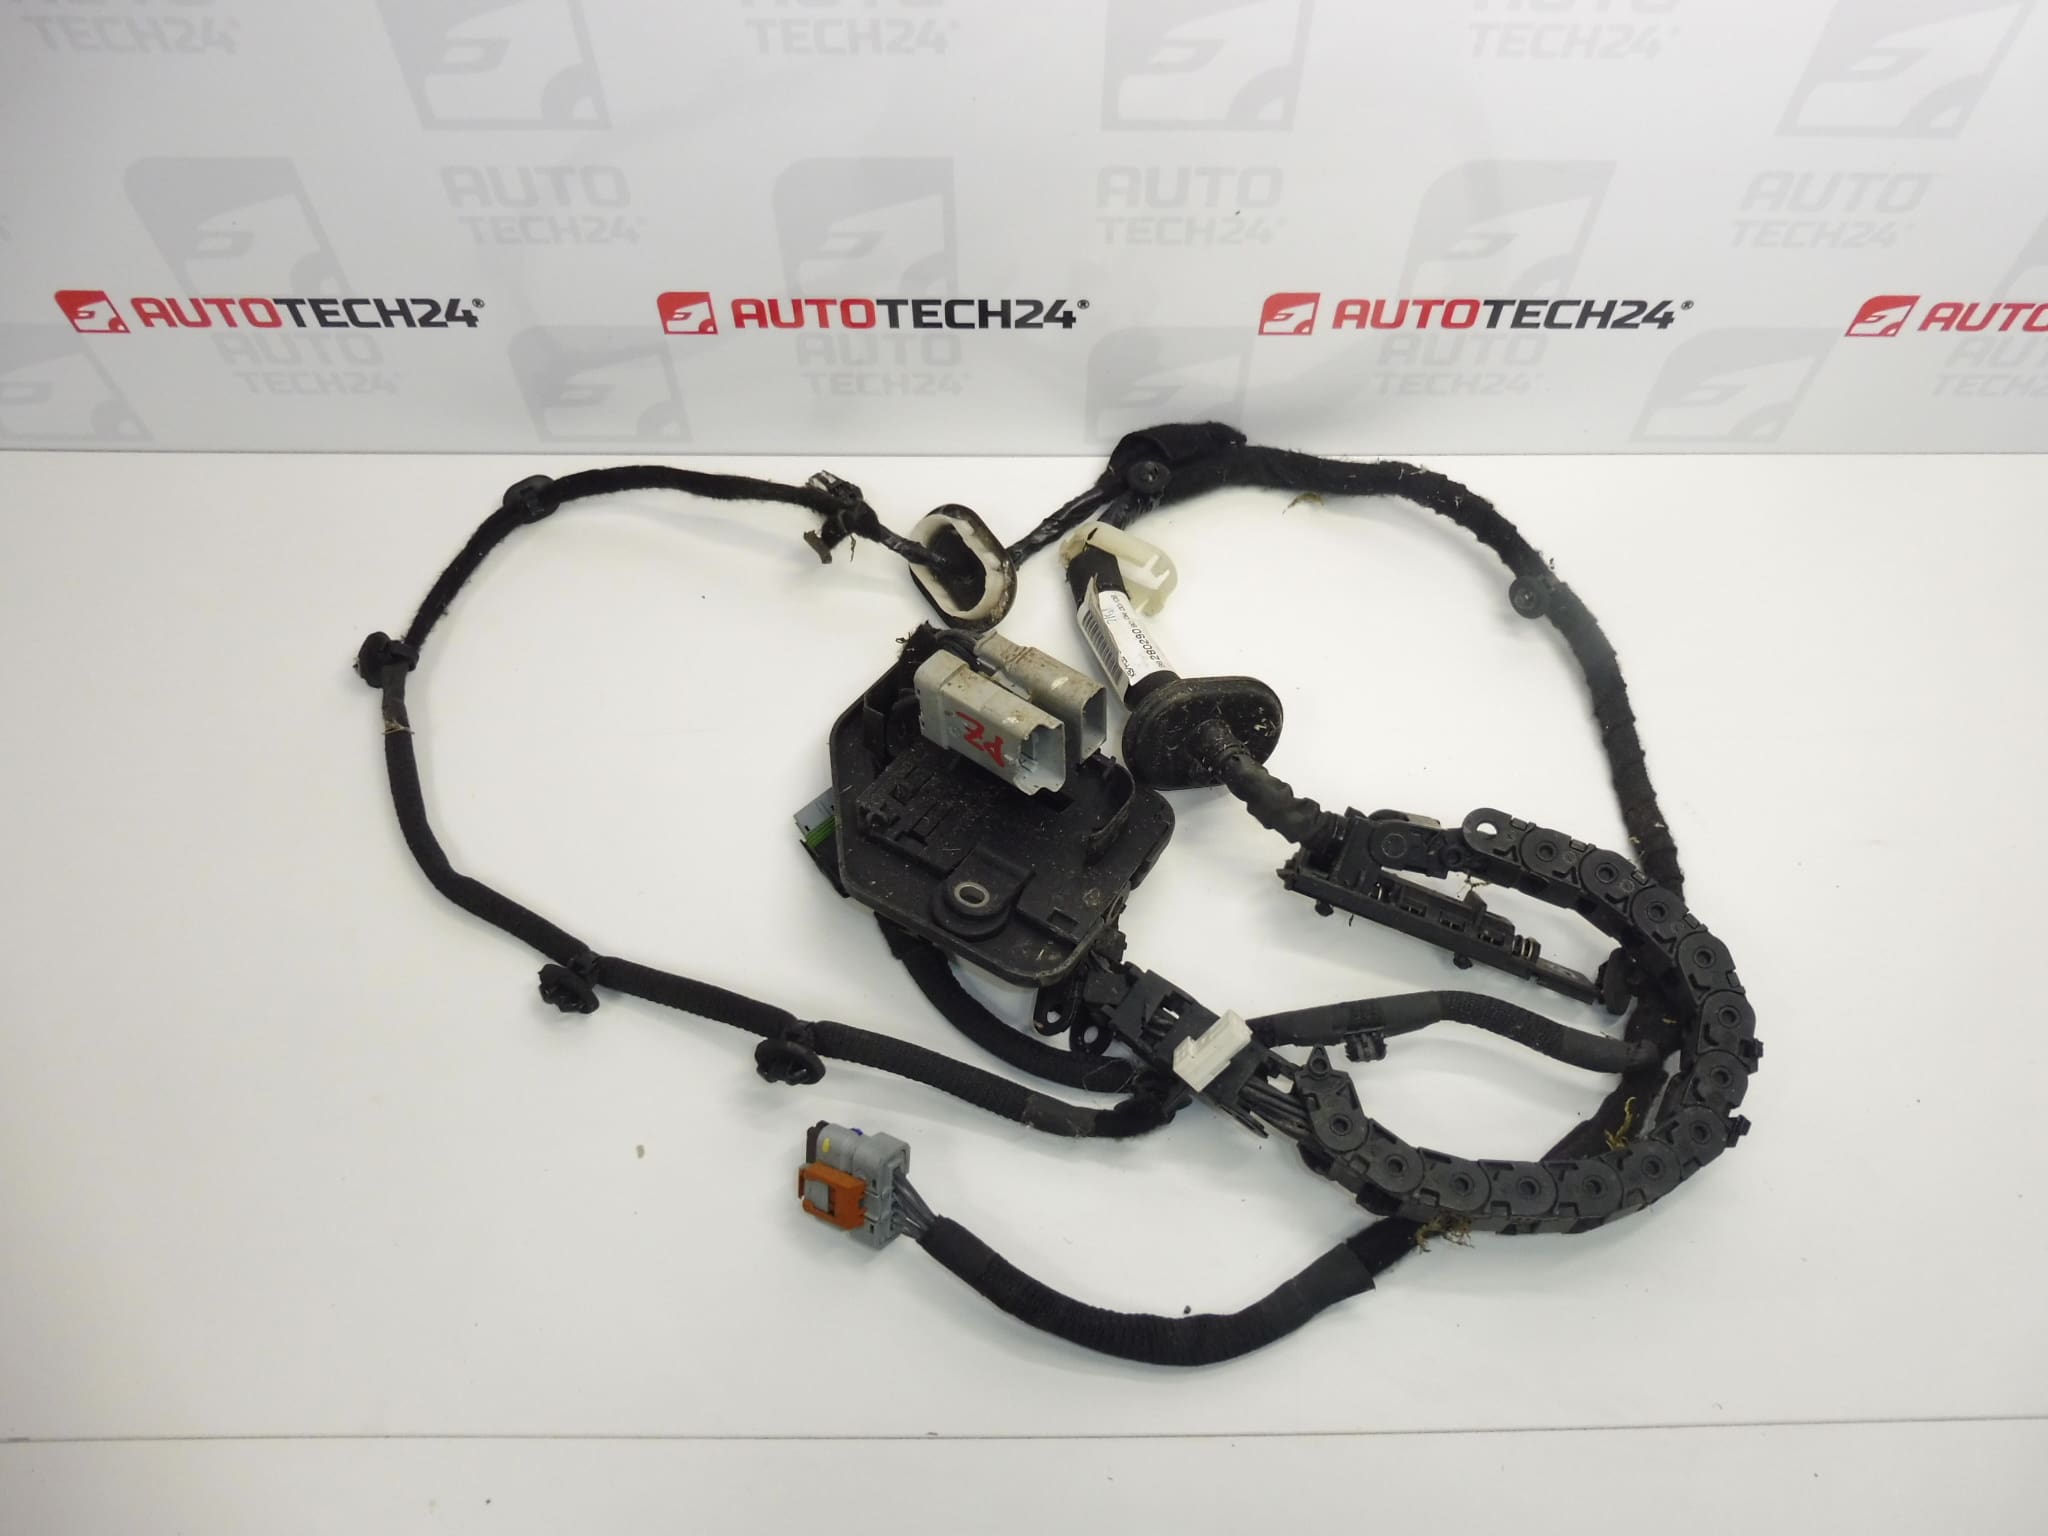
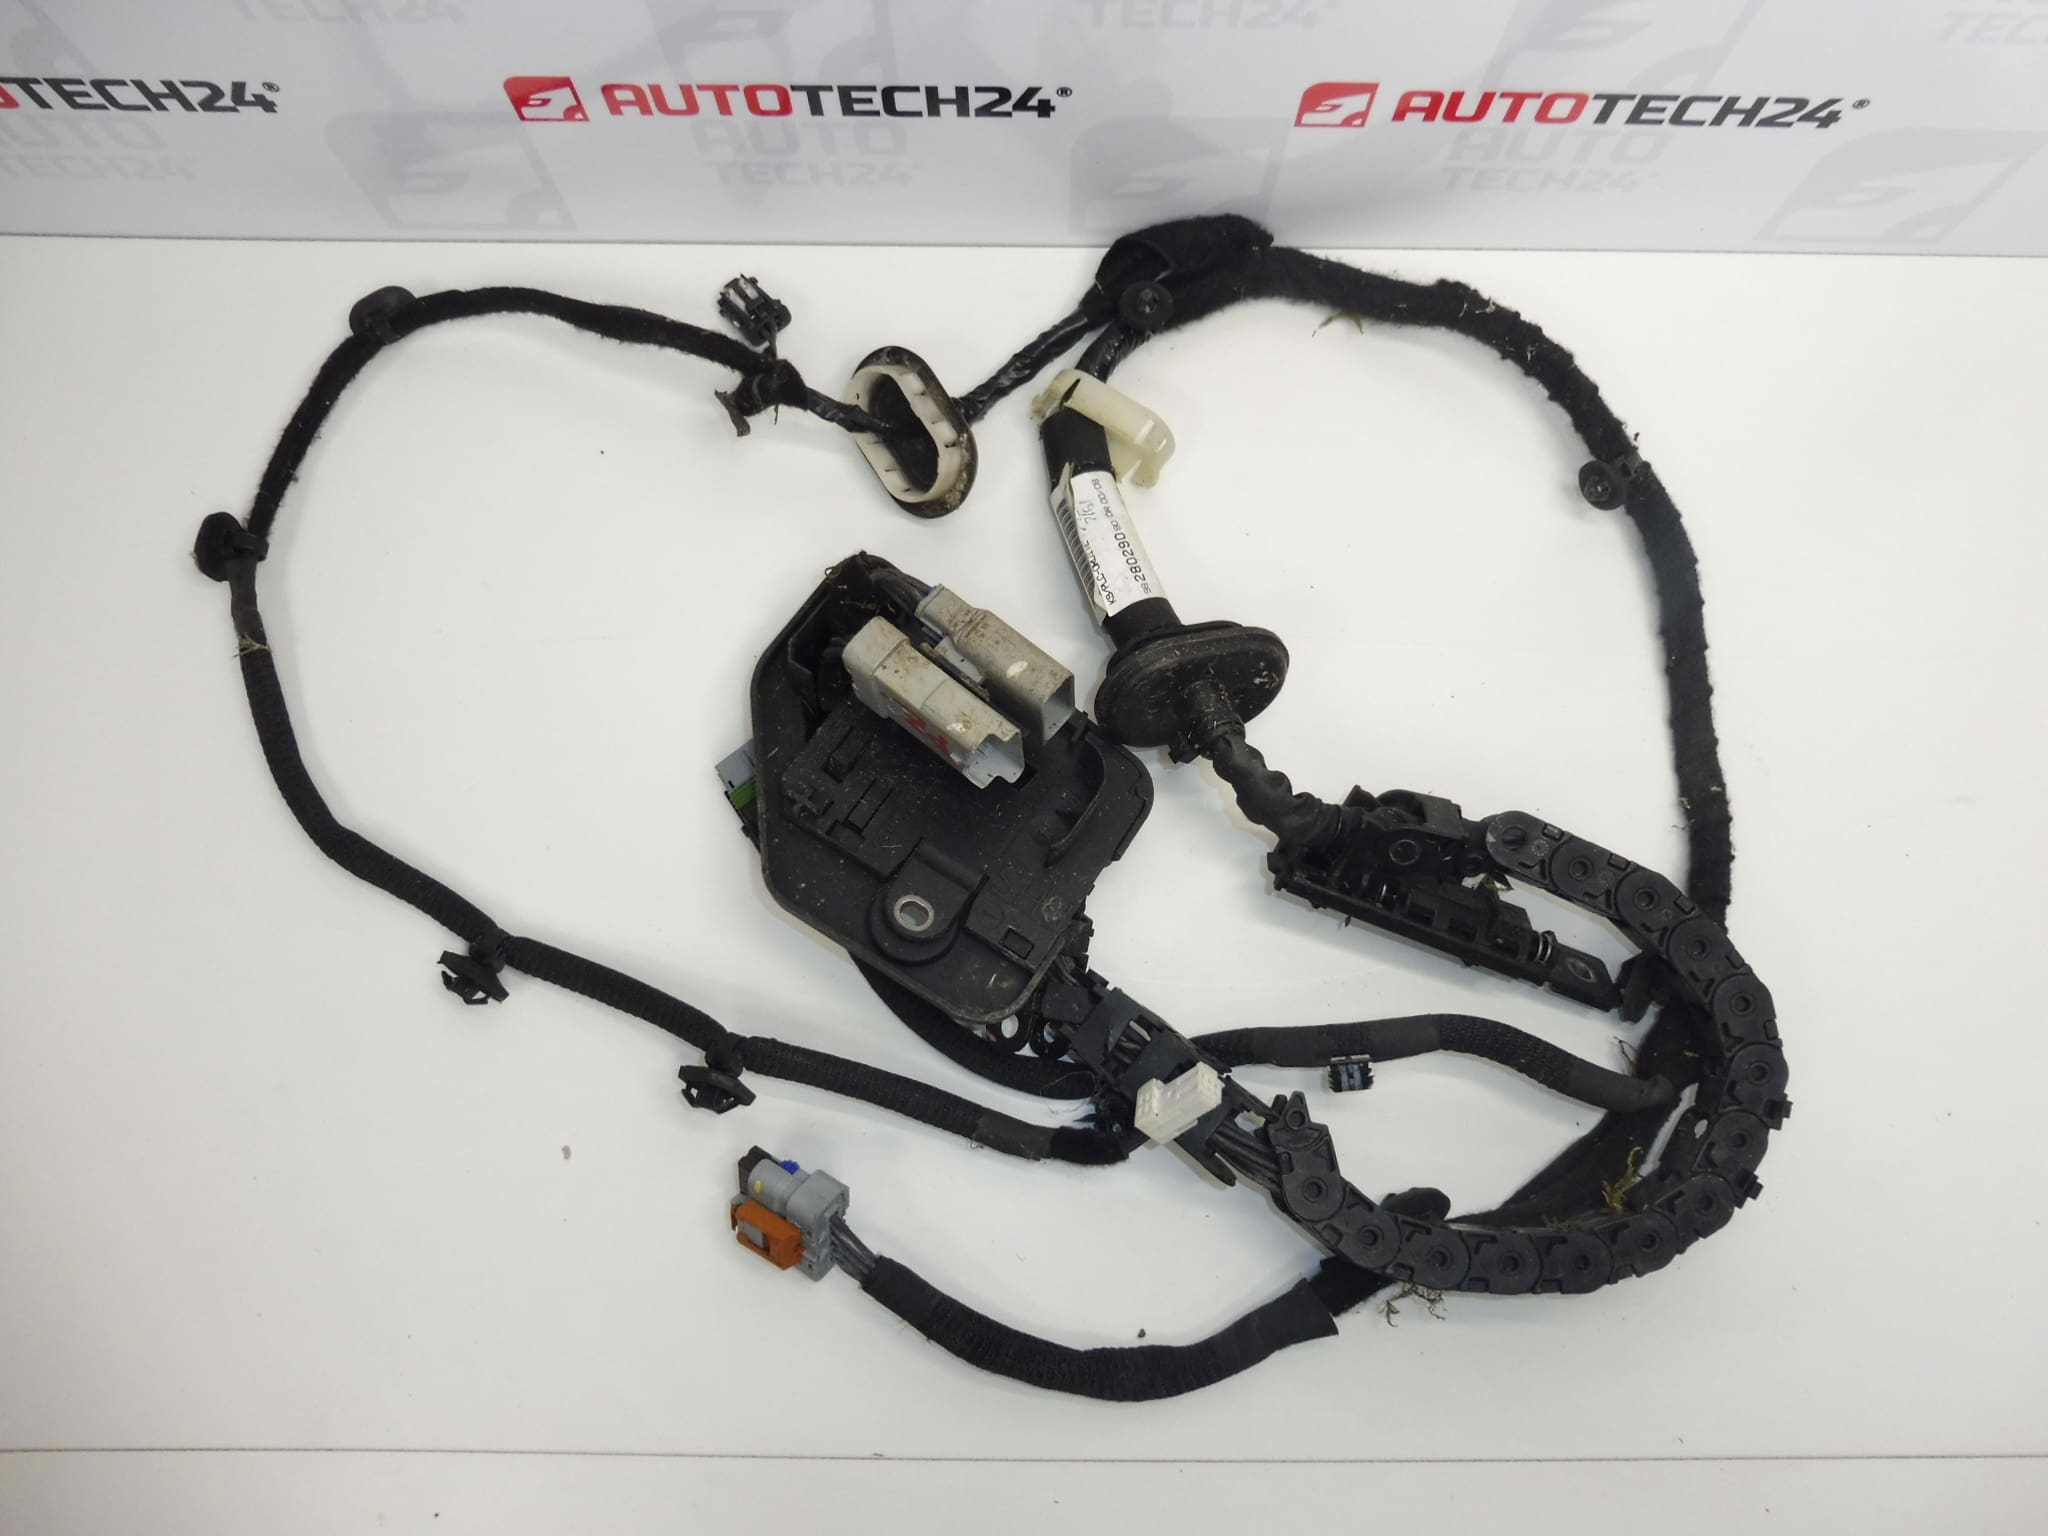
Wiring harness for the right rear door behind the passenger for Citroën Berlingo K9 and Peugeot RIFTER, plus other Stellantis models
Part description
Used rear door wiring harness 9828029080 connects the door components electrically to the vehicle’s wiring system. It is intended for the right rear door behind the passenger and is a replacement option for damaged door wiring. Replacing the complete matching harness can be a practical alternative to repairing individual wires, especially when the damage is more extensive.
When selecting a harness, compare the product number 9828029080, connectors, number and arrangement of contacts, and routing of the individual branches with the harness removed from the vehicle. Matching the model alone is not sufficient, as the door wiring configuration may vary depending on the equipment.
Technical information
- Manufacturer: Stellantis – according to the supplied information.
- Model: Citroën Berlingo K9; FIAT DOBLO III; PEUGEOT RIFTER; Toyota ProAce City. These are the models listed in the supplied information and on the labels; the specific configuration must be compared with the original harness.
- Part type: Door wiring harness.
- Location: Right rear door behind the passenger.
- Condition: Used part.
- Additional numbers: not specified.
Product codes
- Product codes: 9828029080.
Compare the number with the marking on the original part. Also check the physical configuration of the harness to ensure that the connectors, branches, and mounting points match.
Installation recommendations
The following procedure generally applies to replacing a door wiring harness. The exact method for accessing the wiring, disconnecting the electrical system, and removing the trim depends on the specific model and vehicle configuration. Follow the manufacturer’s service procedure.
1) Before installation
- Compare the markings on both harnesses, the shape and locking mechanism of the connectors, the contact arrangement, branch lengths, and the position of clips and any grommets.
- Inspect the insulation, especially at bends. Check for wires that are chafed, pinched, or exposed.
- Check the contacts and connector housings. They should not be corroded, deformed, or show signs of overheating.
- Also inspect the mating connectors and the wiring route in the vehicle. A damaged mating connector or sharp edge can damage the replacement harness too.
2) Tools and materials required
- Basic hand tools suitable for the trim and wiring fasteners.
- Plastic trim removal tools and a suitable tool for releasing connector locks.
- A flashlight, protective gloves, and suitable products for gently cleaning the area around the connectors.
- If required, a multimeter for checking the disconnected harness and a means of marking the individual branches.
3) Step-by-step installation procedure
- Park the vehicle safely, secure it against movement, and prepare access to the door being repaired.
- Switch off the ignition and disconnect the battery according to the manufacturer’s procedure, including the required time for the electronics to go to sleep.
- Following the service instructions, carefully remove the trim and any other components needed to access the harness. Do not force hidden clips.
- Take photos of the original wiring route, branch positions, and mounting points. If necessary, mark the individual connections.
- Release the connector locks and disconnect the connectors by pulling on their housings, not on the wires.
- Release the clips and any grommets one by one. Remove the original harness without damaging surrounding components.
- Lay the two harnesses side by side and compare their configurations again. If the connections or branch routing differ, do not proceed with installation until the discrepancy has been clarified.
- Check the wiring route, remove any dirt, and address any areas where the wiring may chafe or water may enter.
- Place the replacement harness along the original route. Fit the clips and any grommets so that the wiring is not stretched, twisted, or within reach of moving mechanisms.
- Connect the matching connectors and check that they are fully locked. Do not force a connector that does not fit easily.
- Before refitting the trim, check the harness routing while carefully moving the door. Then secure all removed protective components and refit the trim.
- Reconnect the battery according to the manufacturer’s instructions and check the operation of the electrical components connected to the harness.
4) Post-installation checks and function verification
- Test the electrical functions of the door according to the vehicle’s actual equipment.
- Check operation repeatedly with the door both closed and open. Movement must not cause interruptions or put strain on the wiring.
- Check that the trim, connectors, clips, and any grommets are properly seated. The door must move without catching the harness.
- If the fault persists, inspect the related circuit using the vehicle wiring diagram. The cause may not be the harness itself. For this repair, the main check is a functional test; a test drive is not a substitute.
5) Common installation errors and how to avoid them
- Choosing based only on the vehicle model: also compare the product number and the actual connector configuration.
- Pulling on the wires: release the lock first and handle only the connector housing.
- Incorrect harness routing: refer to photos of the original routing and maintain the necessary slack in moving sections.
- Pinching the wiring with the trim: before tightening it, check that no branch lies across a mounting point or edge.
- Grommet or connector not fully seated: check that it is properly fitted and locked to help prevent moisture ingress and intermittent contact.
- Failure to address the cause of the original fault: before completing the repair, resolve any water ingress, damaged mounting points, or areas where the wiring is chafing.
Reasons why the part may become damaged
The following are common causes of damage to door wiring harnesses. They are not a description of the condition of this specific item.
- Repeated bending as the door moves can gradually damage the insulation and break wires in the stressed section.
- Chafing against edges or mechanisms occurs especially when clips are loose or the harness is routed incorrectly.
- Moisture and water ingress can cause contact corrosion and weaken the electrical connection.
- Pinching during a previous repair or door damage can deform the wires, connectors, and their locking mechanisms.
- Improper work on the wiring, unsuitable splices, and inadequate insulation increase the risk of interruptions and short circuits.
- A fault in the connected electrical circuit can cause contacts or wires to overheat; it is therefore important to eliminate the cause as well before replacing the harness.