Description
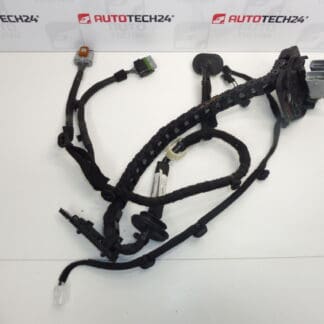
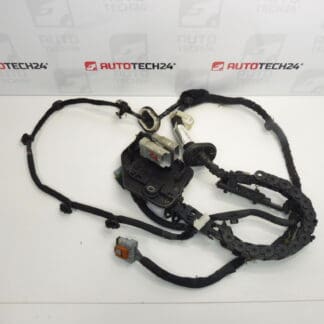
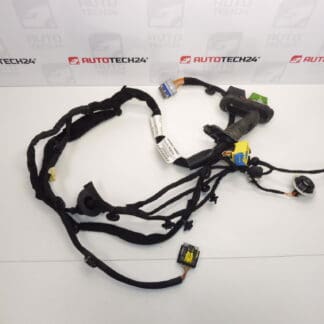
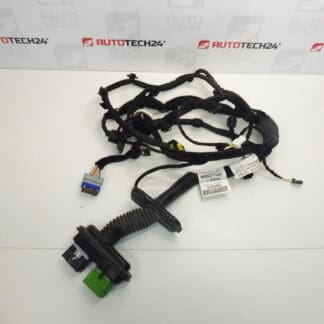
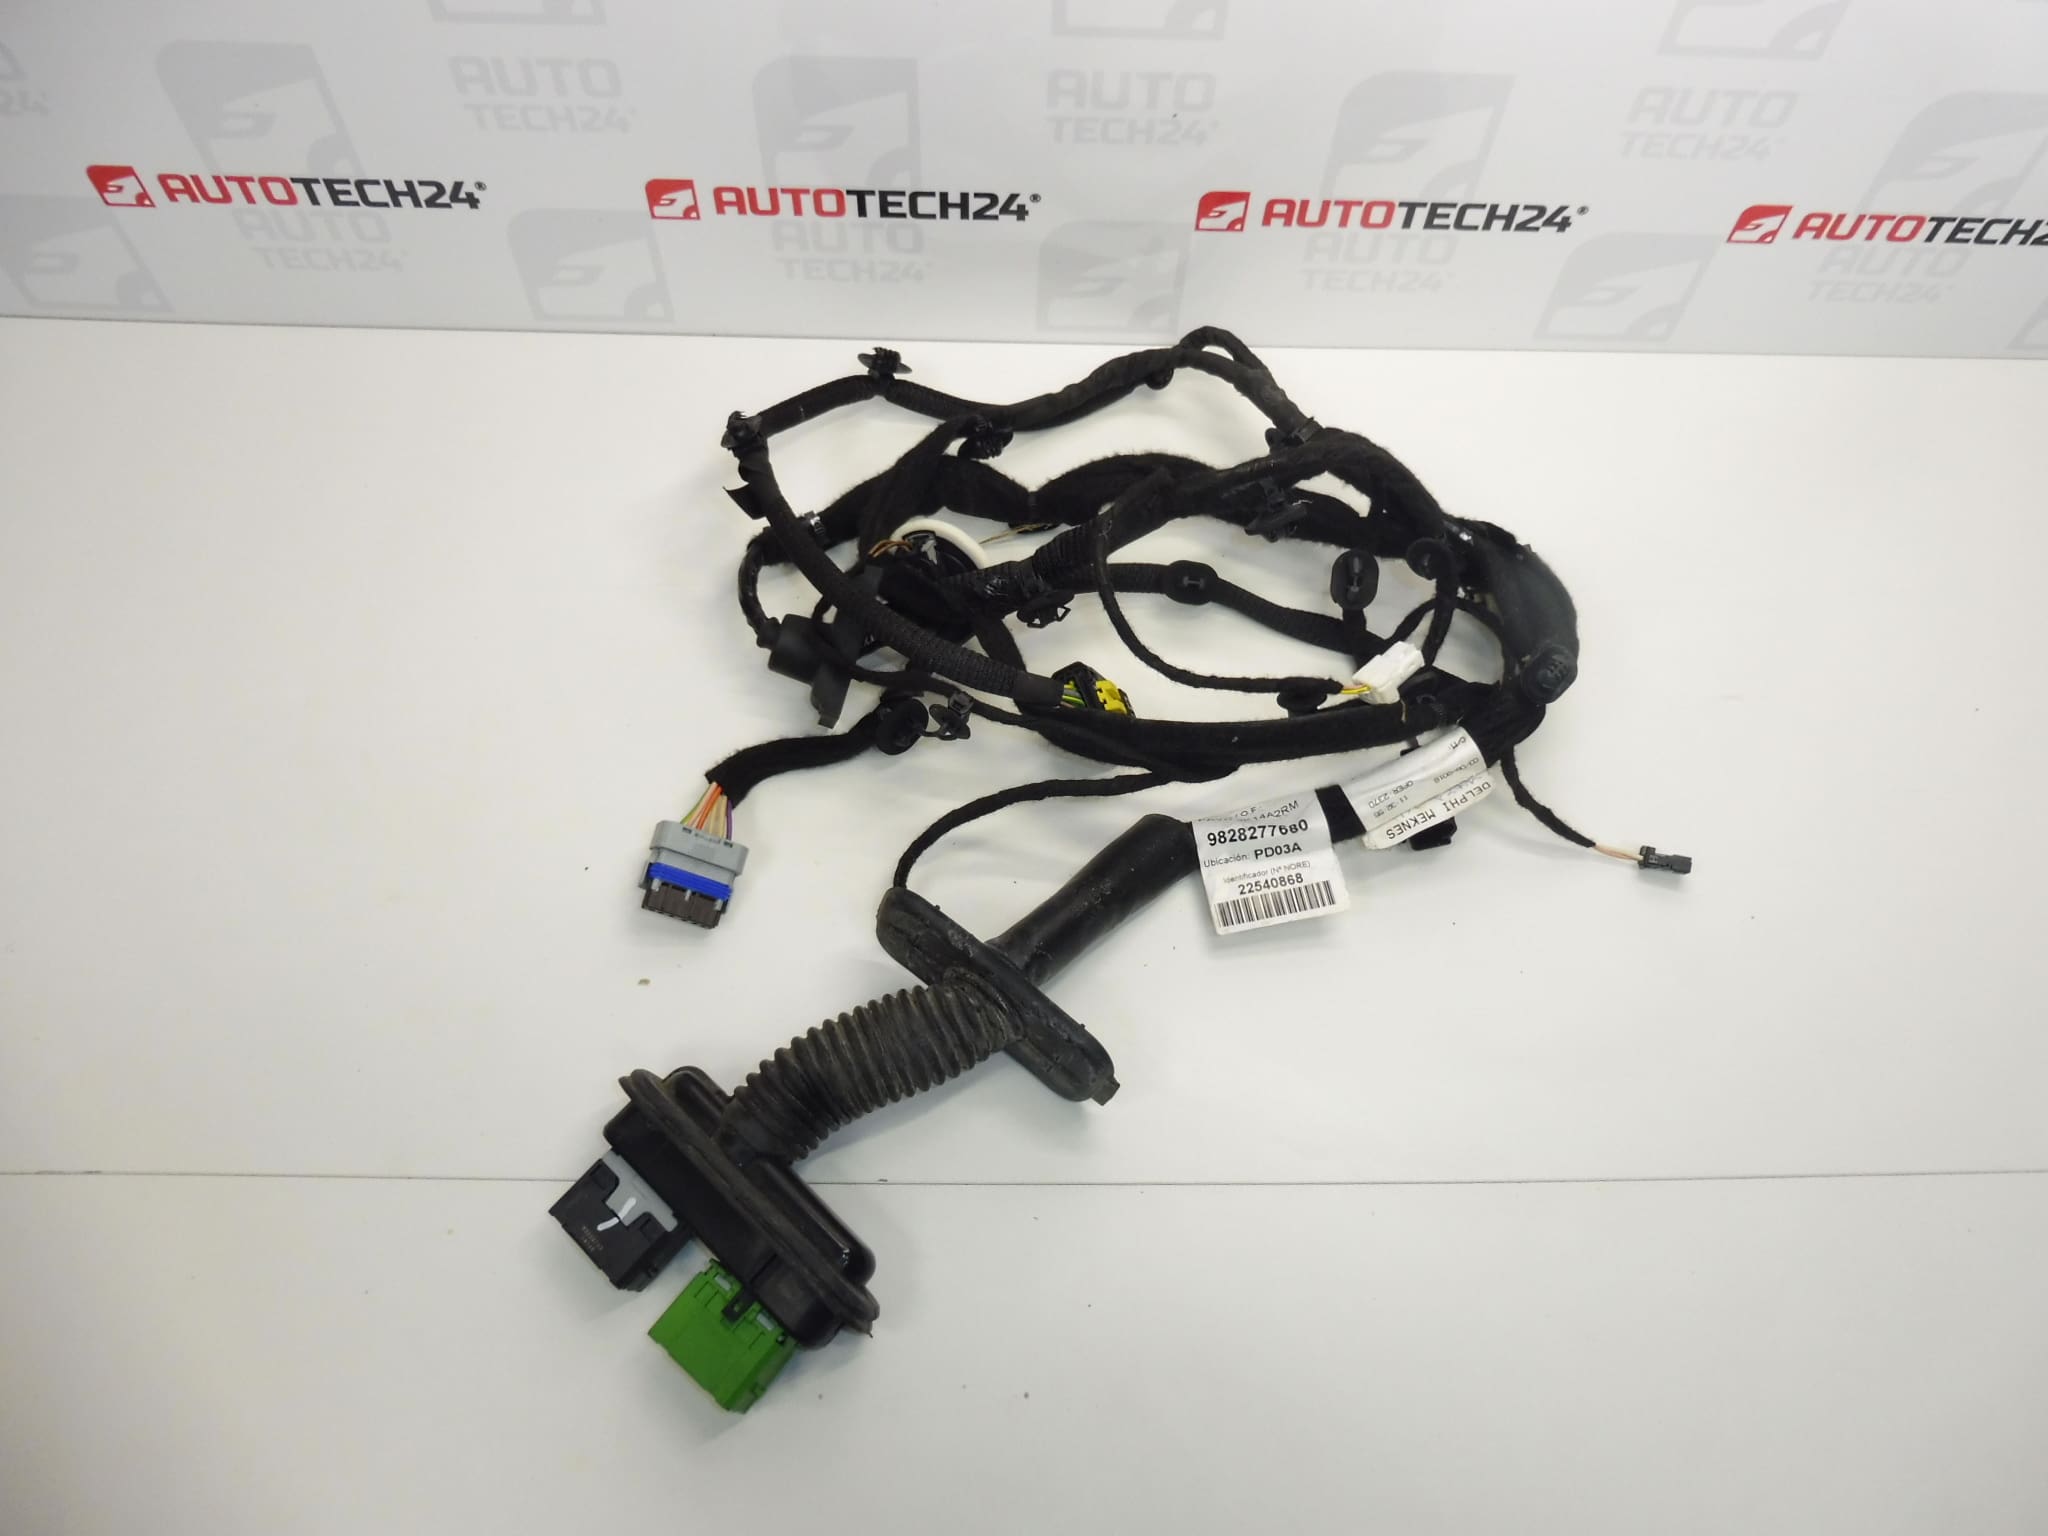
Front passenger door wiring harness for Citroën Berlingo K9 and Peugeot RIFTER vehicles, plus other Stellantis models
Part description
The used front passenger door wiring harness connects the door’s electrical components to the vehicle’s electrical system. It is a suitable solution when replacing a harness with damaged wires, insulation, or connectors. When looking for a replacement, check the markings 9828277680 and 9828277780 first, and compare its configuration with the original part.
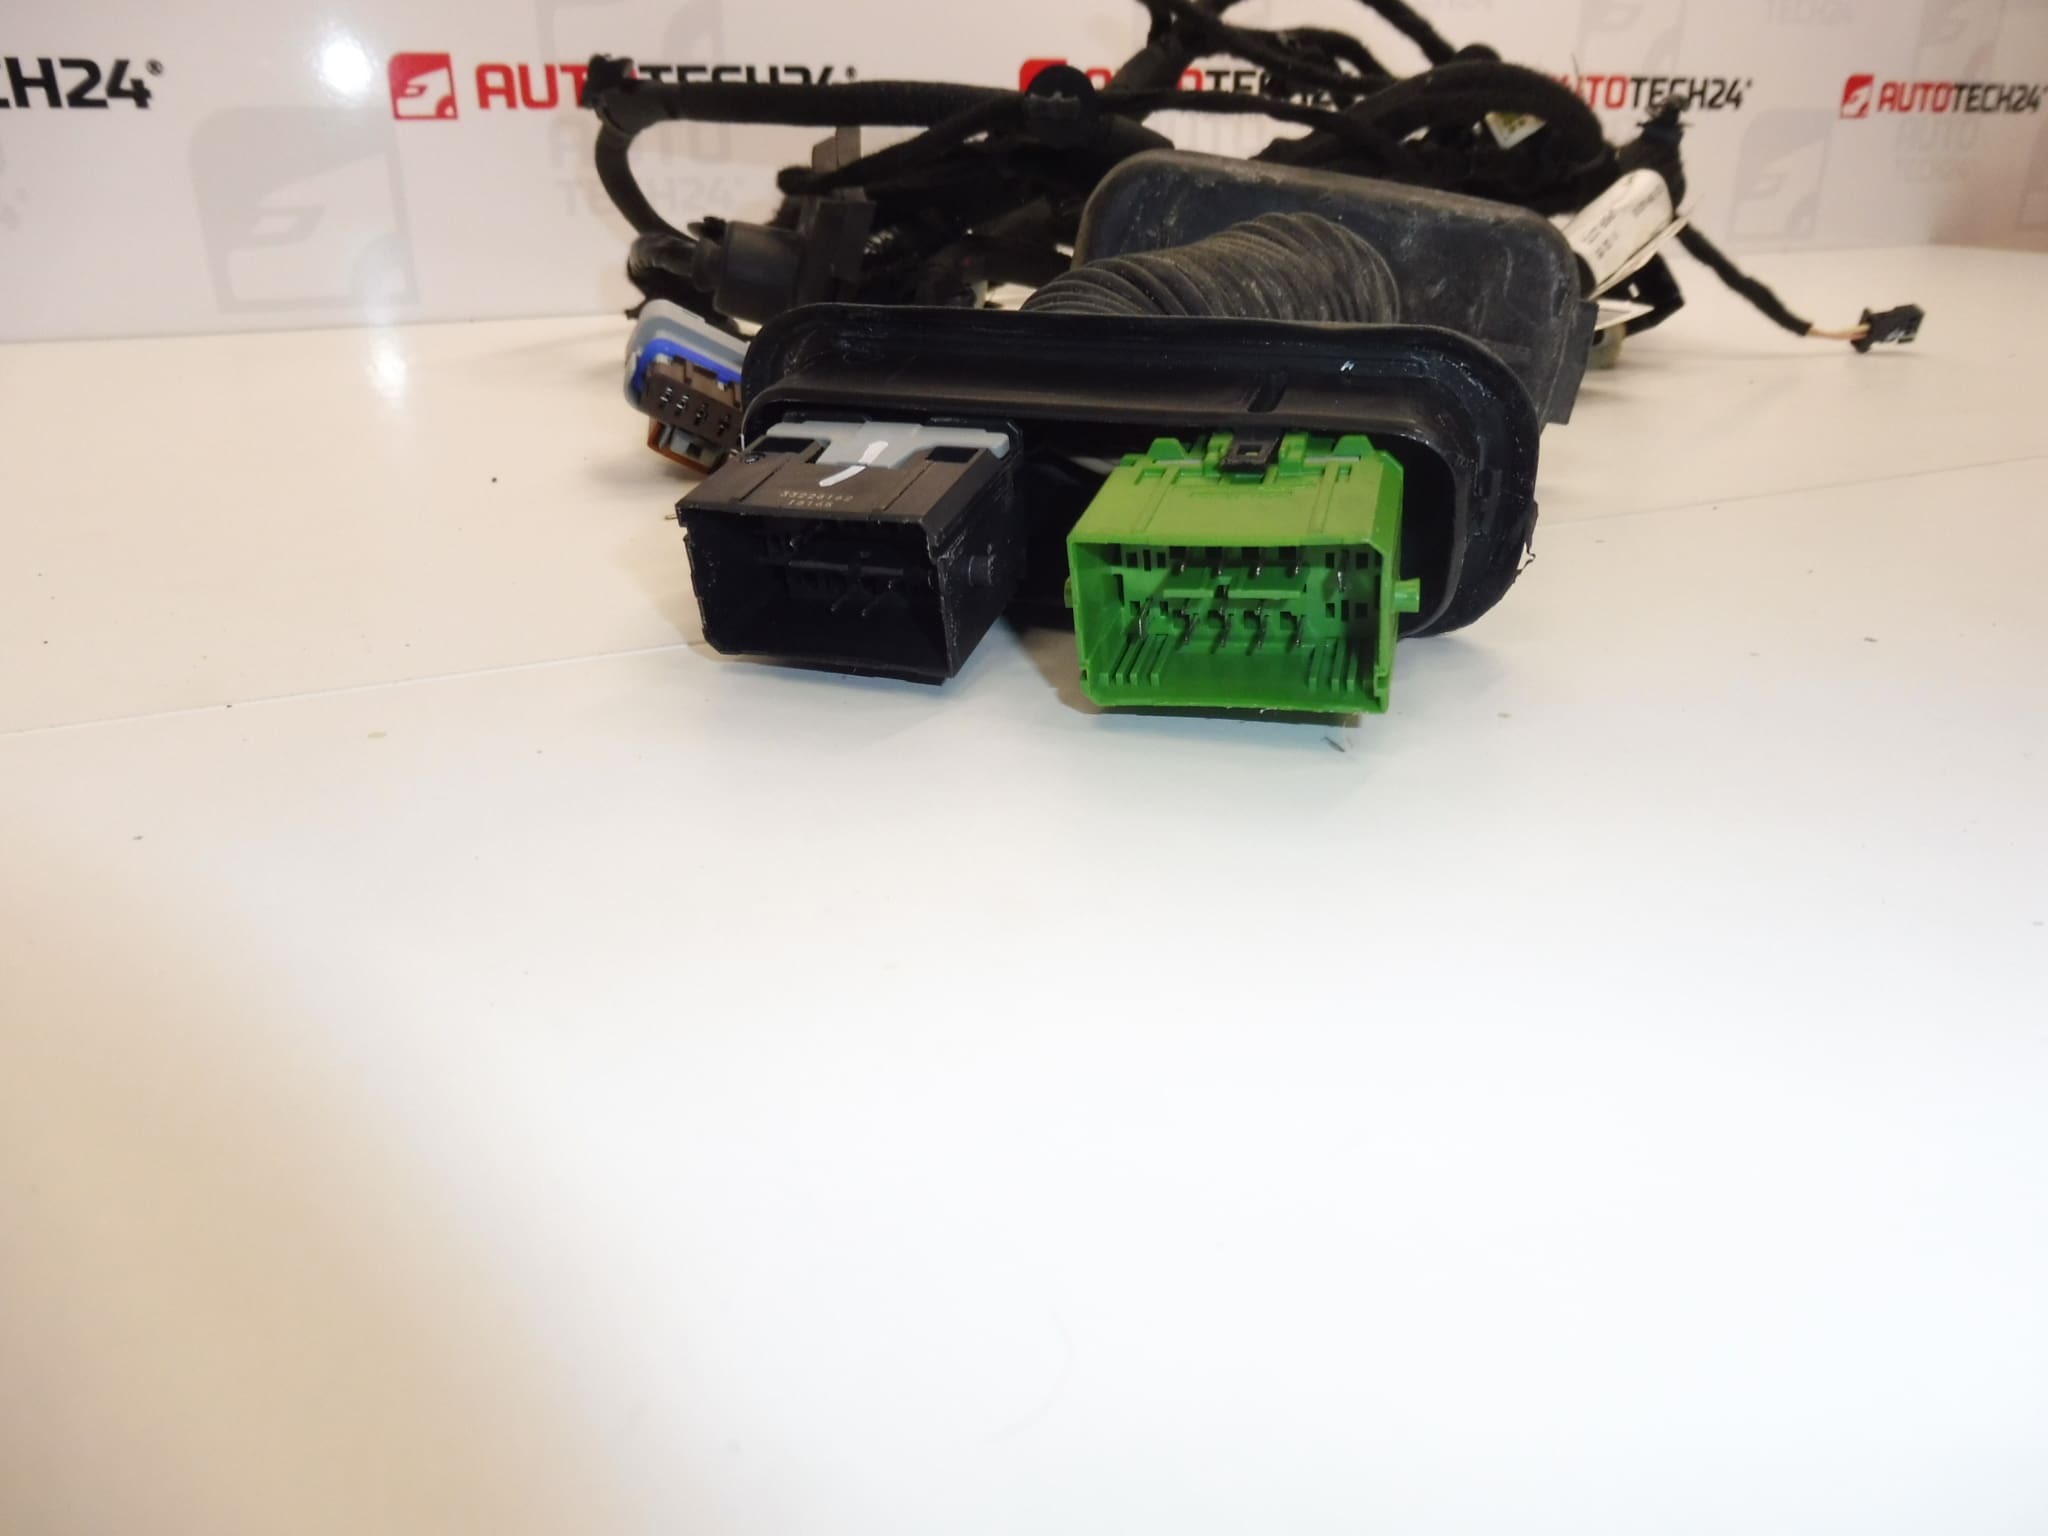
Door harnesses also depend on the vehicle’s equipment: the same model may not have identical connectors and wiring in every configuration. Before purchase, therefore, compare the part numbers, the number and shape of the connectors, the contact arrangement, and the layout of the individual branches. A matching harness allows damaged wiring to be replaced without improvised modifications to the wiring.
Technical information
- Manufacturer: not specified; the source materials state Stellantis / CITROEN / PEUGEOT.
- Model: Citroën Berlingo K9, FIAT DOBLO III, PEUGEOT RIFTER, Toyota ProAce City – models listed in the source materials and on the labels; the specific configuration must be compared with the original harness.
- Part type: door wiring harness.
- Location: front passenger door.
- Condition: used part.
- Product numbers: 9828277680, 9828277780.
- Other numbers: not specified.
- Specific equipment and wiring: not specified.
Product codes
Product codes: 9828277680, 9828277780.
Both numbers are listed in the source materials for this part. Listing these codes alone does not confirm that all harness variants are interchangeable; the connectors, branch layout, and configuration for the vehicle’s equipment must also match.
Installation recommendations
The following general procedure applies to this type of part. The exact procedure for removing the trim, accessing the connectors, and initializing electrical functions depends on the specific model and vehicle configuration. Follow the manufacturer’s service procedure.
1) Before installation
- Compare the markings on the old and replacement harnesses, branch lengths, connectors, connector keying, and contact arrangement.
- Inspect the used part along its entire accessible length. Check the insulation, protective sleeves, grommets, and clips.
- Check that the contacts are not bent, pushed in, corroded, or burnt, and that the connectors have functioning locks.
- Determine the cause of the original fault. Damage to the mating connector, water ingress, or incorrect routing of the wiring may also damage the replacement harness.
2) Tools and materials required
- Standard hand tools suitable for the trim and bracket fasteners.
- Plastic tools for gently removing the trim and releasing clips.
- A flashlight, items for labeling connectors, and a phone for recording the original routing.
- A multimeter for any measurements required according to the wiring diagram; measure resistance and continuity only on a disconnected, de-energized circuit.
- Suitable electrical contact cleaner, if cleaning is required.
3) Step-by-step installation procedure
- Park the vehicle safely, switch off the ignition, and prepare the door for work according to the service procedure.
- Allow the electronics to enter sleep mode and disconnect the battery as specified by the vehicle manufacturer.
- Carefully remove the trim and any other parts required to access the harness. Do not pull on the trim if it is still connected by wires.
- Photograph the original harness routing, the position of the clips, and the connections for each branch. Label similar-looking connectors.
- Release the connector locks and disconnect the connectors by pulling on their bodies, not on the wires.
- Carefully release the clips, protective grommets, and brackets. Remove the original harness without using force.
- Place the two harnesses side by side and compare their configurations again. If the connectors or branch layout do not match, do not proceed with the installation or modify the wiring without a wiring diagram.
- Check the mating connectors and wiring route. Address the cause of any chafing or water ingress and repair damaged contacts.
- Route the replacement harness along the original path, seat the grommets, and secure it at the designated points. Leave sufficient natural slack where the door moves.
- Connect the connectors and check that their locks are engaged. The wiring must not interfere with moving mechanisms or be pinched under the trim fasteners.
- Reinstall any protective layers and removed parts according to the manufacturer’s procedure. Reconnect the battery and carry out any required function reset or initialization for the vehicle.
4) Post-installation checks and function verification
- Test all electrical functions of the relevant door that are fitted to the vehicle.
- Slowly open and close the door several times. Check that the harness does not stretch or get pinched and that no functions cut out.
- Check that the grommets, trim, and protective layers are correctly seated and that the door closes securely.
- An on-site check is generally sufficient to verify the electrical connections. If a short test drive is required, carry it out only after installation is complete; listen for unusual noises and check the behavior of the repaired functions.
5) Common installation mistakes and how to avoid them
- Choosing the wrong harness variant: compare not only the vehicle model but also the part numbers, connectors, and contact arrangement.
- Pulling on the wires: always release the lock first and handle the connector body.
- Wiring that is stretched or pinched: follow the original route and check for slack as the door moves.
- Grommet not fully seated: check that it fits properly to protect the wiring from chafing and water ingress.
- Leaving the original cause of the fault unaddressed: before completing the repair, address water ingress, damaged mating connectors, or interference with the door mechanism.
Reasons why the part becomes damaged
The following are common causes of damage to door wiring harnesses in general. They are not a description of any defects found on this specific item.
- Repeated bending as the door is opened can gradually lead to wire fatigue and breakage.
- Insulation chafing occurs when clips are loose, a grommet is damaged, or the harness is routed incorrectly.
- Moisture and contact corrosion can cause increased contact resistance and intermittent electrical failures.
- Unprofessional removal or repair can damage connector locks, contacts, and individual wires.
- Pinched wiring or door deformation can damage both the insulation and the wires themselves.
- An electrical fault in a connected circuit can cause excessive heat and damage the wiring or connectors.