Description
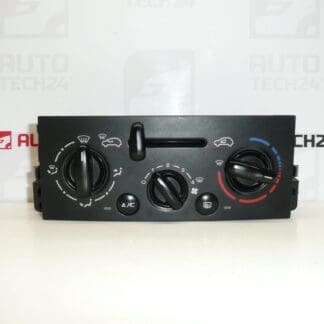
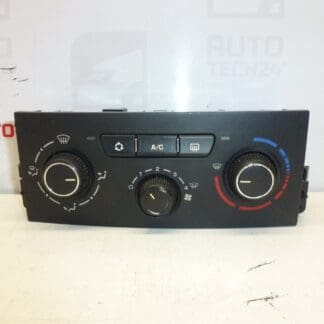
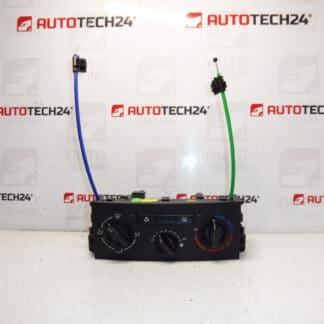
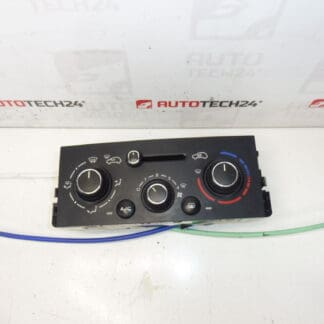
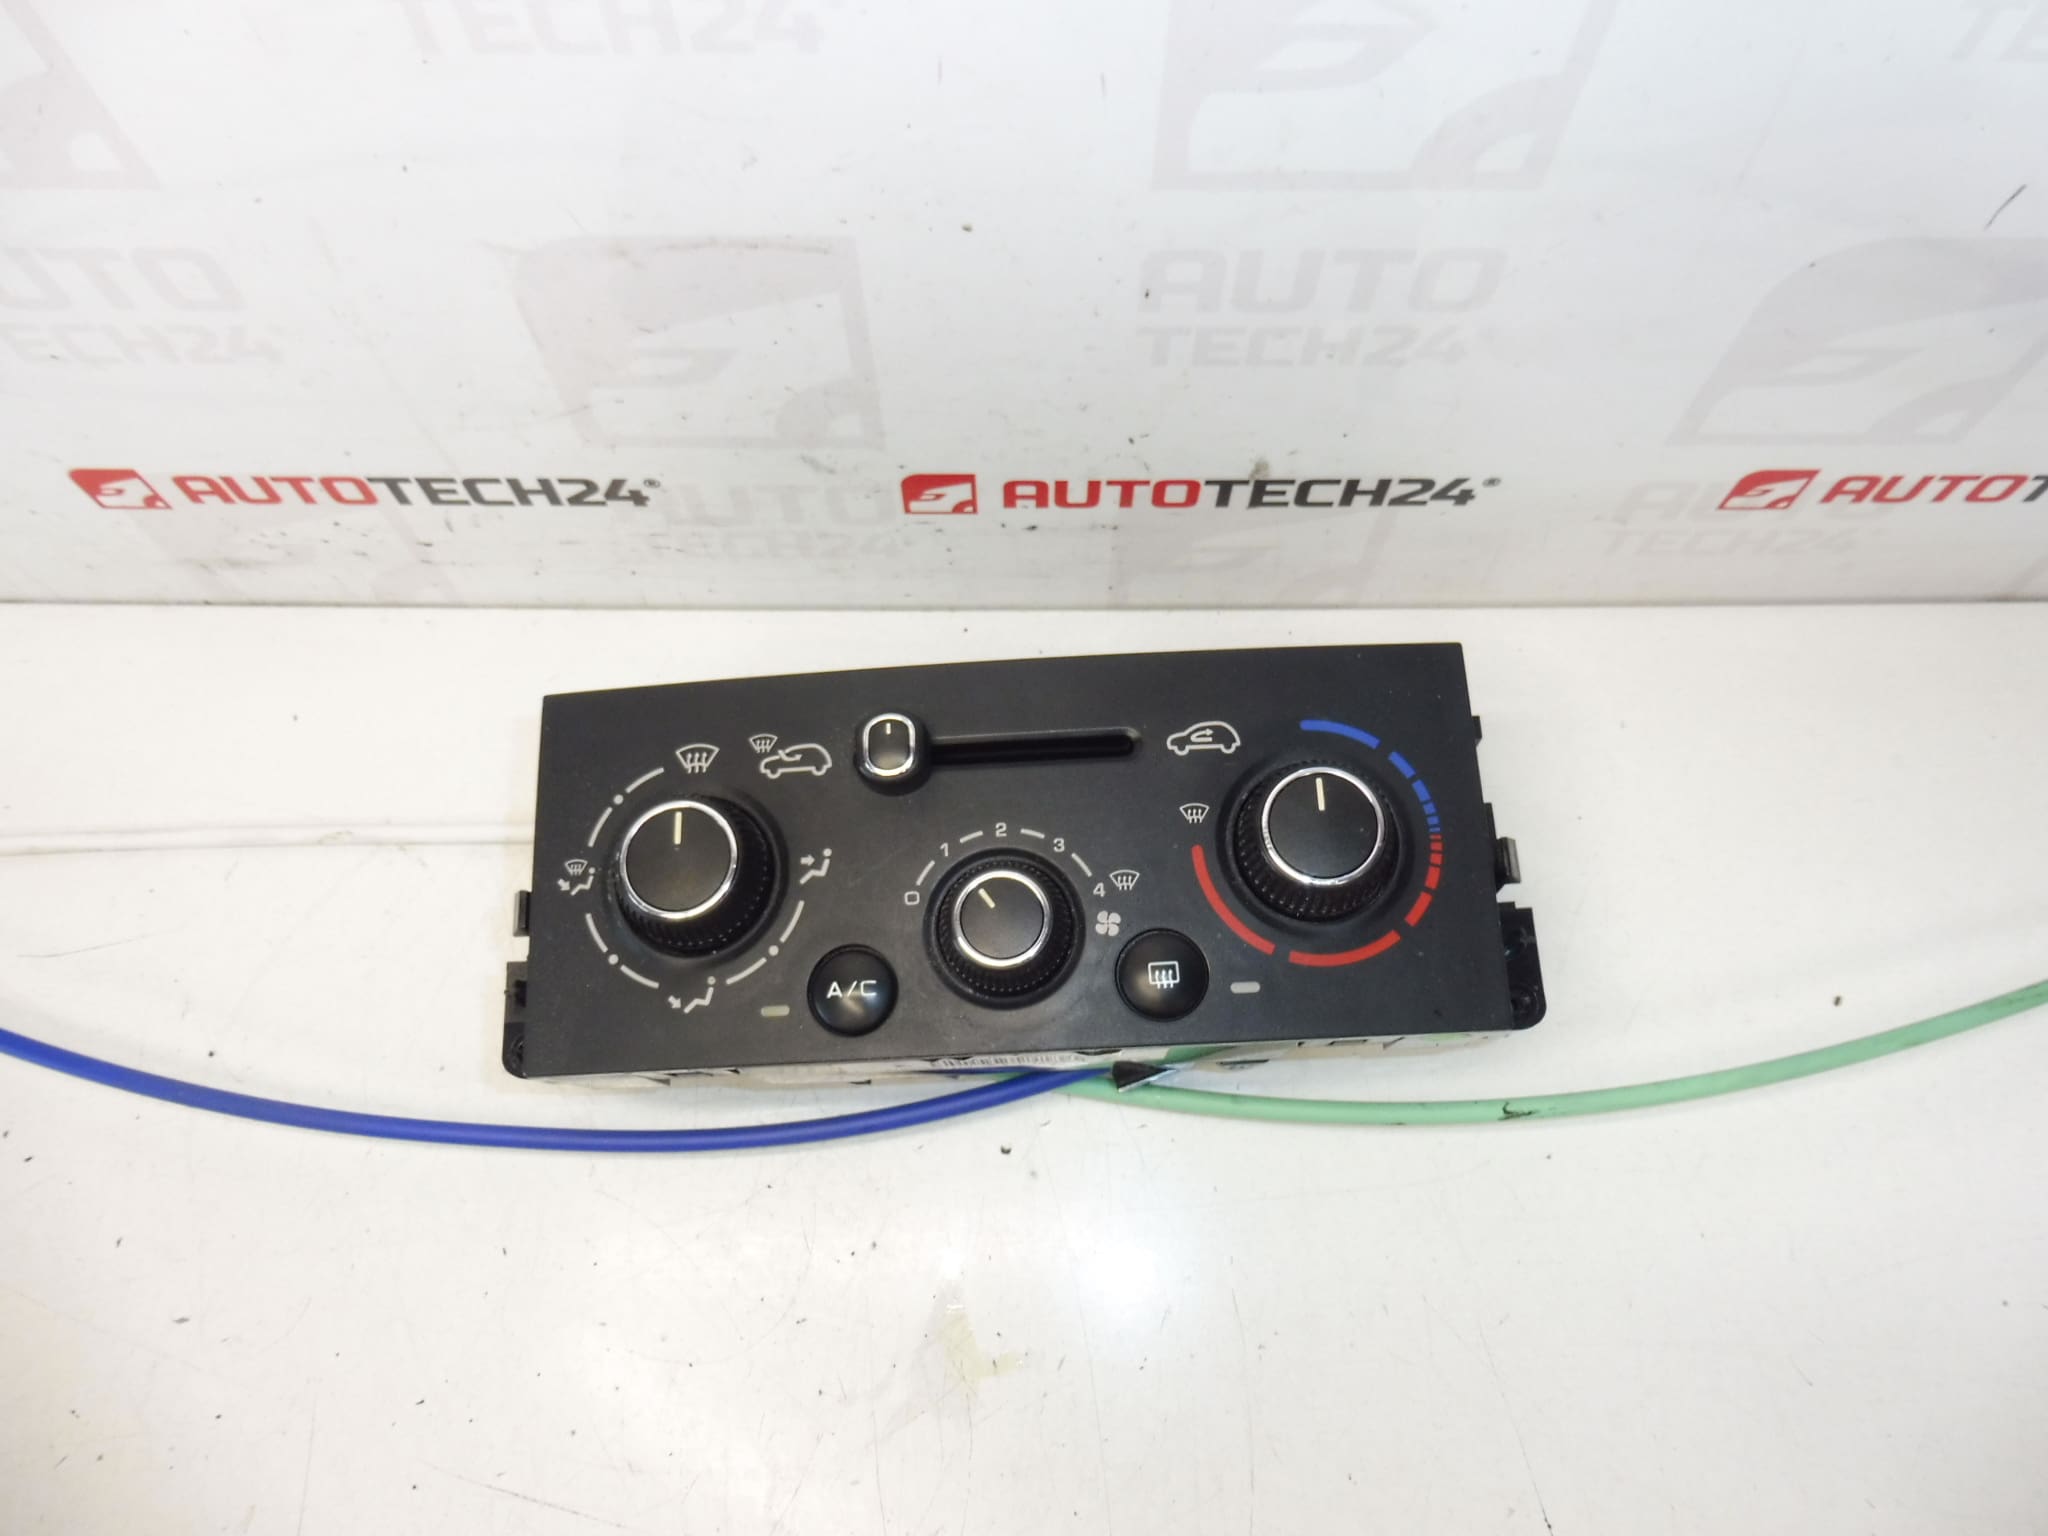
Heating and Air Conditioning Control For Peugeot 207 Vehicles. Manual Air Supply Control. Cable-Operated Control – 6451TP
This replacement manual heating and air conditioning control is designed for Peugeot 207 models with cable-actuated HVAC systems. It provides reliable regulation of airflow direction and basic climate functions through mechanical cables, making it an economical and straightforward repair for workshops and DIY car owners. Searchable by part numbers 6451TP, 6452Q6 and N108224Q, this unit is ideal when original knobs, levers or cable connections become worn or unresponsive.
Key Features And Benefits
- Direct fit for Peugeot 207 vehicles with manual HVAC controls—no electronic coding required.
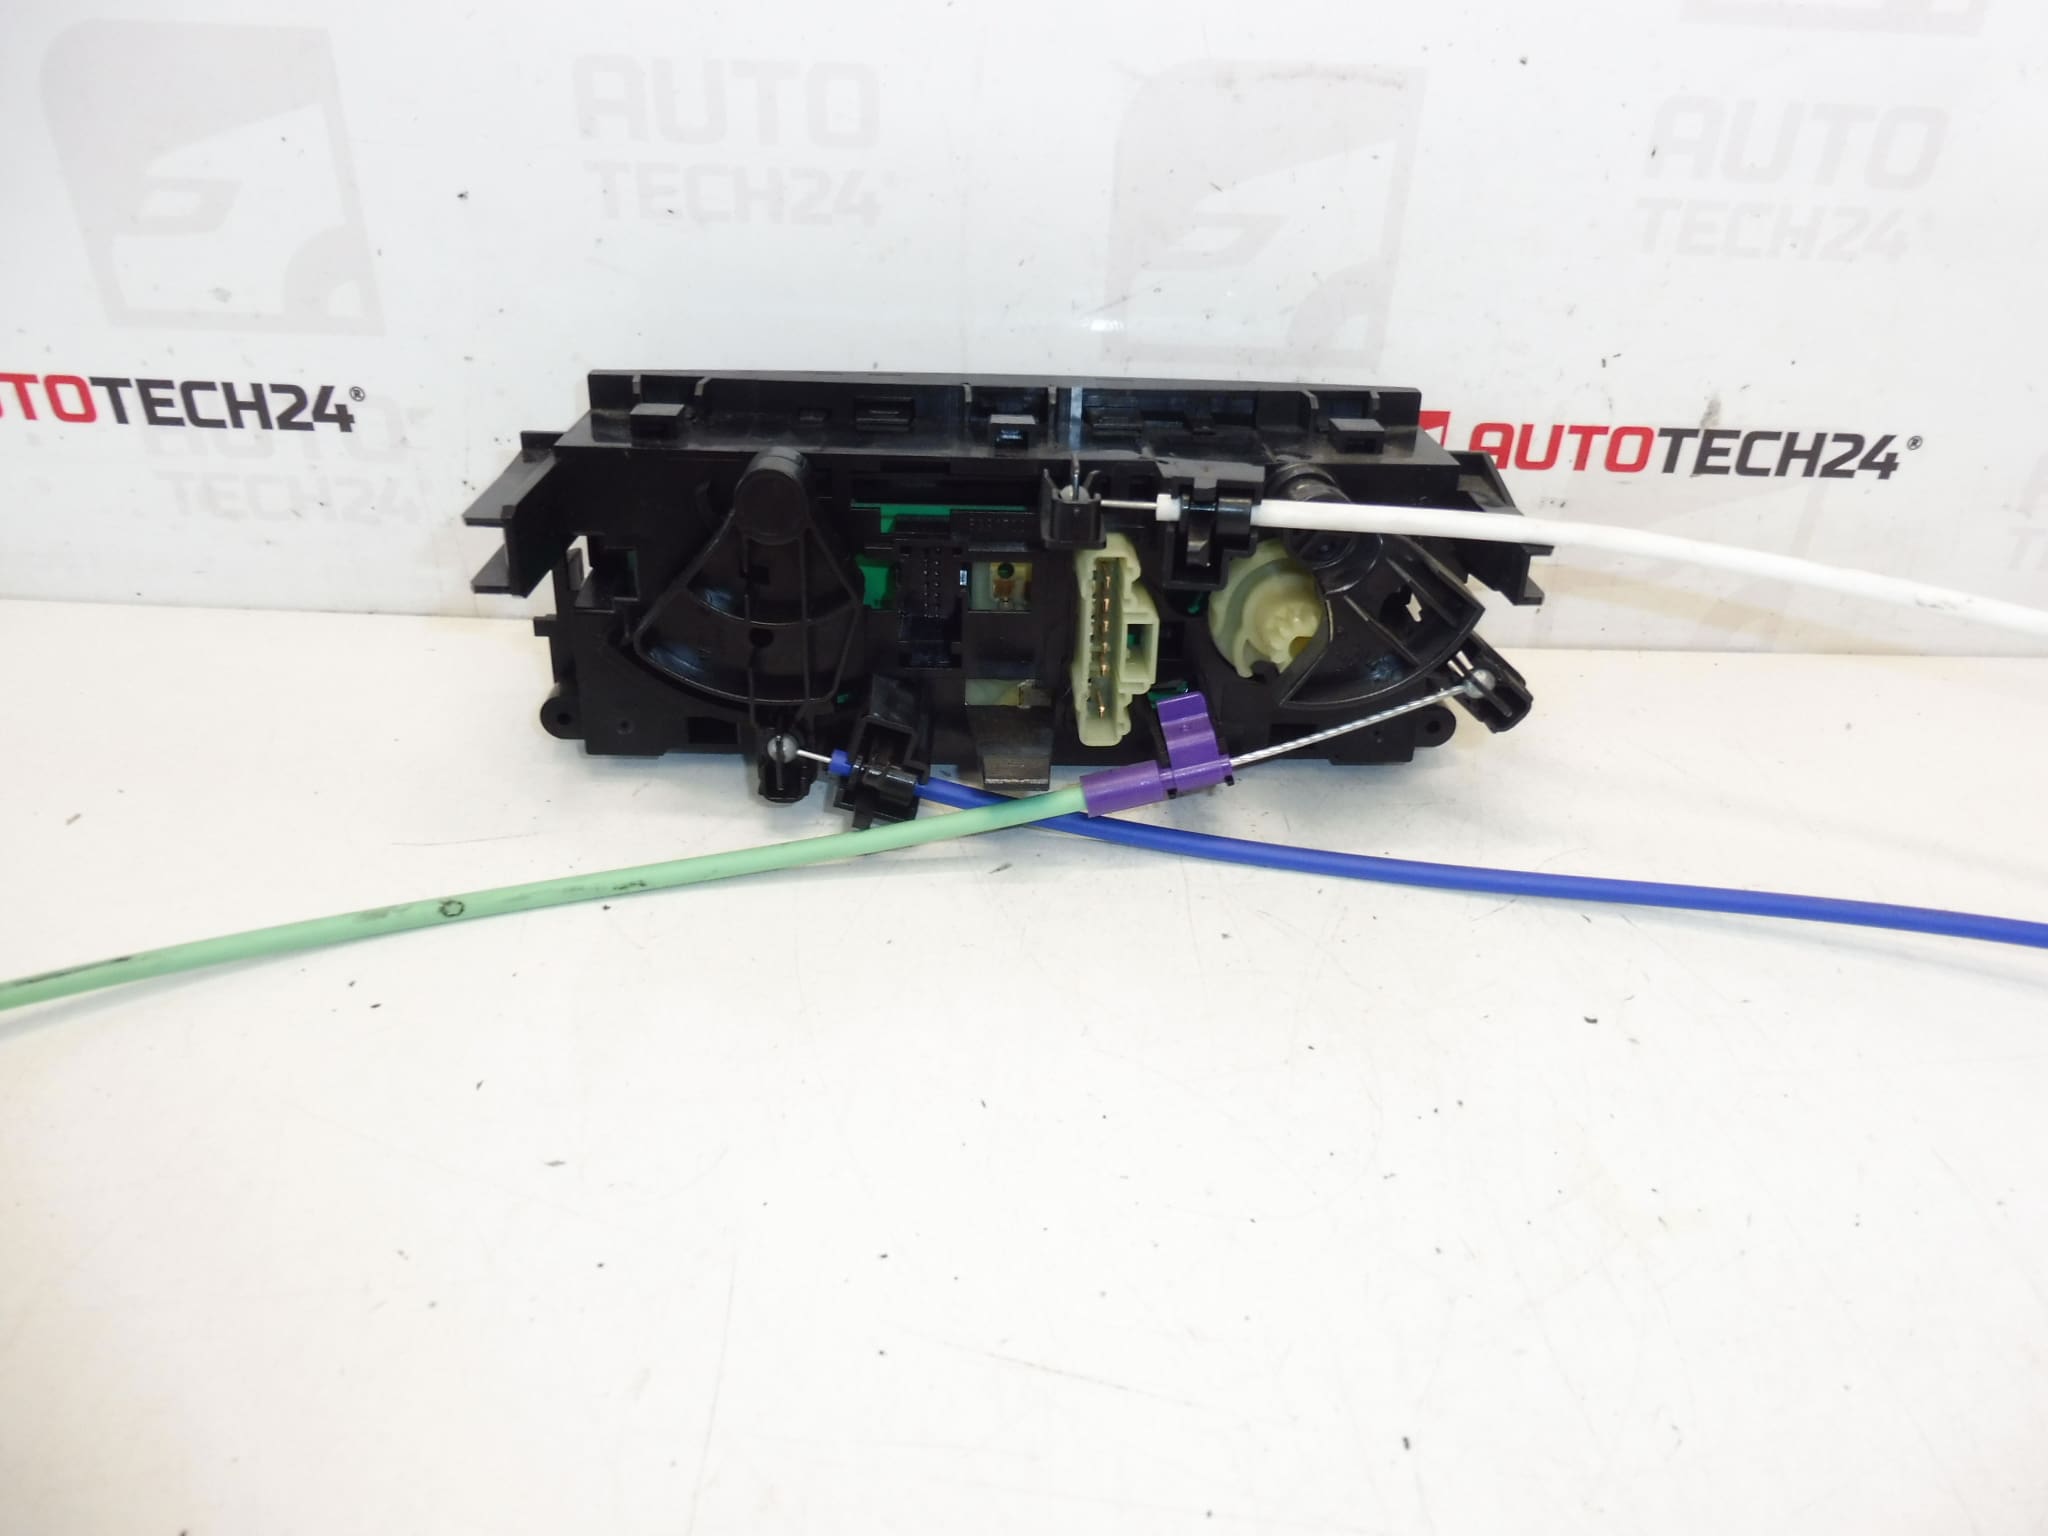
- Cable-Operated Design: Uses mechanical cables to change airflow direction and blend settings for robust, long-lasting operation.
- Easy To Replace: Accessible behind the dashboard fascia; suitable for professional mechanics and experienced DIYers.
- Search-Friendly Part Numbers: Includes common references 6451TP, 6452Q6 and N108224Q for fast lookup and ordering.
Technical Information
- Manufacturer: Stellantis (Peugeot / Citroën)
- Model: Peugeot 207
- Product Codes: N108224Q, 6452Q6, 6451TP
- Additional Numbers: NFP (as Marked)
Compatibility
Fits Peugeot 207 vehicles equipped with manual heating and air conditioning controls that use cable linkages for flap and vent selection. Confirm part numbers (6451TP, 6452Q6, N108224Q) to ensure correct fitment for your specific variant.
How To Replace
- Disconnect the battery before starting work to avoid electrical shorts.
- Remove the lower dashboard trim and the central fascia to access the HVAC control unit.
- Unscrew mounting fasteners and gently pull the unit forward to access control cables and electrical connector(s).
- Disconnect the electrical plug(s) and carefully detach the cable ends from the control levers—note orientation for reassembly.
- Install the new control unit, reconnect cables and connectors, secure mounting screws, and reassemble trim panels.
- Test all functions (airflow direction, heater controls, fan operation if applicable) before returning the vehicle to service.
Installation Recommendations
- Work On A Cold Vehicle Where Possible Or Ensure Battery Is Disconnected To Prevent Short Circuits.
- Mark Cable Positions Or Take Photos Before Removal To Ensure Correct Reassembly.
- Check Cable Condition And Replace Frayed Or Stiff Cables To Prevent Early Re-Failure.
- Use Appropriate Trim Tools To Avoid Damaging Dash Panels And Fastening Clips.
Why This Part Fails
The most common causes of failure are mechanical wear and cable damage. Repeated use can wear internal levers, plastic gears or detents, leading to imprecise or stuck controls. Cables can fray, stretch or seize due to age and contamination, and external knobs or sliders are prone to breakage. Moisture and dirt ingress accelerate wear of moving parts and electrical contacts when present.
Notes For Professionals And Enthusiasts
This manual control unit is a practical replacement for workshops and home mechanics seeking a straightforward repair without the need for vehicle coding. Because the unit is cable-driven, focus on correct cable routing and secure attachment during installation to restore full functionality.