Description
Heating and Air Conditioning Control For Peugeot 207 And Other Models.
Product Overview
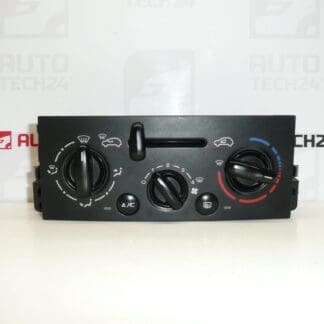
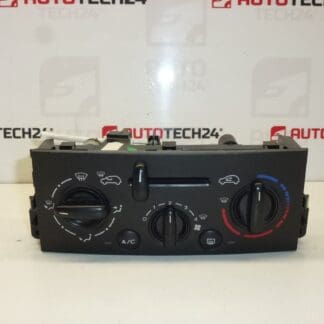
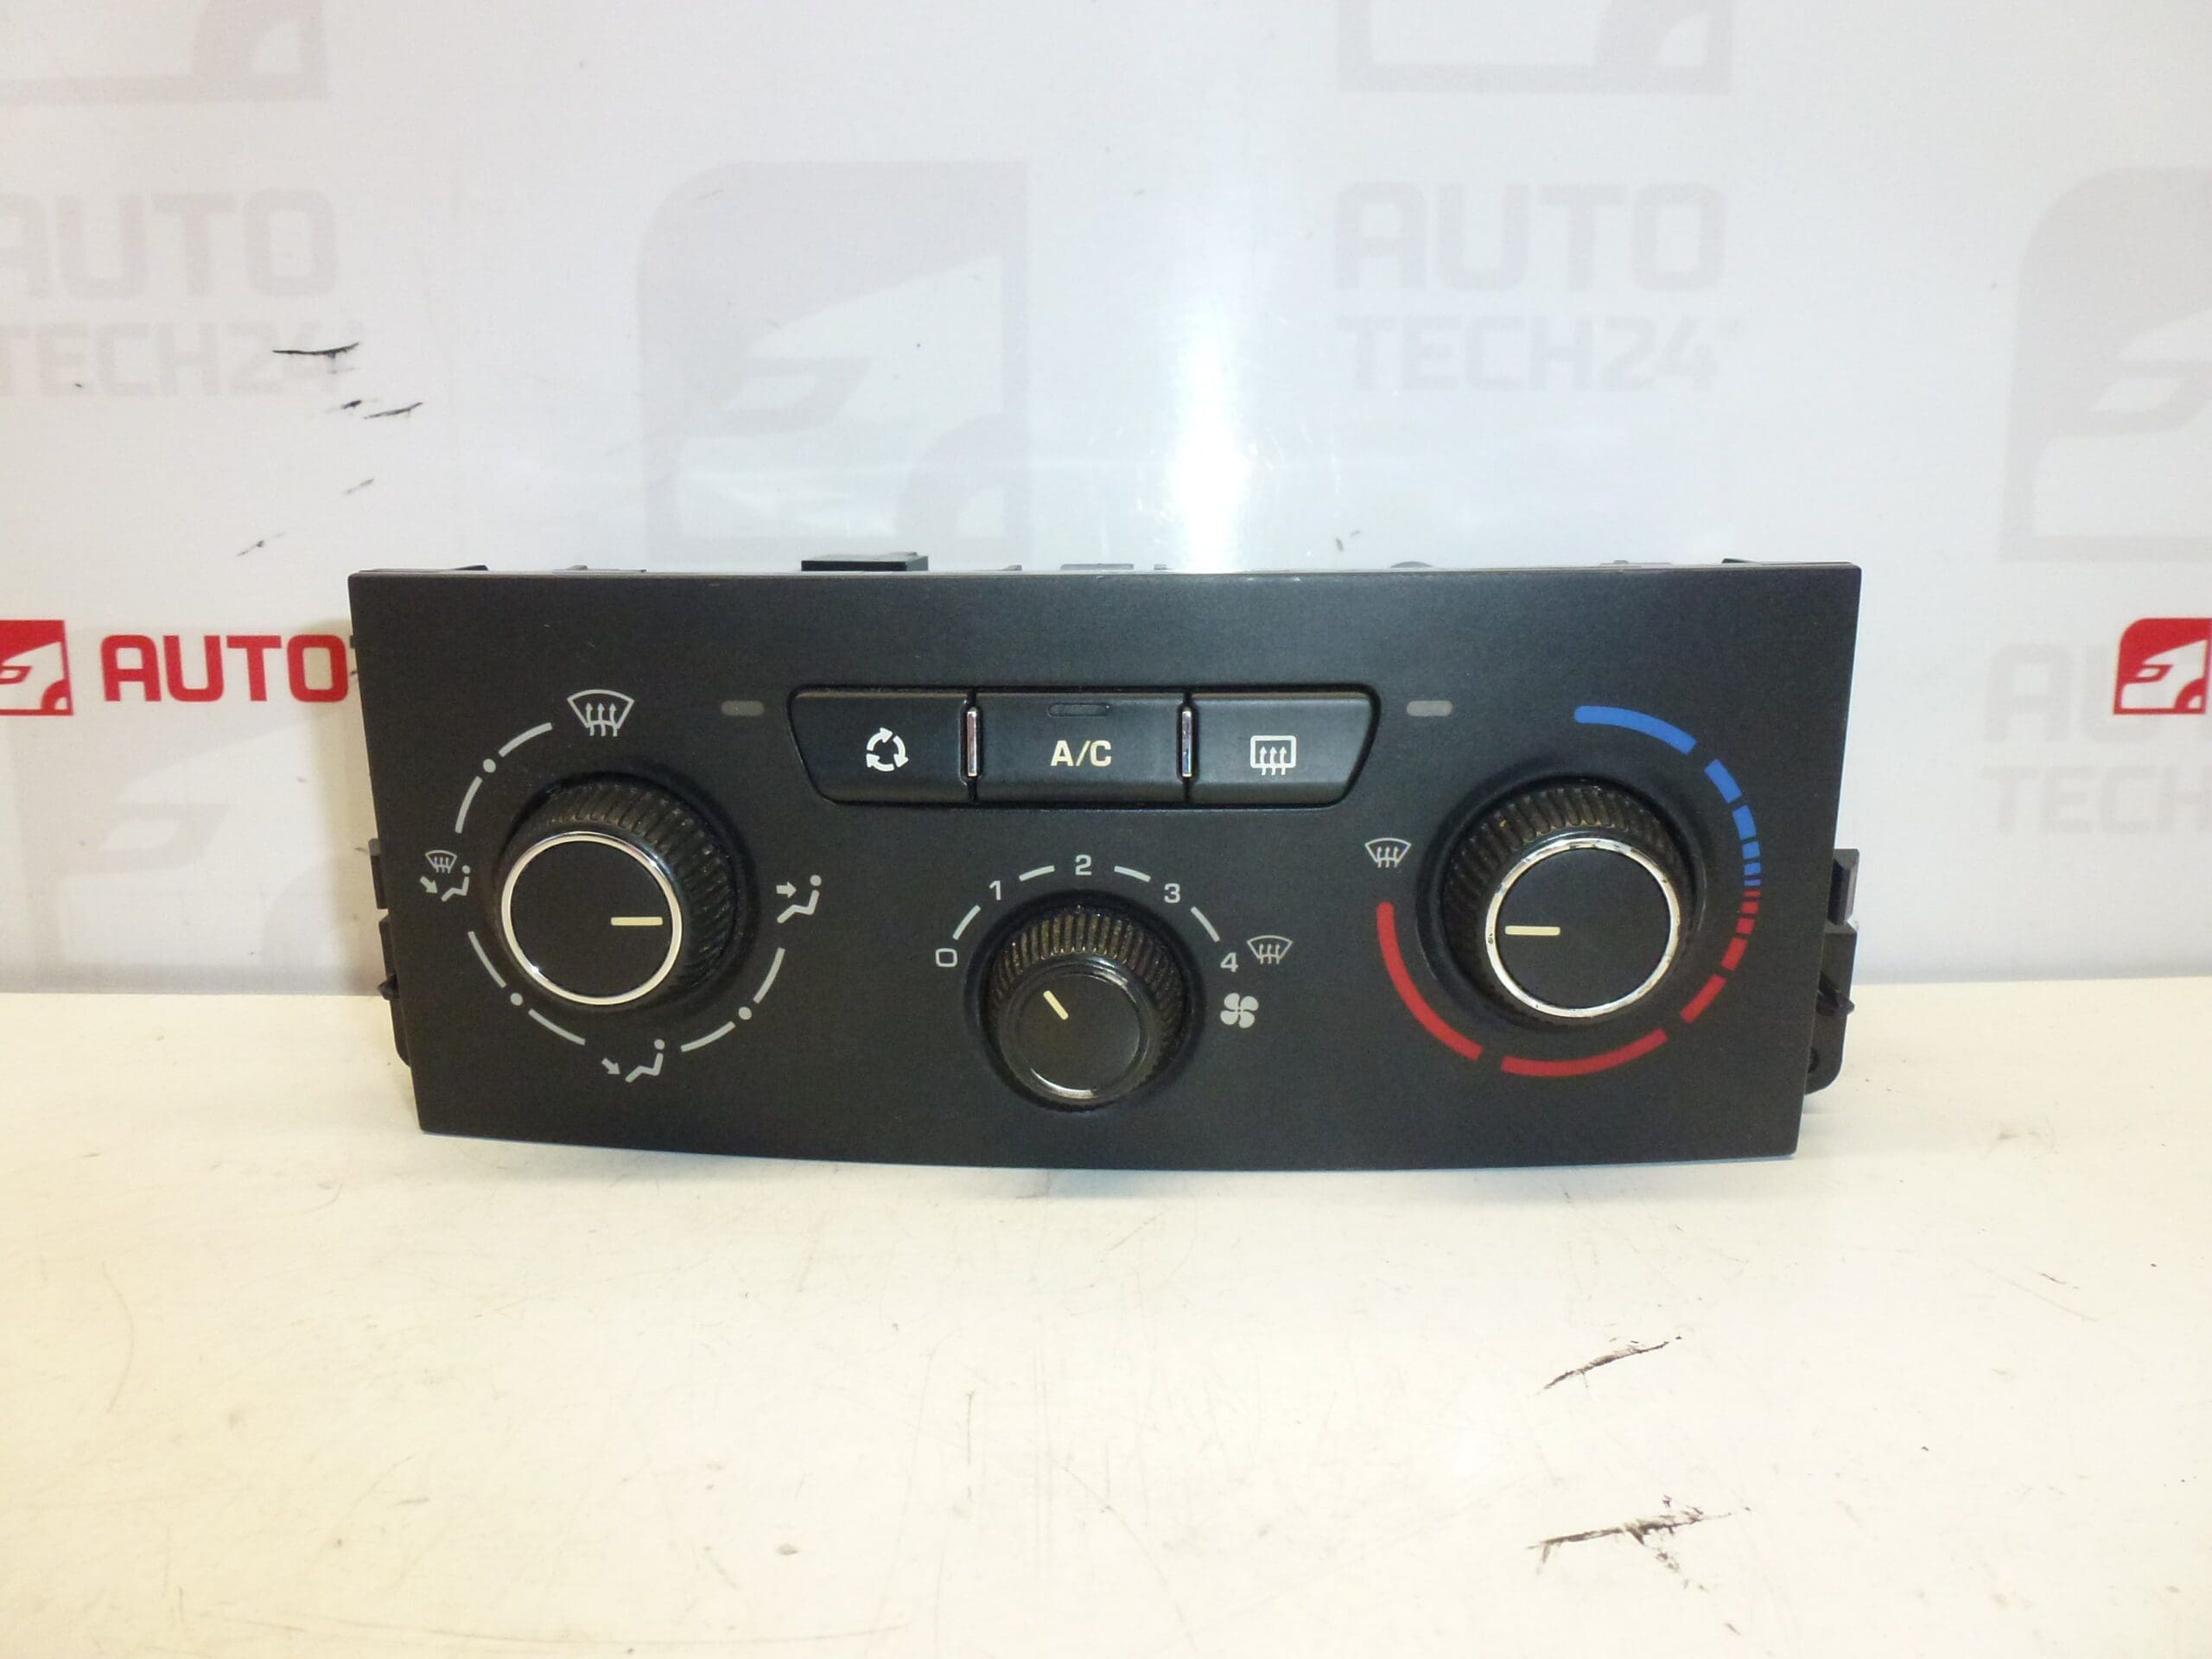
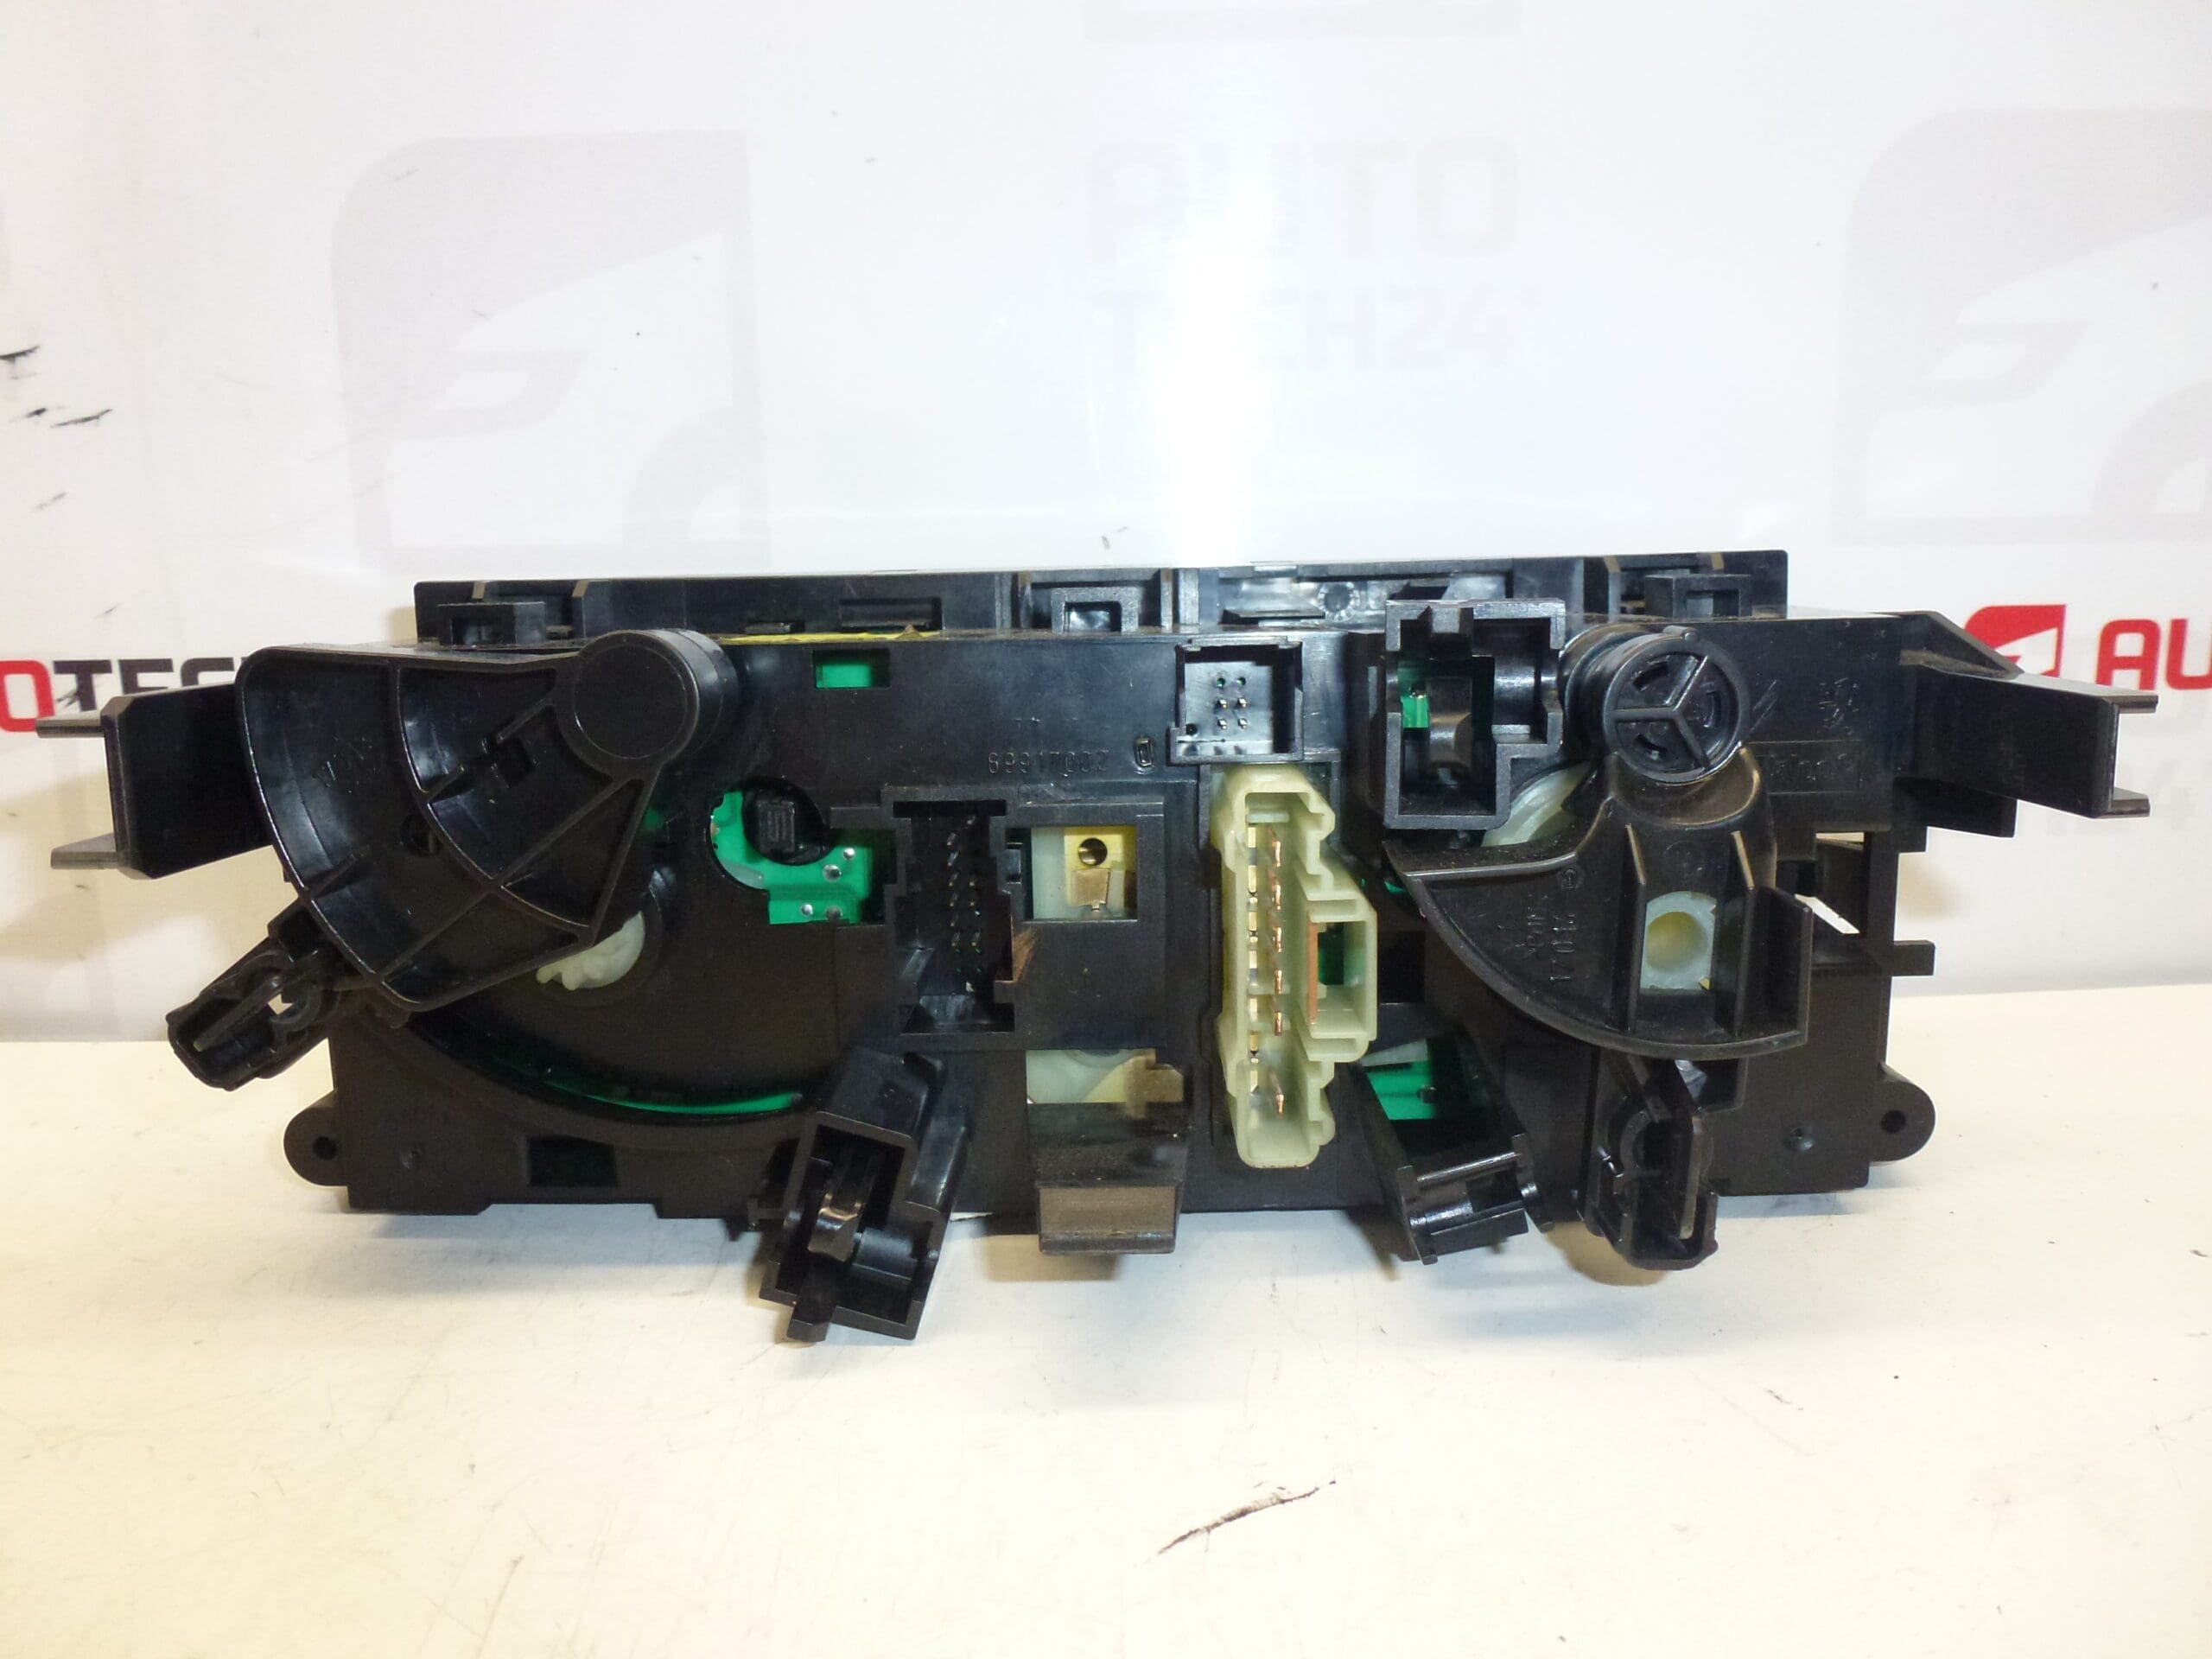
This heating and air conditioning control panel is designed for Peugeot 207 vehicles and compatible models. It provides direct control of temperature, fan speed, air distribution, recirculation and air conditioning functions from the dashboard. The unit is often searched and identified by part numbers N1082250, N108225D, N107405N and 6452Q7, making it easy for mechanics and DIYers to find the correct replacement.
Key Features
- Dashboard-mounted HVAC control for precise cabin climate adjustments
- Controls blower speed, temperature setting, air distribution, A/C engage and recirculation
- Direct fit for vehicles using listed part numbers and compatible connector layouts
- Clear markings and tactile controls for workshop and DIY use
Technical Information
- Manufacturer: Stellantis (Citroën / Peugeot)
- Model: Peugeot 207
- Product Codes: N1082250, N108225D, N107405N, 6452Q7
- Additional Numbers: 6452Q7
Compatibility
Fits Peugeot 207 and other models that share the same dashboard HVAC control assembly and connector configuration. The easiest way to locate a matching unit is by using the product codes listed above, which are commonly used in spare parts catalogs and workshop searches.
How The Part Is Replaced
Replacement is straightforward for trained technicians and experienced DIYers. Typical steps:
- Disconnect the negative battery terminal before starting work.
- Remove surrounding trim panels and center fascia to access the control unit retaining screws or clips.
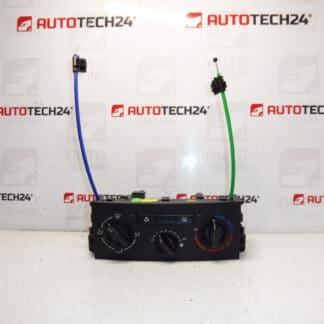
- Unscrew or unclip the unit and carefully pull it forward to reach the electrical connectors.
- Release all connectors and remove the old unit. Install the new unit by reversing the procedure, ensuring connectors are fully seated and trim is refitted.
- Reconnect the battery and verify all HVAC functions (fan speeds, temperature control, A/C engagement, recirculation and any display/backlight functions).
Installation Recommendation
We recommend installation by a qualified technician or an experienced DIYer with basic automotive electrical skills. Always disconnect the battery before disassembly. Handle connectors and plastic trim carefully to avoid damage. After installation, verify operation of all controls and check for fault codes with suitable diagnostic equipment if functions are not working as expected.
Why The Part Most Often Fails
- Wear of internal potentiometers, rotary switches or membrane contacts due to frequent use, causing intermittent or lost control of fan speed and temperature settings.
- Moisture ingress or corrosion affecting printed circuit board contacts and connectors, especially in vehicles exposed to humid conditions.
- Damaged or brittle connector pins and wiring from age or heat cycles, leading to poor electrical connection.
- Faulty backlight or display elements, which impair visibility of settings but may not affect control functions.
Practical Notes For Workshops
Always confirm the replacement unit has matching connector layout and mounting points. Keep the work area clean to prevent debris entering HVAC ducts or the control unit during replacement. If symptoms persist after replacing the control panel, inspect blower motor resistor, blower motor and related wiring as these components can cause similar faults.