Description
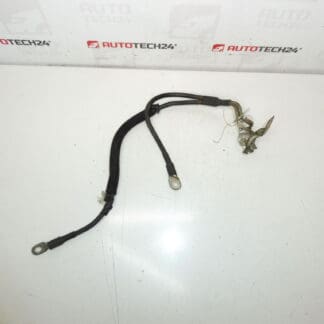
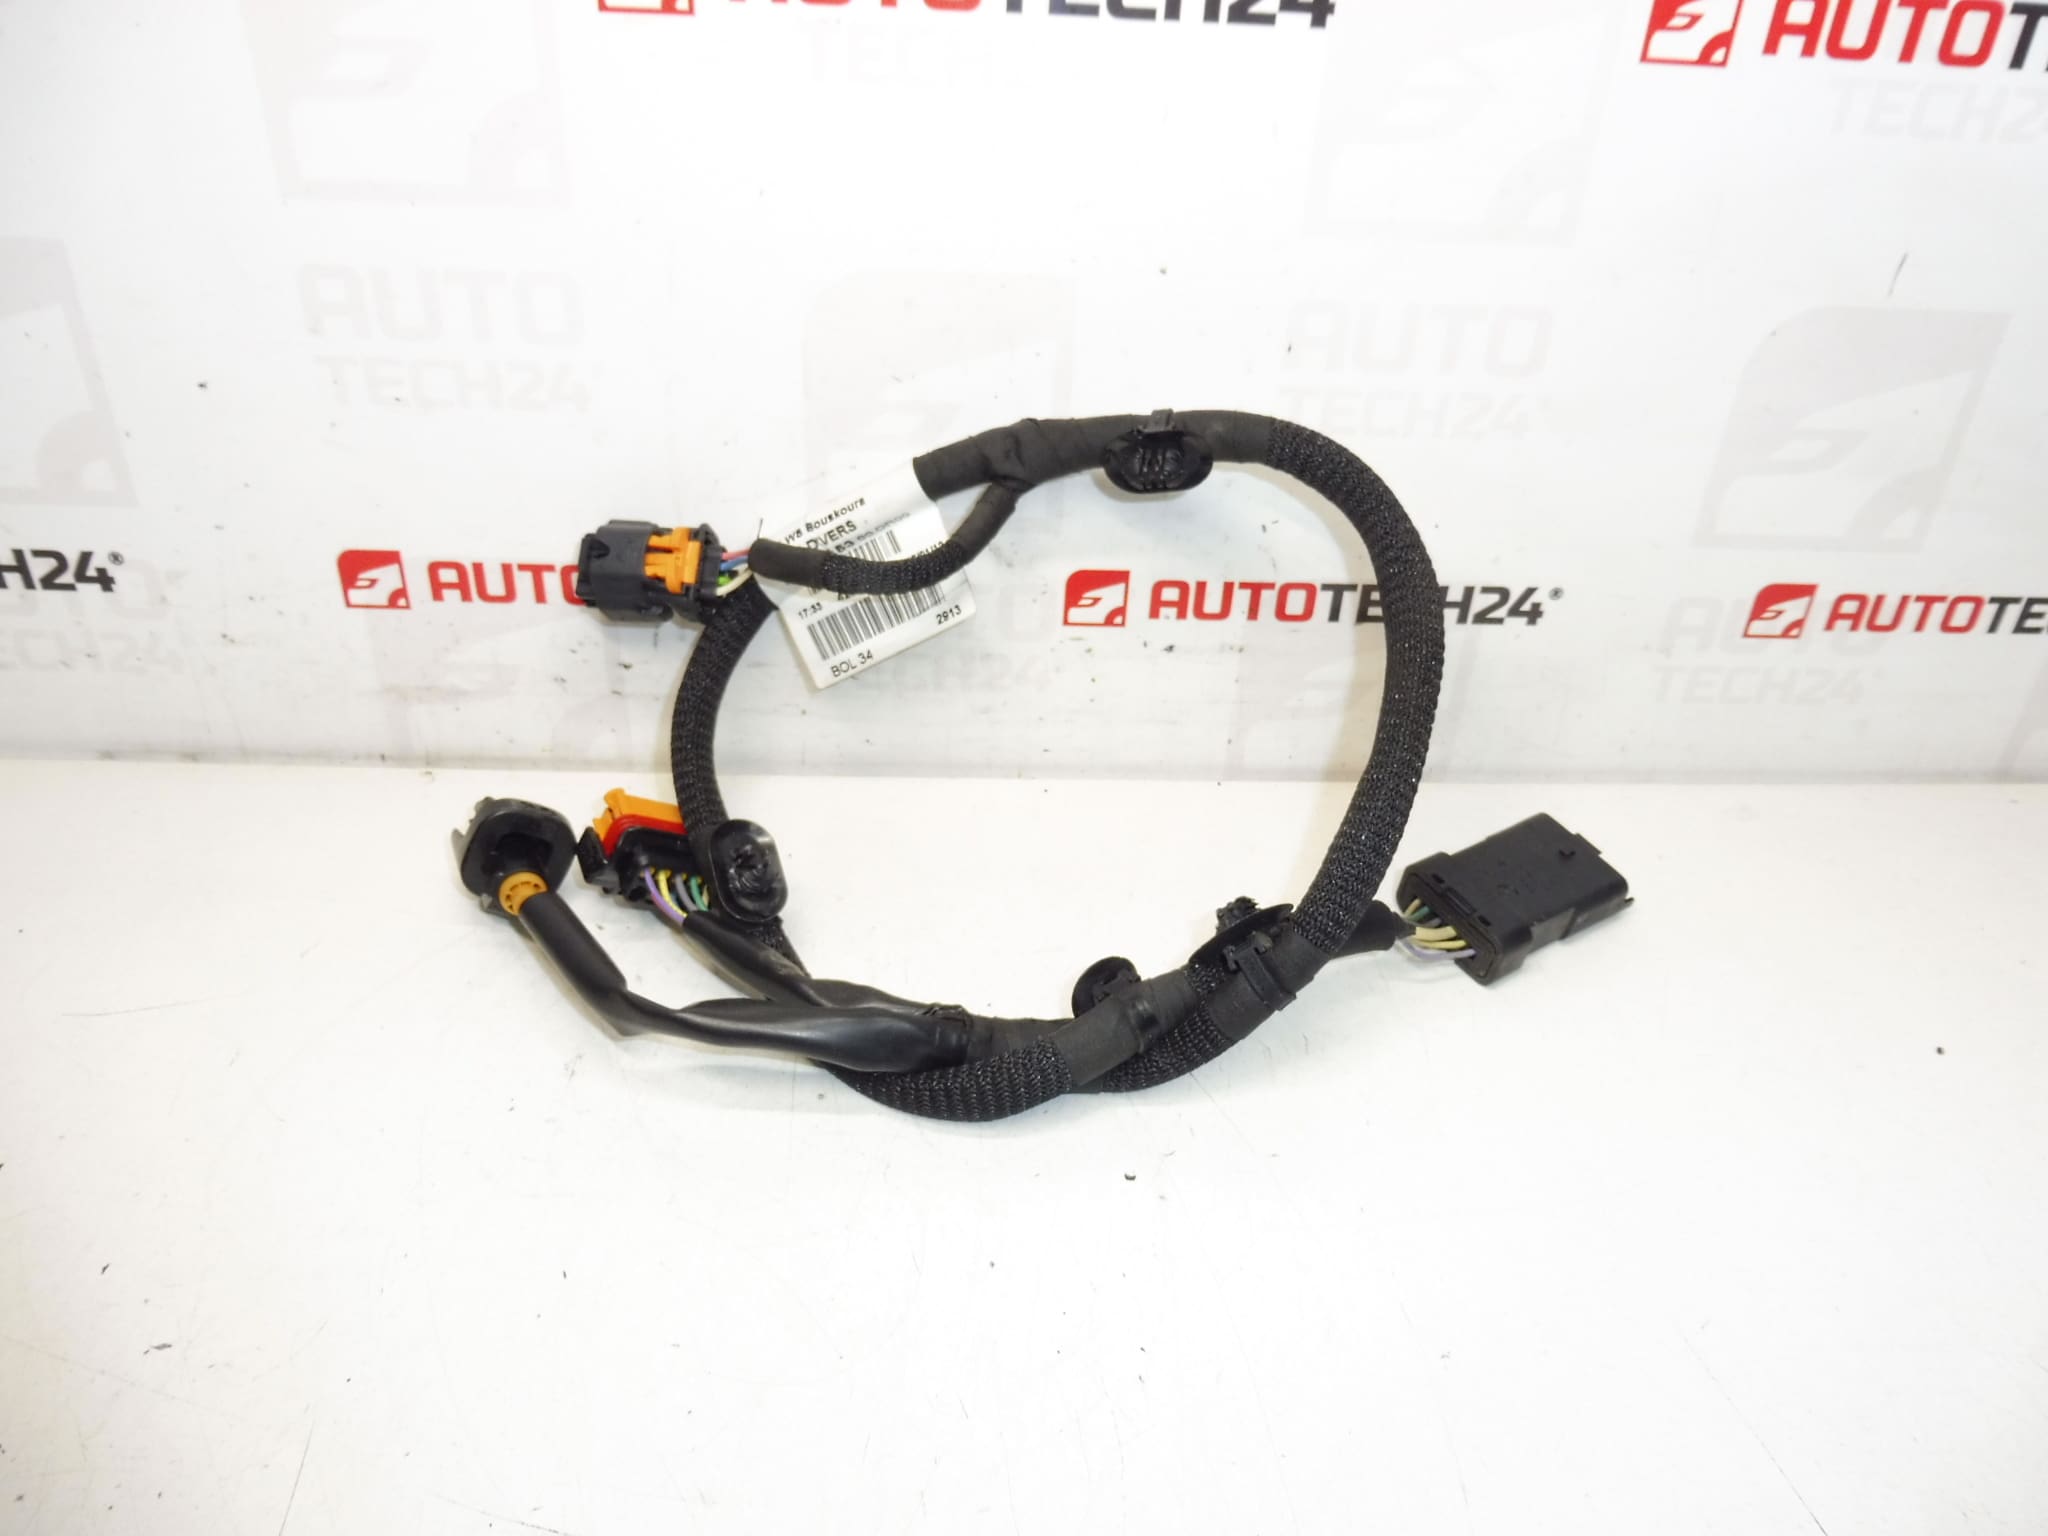
Supply cable to the START-STOP capacitor for e-HDi engines in Citroën, Peugeot and DS vehicles.
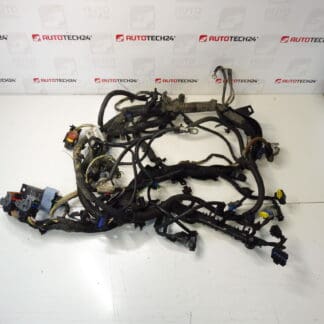
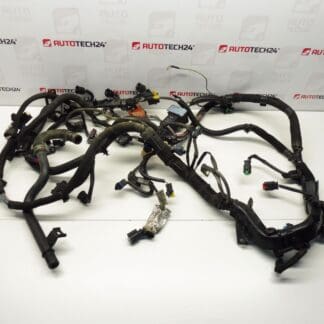
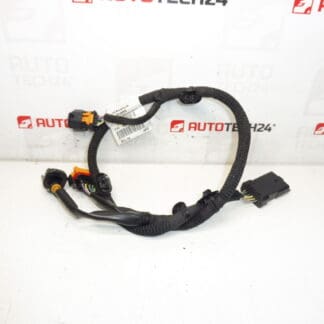
This Start-Stop main wiring harness (part number 9677185380) is an OEM-fit electrical supply cable designed for e-HDi Start-Stop systems used across Citroën, Peugeot and DS models. Ideal for professional garages and experienced DIYers, the harness restores reliable energy transfer between the Start-Stop capacitor and the vehicle electrical system, helping to maintain correct stop/start function and battery support during engine off phases. Many customers search directly by the OE number 9677185380 — including this reference in the description improves findability in search engines and workshop catalogues.
Technical Information
- Manufacturer: Stellantis (Citroén/Peugeot)
- Model: Citroën C4 II, Citroën C4 Picasso, DS4, Peugeot 3008 I, Peugeot 308, Peugeot 5008 I
- Product Codes: 9677185380
- Other Numbers: No Additional Numbers Available
Function
The harness carries high-current pulses and control signals between the Start-Stop capacitor (energy storage element) and the vehicle electrical network. It ensures fast recharge and discharge cycles required by the e-HDi system, supports engine stop/start sequences, and transmits sensor/power information to the control electronics. Correct wiring integrity is critical for reliable Start-Stop operation and for avoiding fault codes or limp mode.
Compatibility And Fitment
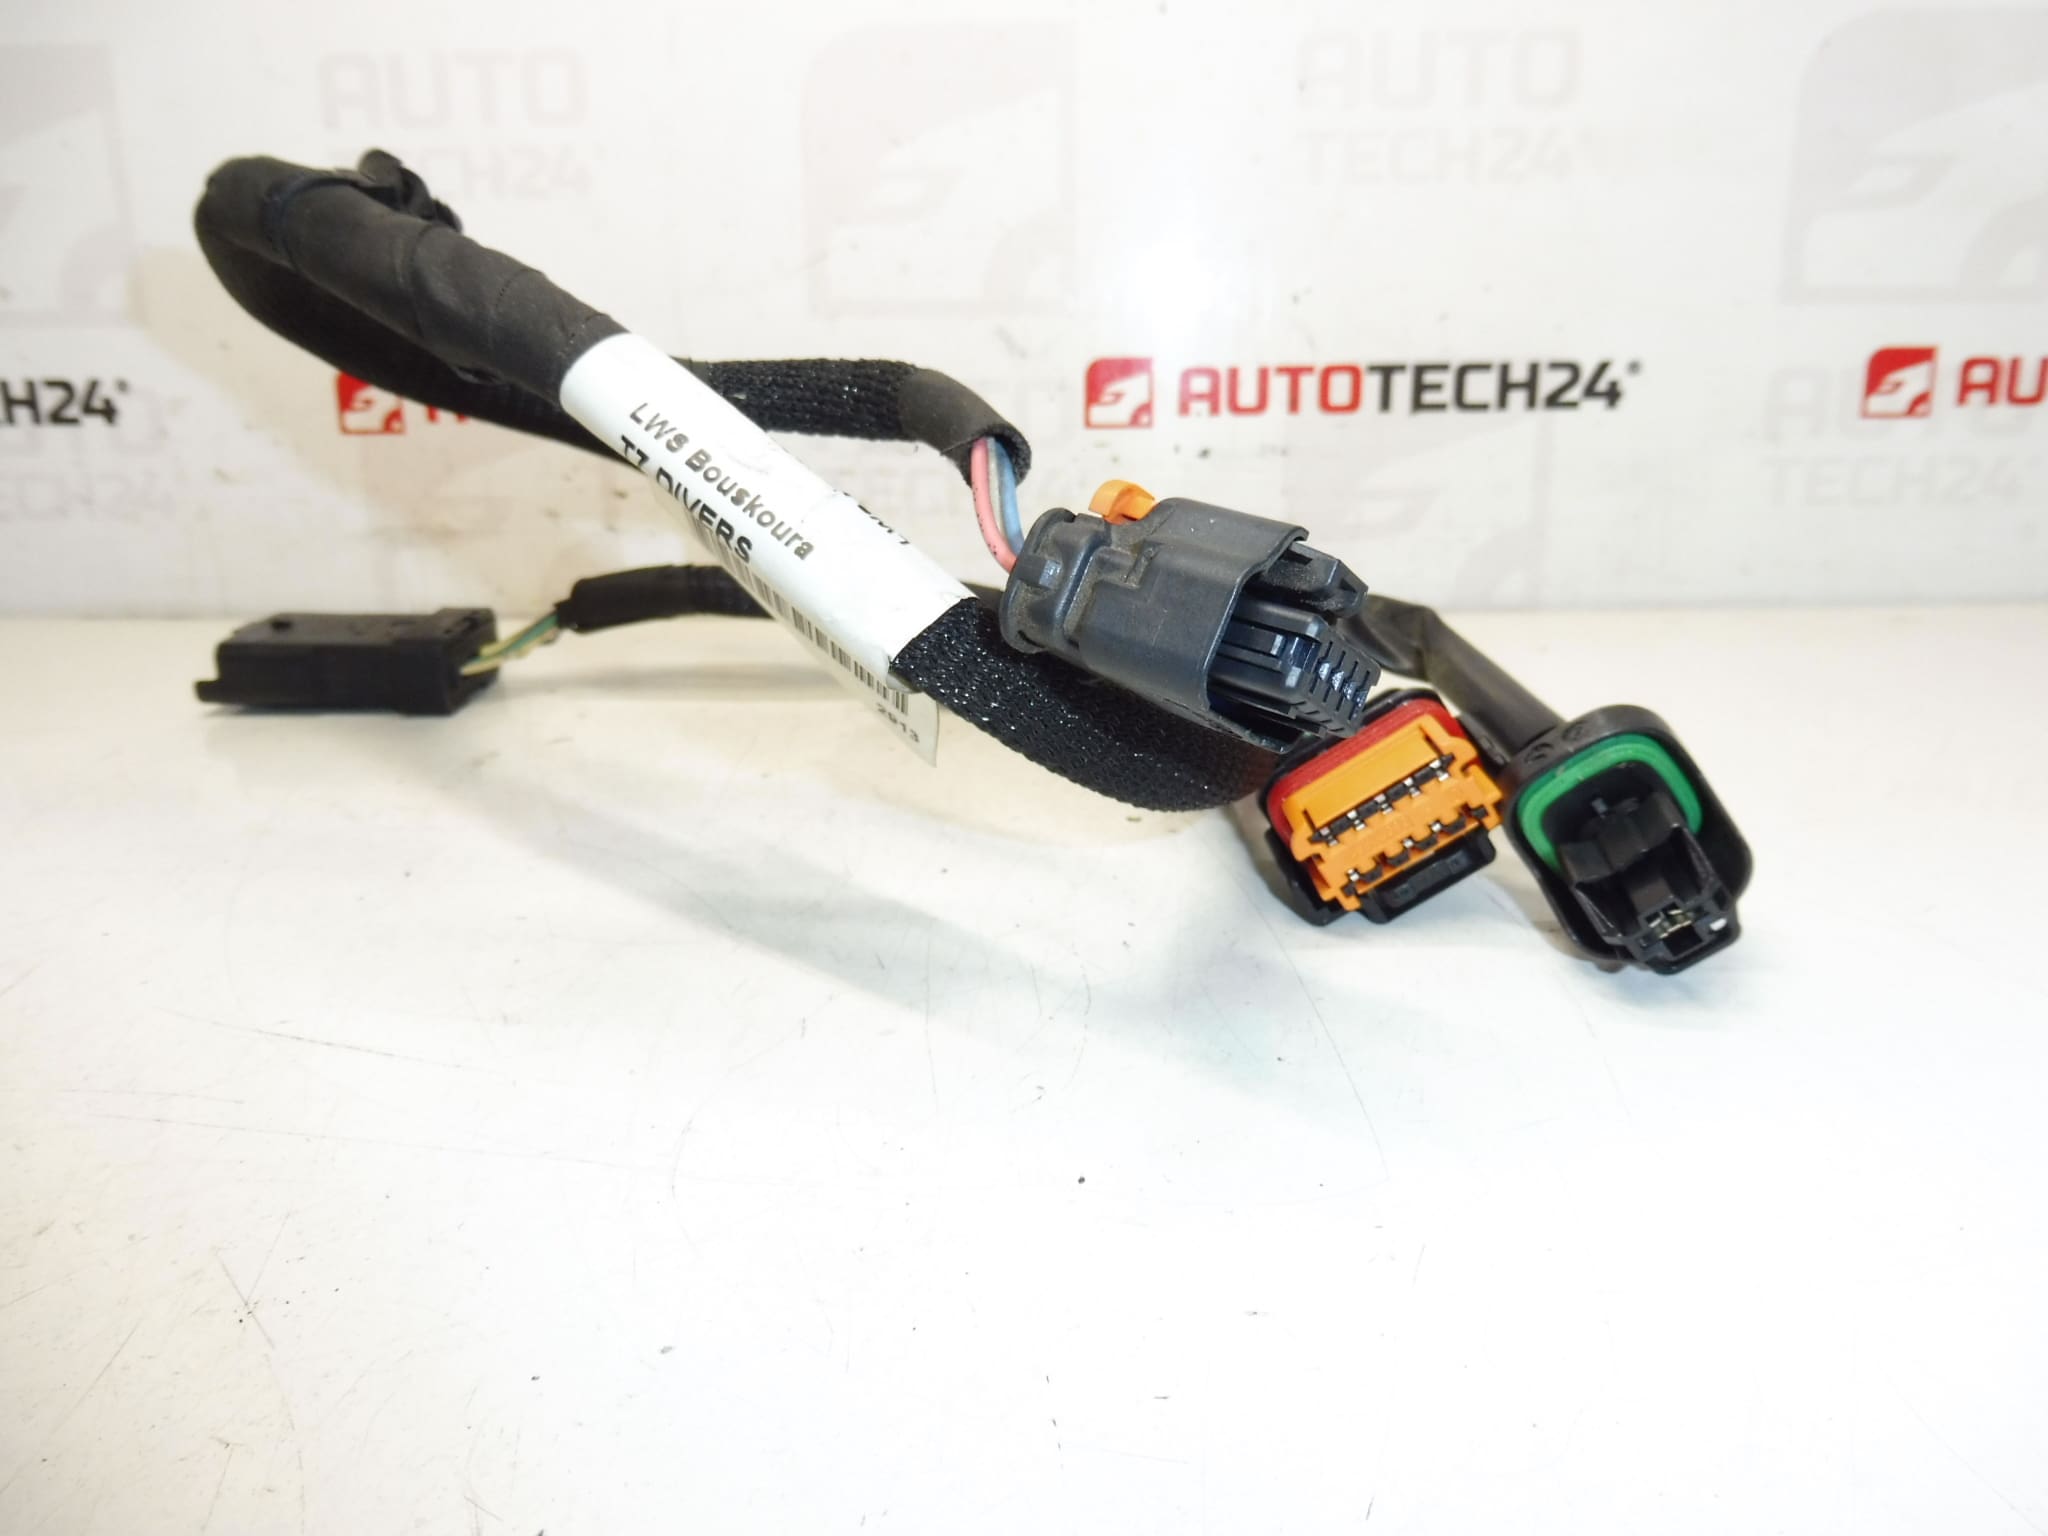
Fits selected Citroën, Peugeot and DS models equipped with e-HDi Start-Stop systems. Confirm model fitment by the OE number 9677185380 and by visual comparison of connector shapes and mounting points. Typical applications include Citroën C4 II, Citroën C4 Picasso, DS4, Peugeot 3008 I, Peugeot 308 and Peugeot 5008 I.
Installation Recommendations
- Disconnect The Battery Before Starting Work And Follow Manufacturer Procedures To Avoid Damage To Electrical Components.
- Locate The Start-Stop Capacitor And Trace Existing Harness Routing. Replace Using The Same Clips And Fastening Points To Prevent Chafing.
- Check Connectors For Corrosion Or Damaged Pins; Clean Or Replace If Necessary Before Reassembly.
- Secure The Harness Away From Hot Surfaces, Exhaust Components And Moving Parts To Prevent Early Wear.
- After Installation, Perform A Start-Stop System Check And Clear Any Stored Fault Codes With Diagnostic Equipment.
Why The Part Most Often Fails
- Mechanical Damage From Chafing, Improper Routing Or Accidental Impact During Repairs.
- Heat Degradation Due To Proximity To Exhaust Components Or Engine Heat Over Time.
- Corrosion Of Connectors From Moisture Ingress Or Road Salt, Leading To Intermittent Contact.
- Vibration And Fatigue Causing Broken Wires Or Compromised Insulation.
- Previous Poor Repairs Or Splices That Introduce Resistance And Unreliability.
Replacement Advice
When replacing the harness, always inspect related components (capacitor, fuses, grounding points and connector housings). Replace damaged clips and grommets to maintain correct routing. For professional repairs, verify system functionality with appropriate diagnostic tools and check that Start-Stop behavior returns to normal under road and idle conditions.