Description
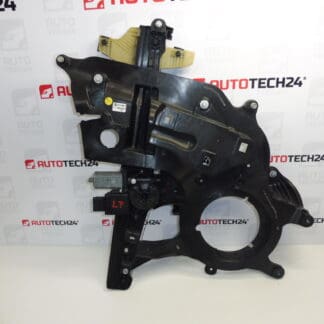
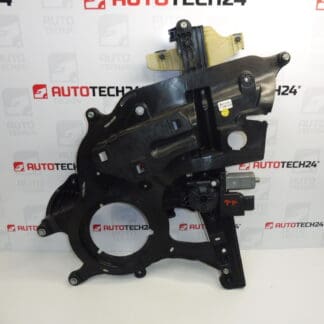
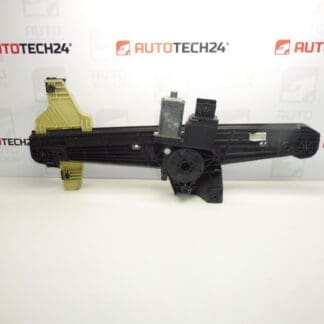
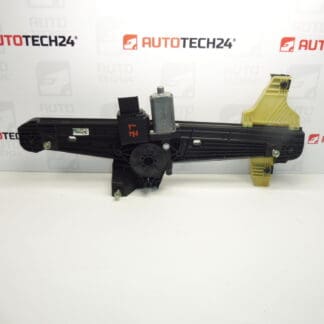
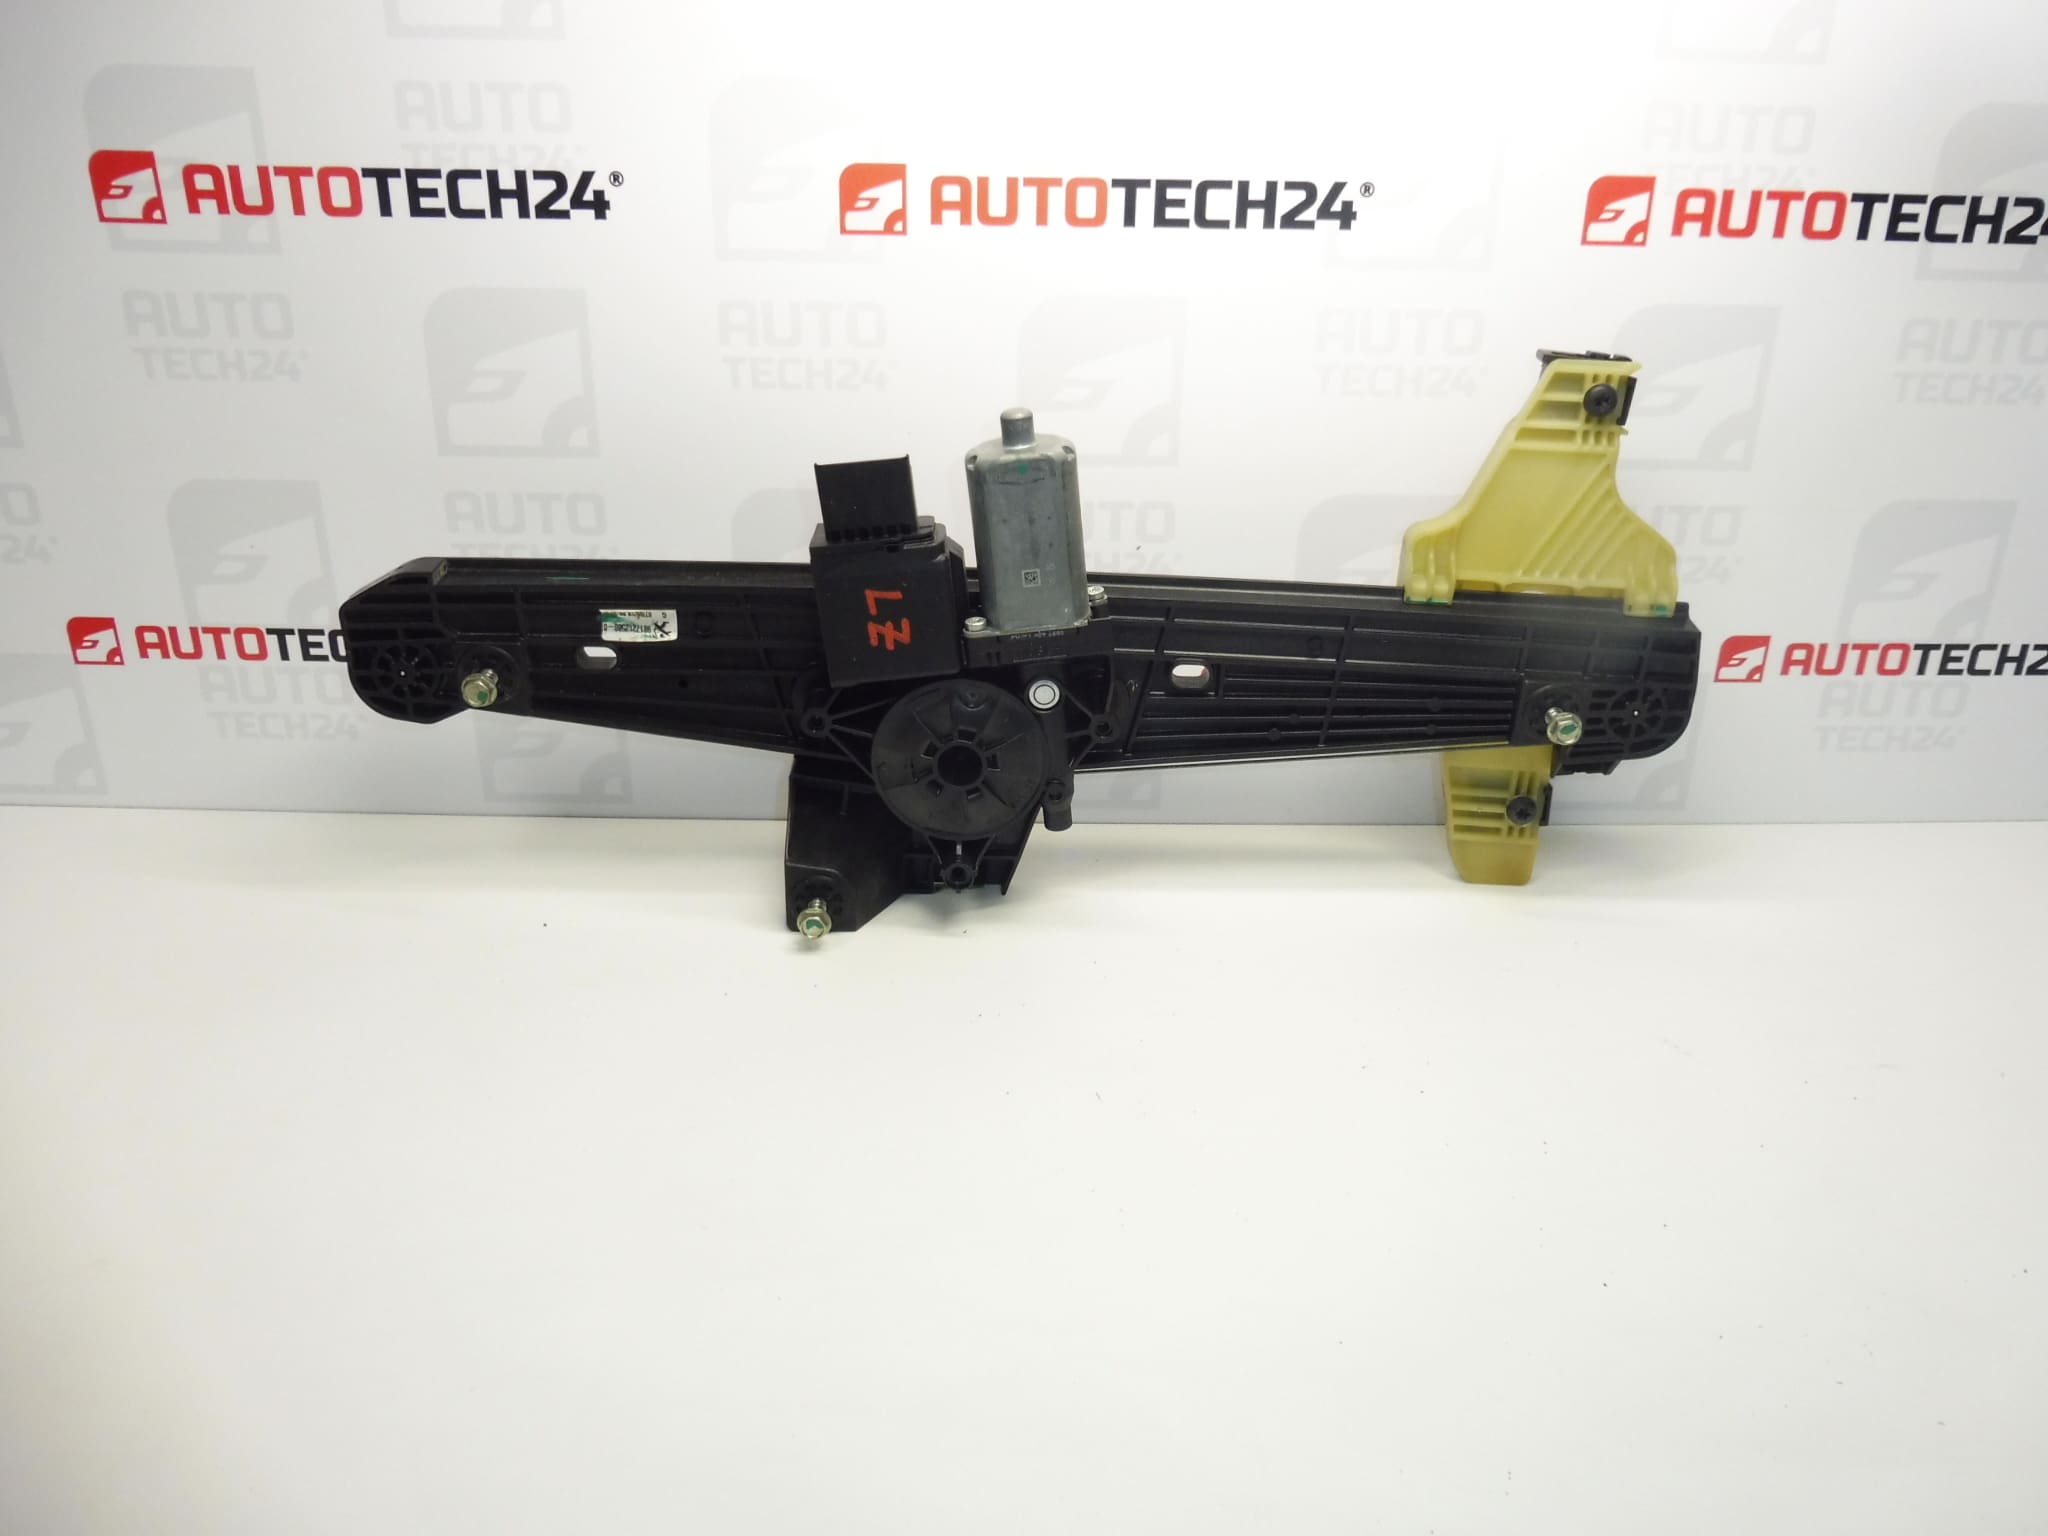
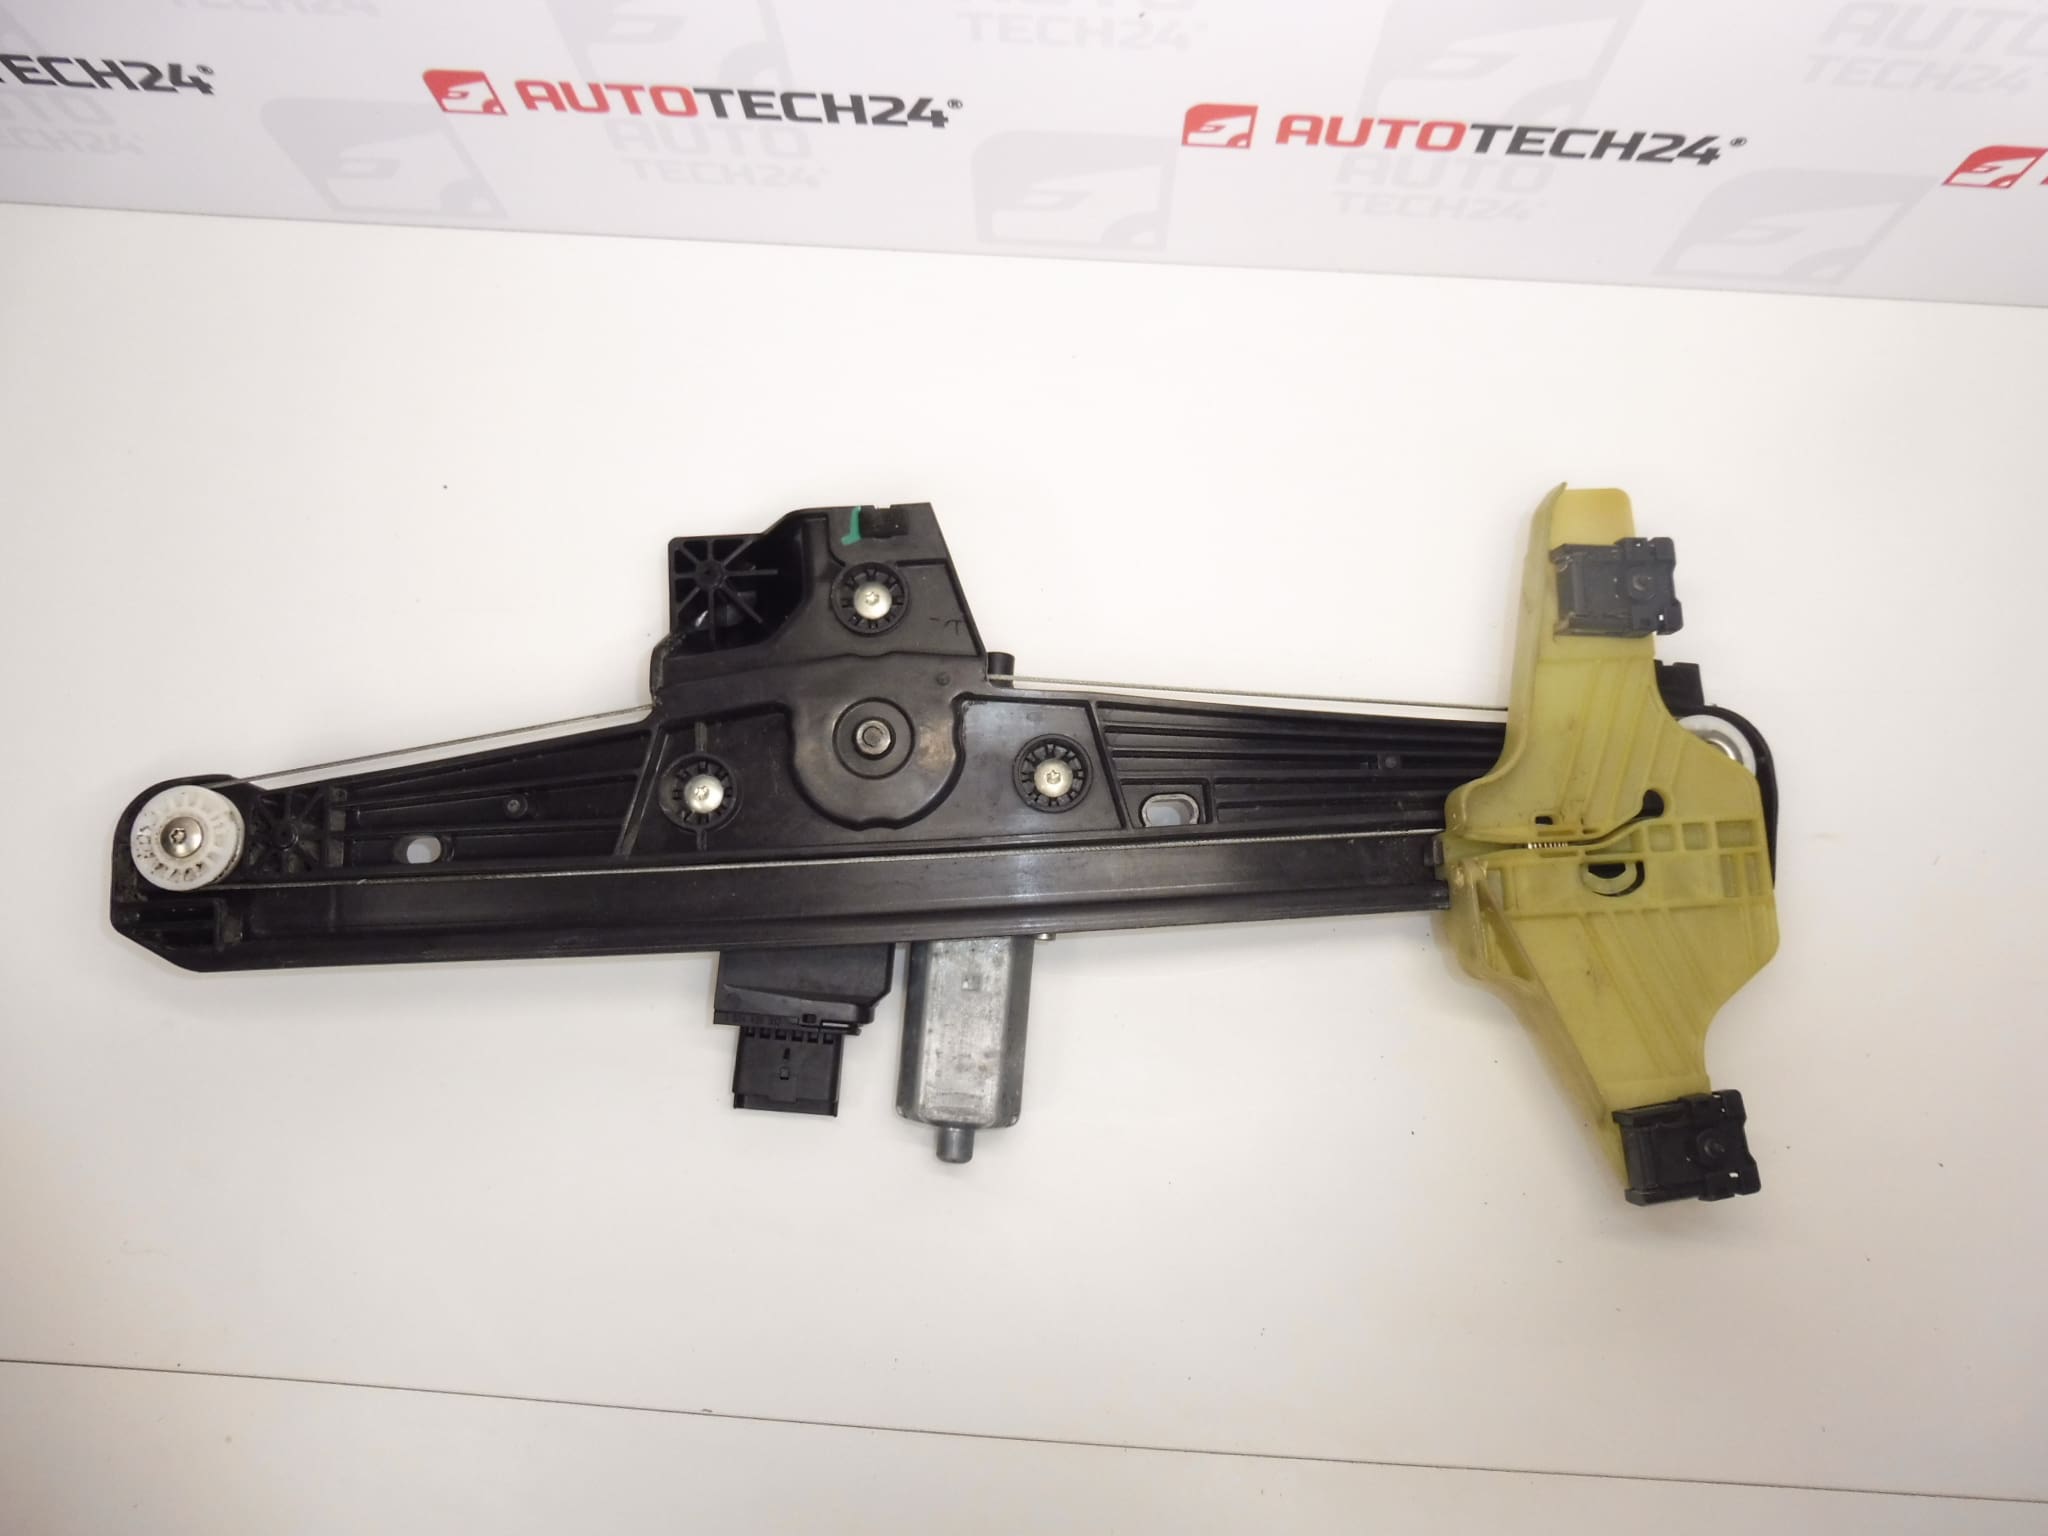
Left rear window regulator mechanism for Stellantis vehicles
Door behind the driver
Part description
The used rear window regulator mechanism guides and moves the window glass in the door. It is a suitable solution when replacing a damaged window regulator, provided it matches the original part. The documentation lists it under numbers 9817212580, 9830335580 and 9840175480 and associates it with the Citroën Berlingo K9, PEUGEOT RIFTER and other vehicles listed below.
Notice of discrepancy in the side designation: the product name specifies the right rear window, while the original description specifies the left rear window and the door behind the driver. The side therefore cannot be determined unambiguously from the information provided. Before ordering, compare the designation, shape of the mechanism, mounting points and window glass attachment with the original part. Vehicle model compatibility alone is not sufficient to confirm that the part has the same design.
Technical information
- Manufacturer: not specified; the documentation lists the designation Stellantis / CITROEN / PEUGEOT.
- Model: Citroën Berlingo K9 | FIAT DOBLO III | OPEL COMBO E K9 | PEUGEOT RIFTER | Toyota ProAce City.
- Part type: rear window regulator mechanism.
- Condition: used car part.
- Mounting side: ambiguous – the name and original description contradict each other.
- Supplied with electric motor: not specified.
- Model years and engine versions: not specified.
- Other numbers: not specified.
Product codes
- Product codes: 9817212580, 9830335580, 9840175480.
Use the product numbers listed above when searching for a replacement window regulator. The documentation does not clarify the relationship between the individual numbers, so do not automatically treat them as confirmation that all versions are interchangeable.
Installation recommendations
The following procedure generally applies to this type of part. The exact procedure for removing the trim, securing the glass and fastening the mechanism depends on the specific model and door design. Follow the vehicle manufacturer’s service procedure.
1) Before installation
- First, verify that the mechanism is actually causing the problem. With electric operation, the cause may also be the switch, power supply, wiring or motor.
- Compare the side, product designation, dimensions, mounting points and window glass holders with the old part.
- Check the used part for deformation, cracks, corrosion and damaged mounts. If it has cables, inspect their condition and ensure they are routed correctly.
- If a motor or connector is present, compare these as well. The documentation does not indicate whether they are included.
2) Required tools and materials
A set of screwdrivers and wrenches suitable for the fasteners used, tools for removing the trim, equipment for safely securing the glass, protective gloves and cleaning supplies are generally used. Choose materials for restoring the door’s protective layer according to the specific design. Use lubricant only where specified by the manufacturer.
3) Step-by-step installation procedure
- Park the vehicle safely, switch off the ignition and secure the door against unintended movement.
- If possible and safe, position the glass to allow access to its mounting points. Do not force a jammed mechanism by operating it repeatedly.
- For electric versions, disconnect the power supply according to the vehicle manufacturer’s procedure before disconnecting the electrical system.
- Carefully remove the door trim and expose the mechanism. Protect the clips, wiring and any protective film or membrane.
- Support the glass securely and prevent it from falling. Only then release its connection to the window regulator.
- Disconnect any electrical connectors, release the mechanism’s fasteners and remove it without levering against the glass or damaging the wiring.
- Compare the two parts side by side. Also inspect the window glass guide rails and remove any dirt that could cause increased resistance.
- Insert the replacement mechanism and position it without putting it under tension. Tighten the fasteners according to the service instructions for the vehicle.
- Secure the glass in its holders, check that it is guided correctly and connect any connectors. The wiring must not interfere with the path of moving parts.
- Remove the temporary glass support, restore the power supply as prescribed and carefully test its operation. After a successful check, restore the door’s protective layer and install the trim.
4) Post-installation checks and function verification
Check that the glass moves smoothly without tilting, jerking or making unusual noise. Check that it seats correctly against the seal and that the trim is securely attached. If the vehicle has one-touch operation or anti-pinch protection, perform any required initialization and checks according to the manufacturer’s instructions; do not test the protection with your hand. A short test drive may reveal rattling or increased wind noise.
5) Common installation errors and how to prevent them
- Confusing the side or version: compare the actual part with the old mechanism, especially due to the discrepancy in the supplied designation.
- Releasing unsecured glass: always support and secure the glass before doing anything else.
- Installing the mechanism under tension: check that the mounts and window glass guides are correctly positioned before tightening.
- Overlooking binding guide rails: remove the cause of the resistance so that the replacement part is not subjected to unnecessary strain.
- Damaging the door’s protective layer: restore it to its correct position and ensure it is sealed so that water does not reach the trim and electrical connections.
Reasons why the part may become damaged
The following causes of damage may generally occur with window regulator mechanisms; they are not a description of the condition found on this particular part:
- Wear of moving parts, holders and any cable drive through prolonged use.
- Increased resistance from the glass due to dirt, damaged guides or deformed seals.
- Operating a frozen or otherwise jammed window.
- Moisture and corrosion affecting the mechanism’s moving parts.
- Incorrect previous installation, misaligned glass or excessive strain on the mounts.
- Mechanical damage to the door or an impact to its structure.