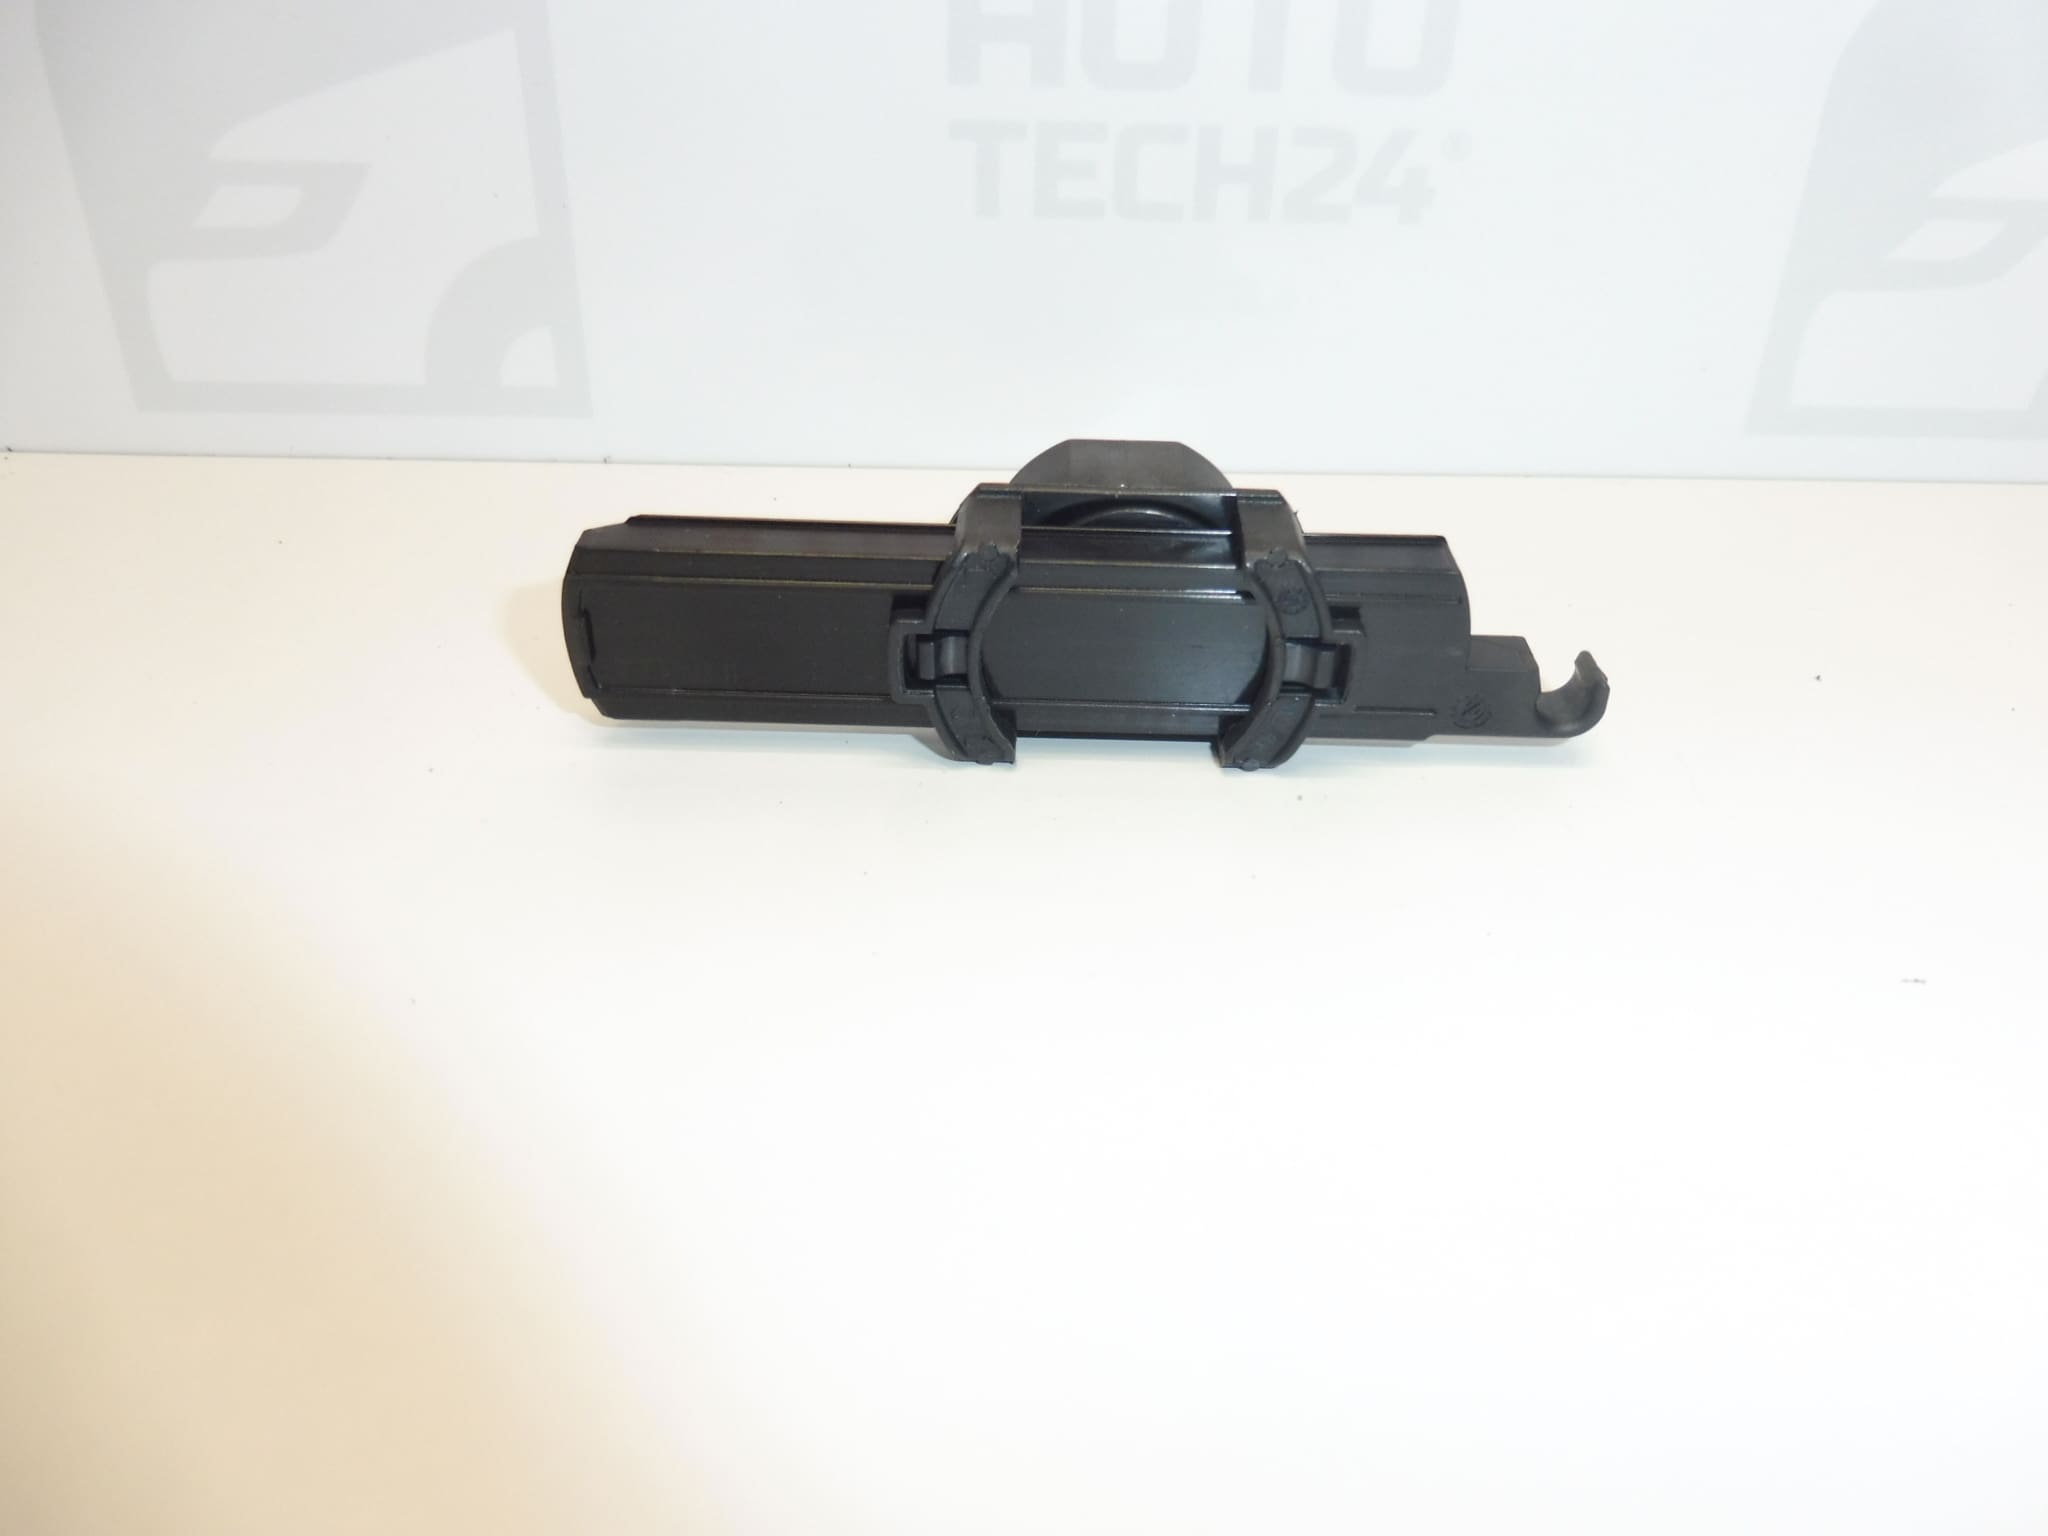
Description
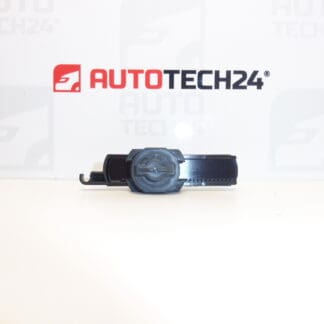
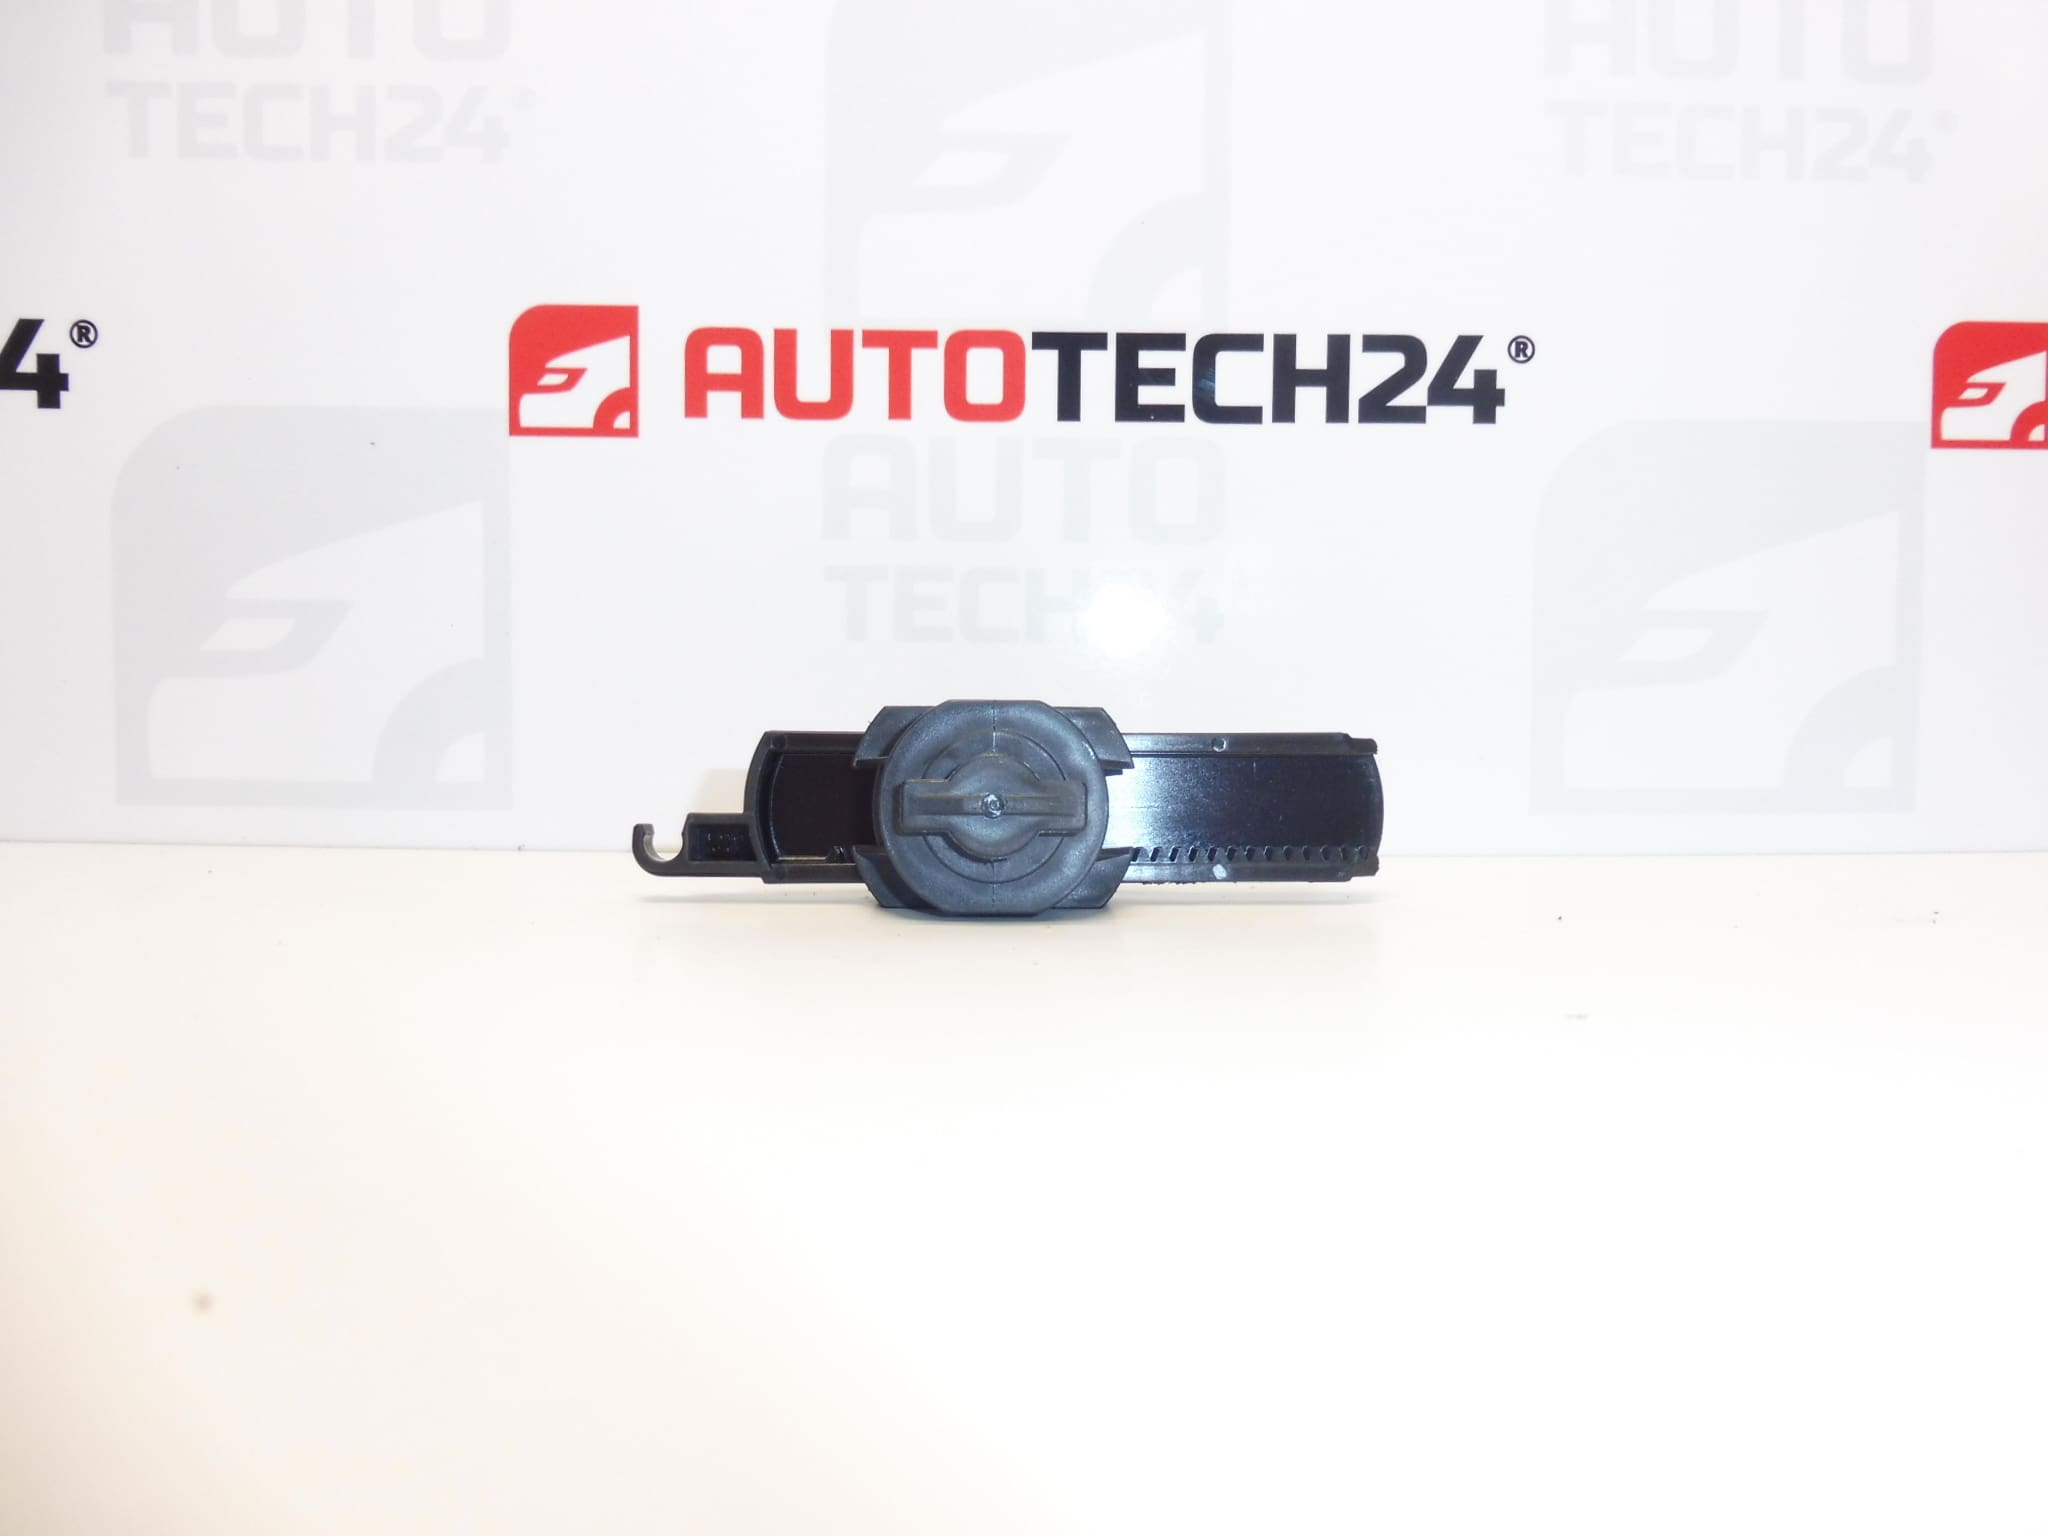
Passenger compartment brake pulley for Citroen C4 II B7 and DS4 cars
Part description
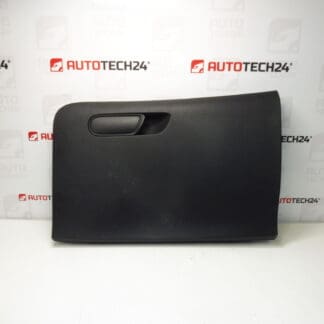
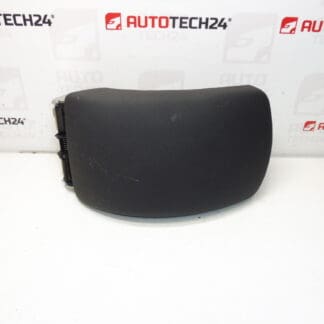
The passenger glove box brake pulley used is part of a mechanism that helps regulate the movement of the glove box when opening. It is intended for Citroen C4 II B7 and DS4 and is listed in the documents under the product number 8218ZL.
If the box opens uncontrollably, its movement stalls or the original pulley is damaged, it is worth checking the braking mechanism and its attachment. Replacing a damaged part can return the box to smoother operation without unnecessarily replacing undamaged parts of the interior. When choosing, especially compare the part number, shape and attachment method with the original piece.
Technical information
- Manufacturer: not specified; in the documents the label Stellantis CITROEN PEUGEOT.
- Model: Citroen C4 II; DS4. The description specifies the C4 II B7 design.
- Type of part: passenger compartment brake pulley.
- Category: interior – dashboards and their parts.
- Condition: used part.
- Other numbers: not specified.
Product codes
- Product codes: 8218ZL.
The number 8218ZL is an important reference for locating this part. Before assembly, compare it with the marking of the original part and check the match of the mechanical design.
Installation recommendations
In general, the following procedure applies to this type of part. The exact access to the mechanism, how to release the box and secure the pulley depends on the specific model and design of the car. The documents do not contain a model-specific assembly procedure.
1) Before assembly
- Compare the product number, pulley shape, dimensional design and attachment with the old part.
- Inspect the used part: focus on cracks, deformations, wear of the working surface and damage to the securing elements.
- If the part has a moving part, gently check that it runs without violence.
- Also check the opposite attachment and related parts of the mechanism. A damaged bracket or guide can cause the same problem as the pulley itself.
2) Necessary tools and materials
- Basic hand tools according to the actual type of joints.
- Plastic tools for gentle release of interior covers, if it is necessary to dismantle them.
- Flashlight, soft mat to protect the interior and container for small fasteners.
- Clean cloth to remove loose dirt.
3) Step-by-step assembly procedure
- Stop the vehicle safely, switch off the ignition and empty the glove box.
- Protect the surrounding surfaces with a soft mat and ensure good lighting in the work area.
- Refer to the service procedure for that model to find out how to access the braking mechanism. Do not force the covers or box to release.
- Support the box so that it does not fall under its own weight after disconnecting the mechanism and does not burden the hinges or stops.
- Before disassembly, take a photo of the position of the pulley, the attachment and any guide of the connecting element.
- Carefully release the relevant lock and disconnect the pulley from the connected parts according to their actual design.
- Remove the original part and check the seating surfaces, brackets and surrounding mechanism. Remove loose debris.
- Compare the two parts again and insert the replacement pulley in the same orientation as the original piece. If it does not fit naturally, discontinue assembly and determine the cause.
- Reconnect the mechanism and secure all loose connections. Verify that nothing is twisted, pinched, or pushed over the edge.
- With the box supported, slowly test its movement. If the mechanism works without stuttering, return the disassembled parts and perform a final check.
-
4) Post-assembly checks and function verification
Open and close the box slowly several times. Observe the smoothness of the movement, the closing function and any clicking, rubbing or play in the attachment. Check the seating of surrounding covers. For basic function verification, a check on a stationary vehicle is sufficient; when driving afterwards, notice any knocking from the box area.
5) The most common assembly mistakes and how to avoid them
- Unsupported box: when disconnecting the mechanism, hold it so that sudden movement does not damage other components.
- Incorrect orientation or guidance of the mechanism: take a photo before disassembly and restore the original arrangement when reassembling.
- Force snapping: first verify the correct position of the part and alignment of the attachment.
- Overlooked bracket damage: check the entire follow-up mechanism, not just the pulley being changed.
- Lubrication without the manufacturer’s recommendation: do not use the lubricant automatically, as it may affect the braking function or damage some materials.
Reasons why the part is damaged
For this type of mechanism, the following influences can generally contribute to damage; it is not a description of the detected condition of the offered piece:
- Repetitive strain from opening and closing the mailbox every day.
- Sudden opening or pushing through resistance which overloads the pulley and its attachment.
- Impurities in the mechanism that increase resistance and accelerate wear.
- Material aging and temperature fluctuations in the interior, especially for plastic parts.
- Unsparing prior disassembly which may cause cracks or damage to securing elements.