Description
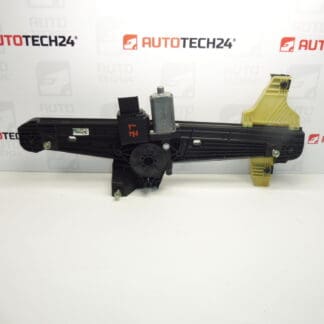
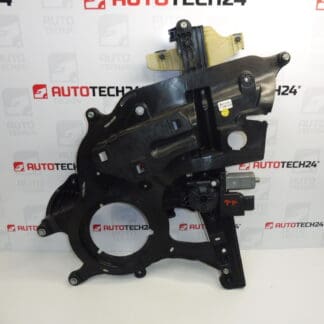
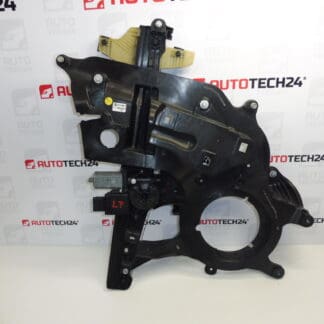
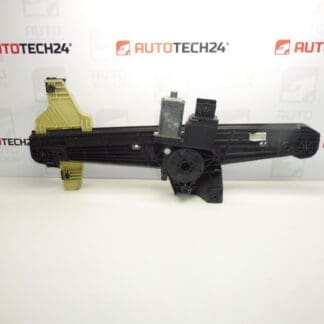
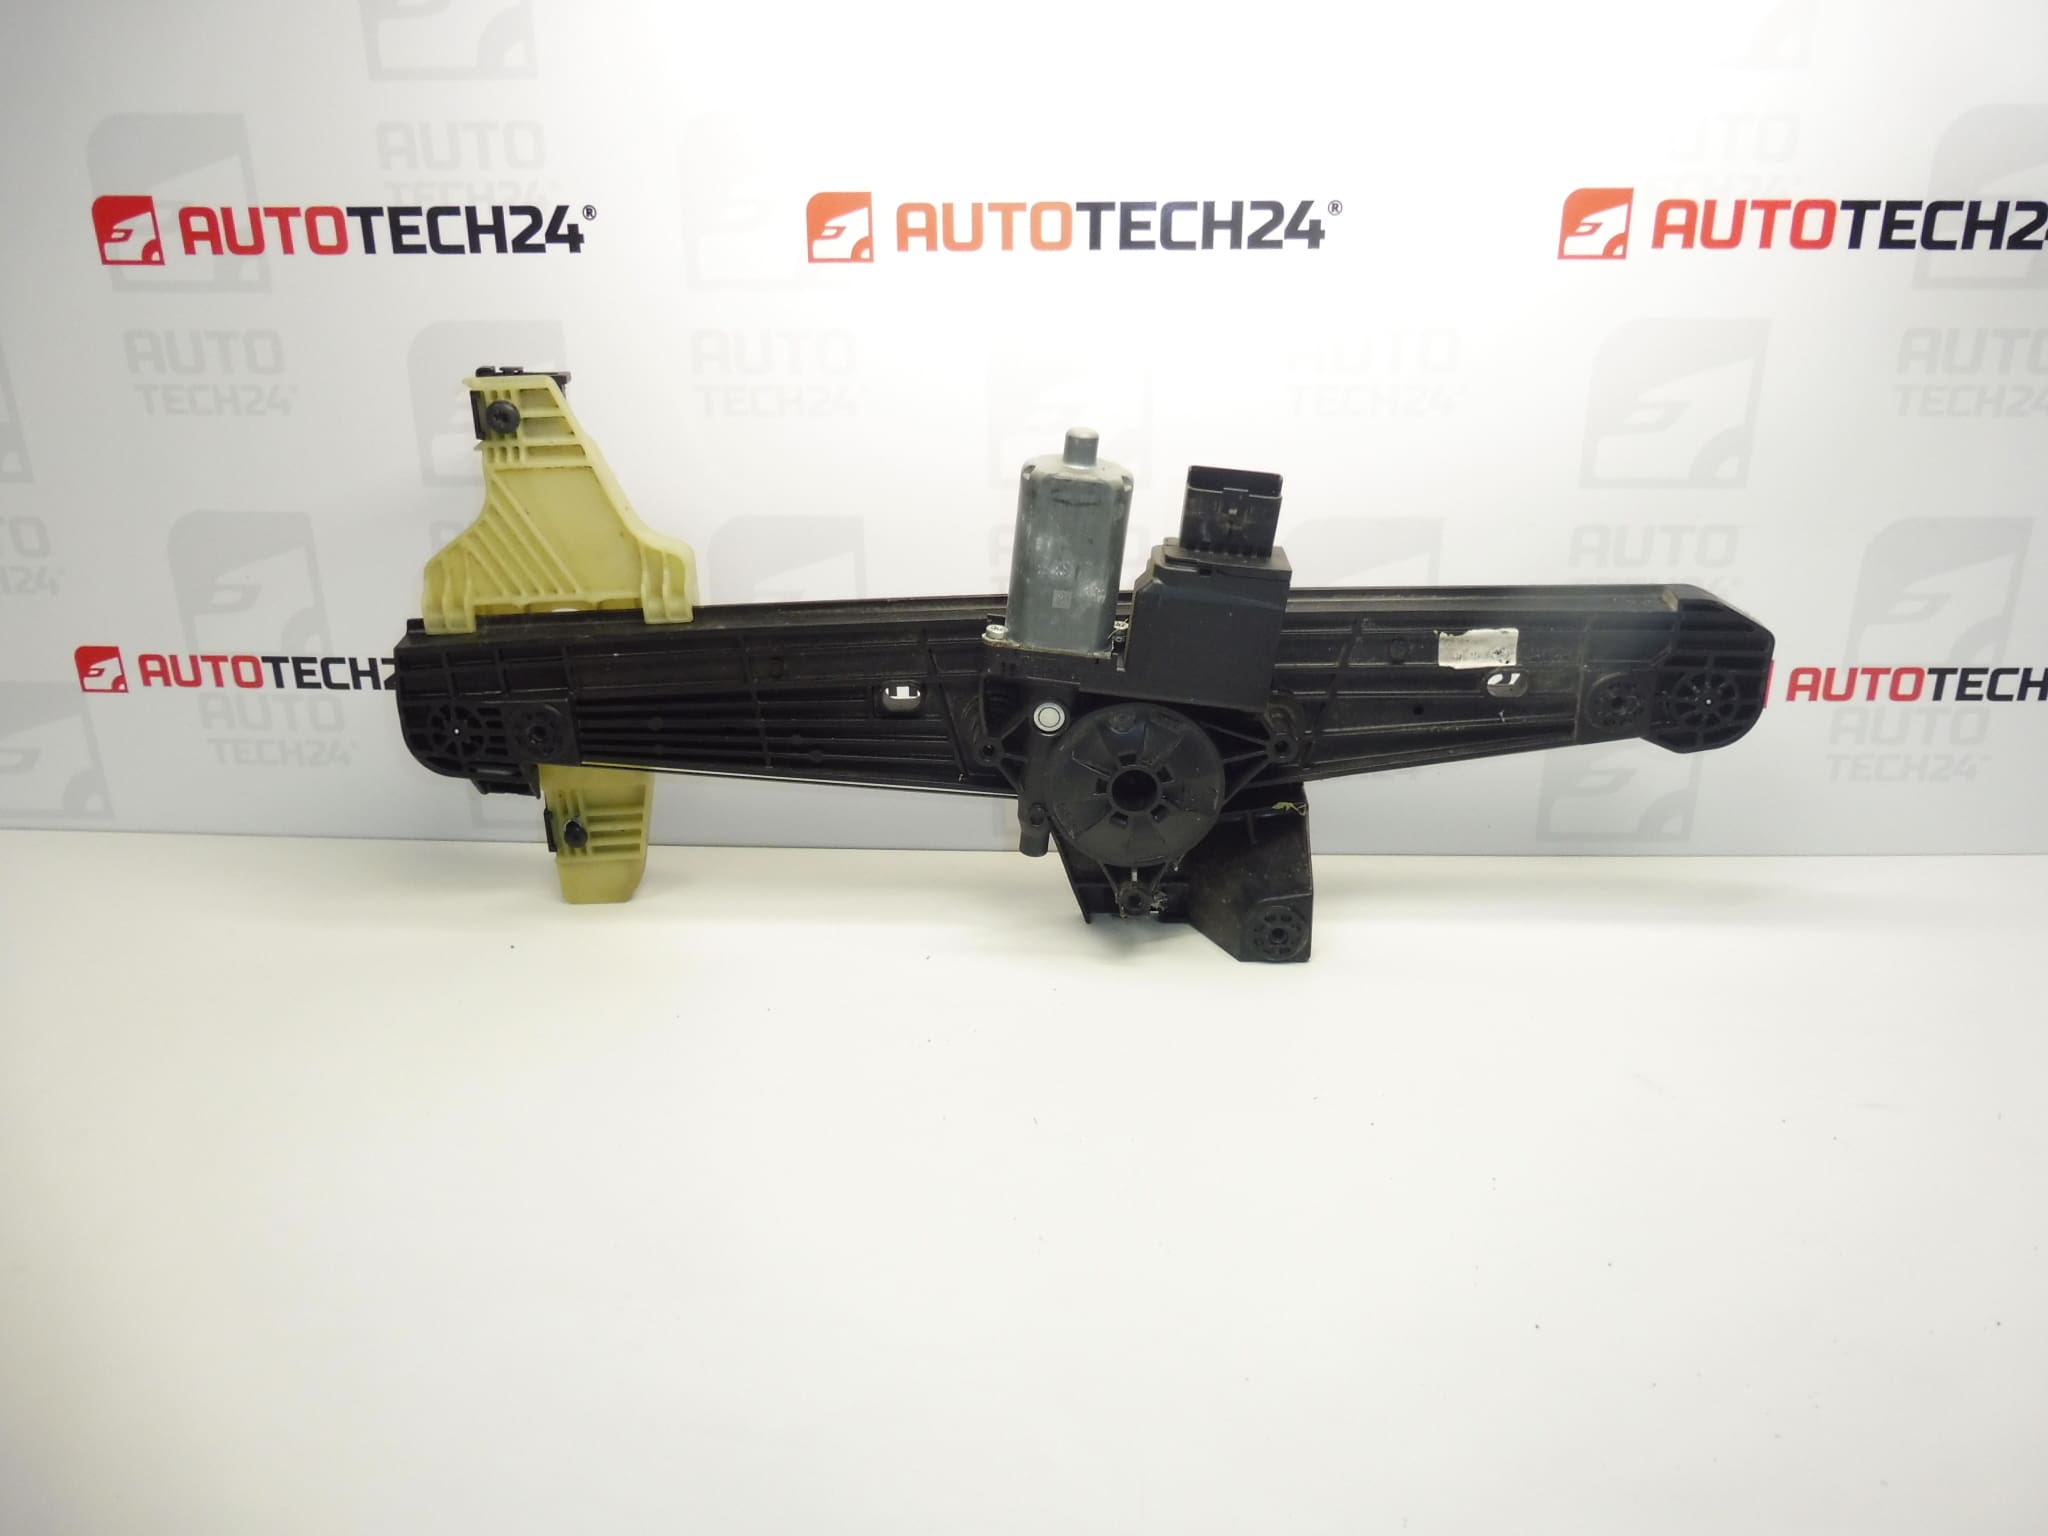
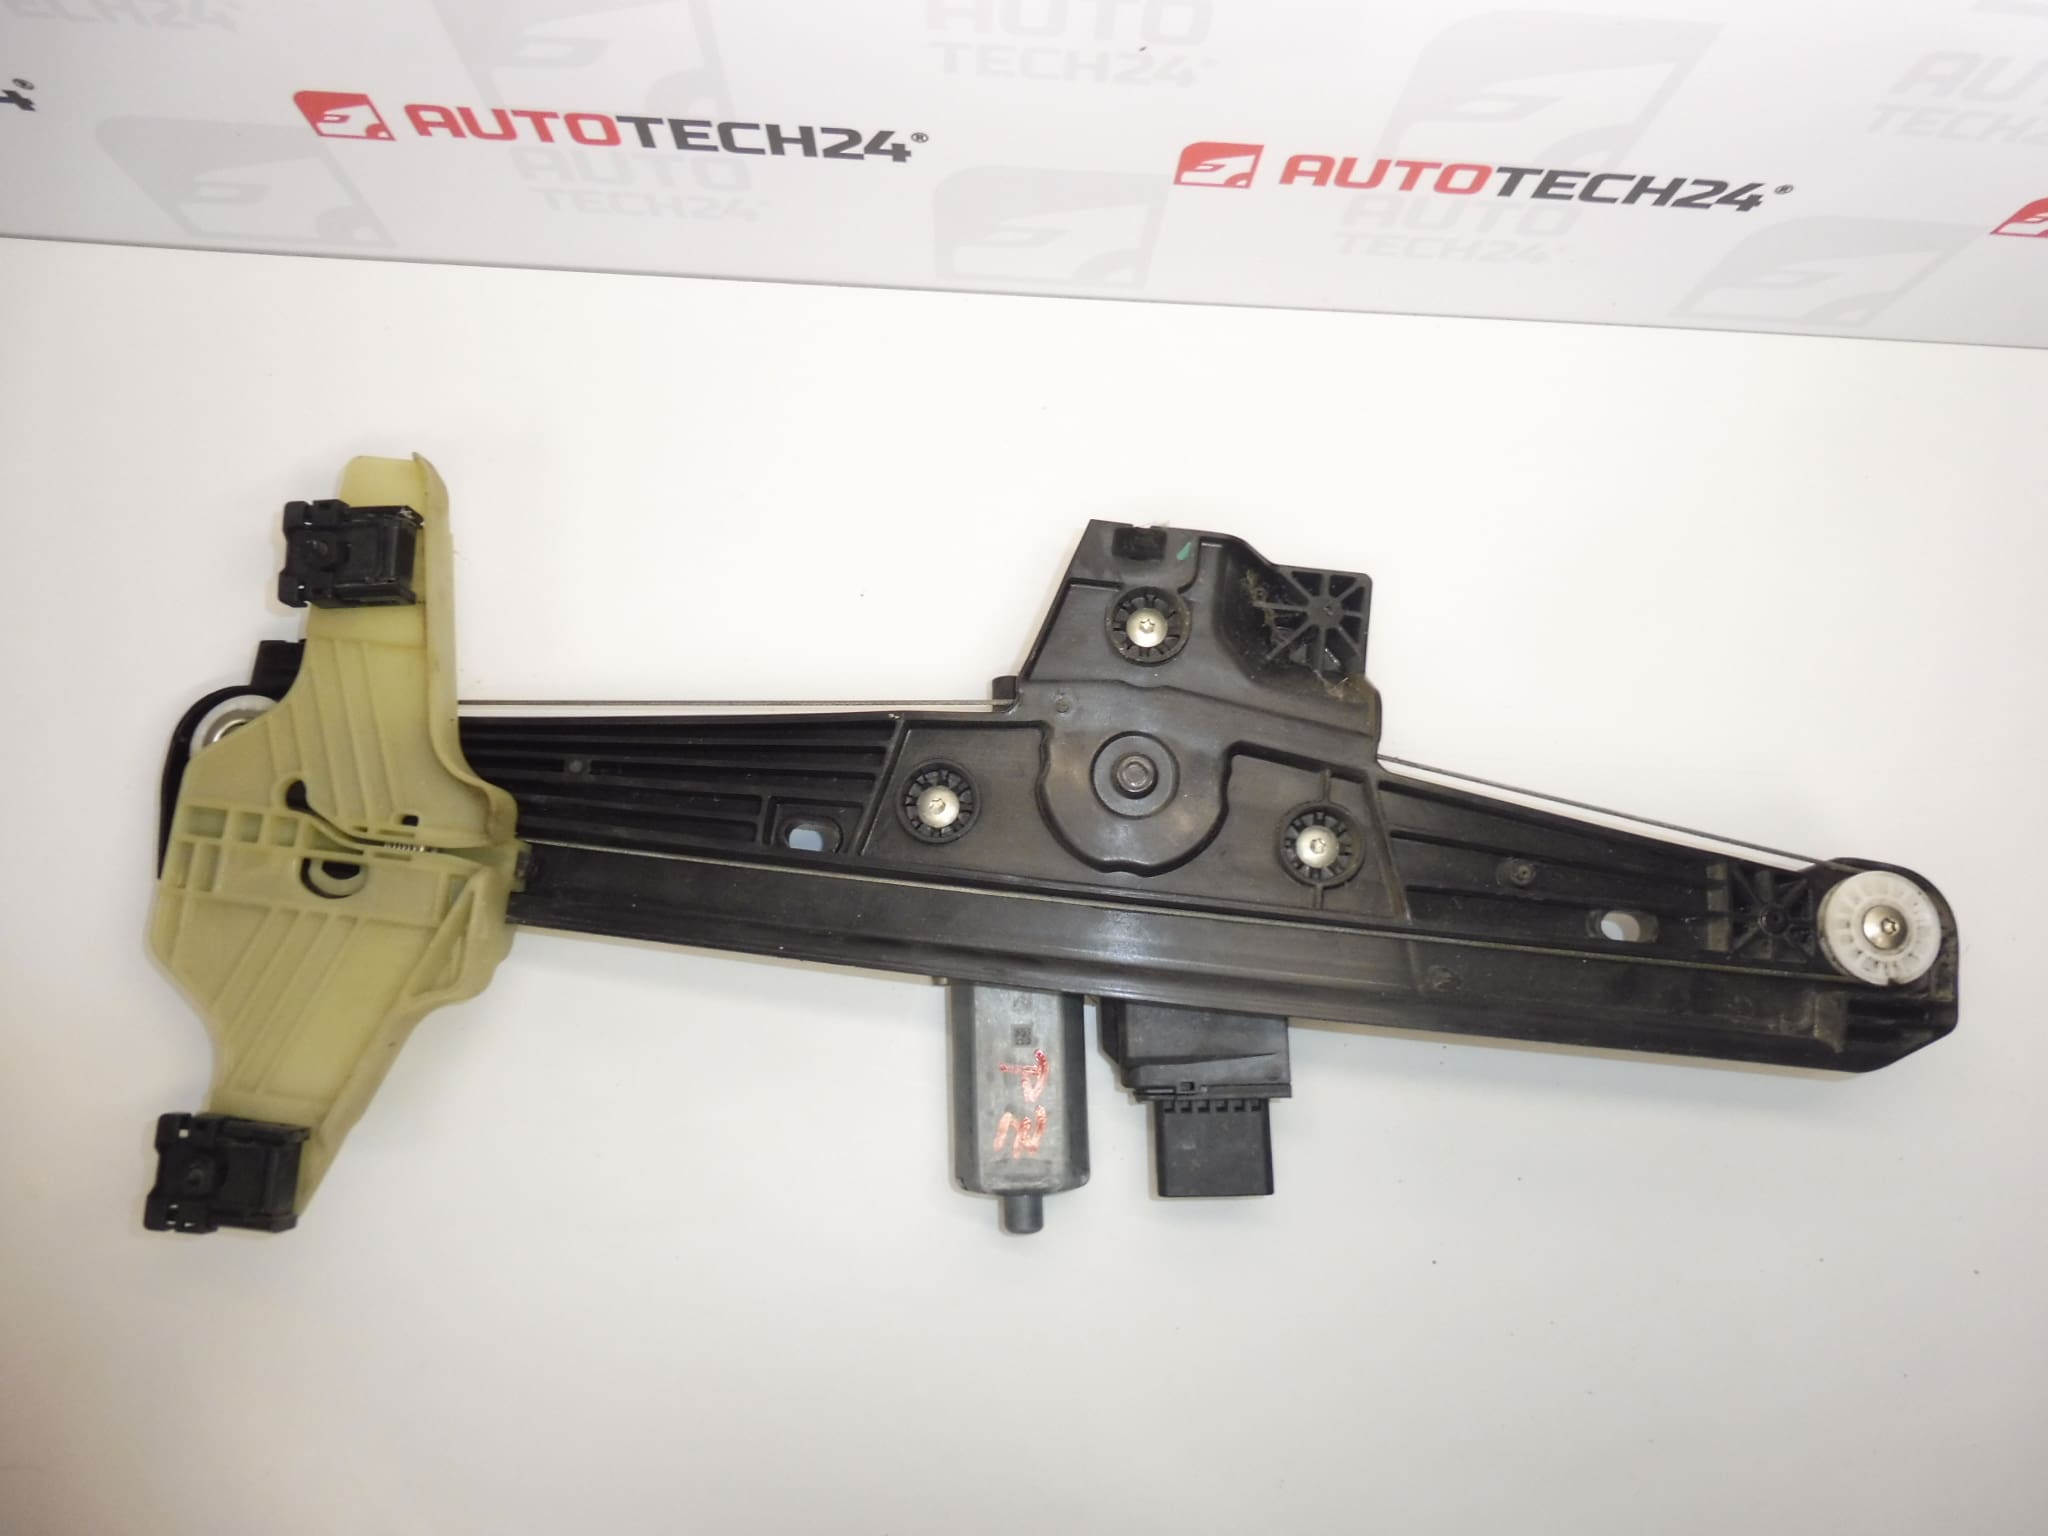
Right rear window regulator mechanism for Stellantis vehicles
Door behind the passenger
Part description
The used right rear window regulator mechanism guides and moves the window glass in the door behind the passenger. It is a suitable choice when repairing a window regulator that is not working or is damaged, if the fault lies in the mechanism itself. Replacing a faulty regulator helps restore smooth opening and reliable closing of the window.
The product information lists this part for Citroën Berlingo K9, PEUGEOT RIFTER, FIAT DOBLO III, OPEL COMBO E K9 and Toyota ProAce City models. When selecting the part, compare the product number, mechanism design and mounting points with the original part. The model name alone is not enough to identify the correct version.
The numbers 9817212480, 9830335380 and 9840175380 make it easier to look up the part. The product information does not specify whether an electric motor or other accessories are included.
Technical information
- Manufacturer: not specified; the product information includes the designation Stellantis CITROEN PEUGEOT.
- Model: Citroën Berlingo K9; FIAT DOBLO III; OPEL COMBO E K9; PEUGEOT RIFTER; Toyota ProAce City.
- Part type: window regulator mechanism.
- Location: right rear door, door behind the passenger.
- Condition: used automotive part.
- Additional numbers: not specified.
Product codes
- Product codes: 9817212480, 9830335380, 9840175380.
All numbers listed are taken from the product information. It is not specified whether they are interchangeable or which vehicle versions they apply to.
Installation recommendations
The following procedure is general for this type of part. The exact method for removing the door trim, releasing the glass and securing the mechanism depends on the specific vehicle model and version. Follow the manufacturer’s service procedure.
1) Before installation
- First, verify the cause of the fault. With electric operation, the problem may also be caused by the power supply, wiring, switch or motor, and not just the mechanism.
- Compare the part numbers, installation side, dimensions, mounting points and method of securing the glass. If electrical components are present, compare their connections as well.
- Inspect the used mechanism for deformation, cracks, corrosion and the condition of the guides or any cables. Do not force moving parts or test them electrically unless they are securely mounted.
- Inspect the window guides and door seals. Excessive resistance can also damage the replacement mechanism.
2) Tools and materials required
In general, prepare standard hand tools suitable for the fasteners on the vehicle, a plastic trim removal tool, protective gloves, equipment to secure the glass safely and supplies for cleaning the work area. Choose any materials needed to restore the door membrane’s seal according to the door design.
3) Step-by-step installation procedure
- Secure the vehicle against movement and prepare an area where you can work safely with the door open.
- If the condition of the mechanism allows, position the glass to access its mounting points. Do not force a jammed window.
- Switch off the ignition. Before disconnecting electrical components, disconnect the battery according to the vehicle manufacturer’s procedure.
- Carefully remove the door trim and any connected controls. Keep the fasteners organized.
- Access the mechanism and release any protective membrane or barrier in a way that allows it to be properly resealed.
- Secure the glass safely to prevent it from falling, and only then release it from the mechanism. Ask another person to help if necessary.
- Disconnect any electrical connection, release the old mechanism’s fasteners and remove it without damaging the wiring or glass.
- Compare the two parts side by side. Fit the replacement mechanism into the original mounting points without forcing it, and secure it according to the service procedure.
- Connect the glass, check that it is seated correctly and check any electrical connectors. Keep the wiring clear of moving parts.
- After reconnecting the battery safely, check the operation, keeping your hands and tools clear of the mechanism. Once the check is successful, restore the seal of the protective barrier and refit the door trim.
4) Checks after installation and function verification
Check that the glass moves smoothly, closes evenly and does not jerk, crunch or come into contact with the wiring. Stop movement immediately if you encounter unusual resistance. If the specific vehicle requires the window controls to be initialized, do so according to the manufacturer’s instructions. After reassembly, check the controls and that the trim is secured; a short test drive can help identify any rattling or noise around the closed window.
5) Most common installation errors and how to avoid them
- Glass not secured: always support or secure it reliably before releasing the brackets.
- Mechanism or glass fitted crookedly: the mounting points must align without levering, and movement must not be forced.
- Damage to the guides overlooked: remove the cause of increased resistance before installation.
- Wiring pinched: check its routing and clearance from moving parts before testing.
- Door barrier not sealed properly: restore its proper adhesion to prevent water from reaching the trim and entering the cabin.
Reasons why the part gets damaged
Window regulator mechanisms generally get damaged mainly through prolonged wear and increased resistance when the glass moves. The following causes do not describe the condition of this specific unit:
- Wear to the guide components and brackets, and, in cable-operated versions, to the cables or their guides.
- Dirt, corrosion or damaged seals that prevent the window from moving smoothly.
- Repeated operation of frozen or jammed glass.
- Deformed doors or incorrect glass positioning following a previous repair.
- Rough handling and improper installation that place excessive strain on the mechanism.