Description
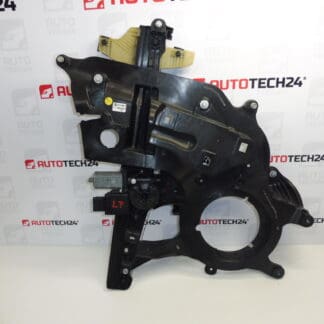
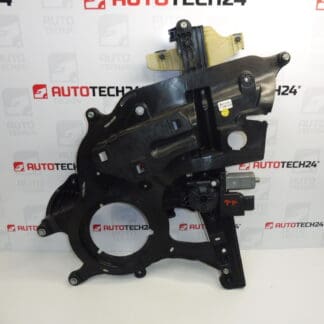
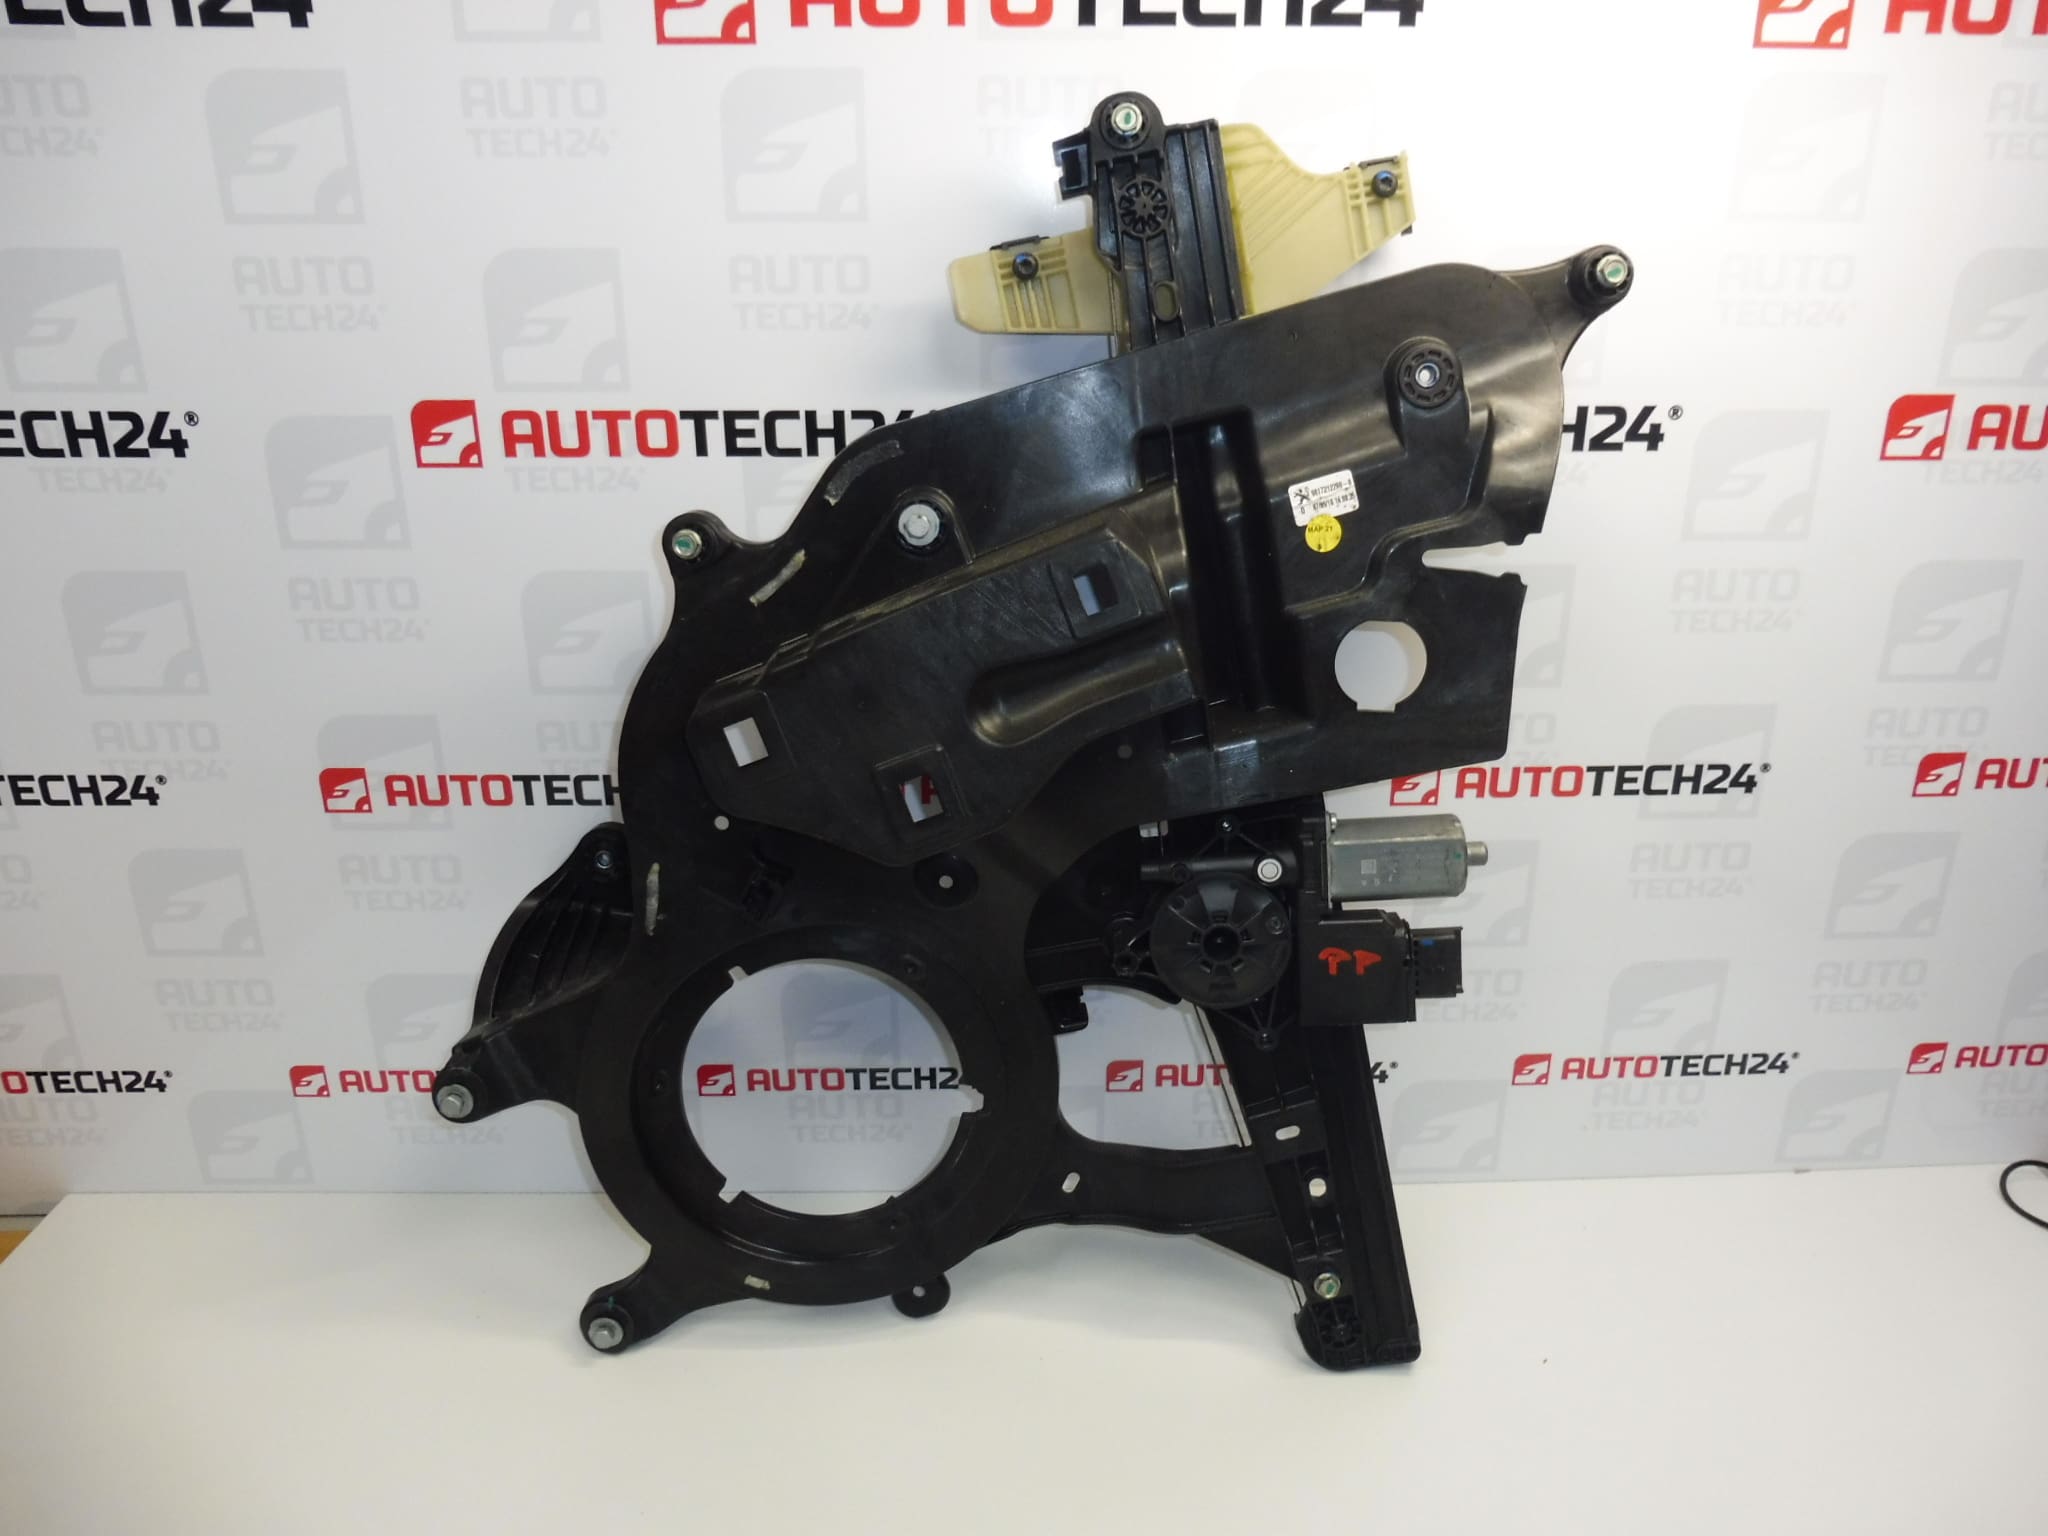
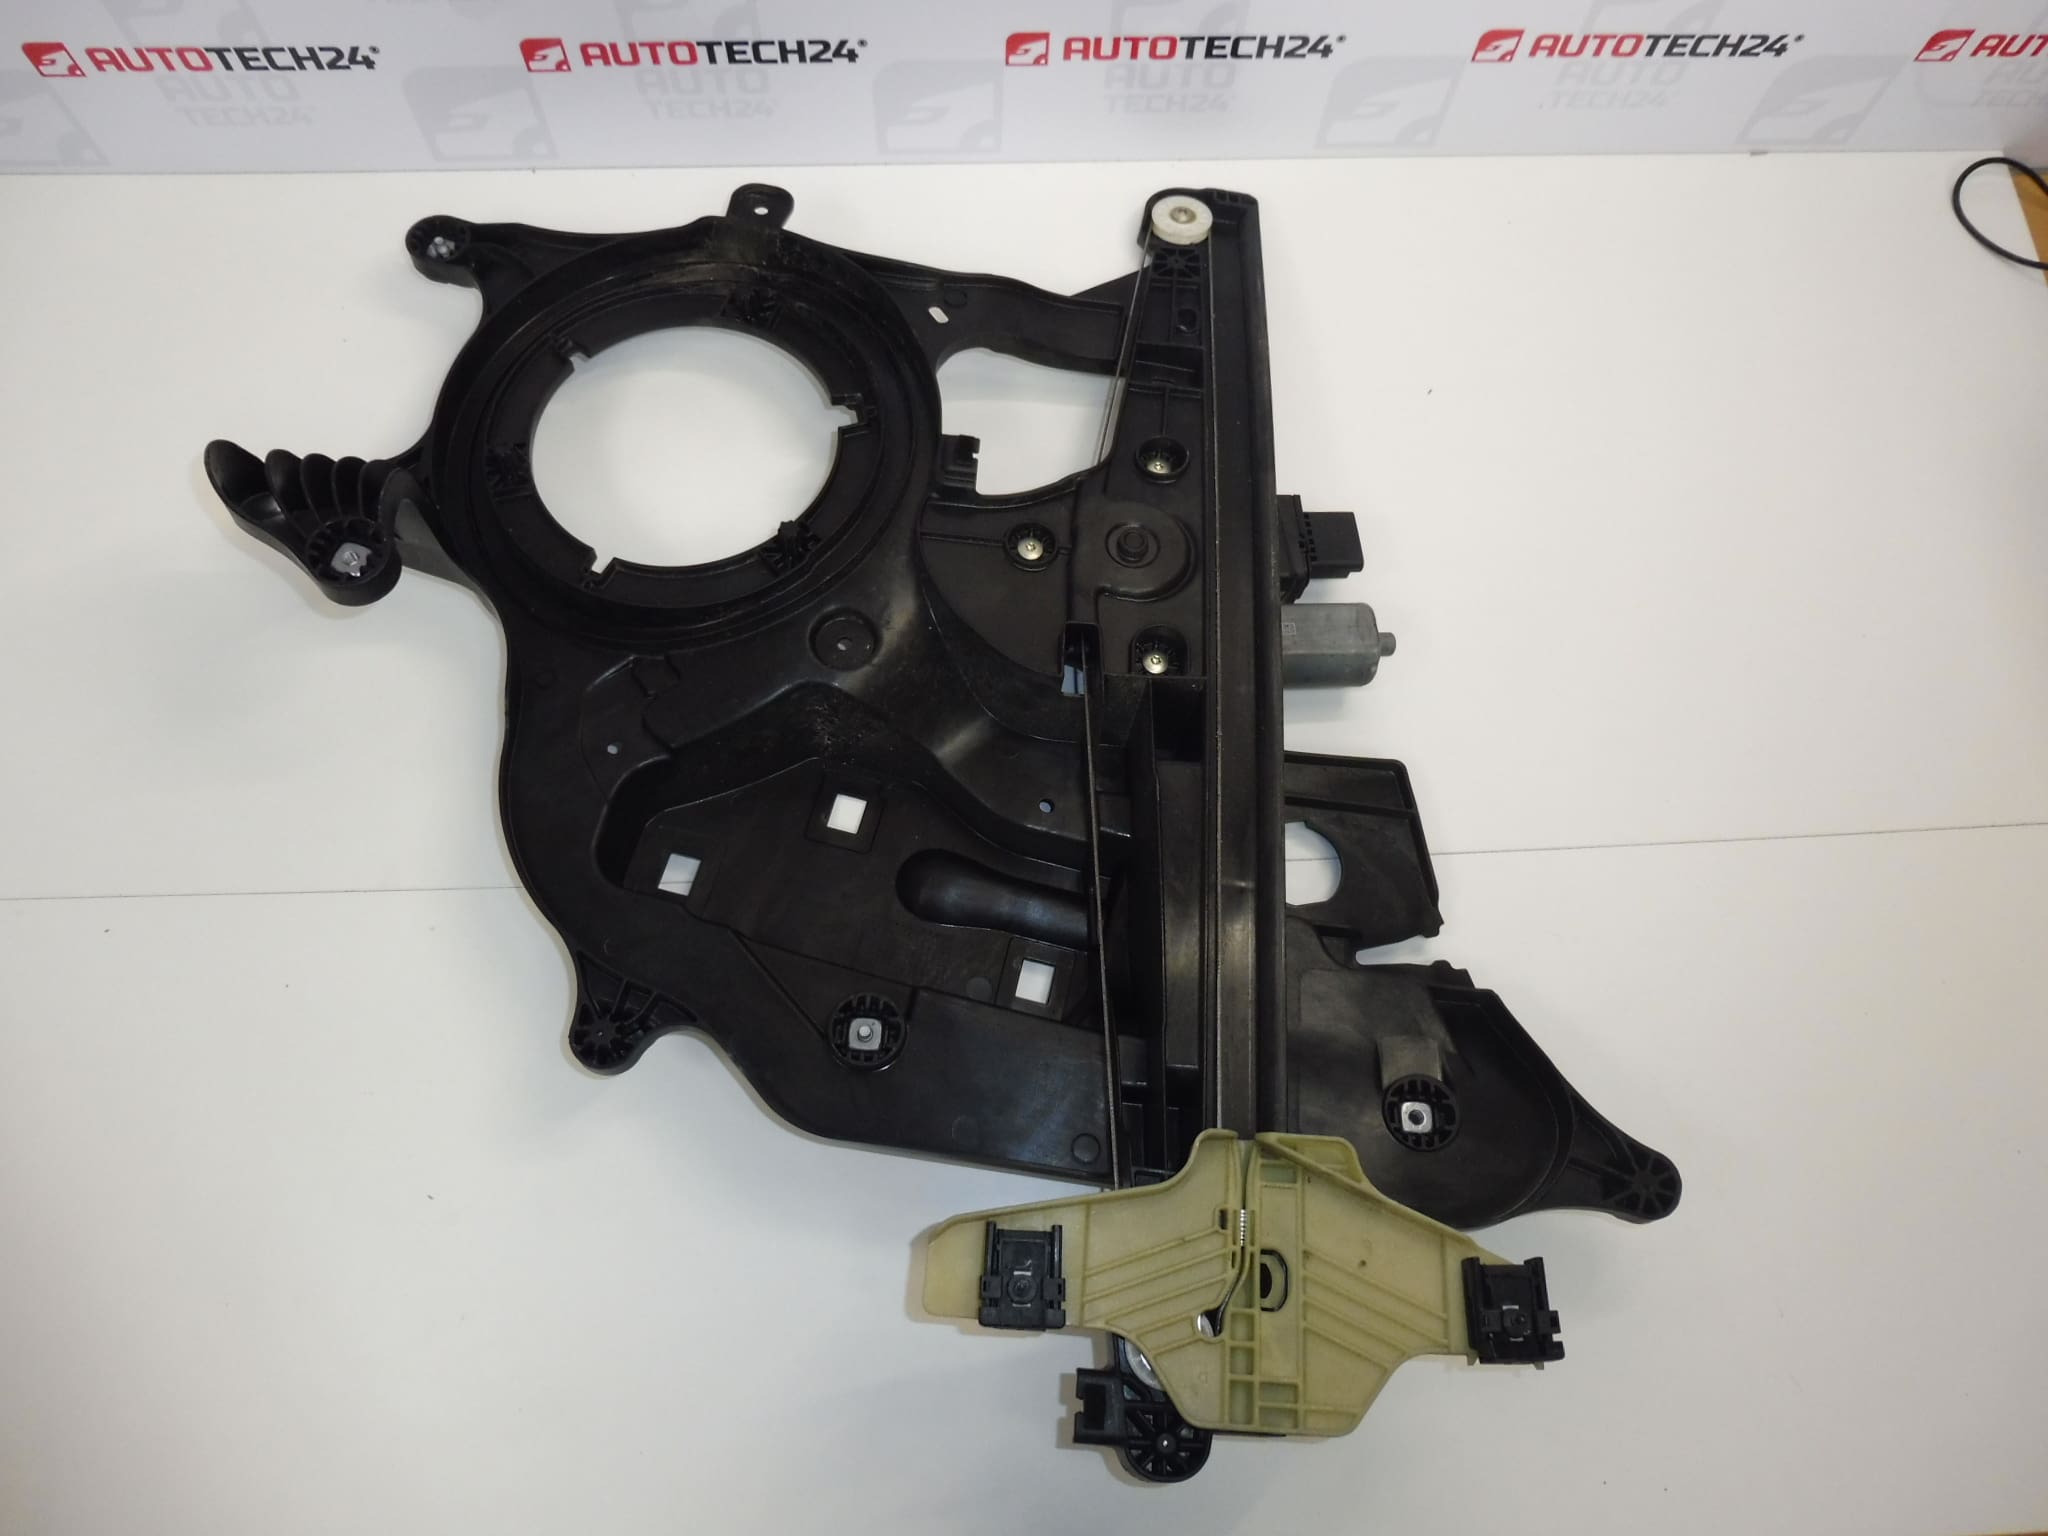
Stellantis right front window regulator mechanism
Front passenger door
Part description
Used right front window regulator mechanism for the front passenger door. The regulator guides and moves the glass as the window opens and closes. It is a suitable part for addressing a fault where the window moves irregularly, gets jammed, or cannot be raised properly, if the cause is a damaged mechanism.
The part is listed in the documentation under numbers 9817212280 and 9840175780. When selecting a part, compare the original part number, the design of the mechanism, and its mounting points. Matching the model range alone is not sufficient to identify the correct variant. The documentation does not specify whether an electric motor or any other accessories are included.
Technical information
- Manufacturer: Stellantis – according to the supplied documentation.
- Model: Citroën Berlingo K9, FIAT DOBLO III, PEUGEOT RIFTER, Toyota ProAce City; Opel Combo E K9 is also listed in the category.
- Part type: window regulator mechanism.
- Location: right front door, front passenger door.
- Condition: used automotive part.
- Additional numbers: 9840175780.
- Model years and engine versions: not specified.
- Electric motor and accessories included: not specified.
Product codes
- Product codes: 9817212280, 9840175780.
Both numbers are listed in the documentation for this product. Before installation, compare them with the markings on the removed mechanism and its design.
Installation recommendations
In general, the following applies to this type of part: replacing a window regulator requires securely supporting the glass and working carefully inside the door. The following procedure is general; the exact trim removal, mounting method, and any window control adjustments depend on the specific model and vehicle configuration.
1) Before installation
- Verify the cause of the fault. A non-functioning window may also be related to the switch, wiring, or drive motor, not just the window regulator mechanism.
- Compare the product numbers, installation side, mechanism shape, mounting points, and glass attachment. If there is an electrical component, also compare the connector.
- Inspect the used part: check for deformation, cracks, corrosion, and the condition of the guides and moving parts. For cable-operated versions, also check for fraying and correct cable routing.
- Inspect the glass guides and door seals. Excessive resistance can also damage the replacement mechanism.
2) Tools and materials required
Typical tools include standard hand tools suitable for the fasteners in the door, a plastic trim removal tool, protective gloves, a means of securely supporting the glass, and cleaning supplies for the work area. Select material for resealing the door protective film or barrier according to its design. Handle any non-removable joints in accordance with the vehicle service procedure.
3) Step-by-step installation procedure
- Park the vehicle safely, switch off the ignition, and secure the work area around the door.
- Following the service procedure, position the glass so its retainers can be released. Before disconnecting electrical components, disconnect the battery according to the manufacturer’s procedure.
- Carefully remove the door trim. Release the clips without forcing them, and disconnect any connectors by holding their housings, not the wires.
- Expose the mechanism by removing the relevant covers or protective barrier. Note the cable routing and the arrangement of the retainers.
- Securely support the glass against falling before separating it from the mechanism. Do not rely on the faulty window regulator.
- Release the glass from its retainers according to the design, and keep it safely supported or secured.
- Disconnect any electrical connection, release the mechanism fasteners, and remove it without damaging the glass or wiring.
- Compare the two mechanisms side by side. Clean the contact surfaces and check that no fragments of the damaged part remain inside the door.
- Install the replacement mechanism without putting it under tension, attach the glass, and reconnect any electrical connections. Fasten it according to the vehicle manufacturer’s instructions.
- Once the glass is securely fastened, remove its temporary support. Restore the power according to the manufacturer’s procedure and, with the area around the mechanism clear, check that the window operates. Then restore the door seal and reinstall the trim.
4) Post-installation checks and function verification
Carefully lower and raise the window several times. Check for smooth movement, even seating of the glass, and unusual noises. Stop immediately if the glass becomes jammed or encounters significant resistance. If the specific vehicle requires initialization of the automatic controls, carry this out according to the manufacturer’s instructions. Do not test the anti-pinch protection with your hand. If you take a short test drive, also check for rattling from the door and aerodynamic noise around the closed window.
5) Common installation errors and how to avoid them
- Glass not adequately secured: secure it before releasing the retainers to prevent it from falling inside the door.
- Mechanism installed under tension: first correctly seat all mounting points and the glass, and only then complete the fastening.
- Pinched wiring: route it away from the path of the glass and moving parts.
- Excessive resistance in the glass guides not addressed: before testing, check that the guide surfaces and seals are clean and in good condition.
- Door barrier not sealed: after carrying out the work, restore it to its correct position and reseal it.
Reasons why the part may become damaged
The following are common causes of damage to window regulator mechanisms in general; they do not describe the inspected condition of this particular item:
- Wear to moving parts and retainers from prolonged use.
- For cable-operated mechanisms, fraying, breakage, or incorrect winding of the cable.
- Increased load due to dirty guides, damaged seals, or frozen glass.
- Moisture and corrosion, especially if the protection inside the door is damaged.
- Incorrectly seated glass, previous improper installation, or mechanical damage to the door.
- Repeated operation of the window despite jamming, cracking sounds, or other signs of a fault.