Description
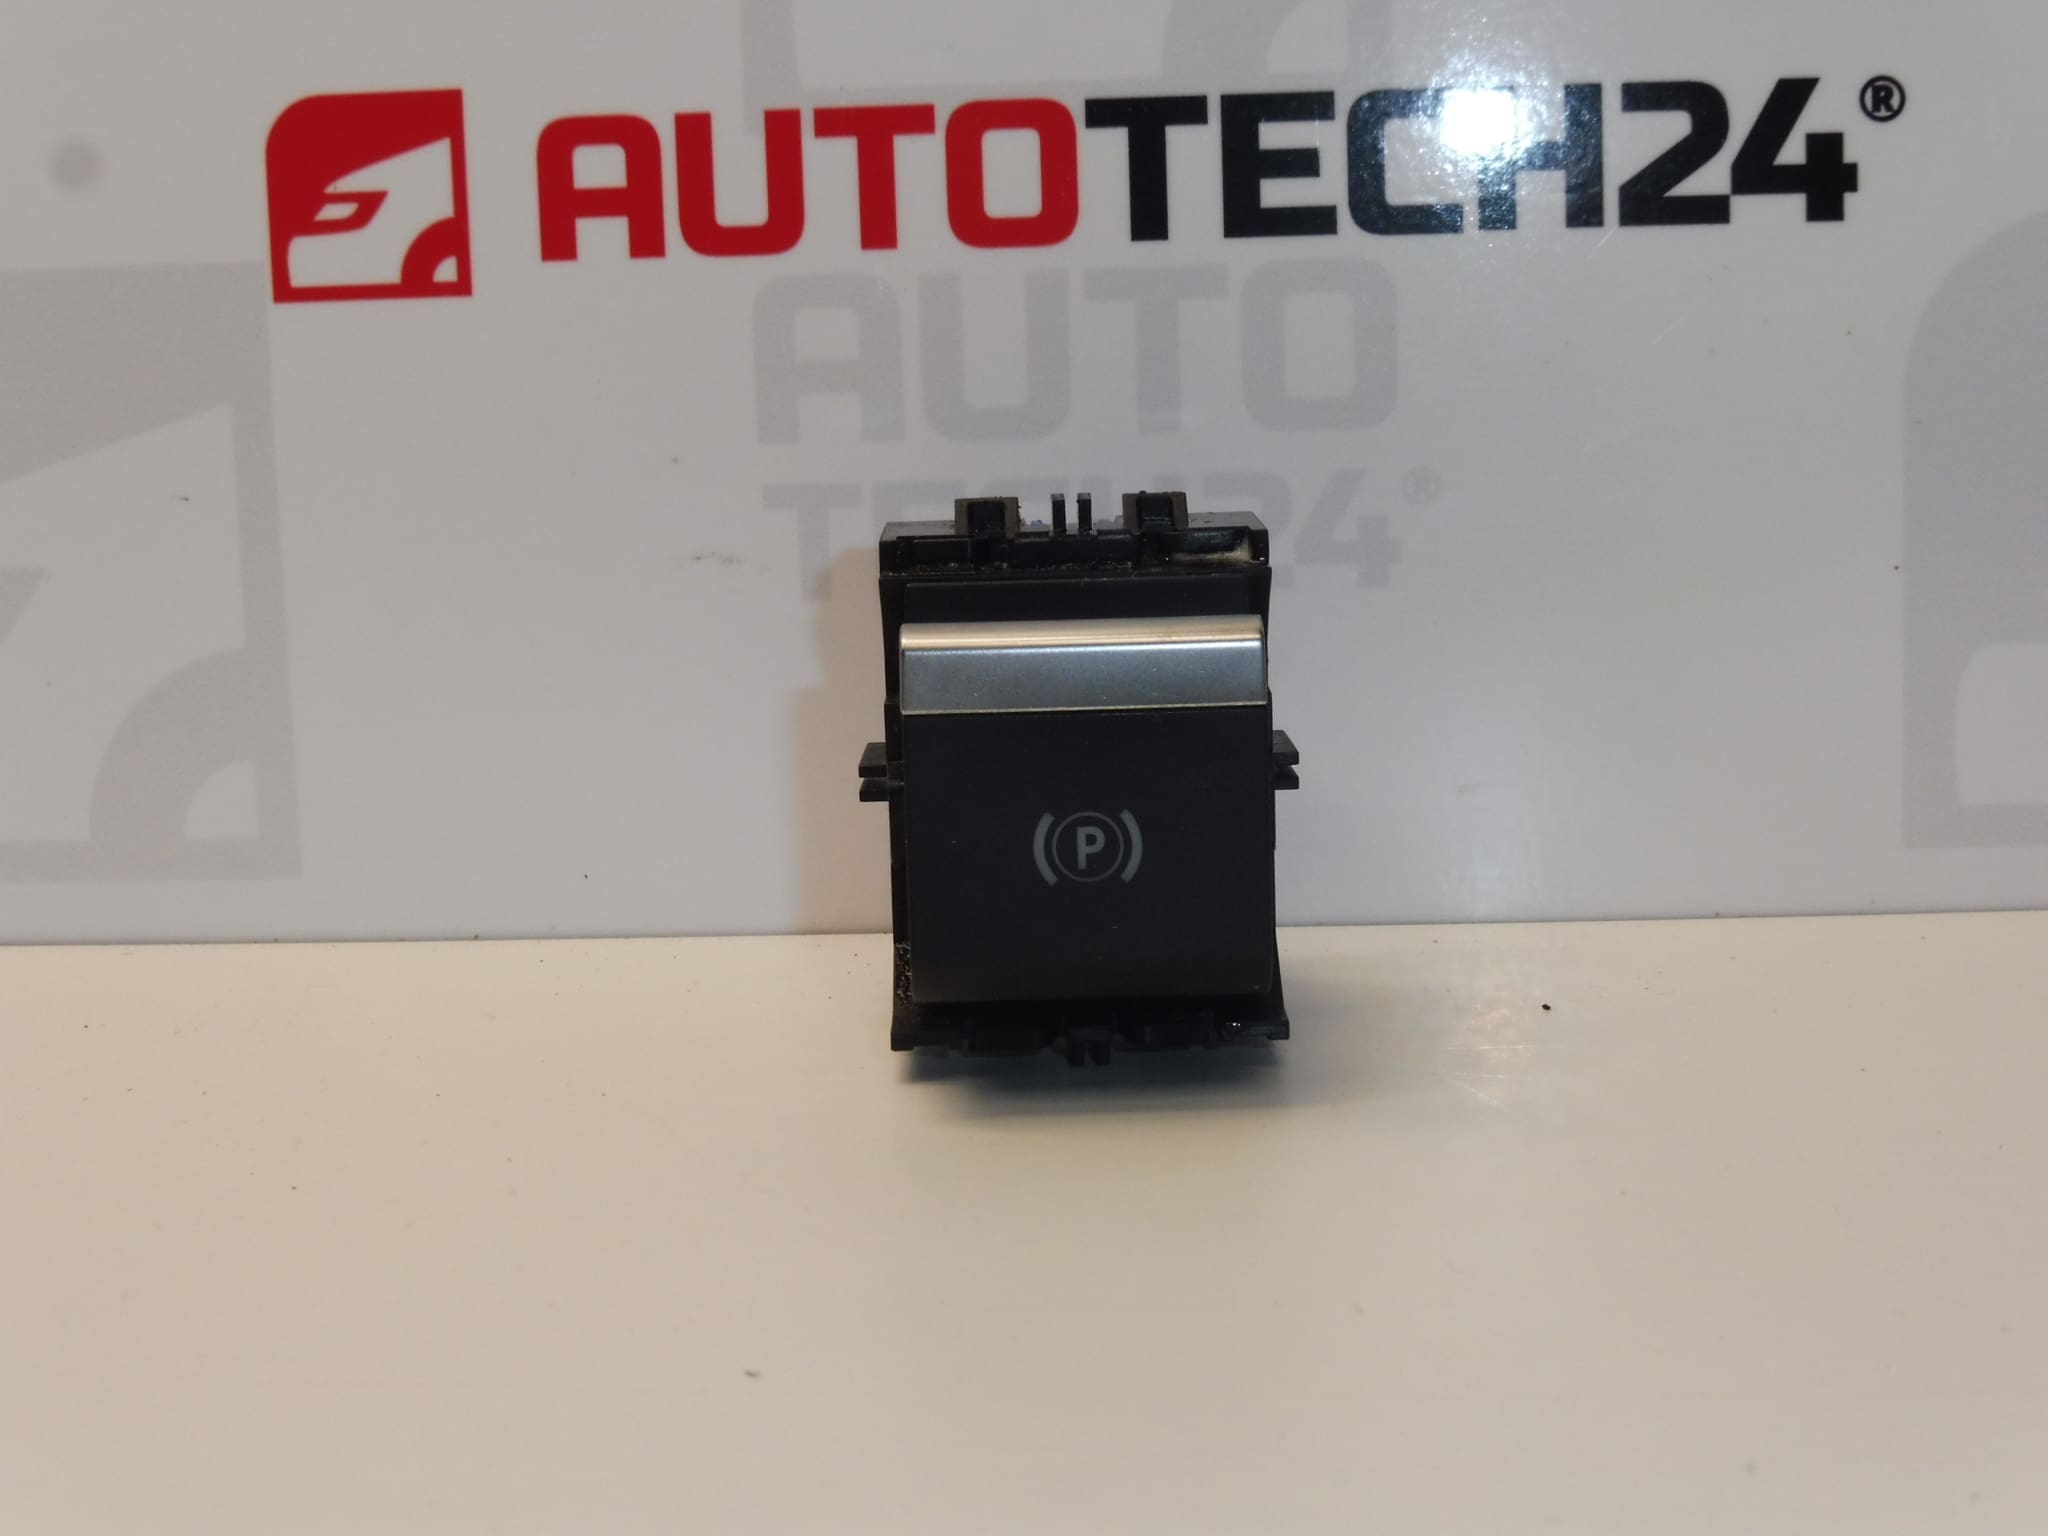
Electronic handbrake switch for CITROEN, PEUGEOT and other Stellantis models
Part description
This used electronic parking brake switch is used to issue commands to activate and release it. It is a suitable replacement for a damaged or unresponsive switch. It is not the brake mechanism itself, but an electrical control component.
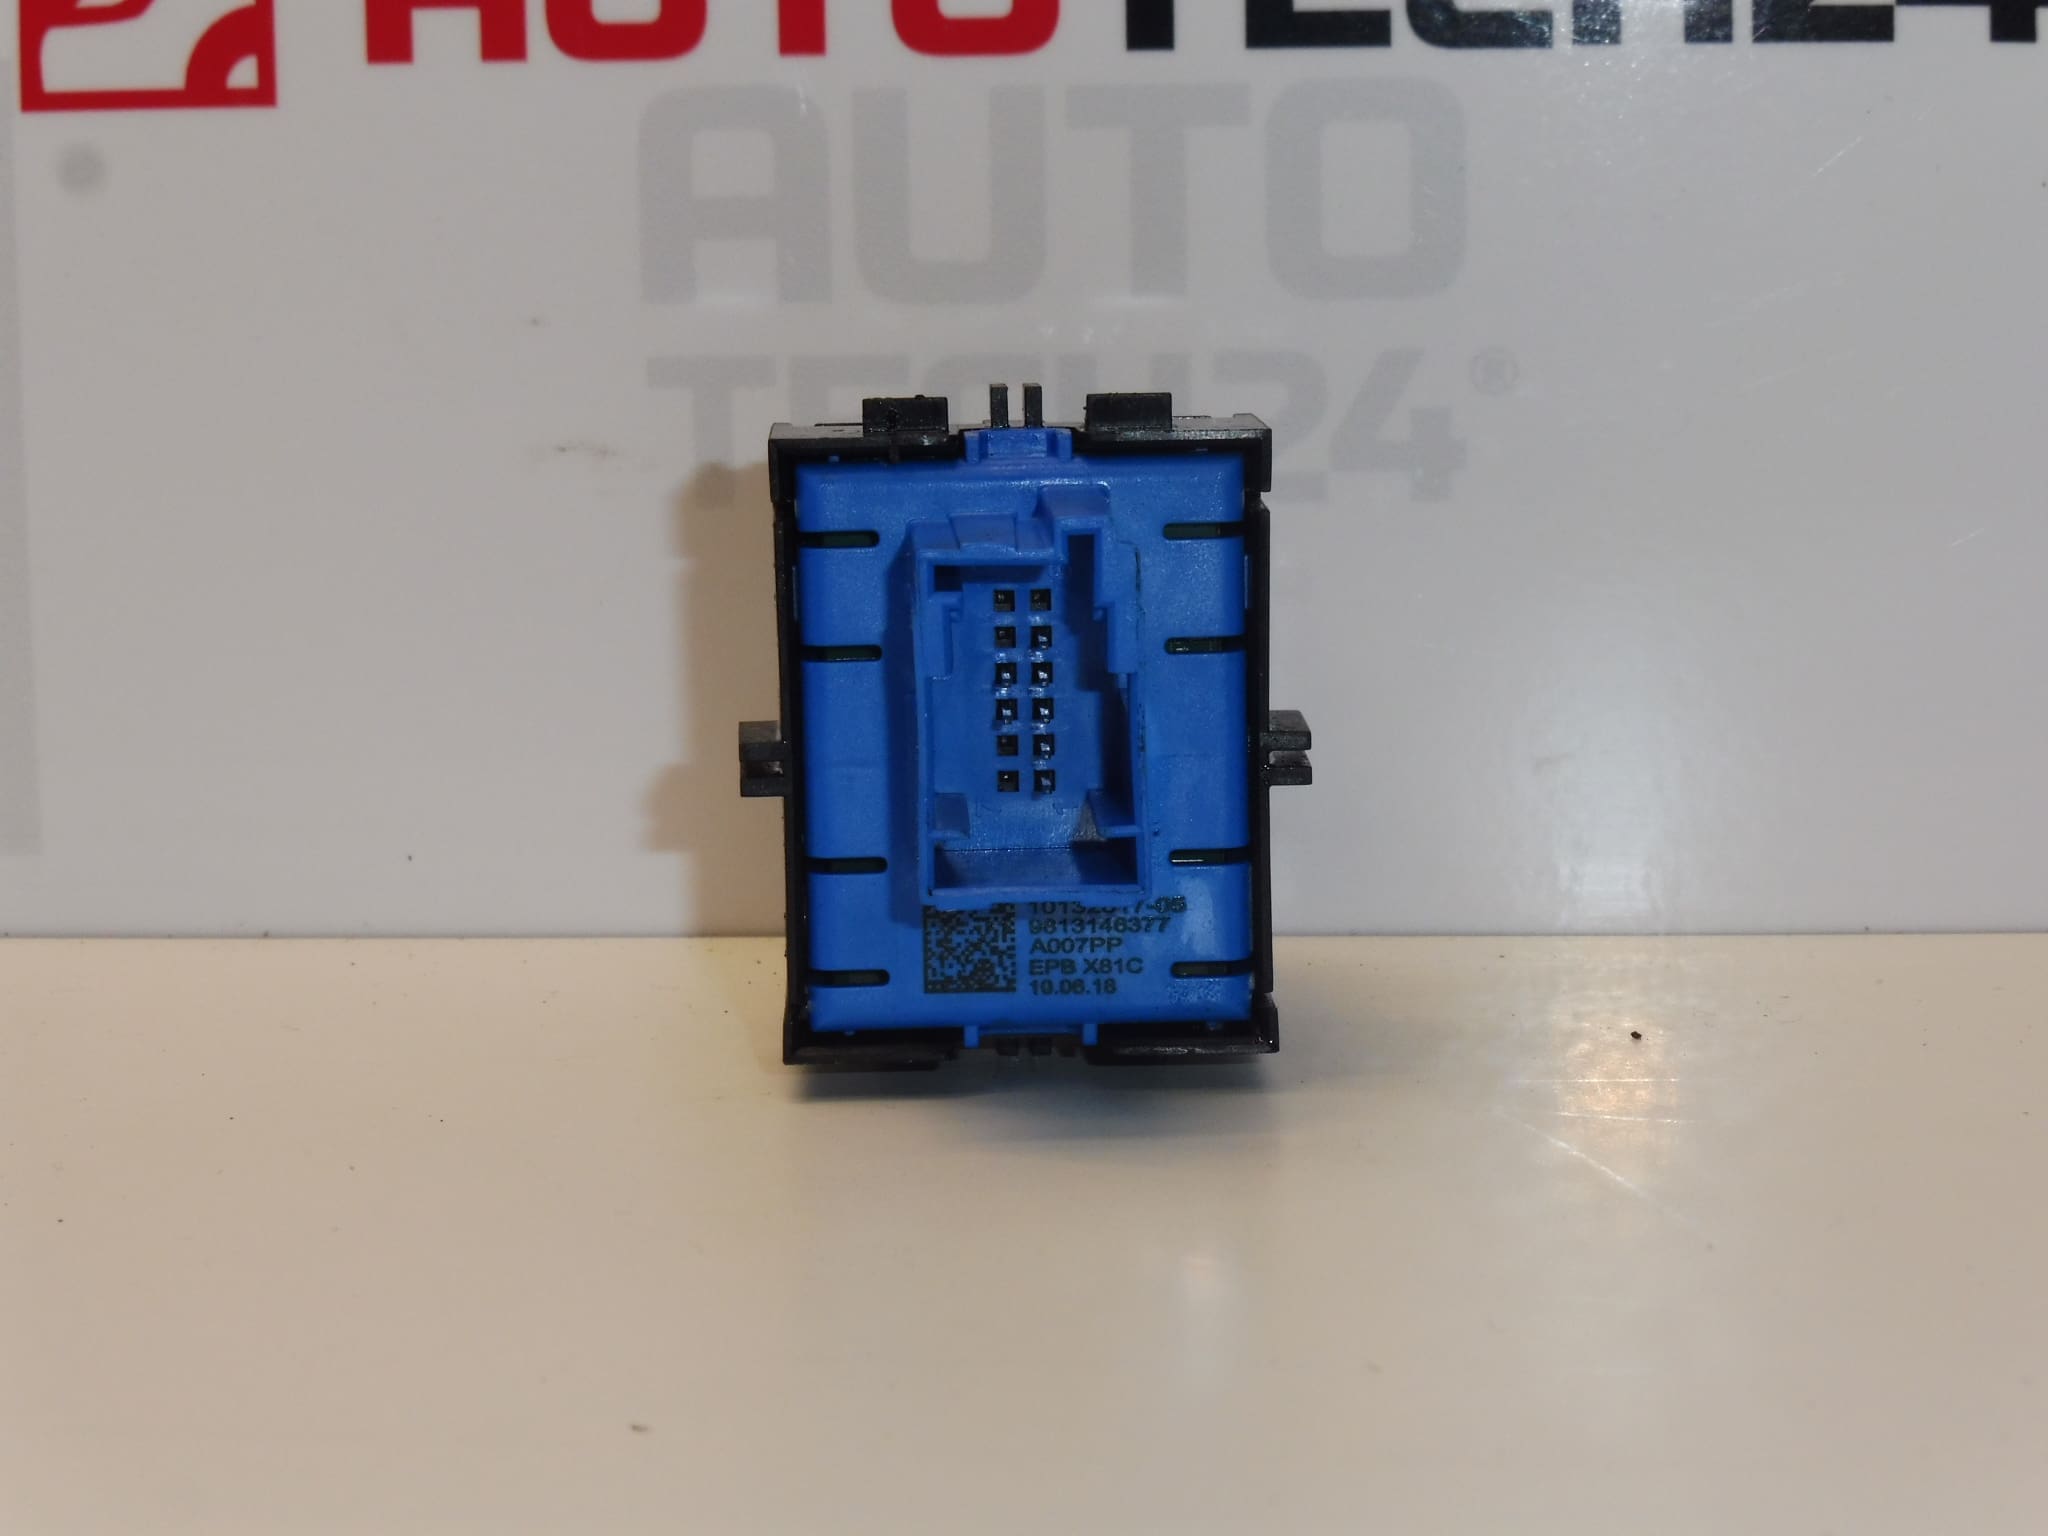
When looking for a replacement part, pay particular attention to the numbers 9813146377 and 98131463ZD. Before choosing, compare the numbers, connector, shape and mounting points with the original switch. The model name alone may not be sufficient to select the correct version.
Technical information
- Manufacturer: not specified; the source materials state the designation Stellantis CITROEN PEUGEOT.
- Model: Citroën Berlingo K9; FIAT DOBLO III; OPEL COMBO E K9; PEUGEOT RIFTER; Toyota ProAce City.
- Additional numbers: not specified.
- Part type: electronic handbrake switch.
- Category: electrical components – other controls and switches – handbrake.
- Condition: used part.
Product codes
- Product codes: 9813146377, 98131463ZD.
Both designations are listed in the source materials for this product. Comparing them with the designation on the original part is an important part of selecting a replacement.
Installation recommendations
The following general procedure applies to this type of electrical switch. The exact method for accessing, removing and commissioning it depends on the specific model and vehicle version. Follow the manufacturer’s service documentation; the switch is part of a safety-critical system.
1) Before installation
- Inspect the body of the used switch, the control surface, mounting components and connector. Look for cracks, deformation, corroded contacts and signs of liquid ingress.
- Compare the product numbers, shape, mounting points and connector design with the old part.
- Check whether the fault is actually related to the switch. A non-functioning parking brake may also be caused by the power supply, wiring or another part of the system.
- Secure the vehicle against movement independently of the electronic parking brake.
2) Tools and materials required
- Standard hand tools suitable for the fasteners used.
- Plastic trim removal tools if trim needs to be removed.
- A flashlight, a clean cloth and, if necessary, a product suitable for cleaning electrical contacts.
- Equipment to secure the vehicle against movement; depending on the nature of the fault, suitable diagnostic equipment as well.
3) Step-by-step installation procedure
- Park the vehicle on a level, safe surface and secure it against unintended movement.
- Consult the service documentation to determine the required parking brake state for replacing the switch and how to safely shut down the electrical system.
- Switch off the ignition, follow the prescribed procedure for allowing the electronics to go to sleep and disconnecting the battery according to the vehicle manufacturer’s instructions.
- Carefully access the switch. If necessary, release covers and trim using suitable tools, without forcing them off.
- Before disconnecting, note the wiring route and connector orientation, for example by taking a photo.
- Release the connector lock and disconnect the connector by its housing. Do not pull on the wires.
- Release the mounting and remove the original switch without damaging its surroundings or mounting points.
- Compare the two parts and inspect the mating connector. If the contacts or wiring are damaged, rectify the fault first.
- Install the replacement switch and secure it appropriately. The part must seat correctly without excessive force.
- Connect the connector until its lock engages, and position the wiring so that it is neither strained nor pinched.
- Refit any removed covers, restore the power supply according to the manufacturer’s procedure and carry out the prescribed function check.
4) Post-installation checks and test drive / function verification
- First, with the vehicle stationary and secured, check its response to the command to activate and release the parking brake, as described in the vehicle manual.
- Check the brake status indicator and any warning messages. A mechanical response from the button alone does not confirm that the entire system is functioning correctly.
- Check that the switch is firmly seated and that the control moves freely.
- Only carry out a short test drive after the stationary check has been successful and the brake has been confirmed to release correctly. Do not test the parking brake while driving.
- If the response is unreliable or a fault message remains, do not use the vehicle until the cause has been rectified.
5) Common installation errors and how to avoid them
- Choosing based only on the vehicle model: also compare the part designation, connector and mounting points.
- Replacing the part without identifying the cause of the fault: check the power supply, connections and condition of the wiring beforehand.
- Damaging the clips and connector: release the locks first and do not use excessive force.
- Pinched wires or a connector that is not fully engaged: check that they are correctly routed and secured before refitting the trim.
- Relying on the parking brake during repairs: use an independent means of securing the vehicle against movement.
Reasons why the part may become damaged
In general, faults in this type of switch may arise for the following reasons; this is not a description of damage found on the offered part:
- Mechanical wear of the control mechanism and contacts due to prolonged use.
- Ingress of liquids and dirt, which may cause sticking, corrosion or unreliable switching.
- Excessive force or impact, leading to breakage of the control component or mounting.
- Rough removal, which may damage the clips, connector or its contacts.
- Moisture and poor electrical contact, which may cause intermittent responses. Similar symptoms may also be caused by a fault elsewhere in the system.