Description
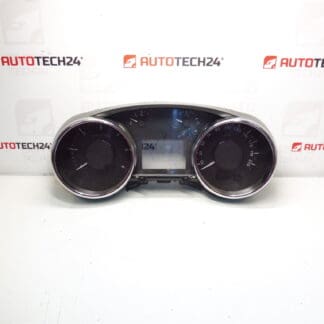
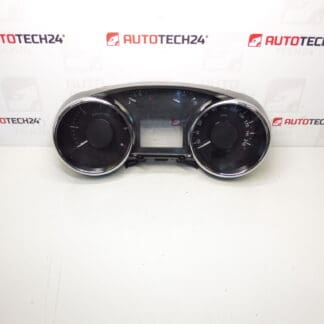
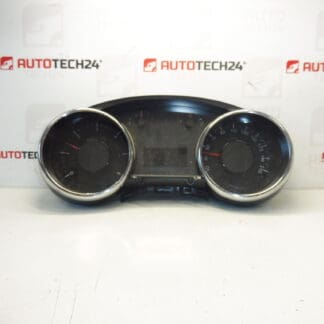
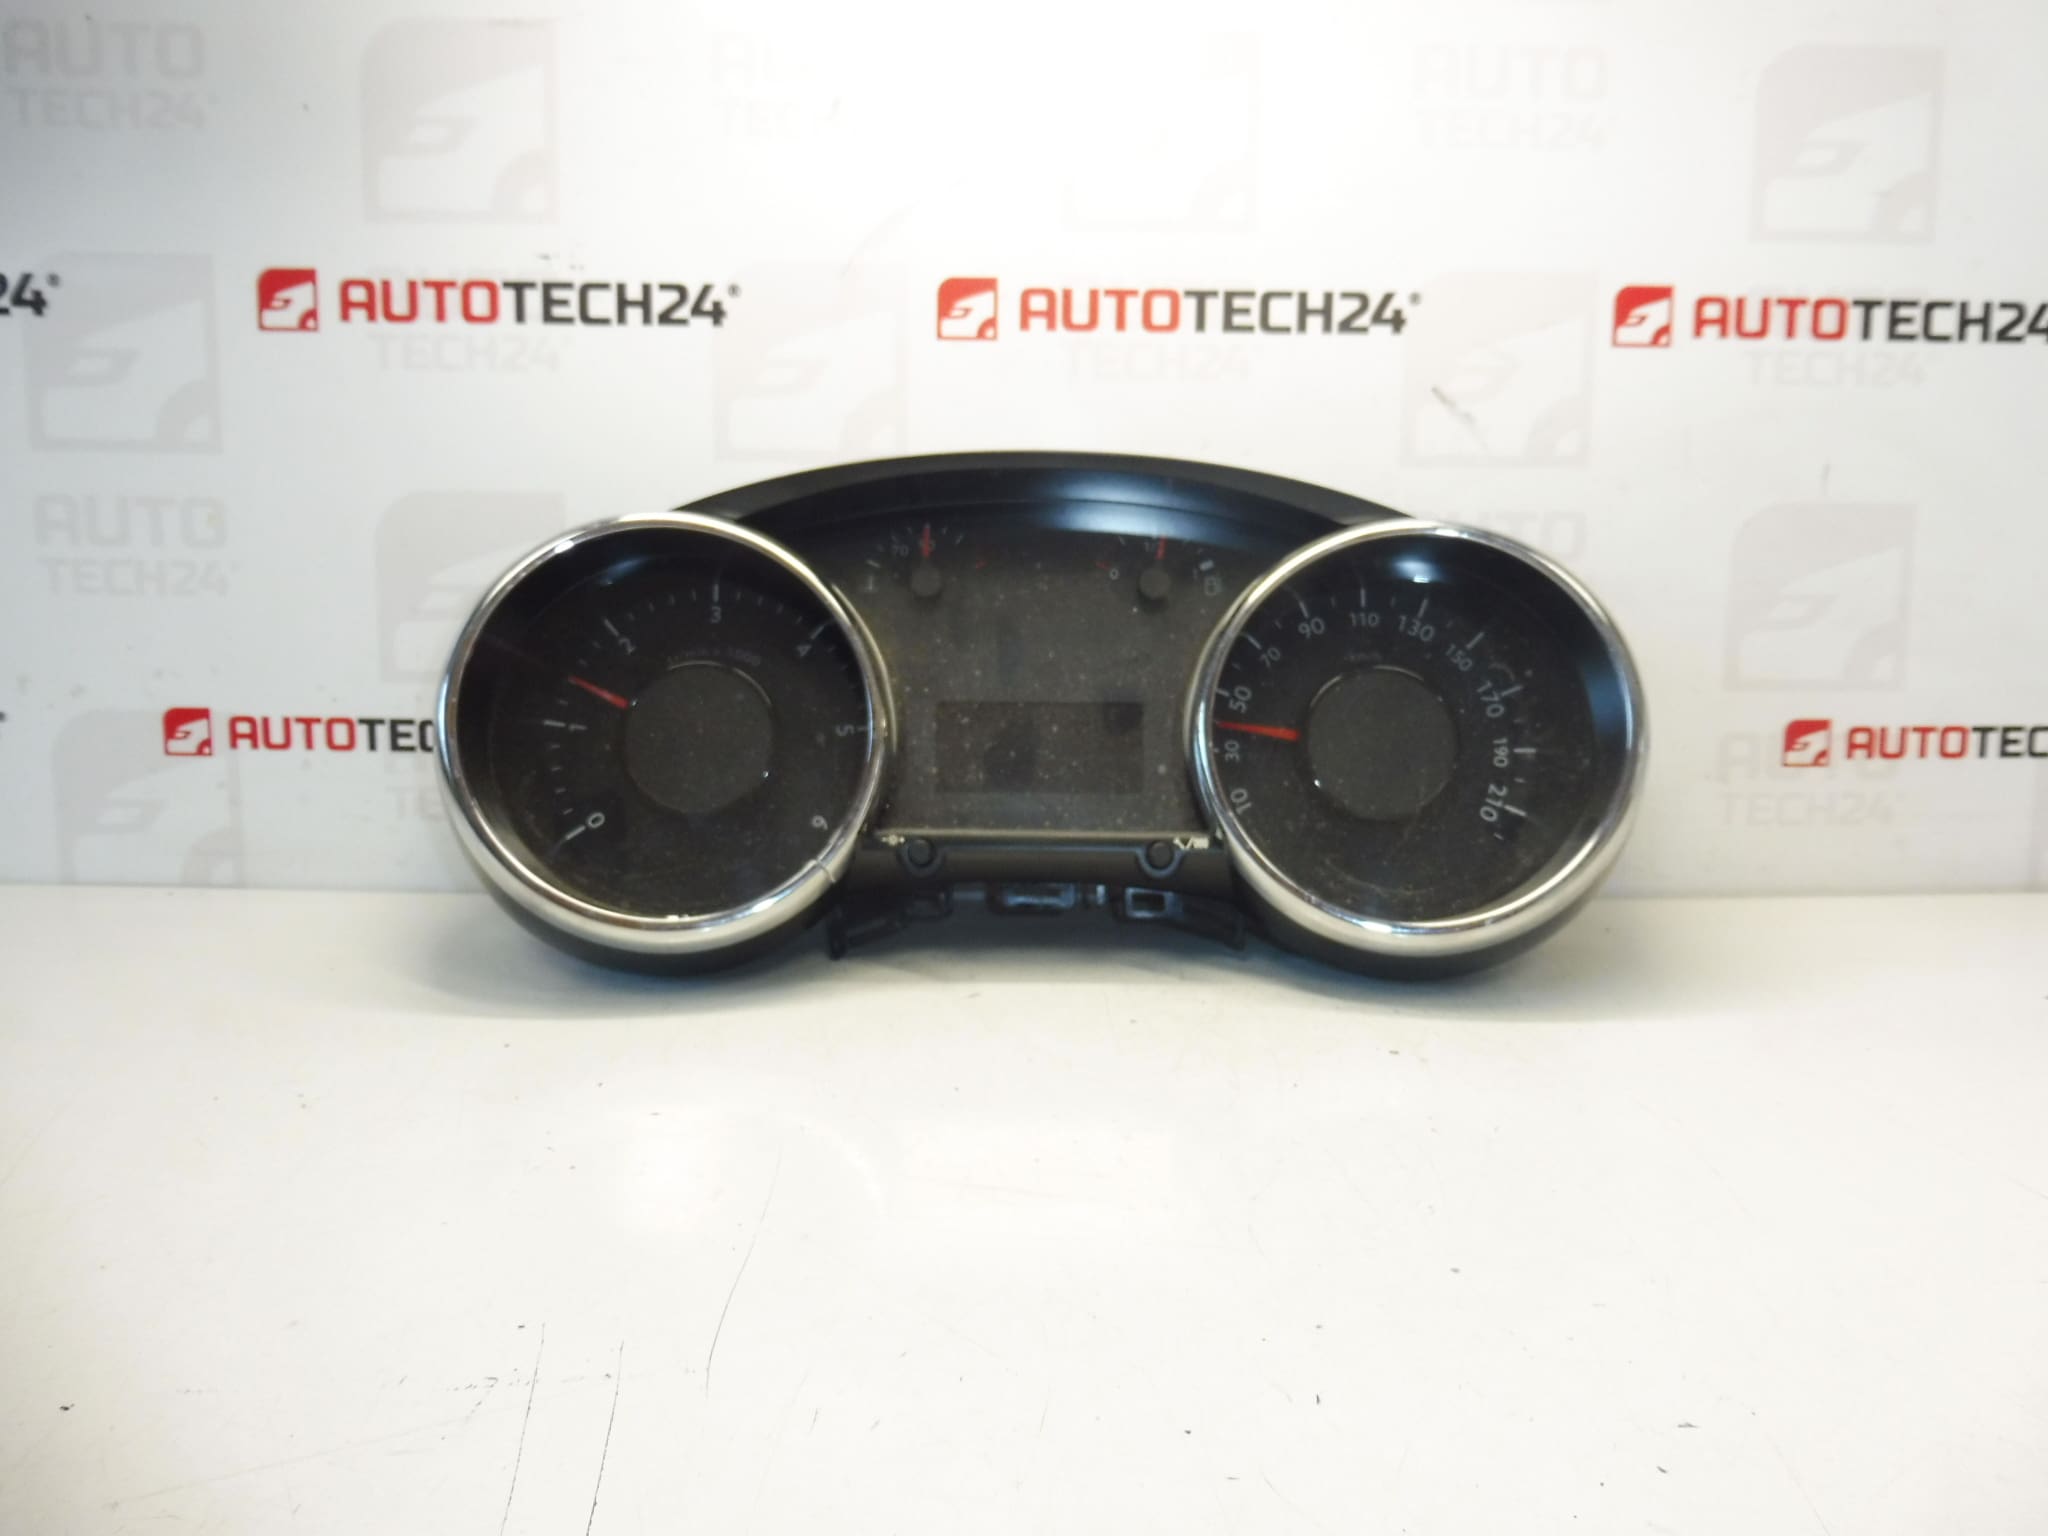
Tachometer for Peugeot 3008 and 5008, First Generation
Cracked Chrome Bezel
Mileage 144000 km
Product Overview
This used Peugeot instrument cluster (tachometer) is taken from first‑generation Peugeot 3008 and 5008 models. The unit displays speed, engine RPM, odometer/trip, fuel level and warning indicators. The chrome trim ring on this example is cracked — the core electronics and gauges are intact but cosmetic repair or replacement of the bezel will be required if perfect appearance is needed. Supplied with the shown odometer reading of 144000 km.
Technical Information
- Manufacturer: Stellantis (Citroën/Peugeot)
- Model: Peugeot 3008 I (First Generation), Peugeot 5008 I (First Generation)
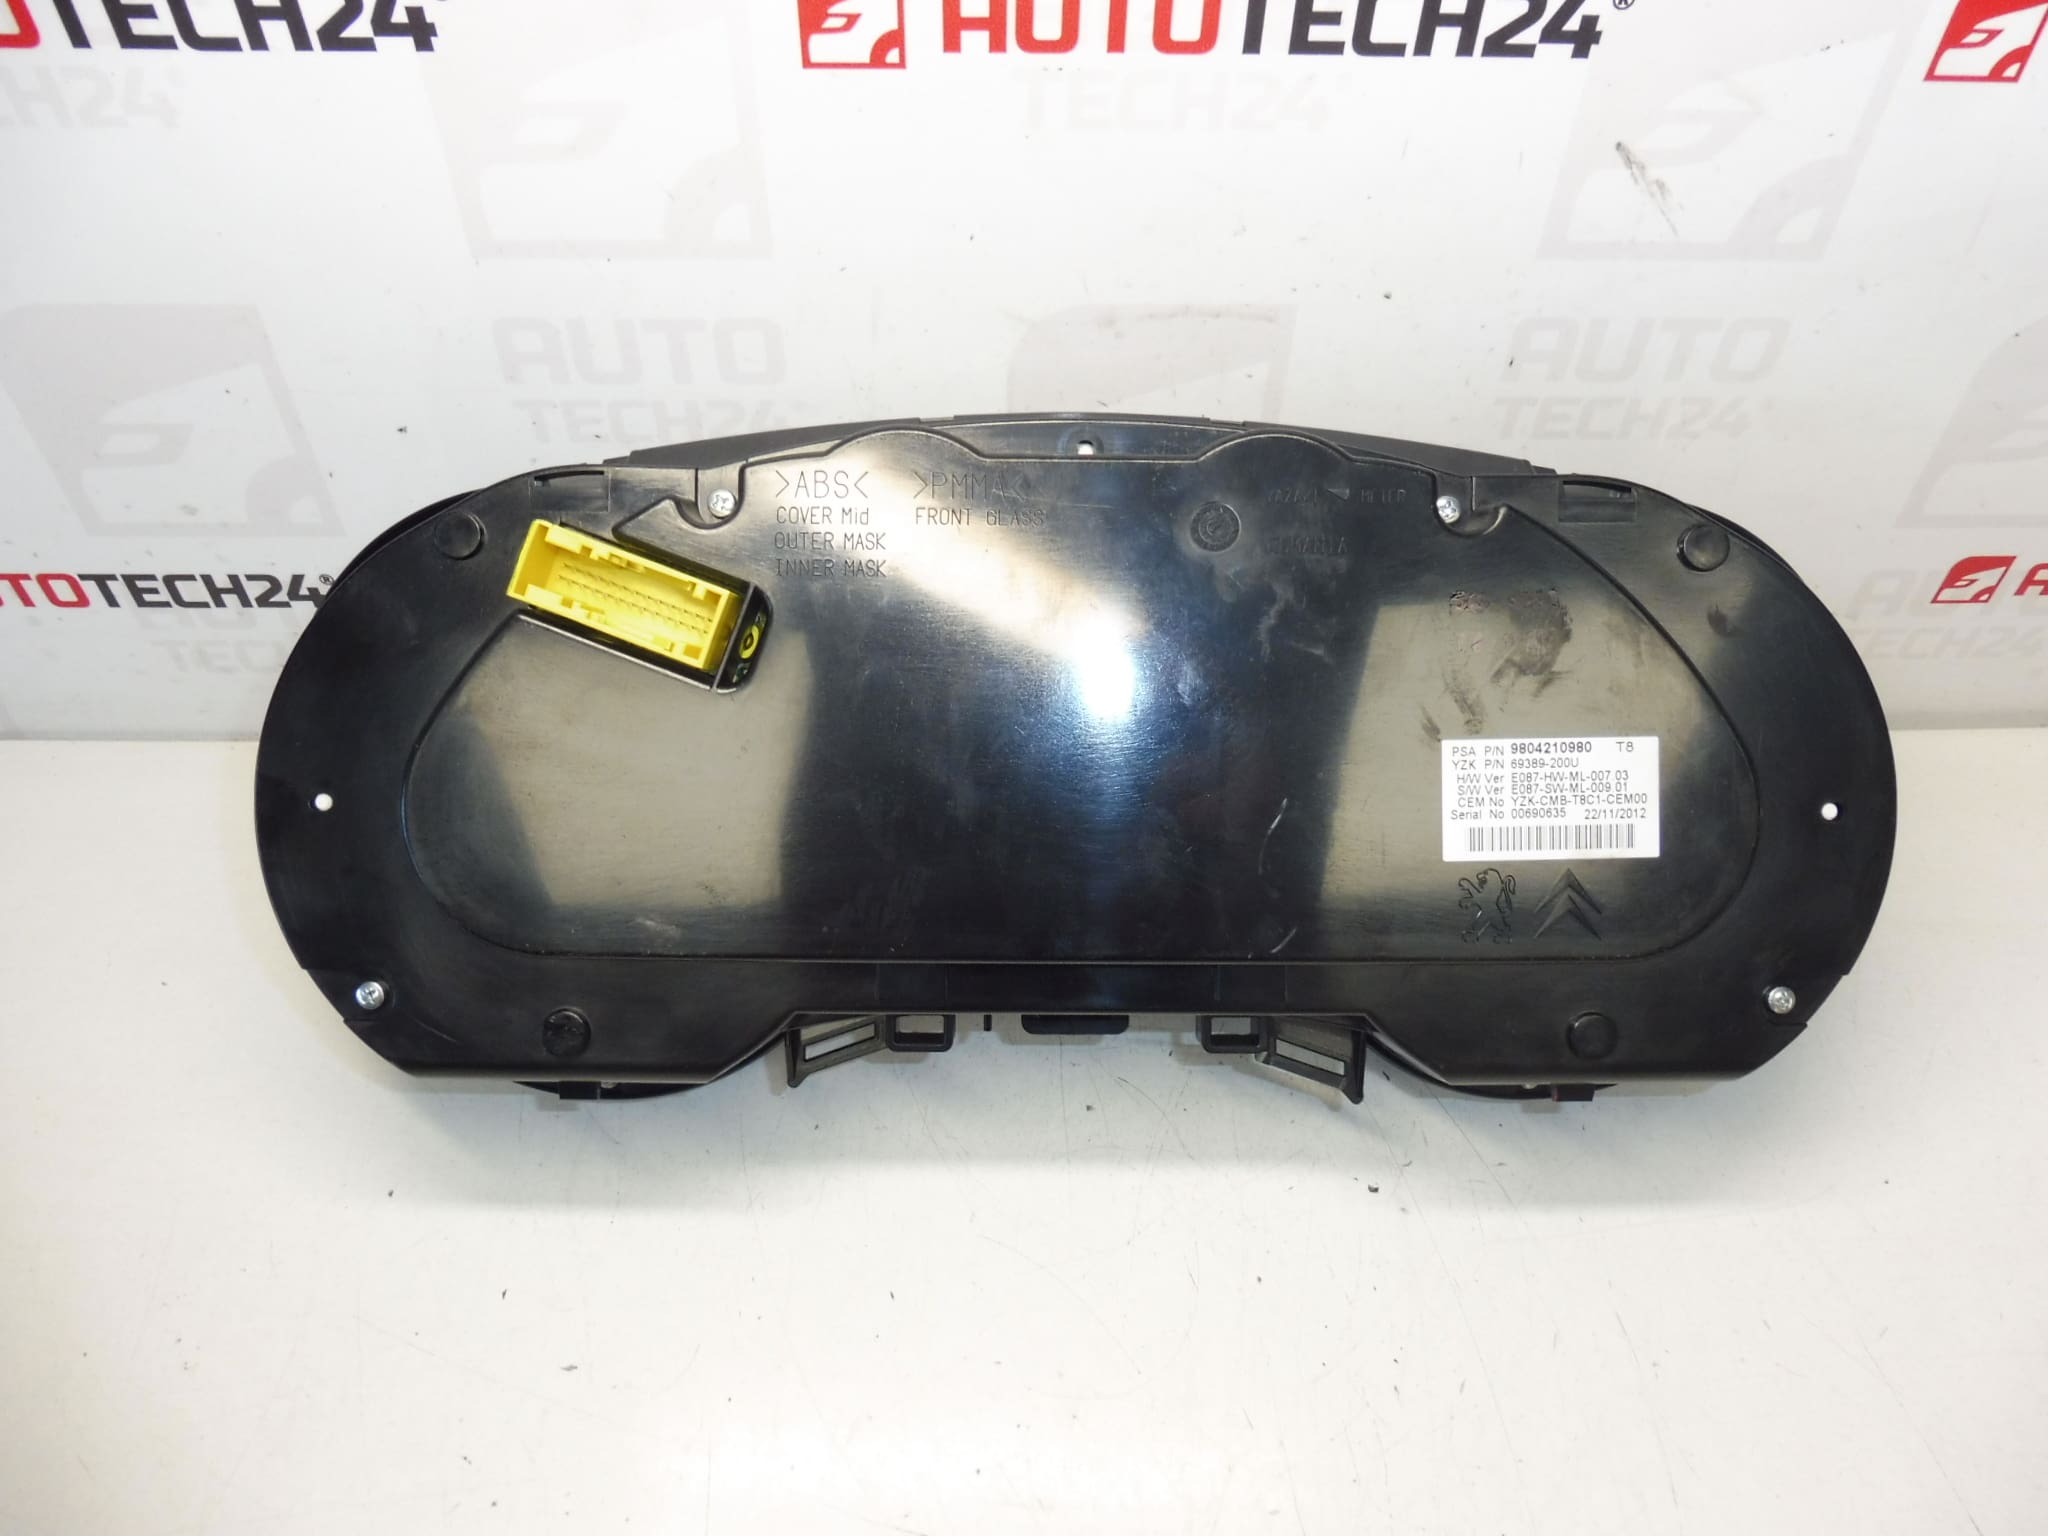
- Product Codes: 9804210980, 980462780
- Additional Numbers: Mileage 144000 km; Note: Cracked chrome bezel
Compatibility
Fits first‑generation Peugeot 3008 and 5008 vehicles that use the same instrument cluster design and OEM part numbers listed above. Verify the part numbers and connector layout on your vehicle before installation to ensure plug‑in compatibility.
Function And Typical Faults
The instrument cluster provides primary driver information: speedometer, tachometer, odometer, fuel gauge, temperature/warning lights and indicator lamps. Common reasons clusters are removed or replaced include physical damage (cracked bezel, broken lens), failed stepper motors or gauge mechanisms, burnt backlighting, solder joint failures on printed circuit boards, moisture ingress and connector corrosion. Cosmetic damage does not usually affect the electronic functionality but can reduce resale value and driver comfort.
How Replacement Is Performed
General replacement steps: disconnect the battery, remove surrounding trim panels, unscrew and remove the instrument cluster from the dashboard, unplug electrical connectors and then fit the replacement in reverse order. Take care with trim clips and plastic fasteners to avoid additional damage. After installation check all gauge functions, indicator lamps and mileage display for correct operation.
Installation Recommendations
- Always disconnect the vehicle battery before starting removal and follow manufacturer procedures to avoid damage to the unit or vehicle electronics.
- Handle the cluster by its housing; avoid touching printed circuit boards and connector pins.
- If backlighting or gauges require adjustment, test on the vehicle and replace bulbs/LEDs or stepper motors as needed.
- For vehicles that require configuration or adaptation of cluster functions, use qualified equipment and software. Professional installation is recommended when coding or electrical diagnostics are necessary.
Why This Part Fails Most Often
Instrument clusters typically fail due to a combination of age and environmental factors: heat cycling and UV exposure cause plastics and bezels to crack or discolor; moisture ingress leads to corrosion and electrical faults; worn stepper motors or failing solder joints cause inaccurate gauges or dead needles; and impact or dashboard damage causes cosmetic breakage. Regular inspection and protecting the interior from direct sun and moisture extend cluster life.
Notes For Mechanics And DIYers
Mechanics and experienced DIYers will find this unit suitable as a cost‑effective replacement when the part numbers match and the cosmetic condition is acceptable. Keep in mind that while the cosmetic bezel is cracked, the functionality may be unaffected. If calibration or diagnostic confirmation is required after fitment, use a suitable PSA diagnostic tool (DiagBox/Lexia) for a complete check of instrument signals and error codes.