Description
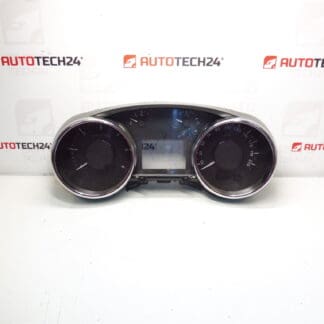
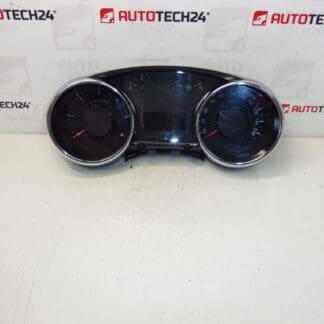
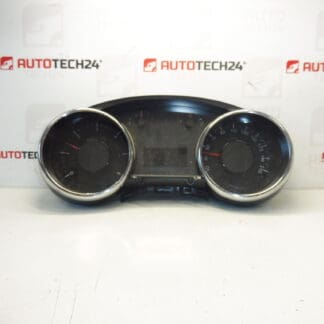
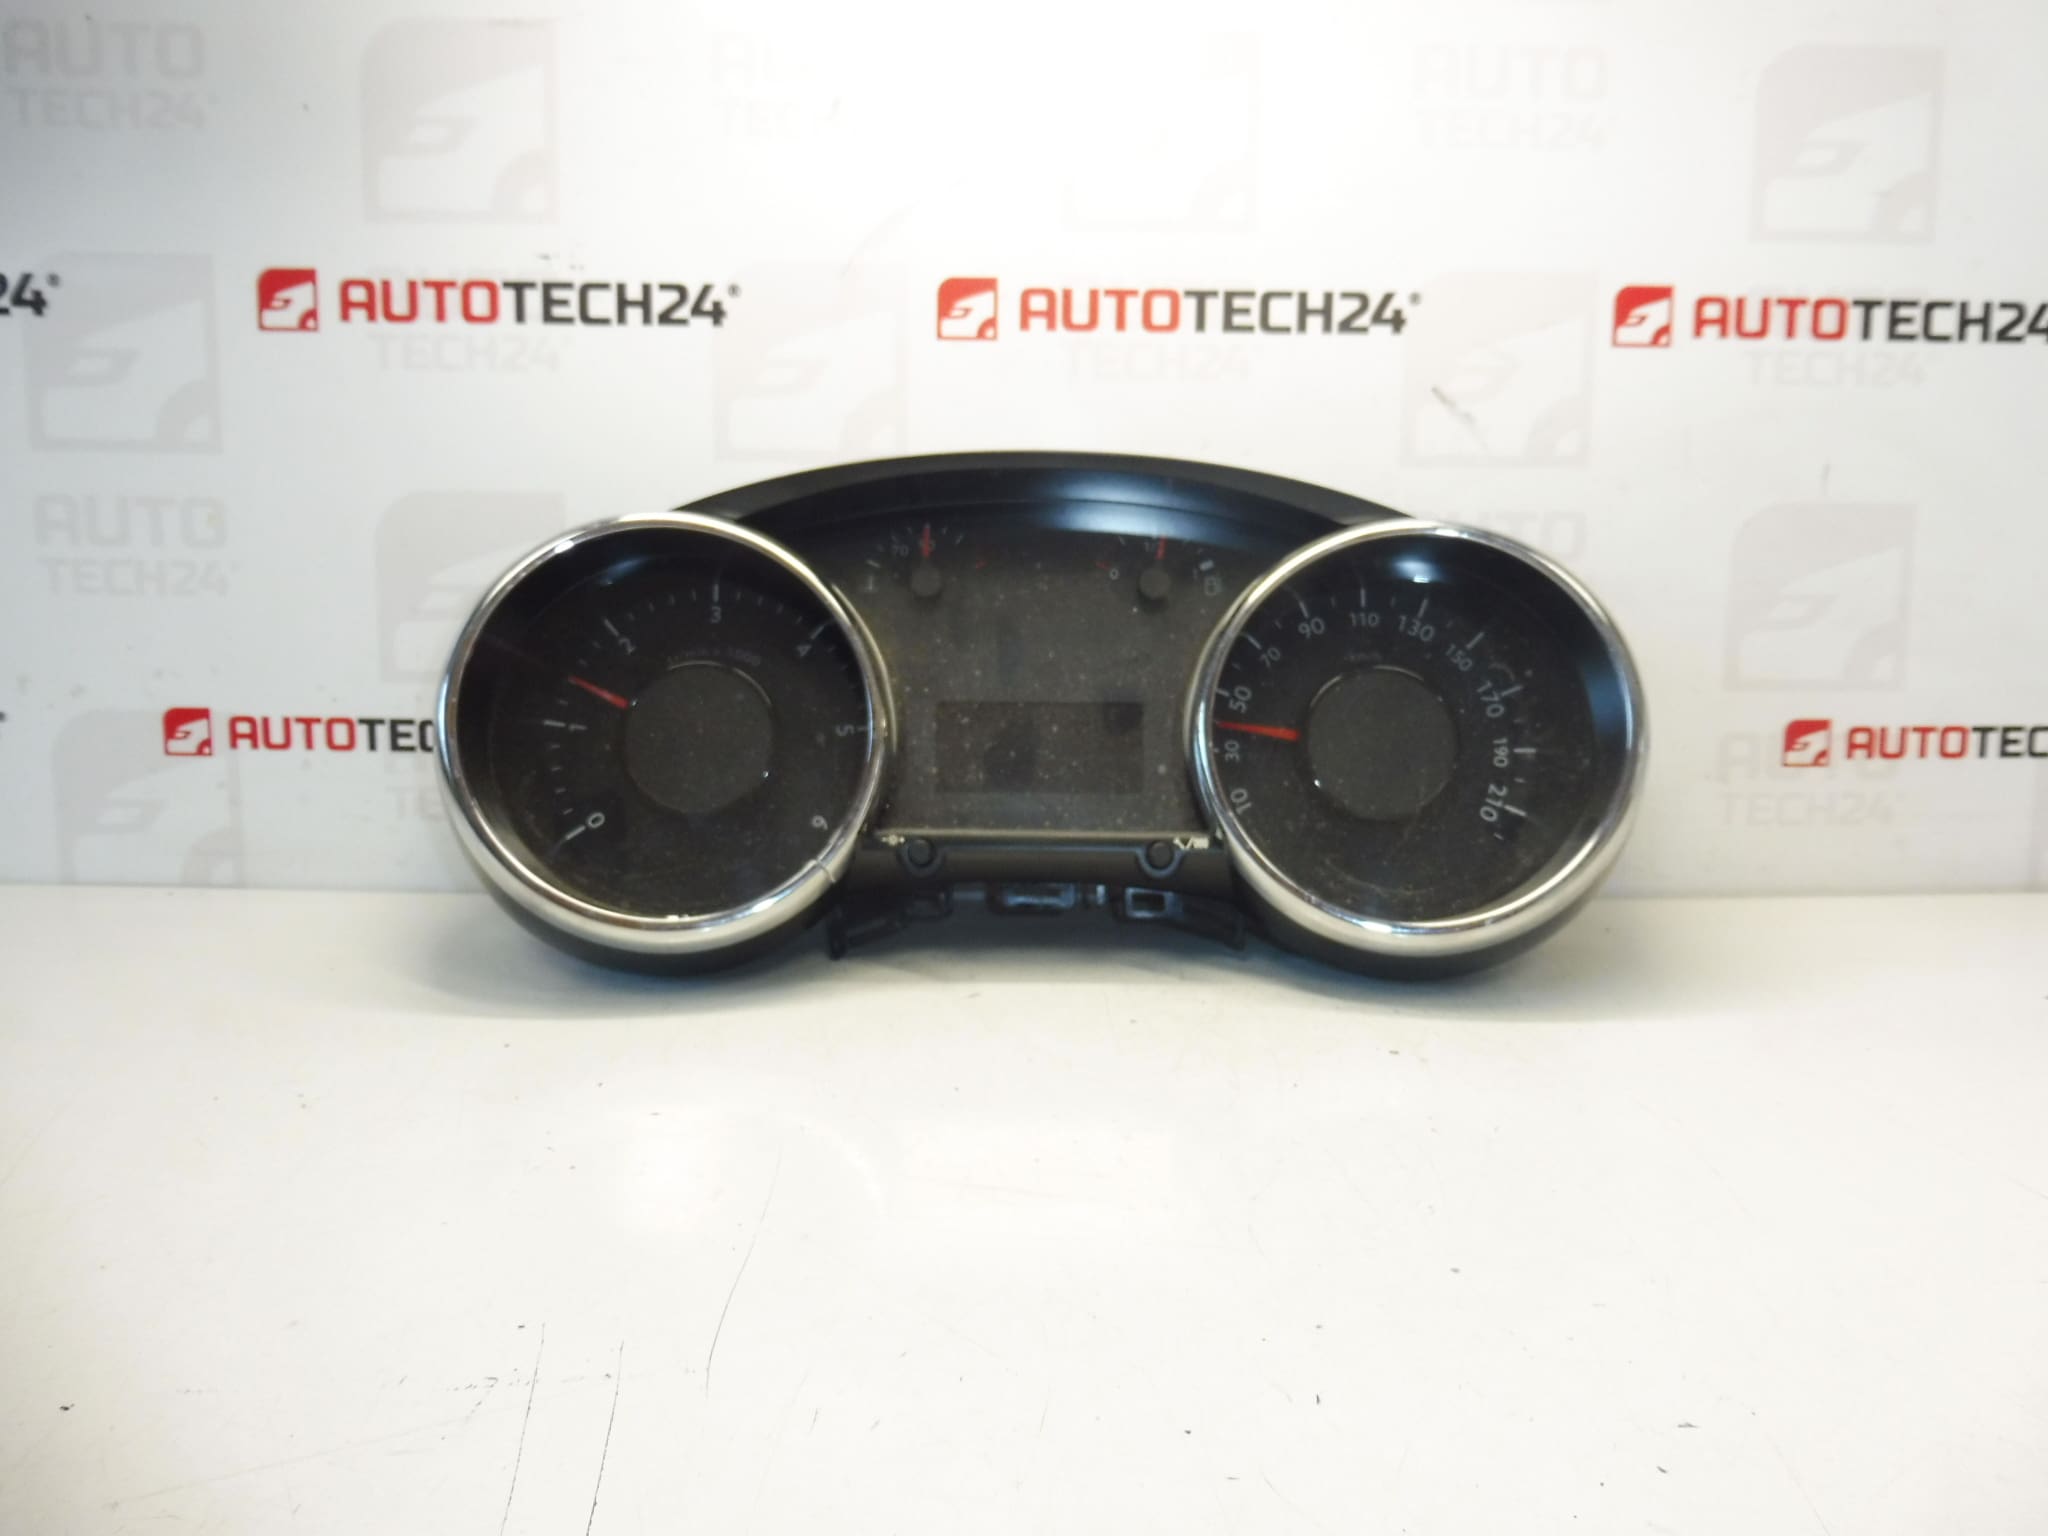
Speedometer PEUGEOT 3008 and 5008 first generation
Cracked chrome frame
Mileage 144000 km
Part description
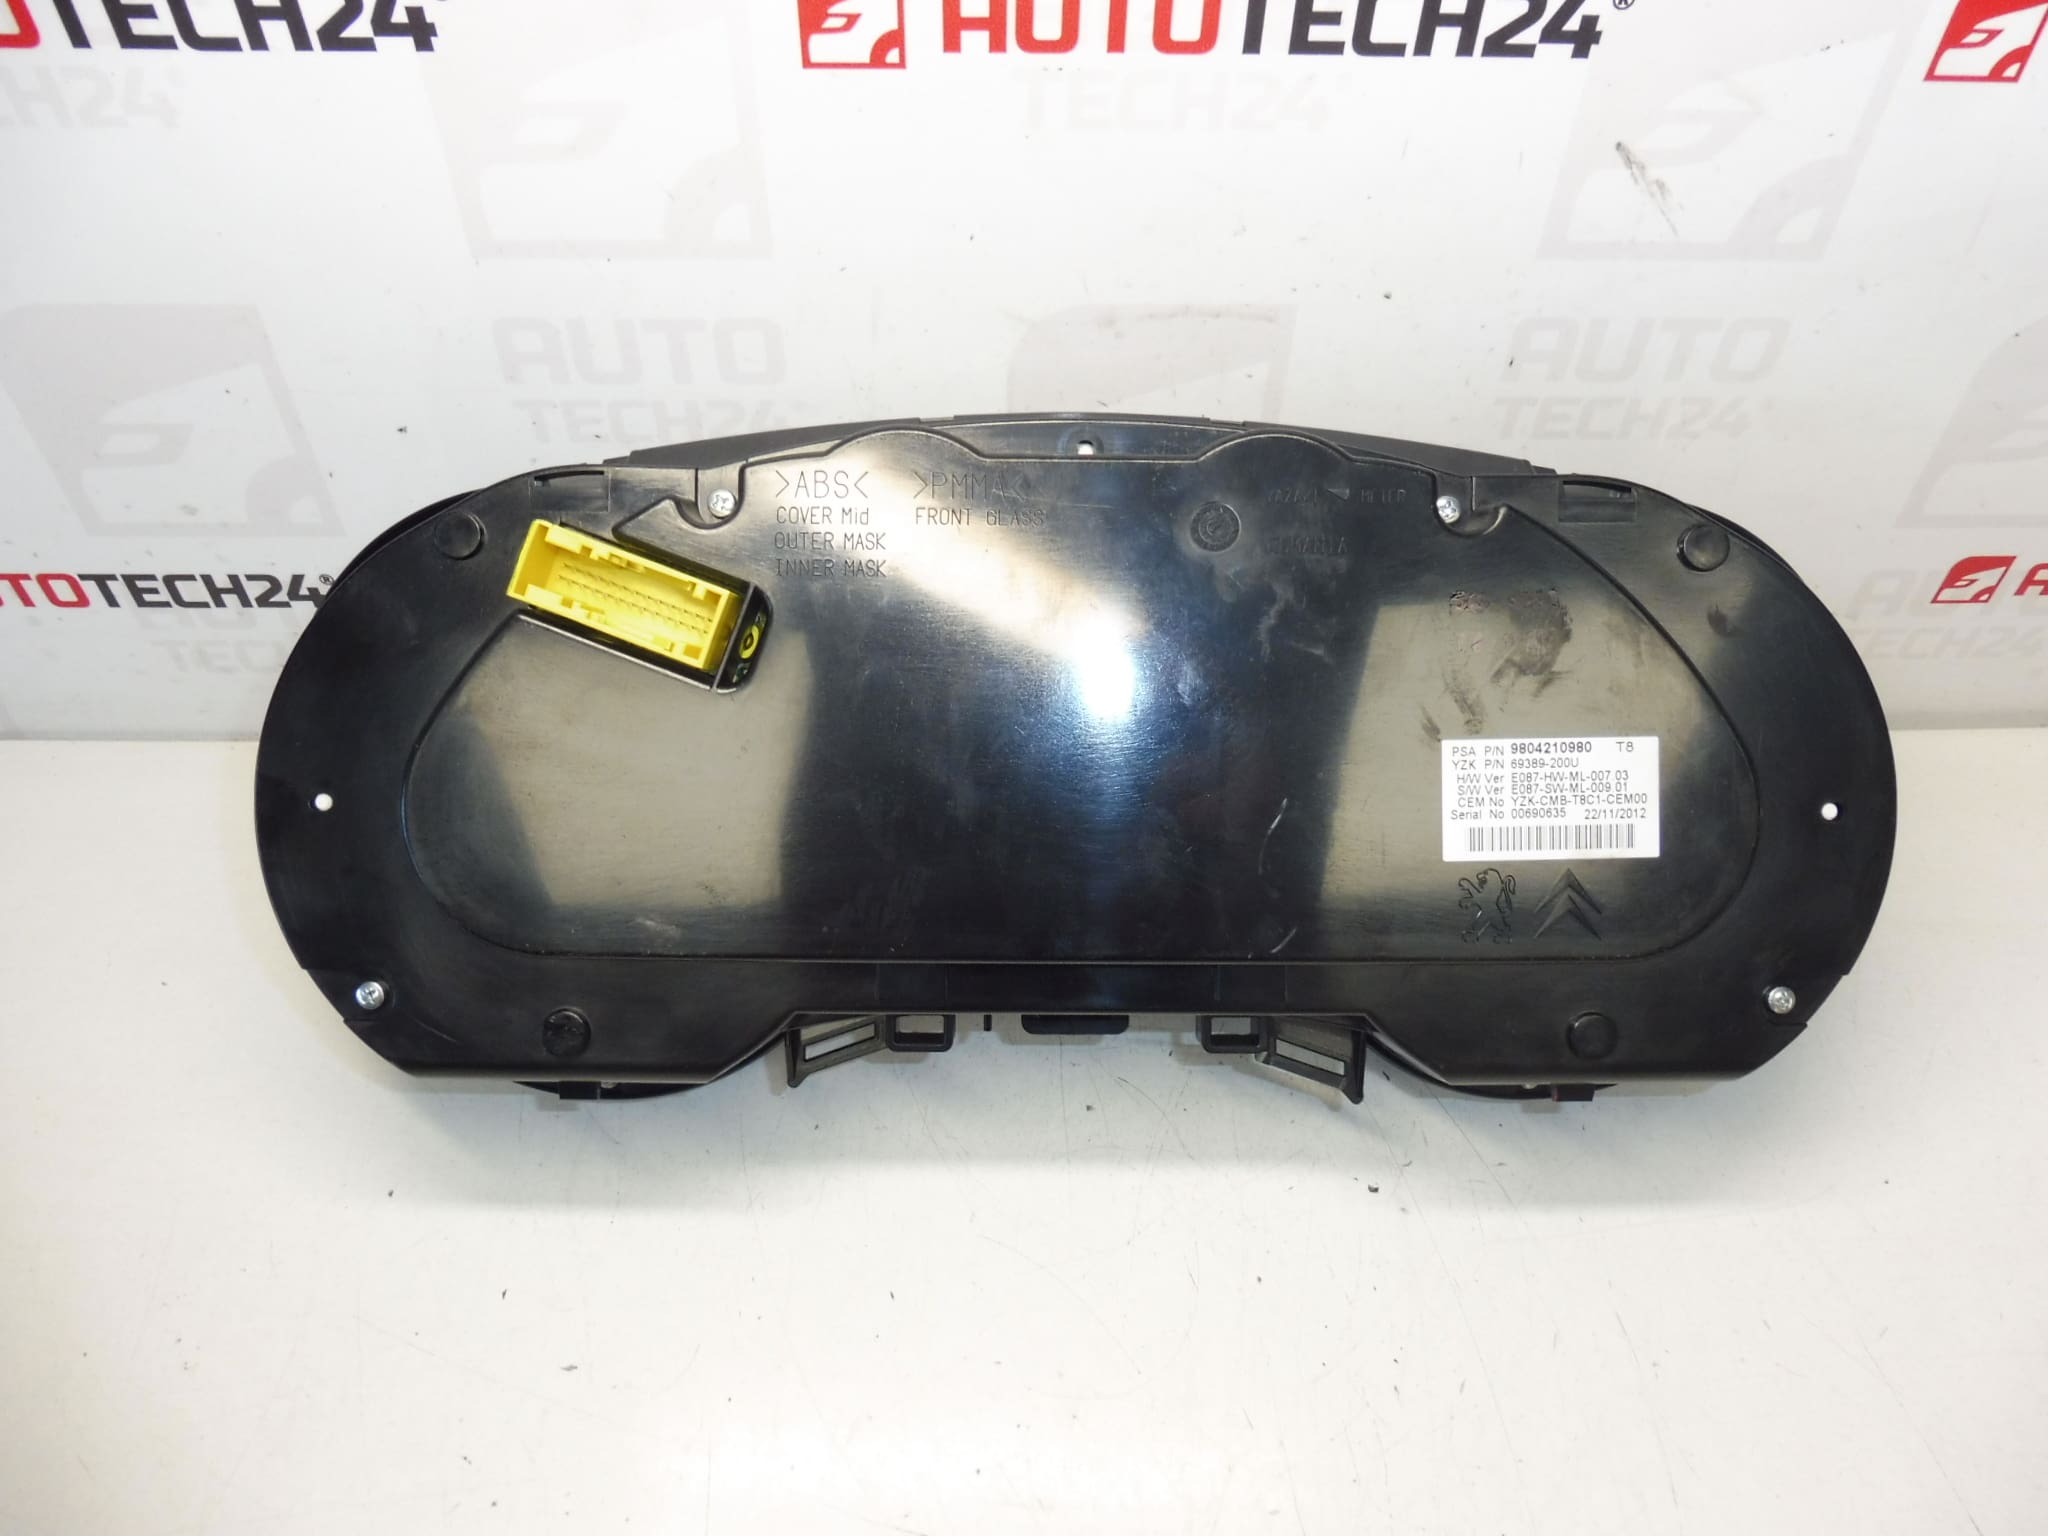
The used tachometer for Peugeot 3008 I and Peugeot 5008 I is a suitable choice for car repair in the event of a failure of the original device or when replacing a damaged piece. Parts of this type are often searched by serial number, so it is important to pay attention to the markings 9804210980 and 980462780.
The offered piece has the stated condition of 144000 km. The visual condition is affected by the cracked chrome frame, which needs to be taken into account when choosing. The tachometer itself can serve as a replacement part to repair the original on-board instrument cluster or as a source of parts.
- original part Stellantis / Citroën Peugeot
- intended for Peugeot 3008 first generation and Peugeot 5008 first generation
- often searched for by OEM numbers
- listed cosmetic flaw: cracked chrome bezel
Technical information
- Manufacturer: Stellantis Citroën Peugeot
- Model: Peugeot 3008 I, Peugeot 5008 I
- Other numbers: 9804210980, 980462780
Product codes
Product codes: 9804210980, 980462780
Installation recommendations
This part is an electrical instrument component. The exact replacement procedure may vary according to the specific model of the car, but generally and typically for this type of part the following recommendations apply.
1) Before assembly
- Check that all markings on the part match, especially 9804210980 and 980462780.
- Compare the new and original piece visually: body shape, connectors, mounts and front design.
- Check the condition of the connector pins, plastic latches and cover.
- Note that the piece has a cracked chrome frame; before mounting, verify that this condition is acceptable for your repair.
- Before starting work, disconnect the battery and wait for the car’s electrical system to calm down.
2) Necessary tools and materials
- set of common hand tools
- plastic pry bar for panel removal
- screwdrivers or bits according to the type of connecting material
- clean cloth
- preparation for gentle cleaning of contacts, if needed
3) Step-by-step assembly procedure
- Park the car in a safe place, turn off the ignition and disconnect the battery.
- Prepare your workspace in such a way that the on-board plastics and the transparent part of the instrument panel are not damaged.
- Carefully remove surrounding covers or trims that prevent access to the tachometer.
- Unfasten the fasteners of the instrument unit and put them aside so that they do not get lost.
- Extend the original speedometer just enough to allow safe access to the connectors.
- Disconnect the electrical connectors without force; check for damaged latches or contacts.
- Compare the removed original part with the delivered piece according to numbers, connectors, handles and overall design.
- If everything matches, connect the connectors to the replacement tachometer and check that they are properly seated.
- Set the tachometer in the mounting position so that there is no tension anywhere and the wiring is not pinched.
- Tighten the fasteners appropriately according to the car design.
- Reinstall the removed covers and trim.
- Connect the battery and perform a basic function check after turning on the ignition.
-
4) Post-assembly checks and test drive / function verification
- Check that the speedometer activates after switching on and that the display and indicators are legible.
- Verify that it is properly seated in the dashboard and that nothing is loose or loose.
- Monitor basic display function and power supply stability during a short test drive.
- After driving, recheck the fastening and fit of the surrounding plastics.
5) The most common assembly mistakes + how to avoid them
- Part swapping based on similar appearance – always compare product numbers and connectors.
- Plastic damage during disassembly – use a plastic pry bar and proceed without excessive force.
- Insufficiently seated connector – after plugging in, lightly check the connector’s security.
- Pinch wiring – check harness routing before final seating.
- Assembly without visual inspection of the part – always check the condition of the front part and fixing points before installation.
Reasons why the part is damaged
- normal wear and tear of electronics and internal components during operation
- voltage fluctuations in the vehicle’s electrical system
- mechanical damage during disassembly or careless handling
- damage to the front plastic and decorative parts, such as the cracked chrome frame here
- moisture, dust or long-term thermal stress on interior components