
Description
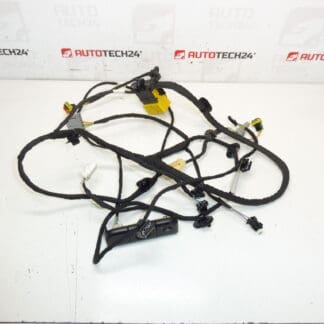
Complete front passenger seat wiring harness for CITROEN C4 B7 vehicles
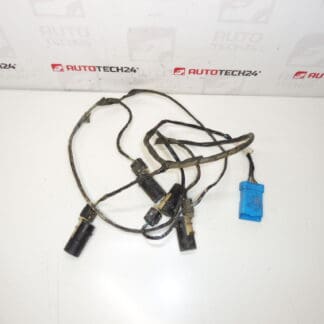
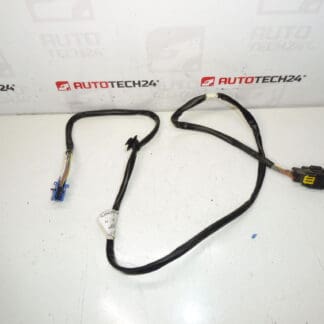
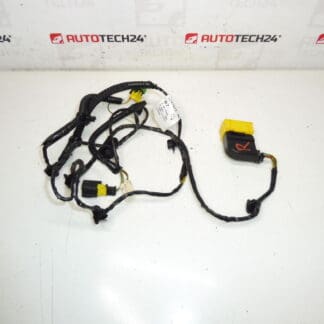
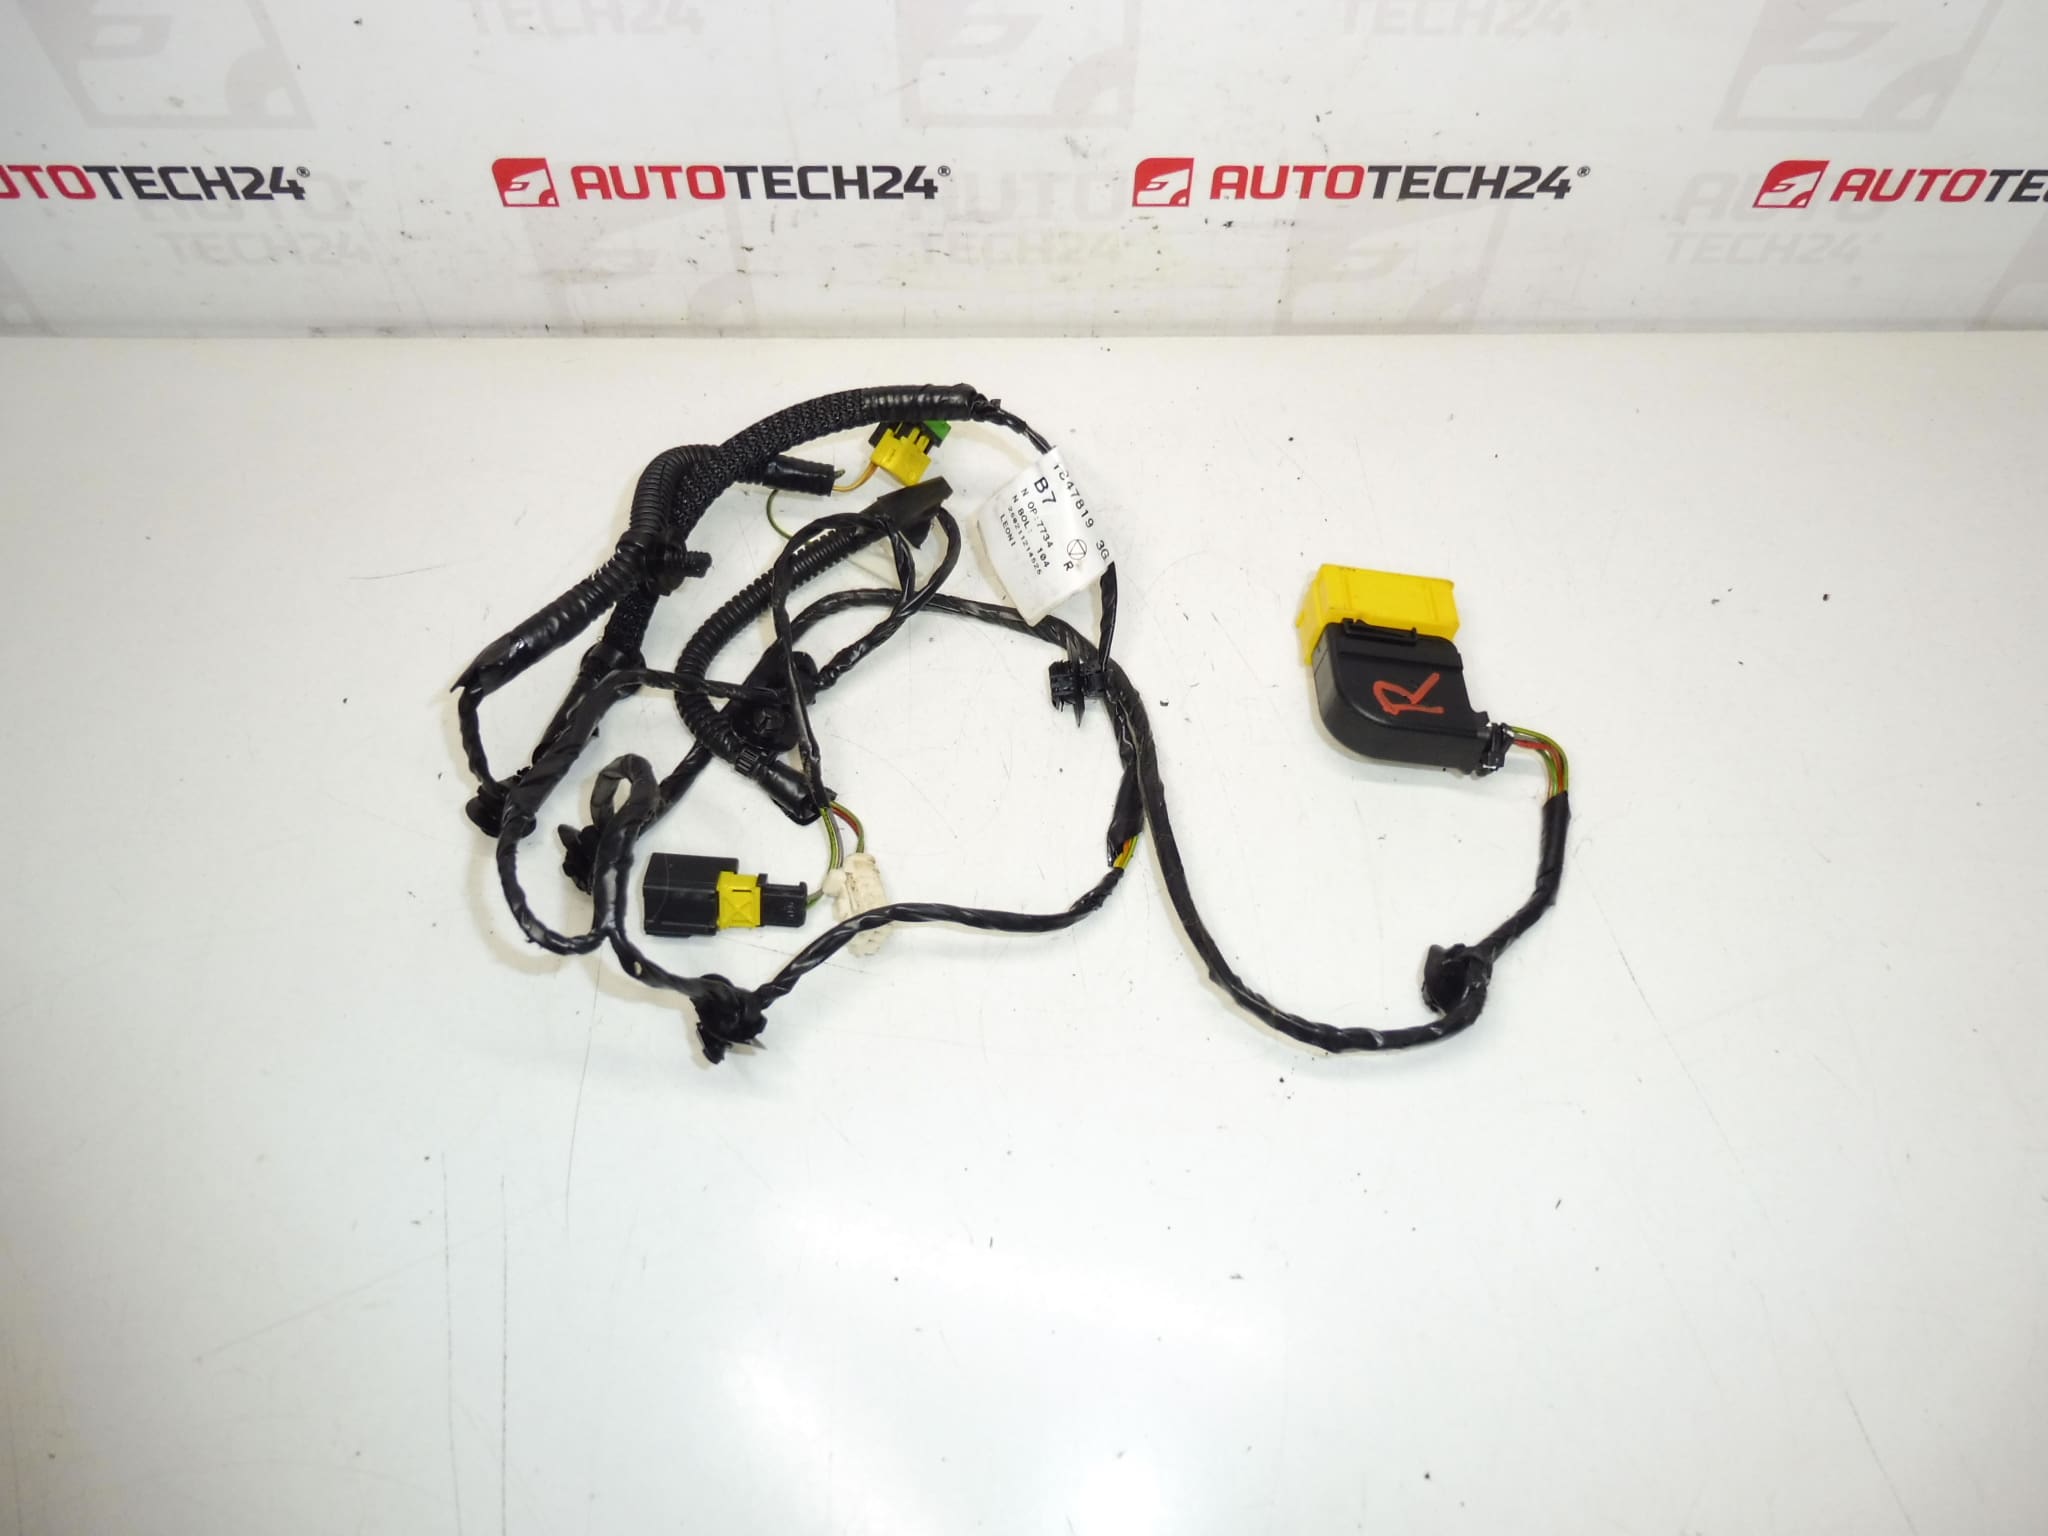
This replacement wiring harness is designed for the front passenger seat of Citroën C4 II (B7) vehicles and is commonly searched by part number 6505H3. It routes power and signal connections between the seat and the vehicle body loom, ensuring correct operation of electric seat adjustment motors, heating elements, buckle switches and occupancy/airbag sensors where fitted. The harness is aimed at professional technicians and experienced DIYers who need a direct-fit solution when the original loom is damaged or intermittent.
Key Features
- Direct replacement for the front passenger seat wiring harness on Citroën C4 II (B7).
- Commonly referenced by product code 6505H3 for quick lookup.
- Routes power and signal lines for seat motors, heaters, buckle switches and occupancy/airbag related connections when applicable.
- Designed to restore reliable electrical contact and prevent shorts caused by chafed wires or damaged connectors.
Technical Information
- Manufacturer: Stellantis (Citroën)
- Model: Citroën C4 II (B7)
- Product Codes: 6505H3
- Other Numbers: Not Specified
Installation Recommendations
- Always disconnect the vehicle battery before beginning work to avoid risk to airbags and electrical systems.
- Remove seat trim and bolts to access the wiring harness; keep all fasteners and clips for reinstallation.
- Carefully unplug all seat connectors and label them if necessary to ensure correct reconnection.
- Route the new harness following the original cable runs and secure with the factory clips to prevent chafing.
- After installation, reconnect the battery and perform a diagnostic scan to clear any stored faults and verify airbag/occupancy sensor status if fitted.
- Recommended For: Professional technicians or experienced DIYers. If airbag or occupancy sensor faults persist after replacement, use a PSA-compatible diagnostic tool to perform any required initialization or calibration.
Most Common Failure Causes
- Mechanical wear and repeated seat movement causing wires to fatigue at pivot points.
- Chafing against seat frames or sharp edges that eventually expose conductors and cause intermittent faults or short circuits.
- Connector corrosion from moisture ingress or contamination, leading to poor contact.
- Damage from accidental impact or improper seat removal/installation.
- Electrical overloads from adjacent faults or modifications to seat systems.
Notes For Buyers
Customers frequently search using the part number 6505H3; verifying this code against the vehicle parts list will help confirm fitment. There is no fixed service interval for seat wiring harnesses — failures typically occur after several years or high mileage due to mechanical stress and environmental exposure. When replacing the harness, ensure correct routing and secure fastening to prevent premature re-failure.