Description
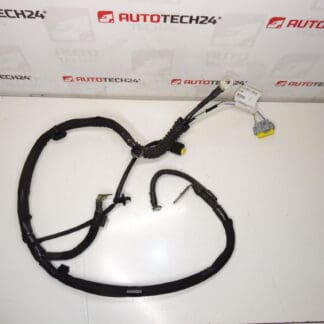
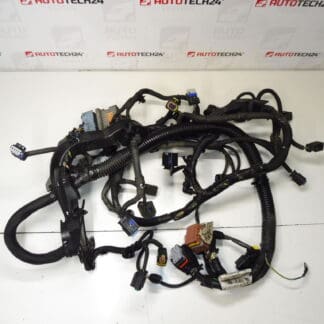
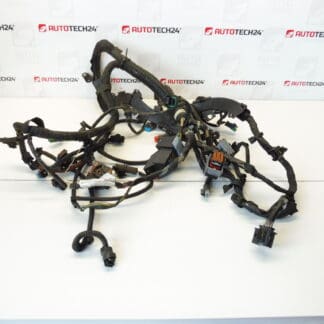
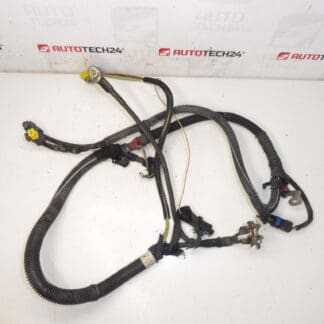
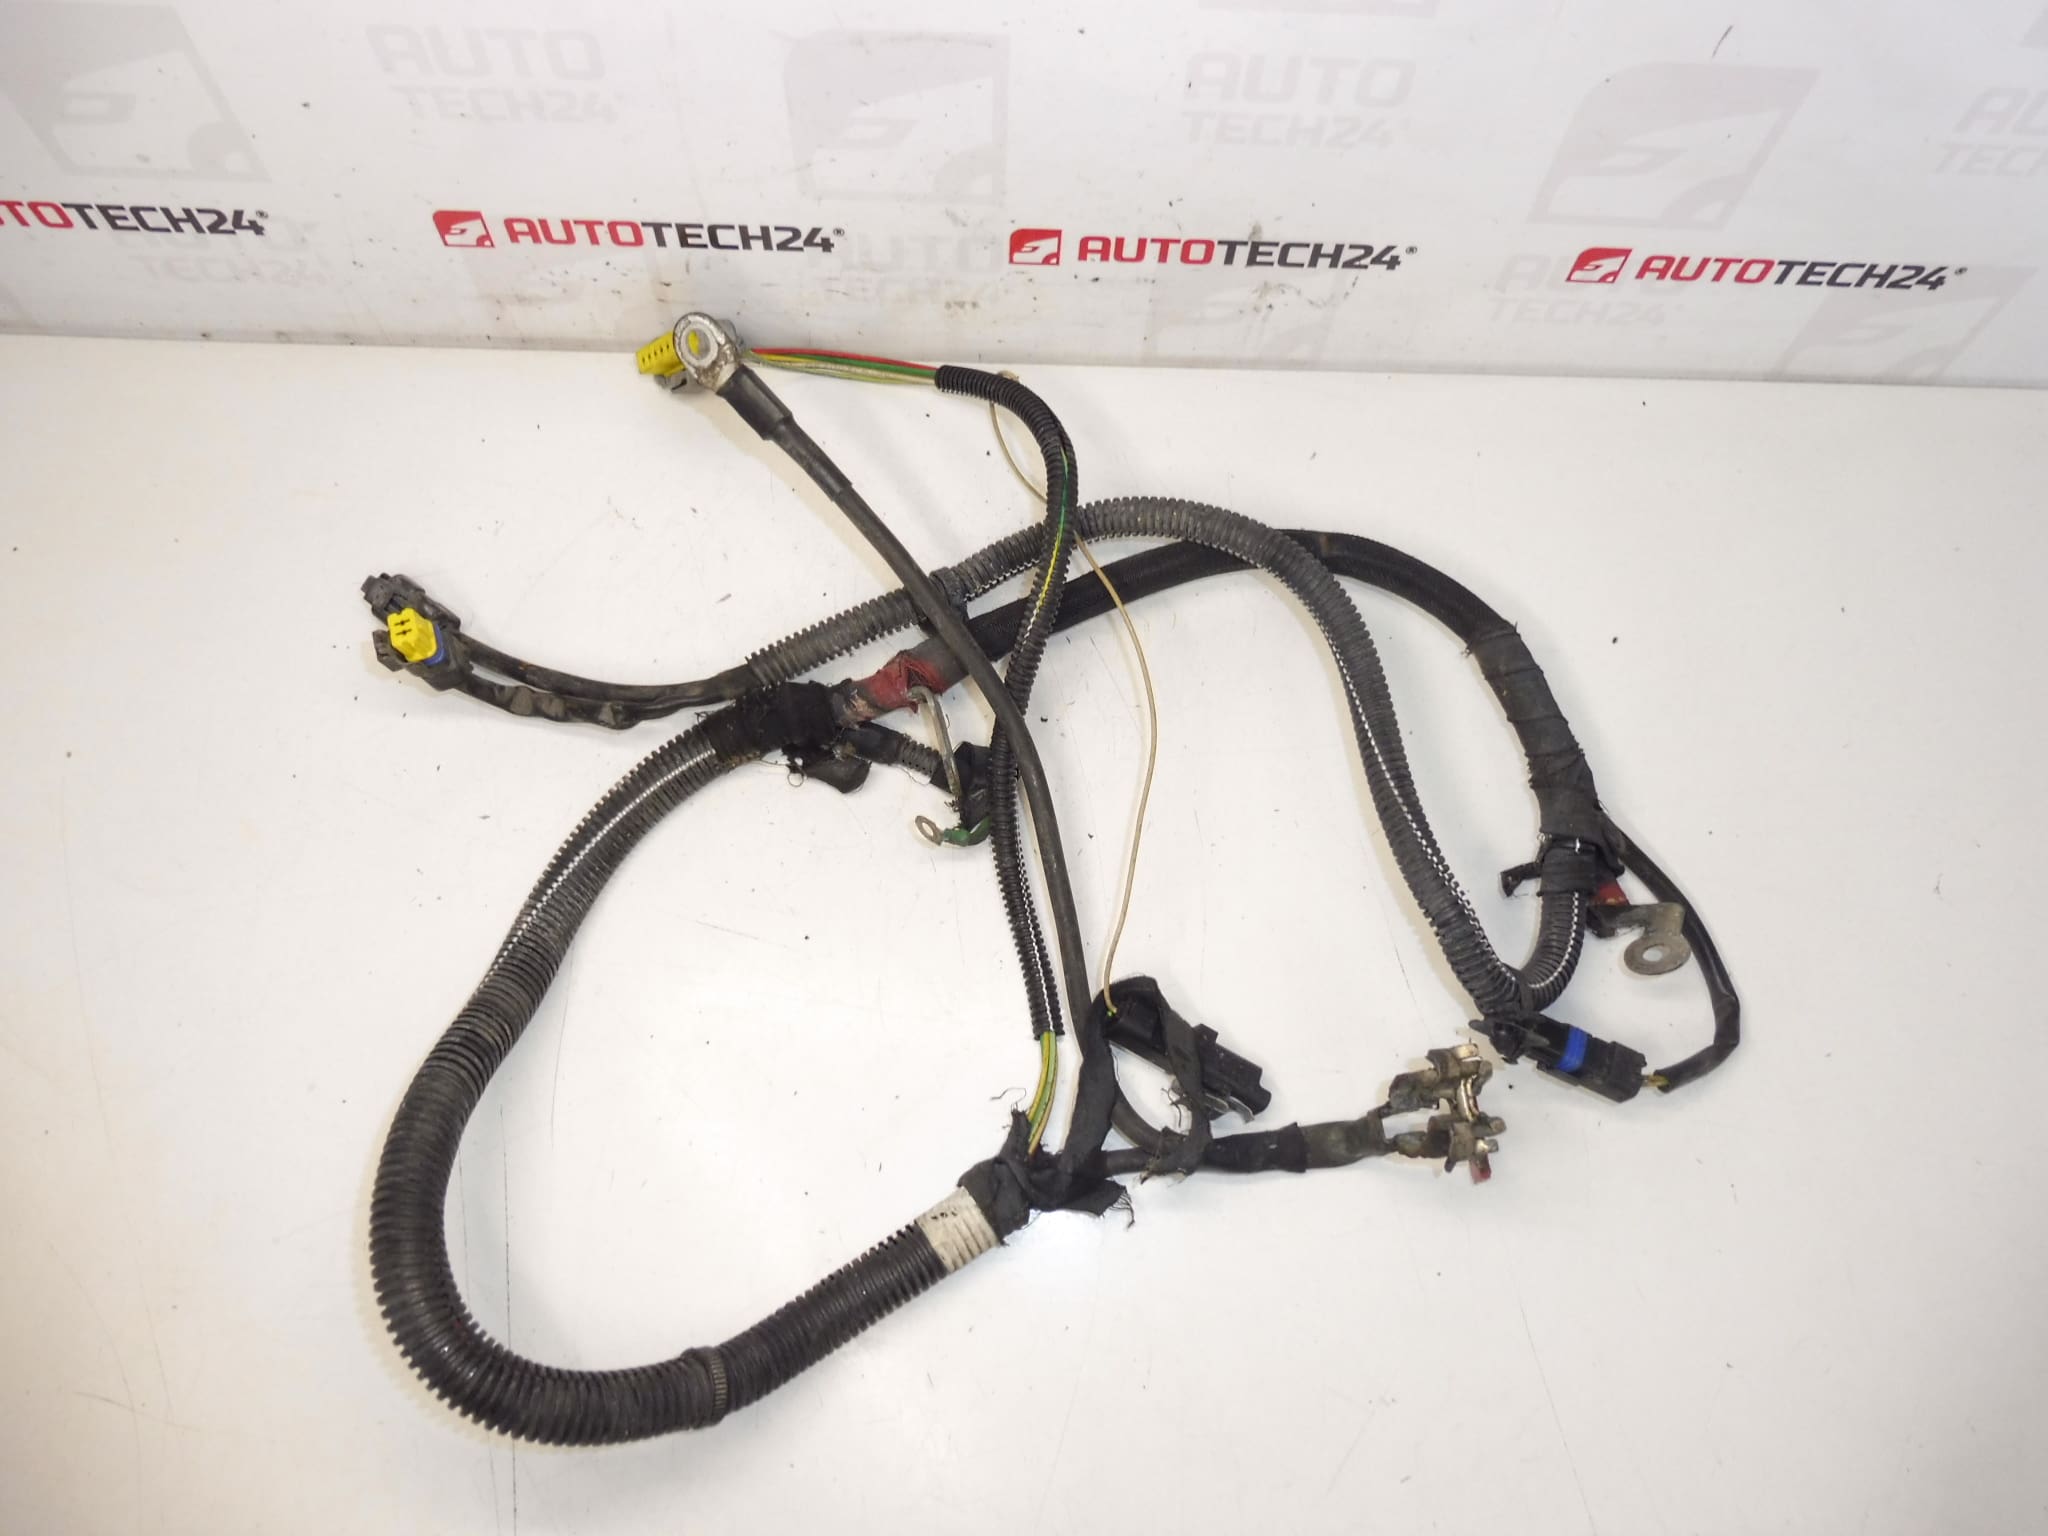
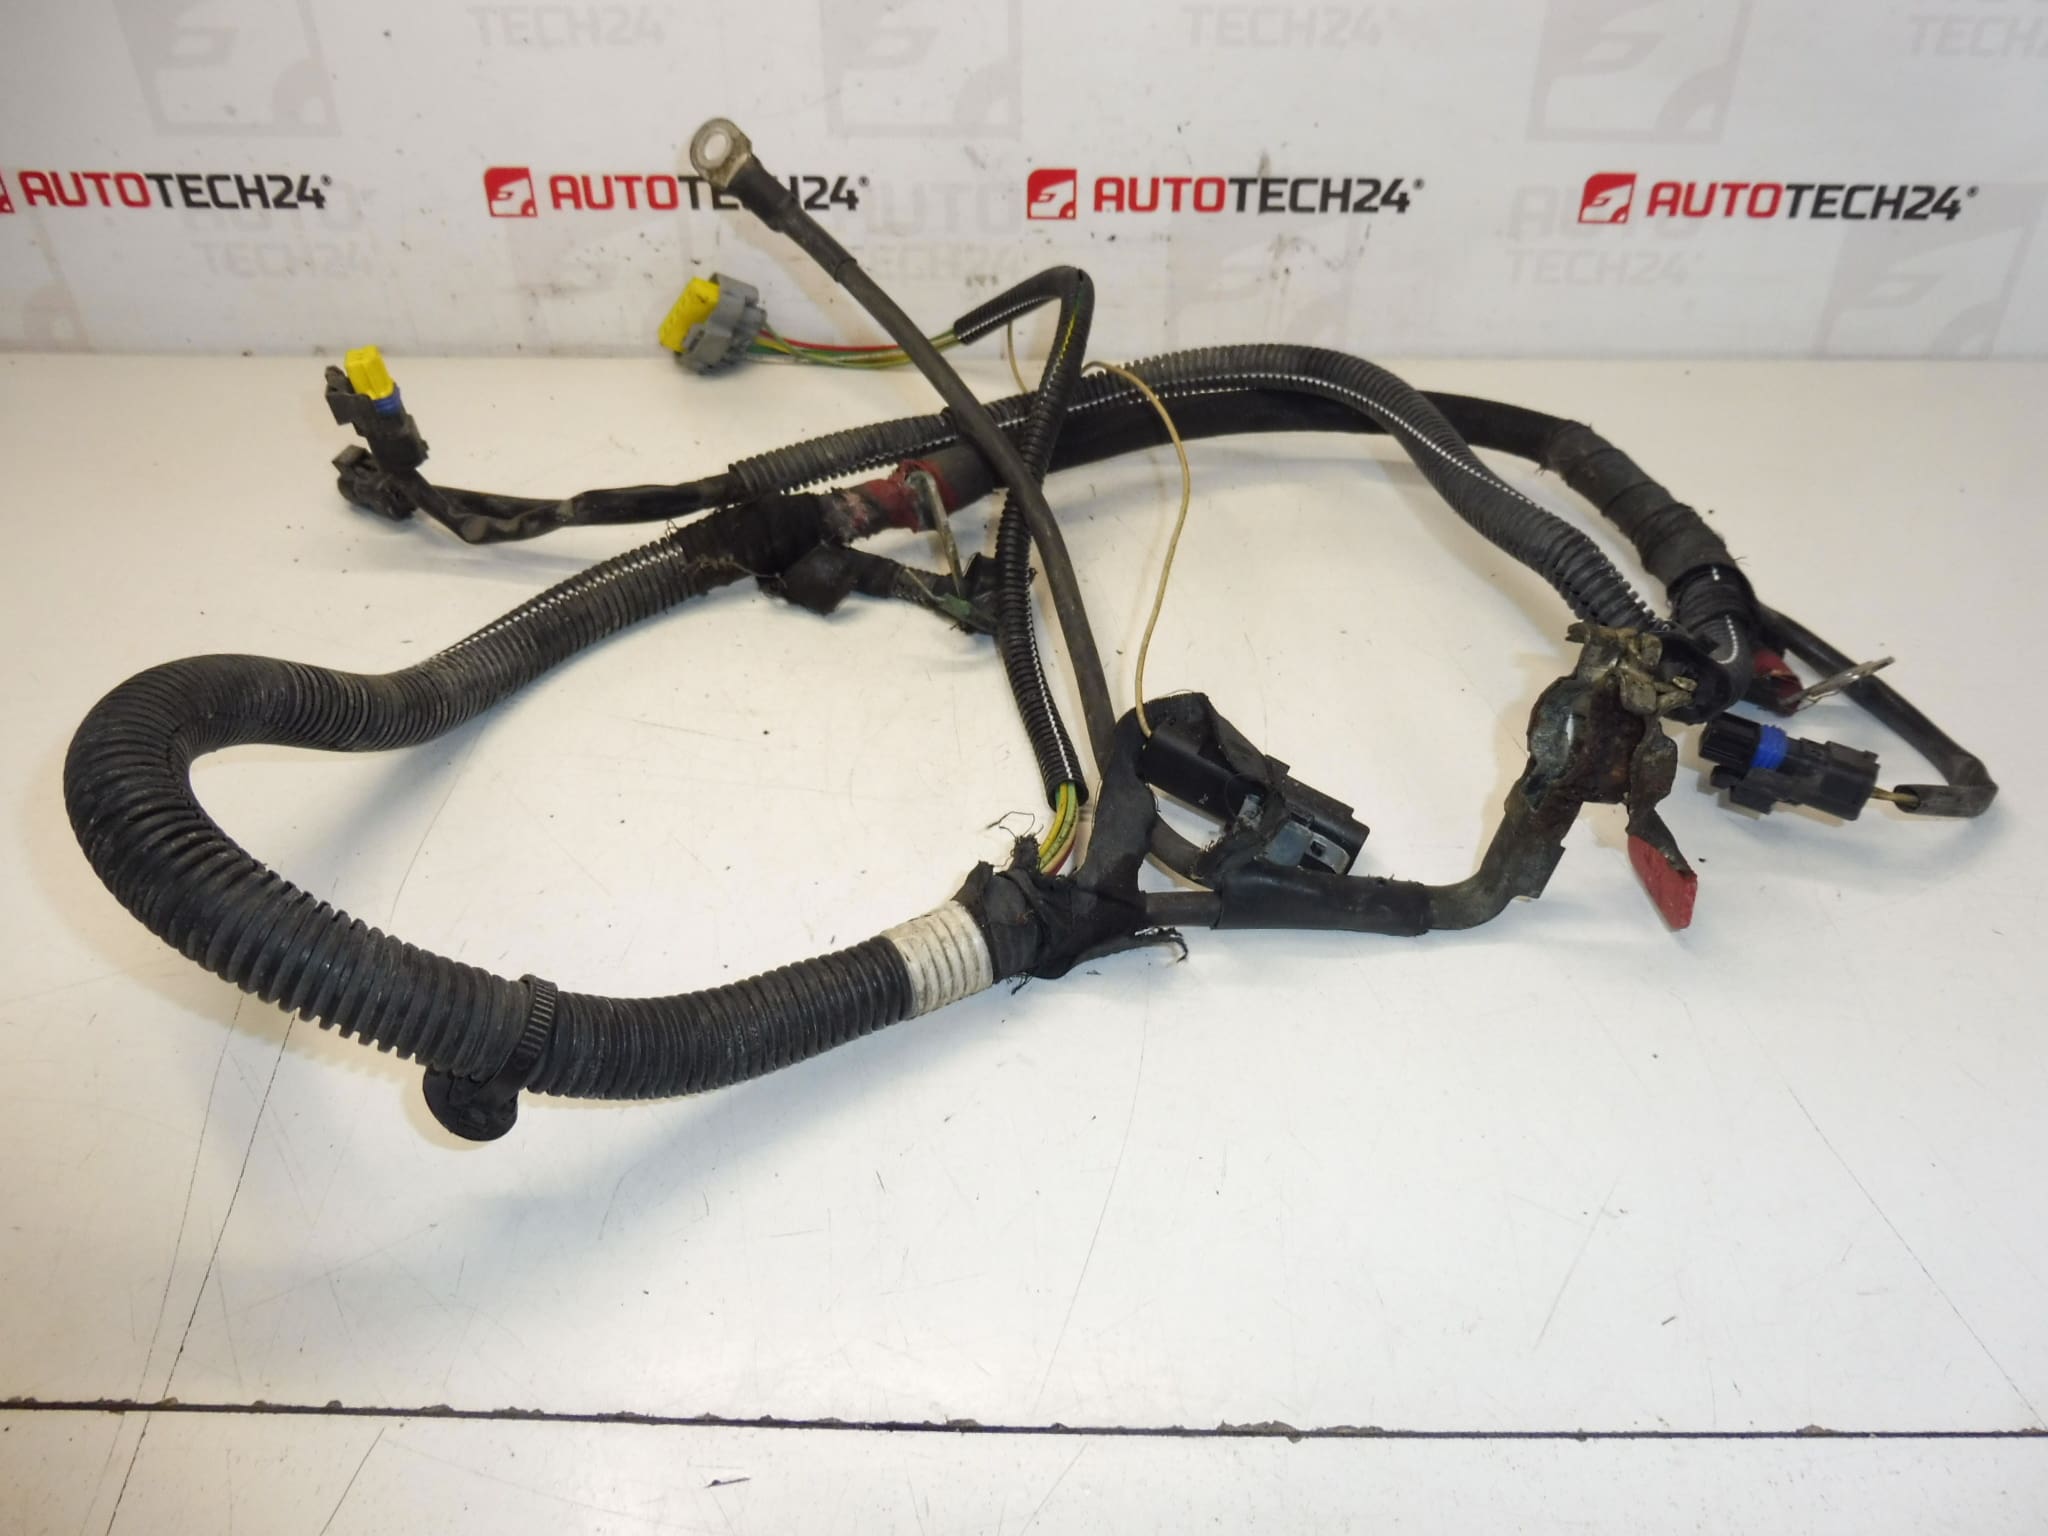
Engine wiring harness + pole for Citroën and Peugeot vehicles with 2.0 HDi engines
Description
High-quality engine wiring harness designed for Citroën and Peugeot models equipped with the 2.0 HDi diesel engine. This harness routes power and signal connections between the engine control systems and vital components such as injectors, glow plugs, sensors and engine actuators. Commonly searched under product codes 9658054180 and 5642LP, the harness is suitable for a range of Stellantis diesel applications and is intended for professional mechanics and experienced DIYers who maintain or repair HDi powertrains.
Technical Information
- Manufacturer: Stellantis / Citroën / Peugeot
- Model: Citroën C4 II; Citroën C4 Picasso; Citroën C5 X7; Peugeot 3008 I; Peugeot 308; Peugeot 5008 I
- Product Codes: 9658054180, 5642LP
- Additional Numbers: 5642LP, 9658054180
Function And Application
The engine wiring harness provides the electrical backbone for the 2.0 HDi engine, delivering power and signal paths to components including fuel injectors, glow plugs, camshaft/crankshaft position sensors, mass air flow/air temperature sensors, EGR and turbo actuators, and various engine valves and switches. It ensures reliable communication between the engine control unit and the physical actuators/sensors, enabling correct fueling, timing and emissions control.
Replacement Procedure
Typical replacement steps (general guidance, follow vehicle manufacturer procedures):
- Park vehicle on a level surface, engage handbrake and isolate the electrical system by disconnecting the negative battery terminal.
- Remove engine covers and any obstructing components to gain access to the wiring harness routing.
- Label or photograph connector positions to ensure correct reassembly. Unclip and carefully disconnect all harness connectors from sensors, injectors and actuators.
- Free the harness from mounting clips and grommets, guide it out of the engine bay following the original routing to avoid tension or contact with moving parts.
- Install the replacement harness by reversing the removal steps, ensuring connectors are fully seated and grommets are intact to preserve sealing against moisture and contaminants.
- Reconnect the battery and perform an engine check for fault codes and proper operation of sensors and actuators after installation.
Recommended Installation
- Always disconnect the battery before starting work to avoid short circuits and protect electronic modules.
- Inspect connector pins, seals and grommets for corrosion or damage; replace any compromised components to prevent future faults.
- Use dielectric grease on exposed connector pins where recommended to improve corrosion resistance and electrical contact.
- Secure the harness away from hot surfaces, sharp edges and moving parts using original-style clips or approved fasteners to prevent chafing.
- After fitment, clear diagnostic trouble codes and perform a test drive to confirm correct engine response and that no new faults are present.
Most Common Failure Causes
- Heat and vibration leading to insulation degradation and broken conductors.
- Oil, coolant or other fluid leaks that deteriorate connector seals and wiring insulation.
- Physical damage from abrasion against engine or chassis components, often due to missing clips or incorrect routing.
- Corrosion of pins and sockets caused by moisture ingress when grommets or seals fail.
- Rodent damage—chewing on wiring remains a known issue in some regions.
Durability And Notes
Service life depends on vehicle use and environment; harnesses typically remain reliable for many years but can fail earlier if exposed to heat, fluids or mechanical damage. When replacing a harness, ensure connectors match exactly and that any protective conduit and grommets are restored to original condition to maximize longevity.