Description
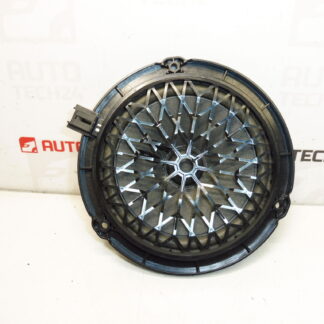
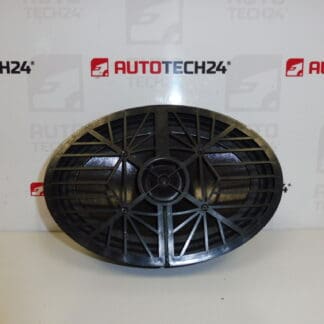
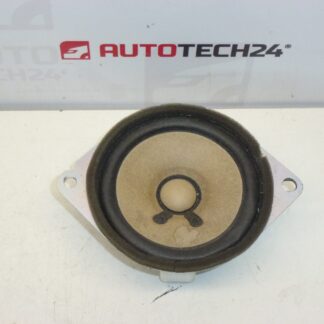
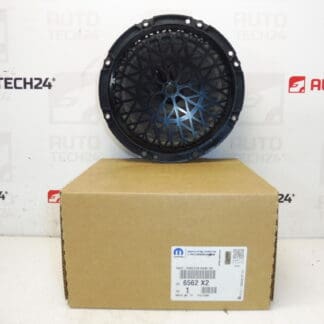
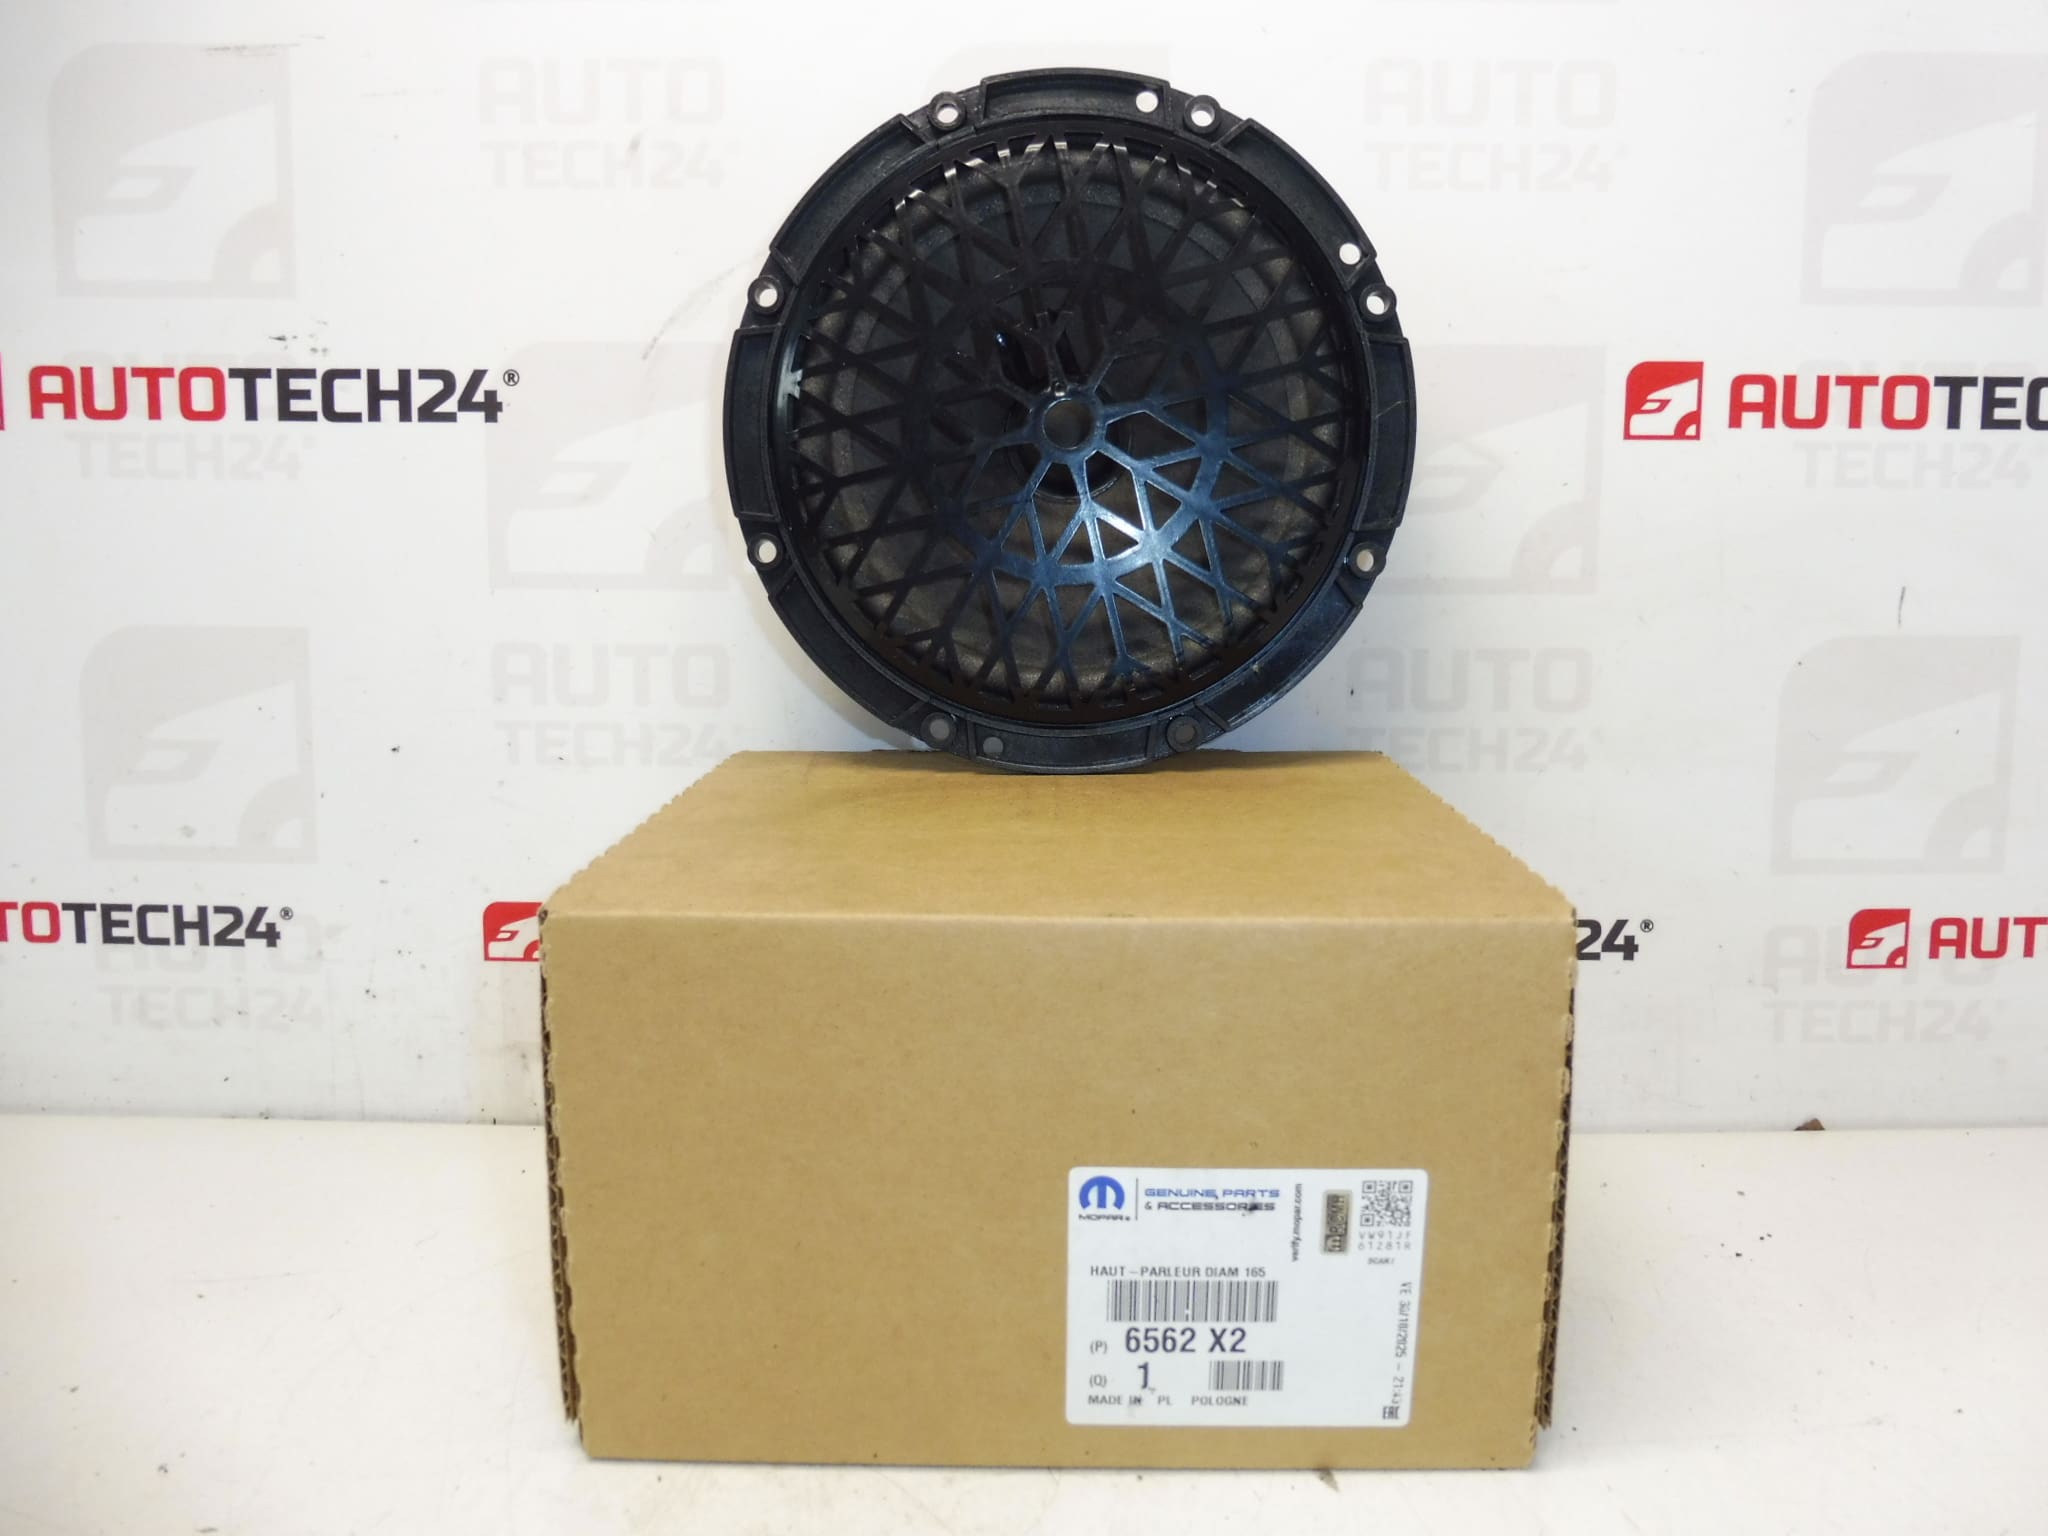
New original speaker for CITROEN PEUGEOT cars
Diameter 165 mm
Part description
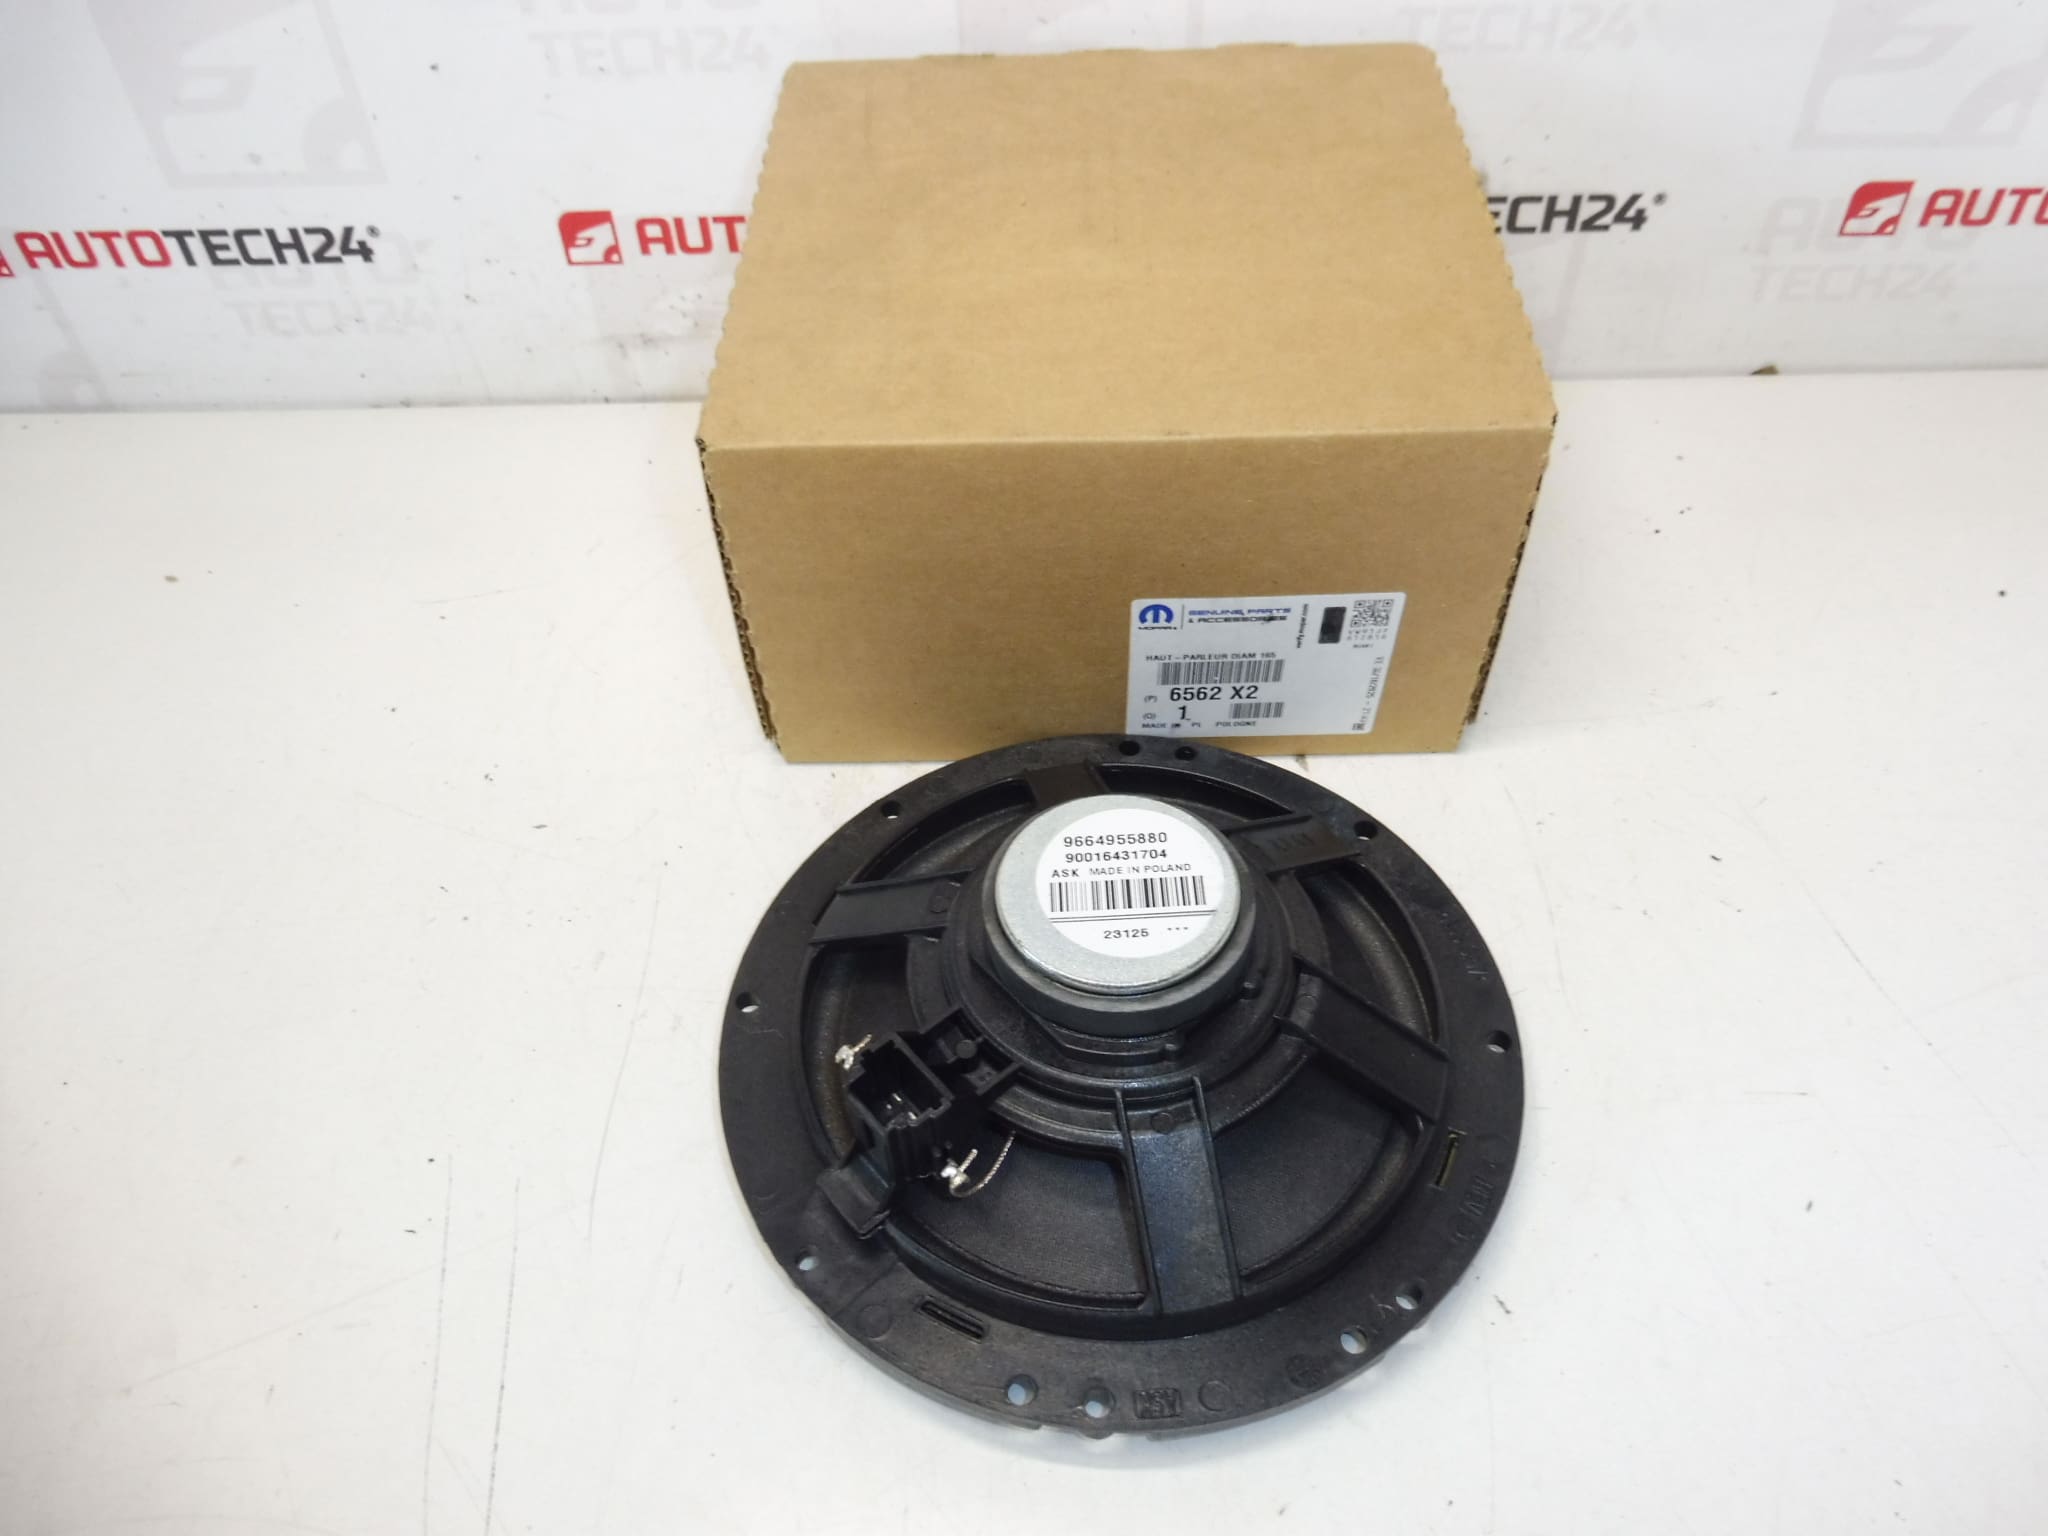
This original Citroën Peugeot speaker is suitable as a replacement for a damaged or non-functioning piece in the vehicle’s audio system. Thanks to its original design, it is intended for Citroën and Peugeot cars and can also be searched for by product numbers 9664955880, 6562X2 and 6562C5.
It is a part from the category electrical components – speakers, which will be appreciated by both the car service and the home mechanic when repairing the car’s sound system. When looking for the right speaker, matching the size and marking of the part is essential, and the diameter 165 mm is listed here.
Technical information
- Manufacturer: Stellantis / Citroën Peugeot
- Model: not specified
- Other numbers: 9664955880, 6562X2, 6562C5
- Part type: speaker
- Diameter: 165 mm
- Condition: new original part
Product codes
Product codes: 9664955880, 6562X2, 6562C5
- Citroën C2
- Citroën C3
- Citroën C3 Picasso
- Citroën C3 Pluriel
- Citroën C4 PICASSO
- Citroën C5
- Citroen C5 X7
- Citroën C8
- Citroën Xsara Picasso
- Peugeot 207
- PEUGEOT 3008 I
- Peugeot 308
- Peugeot 407
- PEUGEOT 5008 I
- Peugeot 807
Installation recommendations
Generally/typically for car speaker replacement, the exact procedure may vary depending on the specific model and make of the car. Before assembly, it is advisable to compare the new part with the old one and verify the conformity of the dimensions, the connector and the method of attachment.
1) Before assembly
- Check that the new speaker has a matching 165mm diameter.
- Compare the connector, mounting holes and speaker depth with the old part.
- Check for damage to the speaker basket, membrane or electrical contacts.
- Before starting work, we recommend disconnecting the battery, especially if it interferes with the car’s electrical system.
2) Necessary tools and materials
- set of common hand tools
- plastic pry bar for panel removal
- screwdrivers or bits depending on the type of fastening
- clean cloth
- or contact cleaner
3) Step-by-step assembly procedure
- Prepare your work area and carefully remove the respective cover or lining that covers the speaker.
- Unscrew or release the original speaker from its mount.
- Carefully disconnect the electrical connector of the old speaker.
- Compare the old and new part – especially the diameter, connector, mounting distance and overall design.
- Clean the landing surface and check the condition of the wiring and the connector.
- Connect the connector to the new speaker without force and check that the connection is properly seated.
- Place the speaker in place so that it sits correctly in the mounting position.
- Attach the speaker in the original way and tighten evenly to avoid deformation of the attachment.
- Before reinstalling the trim, perform a basic functional test of audio playback.
- If all is well, refit the cover or trim.
-
4) Post-assembly checks and test drive/function verification
- Verify that the speaker plays cleanly without rattling, dropouts, or distortion.
- Check that there is no panel vibration at different volume levels.
- After reassembly, check the correct seating of all disassembled interior parts.
5) The most common assembly mistakes + how to avoid them
- Swapping the size of the speaker – always compare the diameter and mounting before mounting.
- Damage to the lining during disassembly – use suitable plastic tools.
- Insufficiently seated connector – after connecting, lightly check that the joint is holding properly.
- Crooked or uneven mounting – tighten the speaker gradually and evenly.
- Skip the test before complete assembly – verify the function before mounting the covers and trim.
Reasons why the part is damaged
- natural wear and tear of the speaker membrane and suspension
- moisture and long-term exposure to condensation
- mechanical damage during disassembly or intervention in the interior
- speaker overload with high volume and distorted signal
- damage to the connector or wiring
- vibration and release of attachment during operation