Description
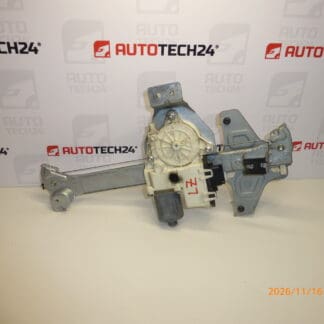
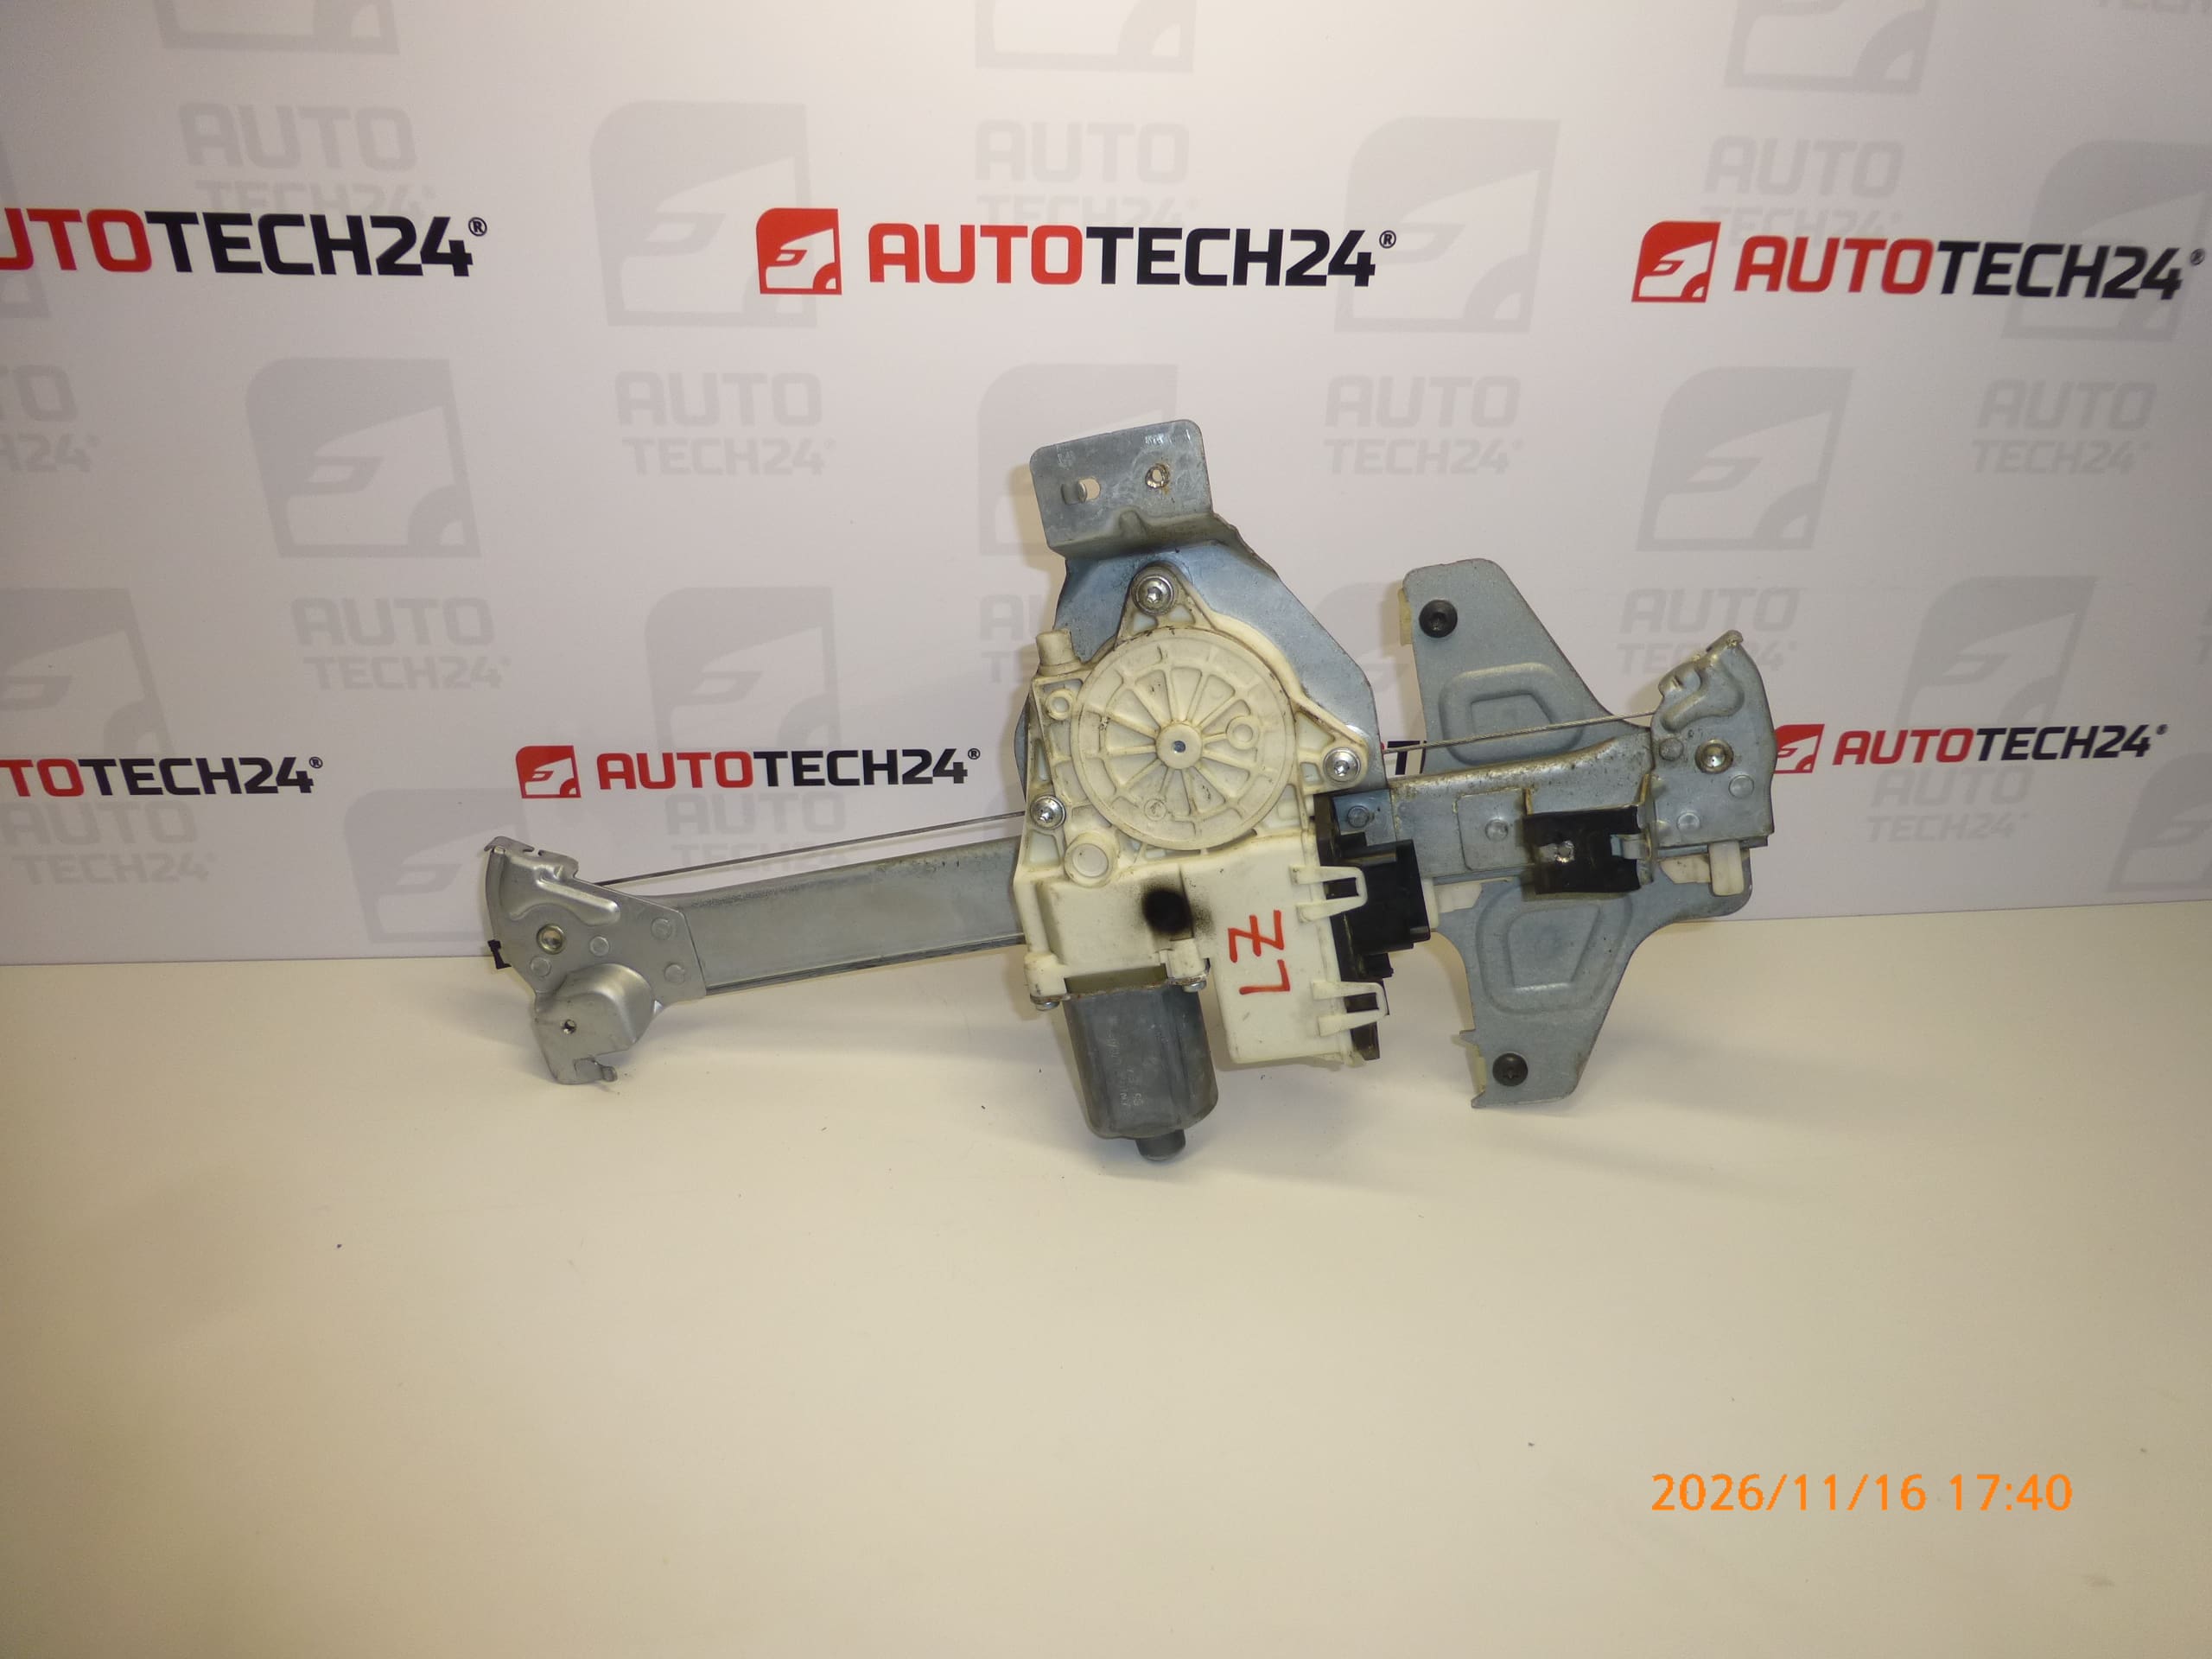
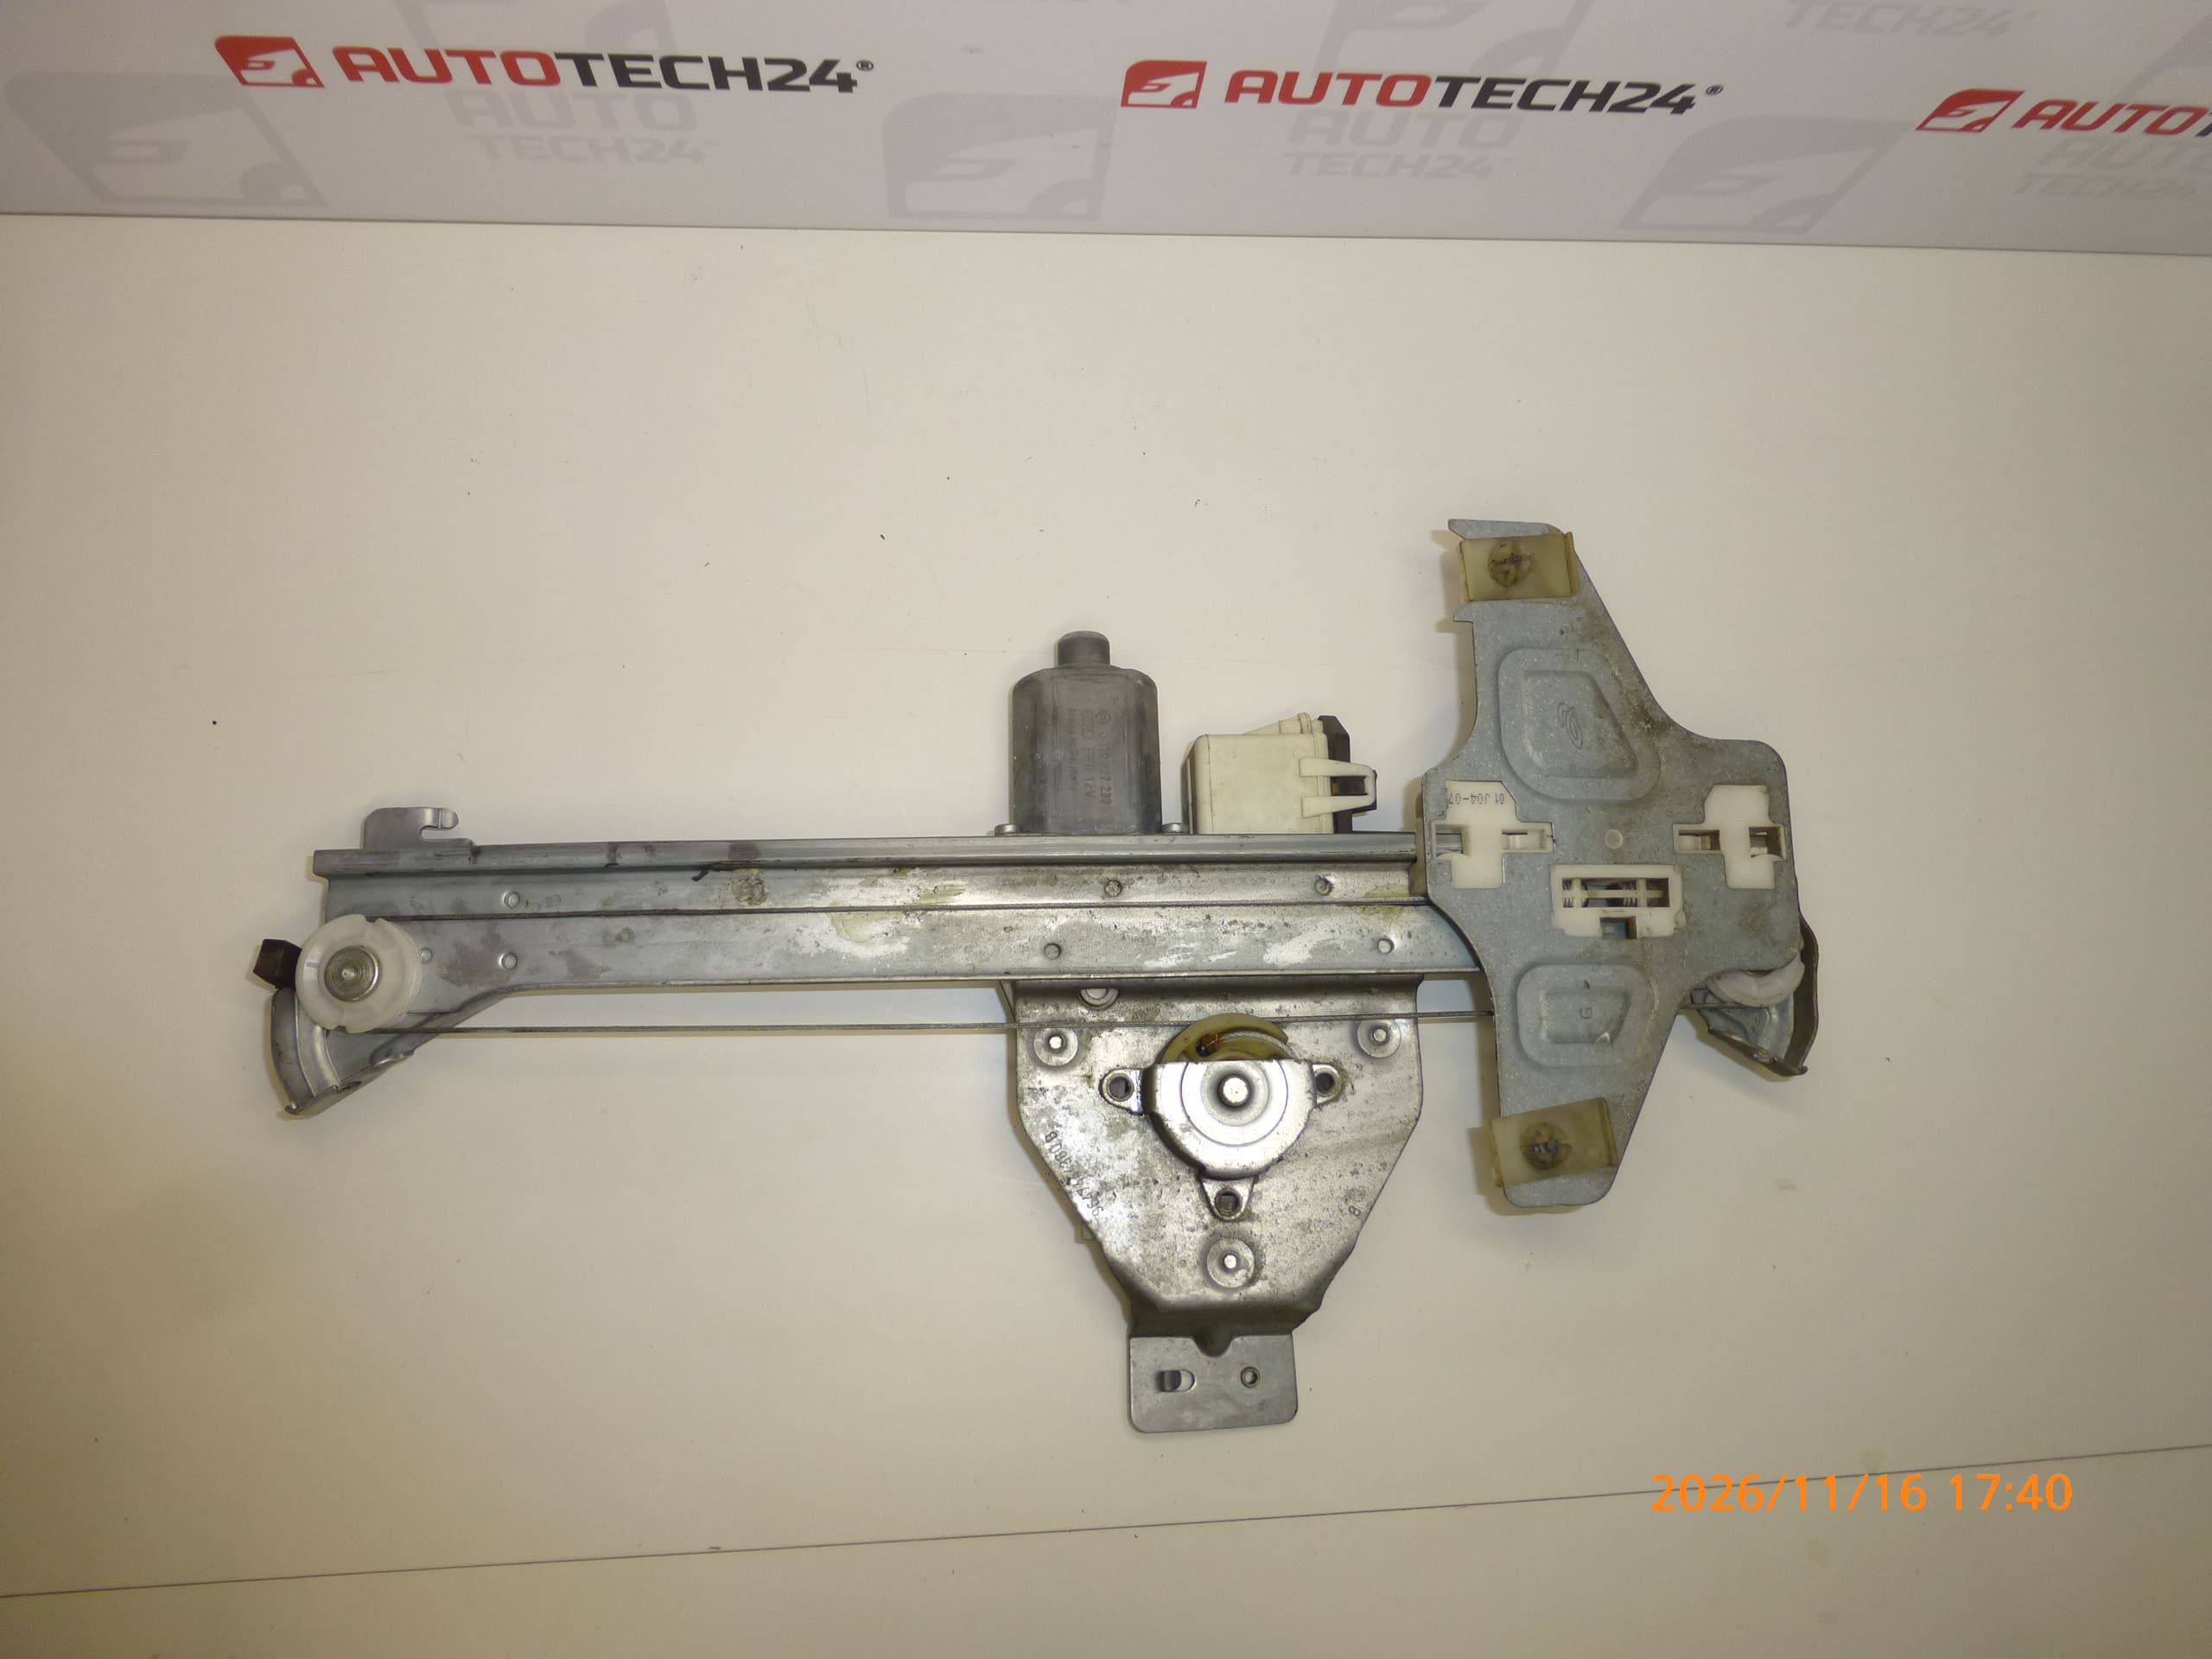
Left rear window regulator mechanism for first-series 5-door CITROËN C4 vehicles
Driver’s side rear door
Part description
Used left rear window regulator mechanism for the first-series 5-door Citroën C4 guides and moves the glass in the door behind the driver. It is a suitable solution when replacing a damaged window regulator, for example if the window moves irregularly, sticks or does not stay in position. Before replacing it, it is important to distinguish a mechanical fault from a problem with the controls or electric drive.
When selecting a part, compare in particular numbers 9647444380, 922390 and 9223G9, the mechanism design and its mounting points with the original part. The available information does not state whether a motor is included, so its presence cannot be assumed.
Technical information
- Manufacturer: not specified; the available information lists the designation Stellantis CITROEN PEUGEOT.
- Model: Citroën C4.
- Vehicle version: 5 doors, first series.
- Location: left rear door, behind the driver.
- Part type: window regulator mechanism.
- Condition: used part.
- Additional numbers: 9223G9.
- Motor and other accessories included: not specified.
Product codes
- Product codes: 9647444380, 922390, 9223G9.
Product numbers make it easier to identify the correct window regulator version. When selecting one, also consider that it is intended for the left rear side and the 5-door body style of the specified model.
Installation recommendations
The following procedure generally applies to this type of part. The exact procedure for removing the door trim, the method of securing the glass and the mechanism mounting points depend on the specific vehicle version. Follow the manufacturer’s service procedure.
1) Before installation
- Compare the markings, shape of the mechanism, mounting points and glass fasteners with the old part. If electrical components are present, compare their connections as well.
- Check the used part for deformation, corrosion, cracks and damaged fasteners. For a cable-type version, also inspect the cables, their routing and the pulleys.
- Check the condition of the glass guides and seals. Glass that sticks can overload even a properly functioning mechanism.
- Prepare a safe way to secure the glass. Once released from the window regulator, the glass must not be allowed to fall freely into the door.
2) Tools and materials required
- Standard hand tools suitable for the fasteners used.
- A plastic trim removal tool for carefully removing the door trim.
- Suitable tools for securing the glass, protective gloves and protection for painted surfaces.
- Cleaning products suitable for the affected surfaces and, if necessary, materials to restore the seal of the door protective film.
- If non-removable fasteners are used, tools and suitable fastening materials in accordance with the service procedure.
3) Step-by-step installation procedure
- Secure the vehicle against movement, switch off the ignition and prepare a clean work area.
- If the controls work, move the glass to a position that allows access to its mountings, following the service procedure. Do not force a non-functioning mechanism.
- Before disconnecting electrical components, disconnect the battery as specified by the vehicle manufacturer.
- Carefully remove the door trim. Release the relevant fasteners and any connectors without pulling on the wires.
- Carefully peel back the protective film or inner cover, if present. Try to preserve their sealing surfaces.
- Secure the glass to prevent it from falling, release it from the mechanism and safely support or fasten it according to the service procedure.
- Release the original window regulator’s mountings and remove it without damaging the wiring, glass or internal parts of the door.
- Compare the two mechanisms side by side. Transfer a separate drive unit only if the design and service procedure allow it.
- Insert the replacement mechanism and secure it at the specified mounting points. Ensure it is correctly seated without twisting and that the moving parts have a clear path.
- Position and secure the glass. Check that it sits correctly in the guides and that its fasteners are not subjected to lateral stress.
- Reconnect the disconnected electrical components and restore power according to the manufacturer’s instructions. After removing the temporary glass support, carefully check operation; keep hands and tools away from moving parts.
- After a successful functional test, restore the seal of the protective film or cover and reinstall the door trim. If required for the specific version, initialize the window controls according to the manufacturer’s instructions.
4) Post-installation checks and function verification
- Carefully raise and lower the window several times. It should move smoothly, without tilting, sticking or unusual noise.
- Check that the glass seats correctly against the seal and that the installed trim is secure.
- Check the operation of the relevant controls and any additional functions, as applicable to the vehicle’s actual equipment.
- During a short test drive with the window closed, listen for any rattling or increased wind noise. If there is a fault, recheck the seating of the glass and the mechanism.
5) Common installation mistakes and how to avoid them
- Glass not secured adequately: always support or fasten it securely before releasing its fasteners.
- Mechanism not seated correctly: check the position of all mounting points and the glass guides before tightening.
- Guide or seal fault left unresolved: eliminate the cause of increased resistance to avoid unnecessarily overloading the replacement part.
- Pinched wiring or incorrectly routed cable: before testing, check that nothing obstructs the mechanism’s path.
- Protective film not sealed: carefully restore its seal to prevent water from reaching the trim and entering the interior.
Reasons why the part may be damaged
Window regulator mechanisms are generally damaged by wear and increased resistance as the glass moves. The following causes do not describe the condition of the item offered:
- Wear of moving parts and fasteners through prolonged use.
- Damage to cables or pulleys in cable-type mechanisms, such as a frayed cable or broken guide.
- Dirty or deformed glass guides, which increase the load on the window regulator.
- Attempting to open a frozen window or operating it when something else is obstructing its movement.
- Moisture and corrosion, which can restrict movement and weaken individual components.
- Incorrect previous installation or door damage, causing the glass to move outside its correct path.