Description
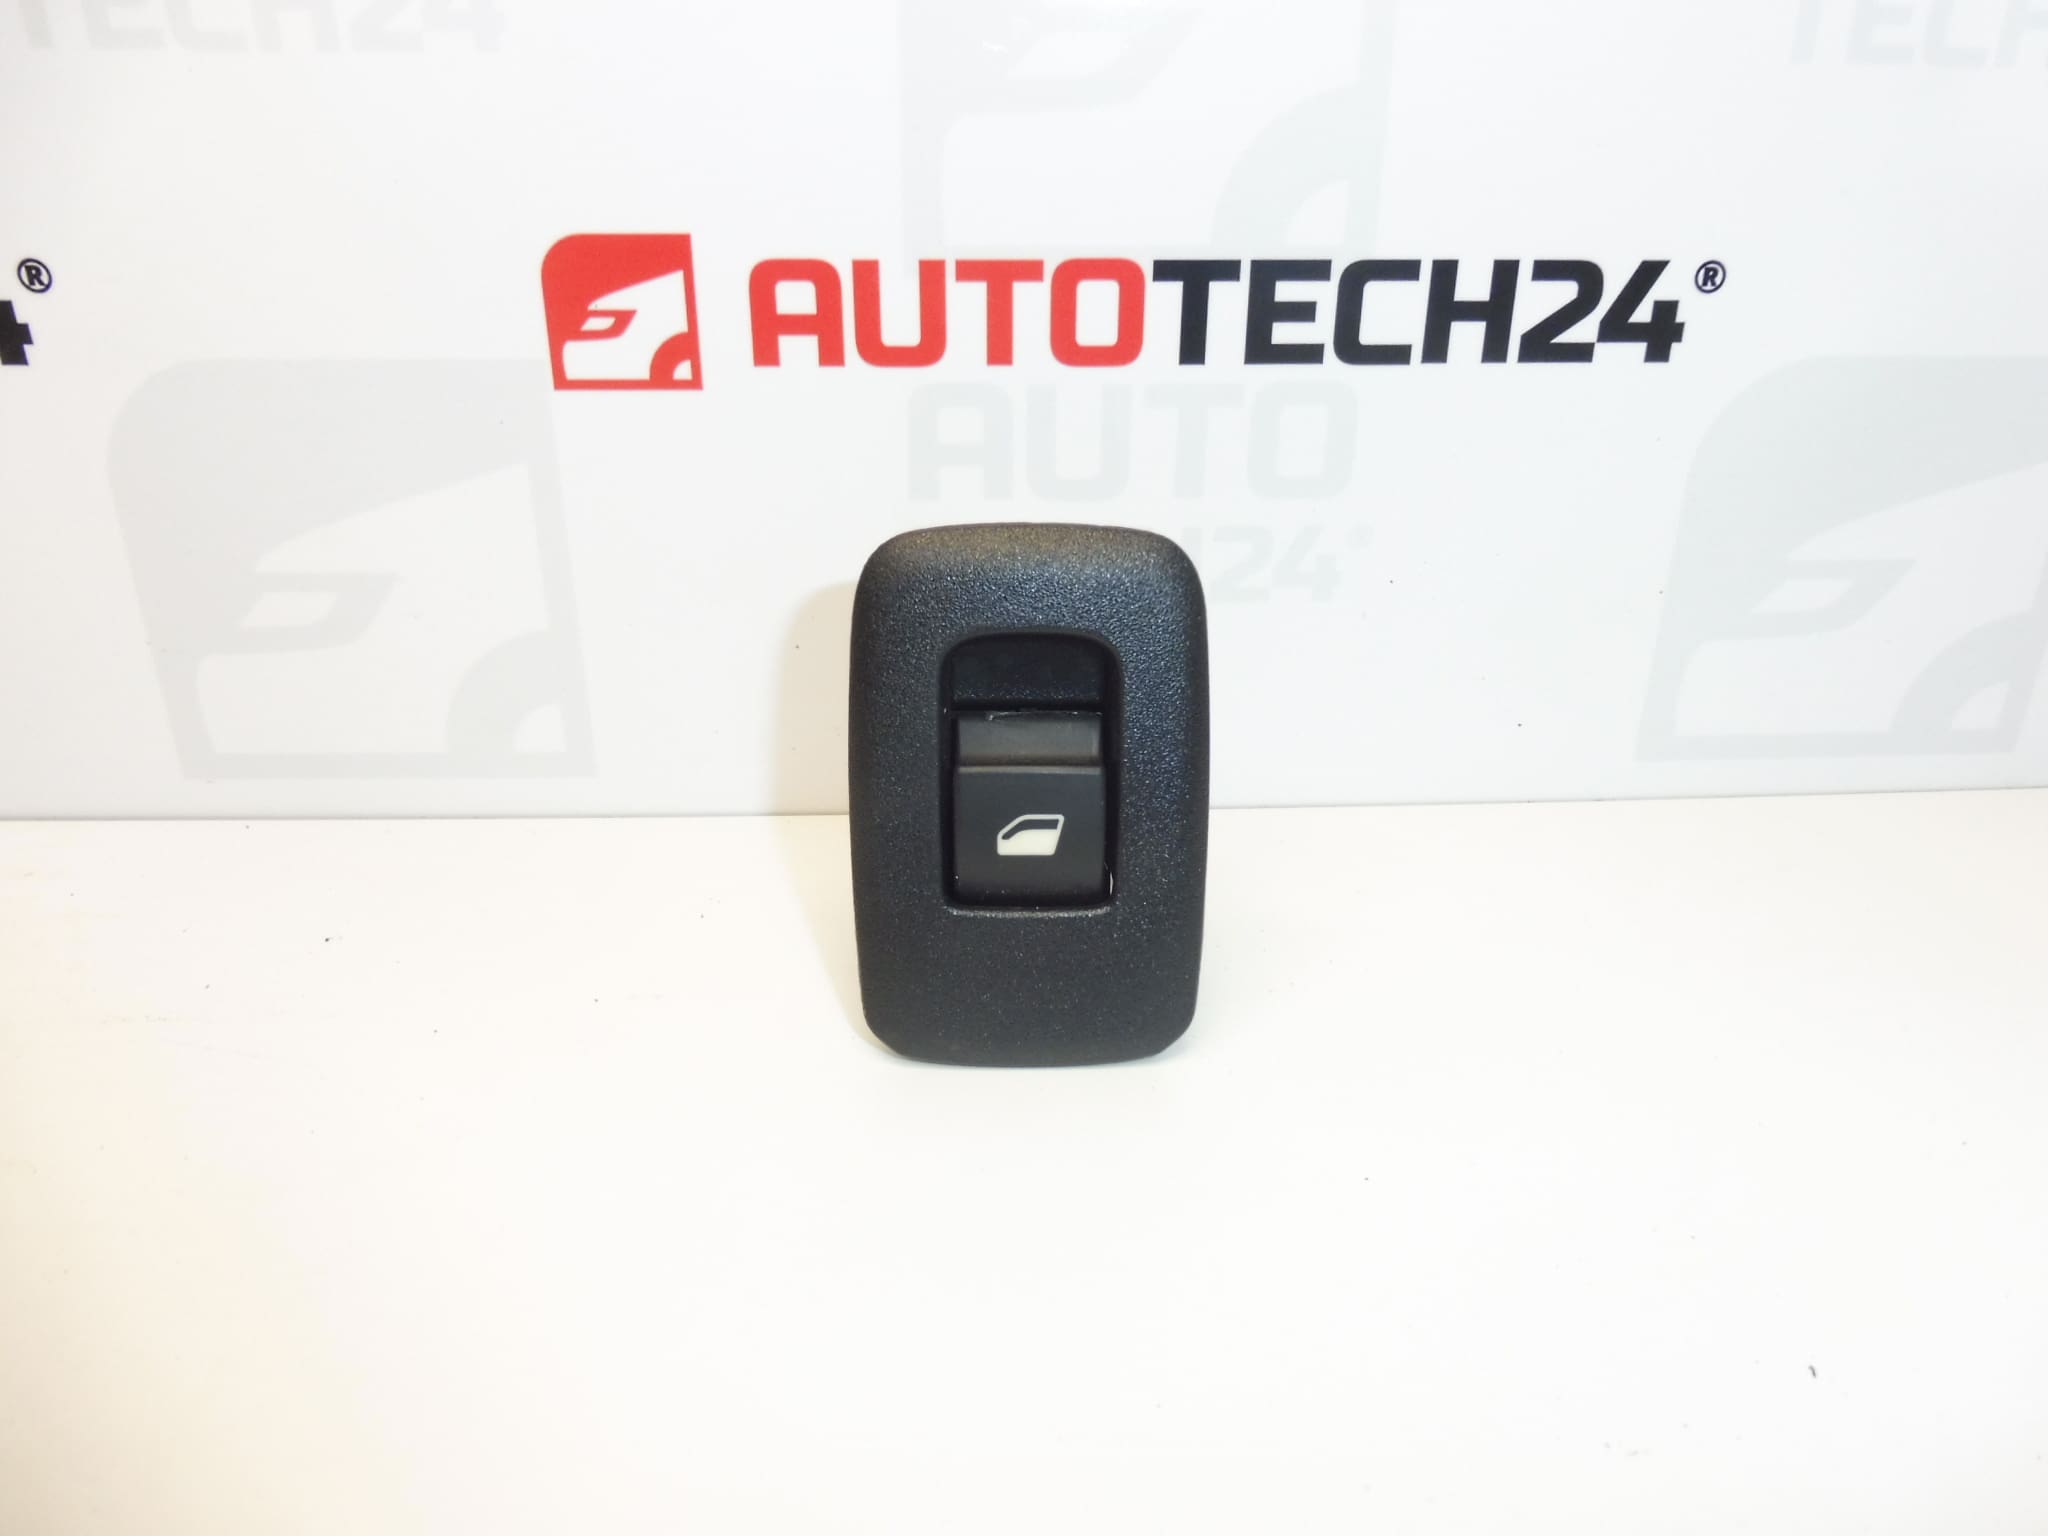
Power window switch with bezel for Stellantis vehicles
Part description
The used Citroën Peugeot window switch with bezel is a replacement part for repairing a non-functioning or damaged power window control. When looking for a replacement, the product numbers 98044803ZD and 98166778ZD are particularly important. The part includes a bezel, which is also useful when replacing a switch with a damaged surrounding trim.
The documentation lists the part for the Citroën Berlingo K9, PEUGEOT RIFTER, FIAT DOBLO III, OPEL COMBO E K9 and Toyota ProAce City. Before selecting a part, compare the markings on the original switch, the connector design, the button layout and the shape of the bezel. The model name alone may not distinguish all control configurations.
Technical information
- Manufacturer: not specified; listed in the documentation as Stellantis CITROEN PEUGEOT.
- Model: Citroën Berlingo K9 | FIAT DOBLO III | OPEL COMBO E K9 | PEUGEOT RIFTER | Toyota ProAce City.
- Part type: power window switch.
- Design: with bezel.
- Condition: used part.
- Additional numbers: not specified.
Product codes
- Product codes: 98044803ZD, 98166778ZD.
These numbers are an important reference when selecting a replacement switch. Their being listed together does not in itself confirm interchangeability for every vehicle configuration.
Installation recommendations
The following general procedure applies to this type of electrical part. The exact method for releasing the bezel, accessing the connector and, if necessary, setting the windows after replacement depends on the specific vehicle model and configuration. Follow the manufacturer’s service procedure.
1) Before installation
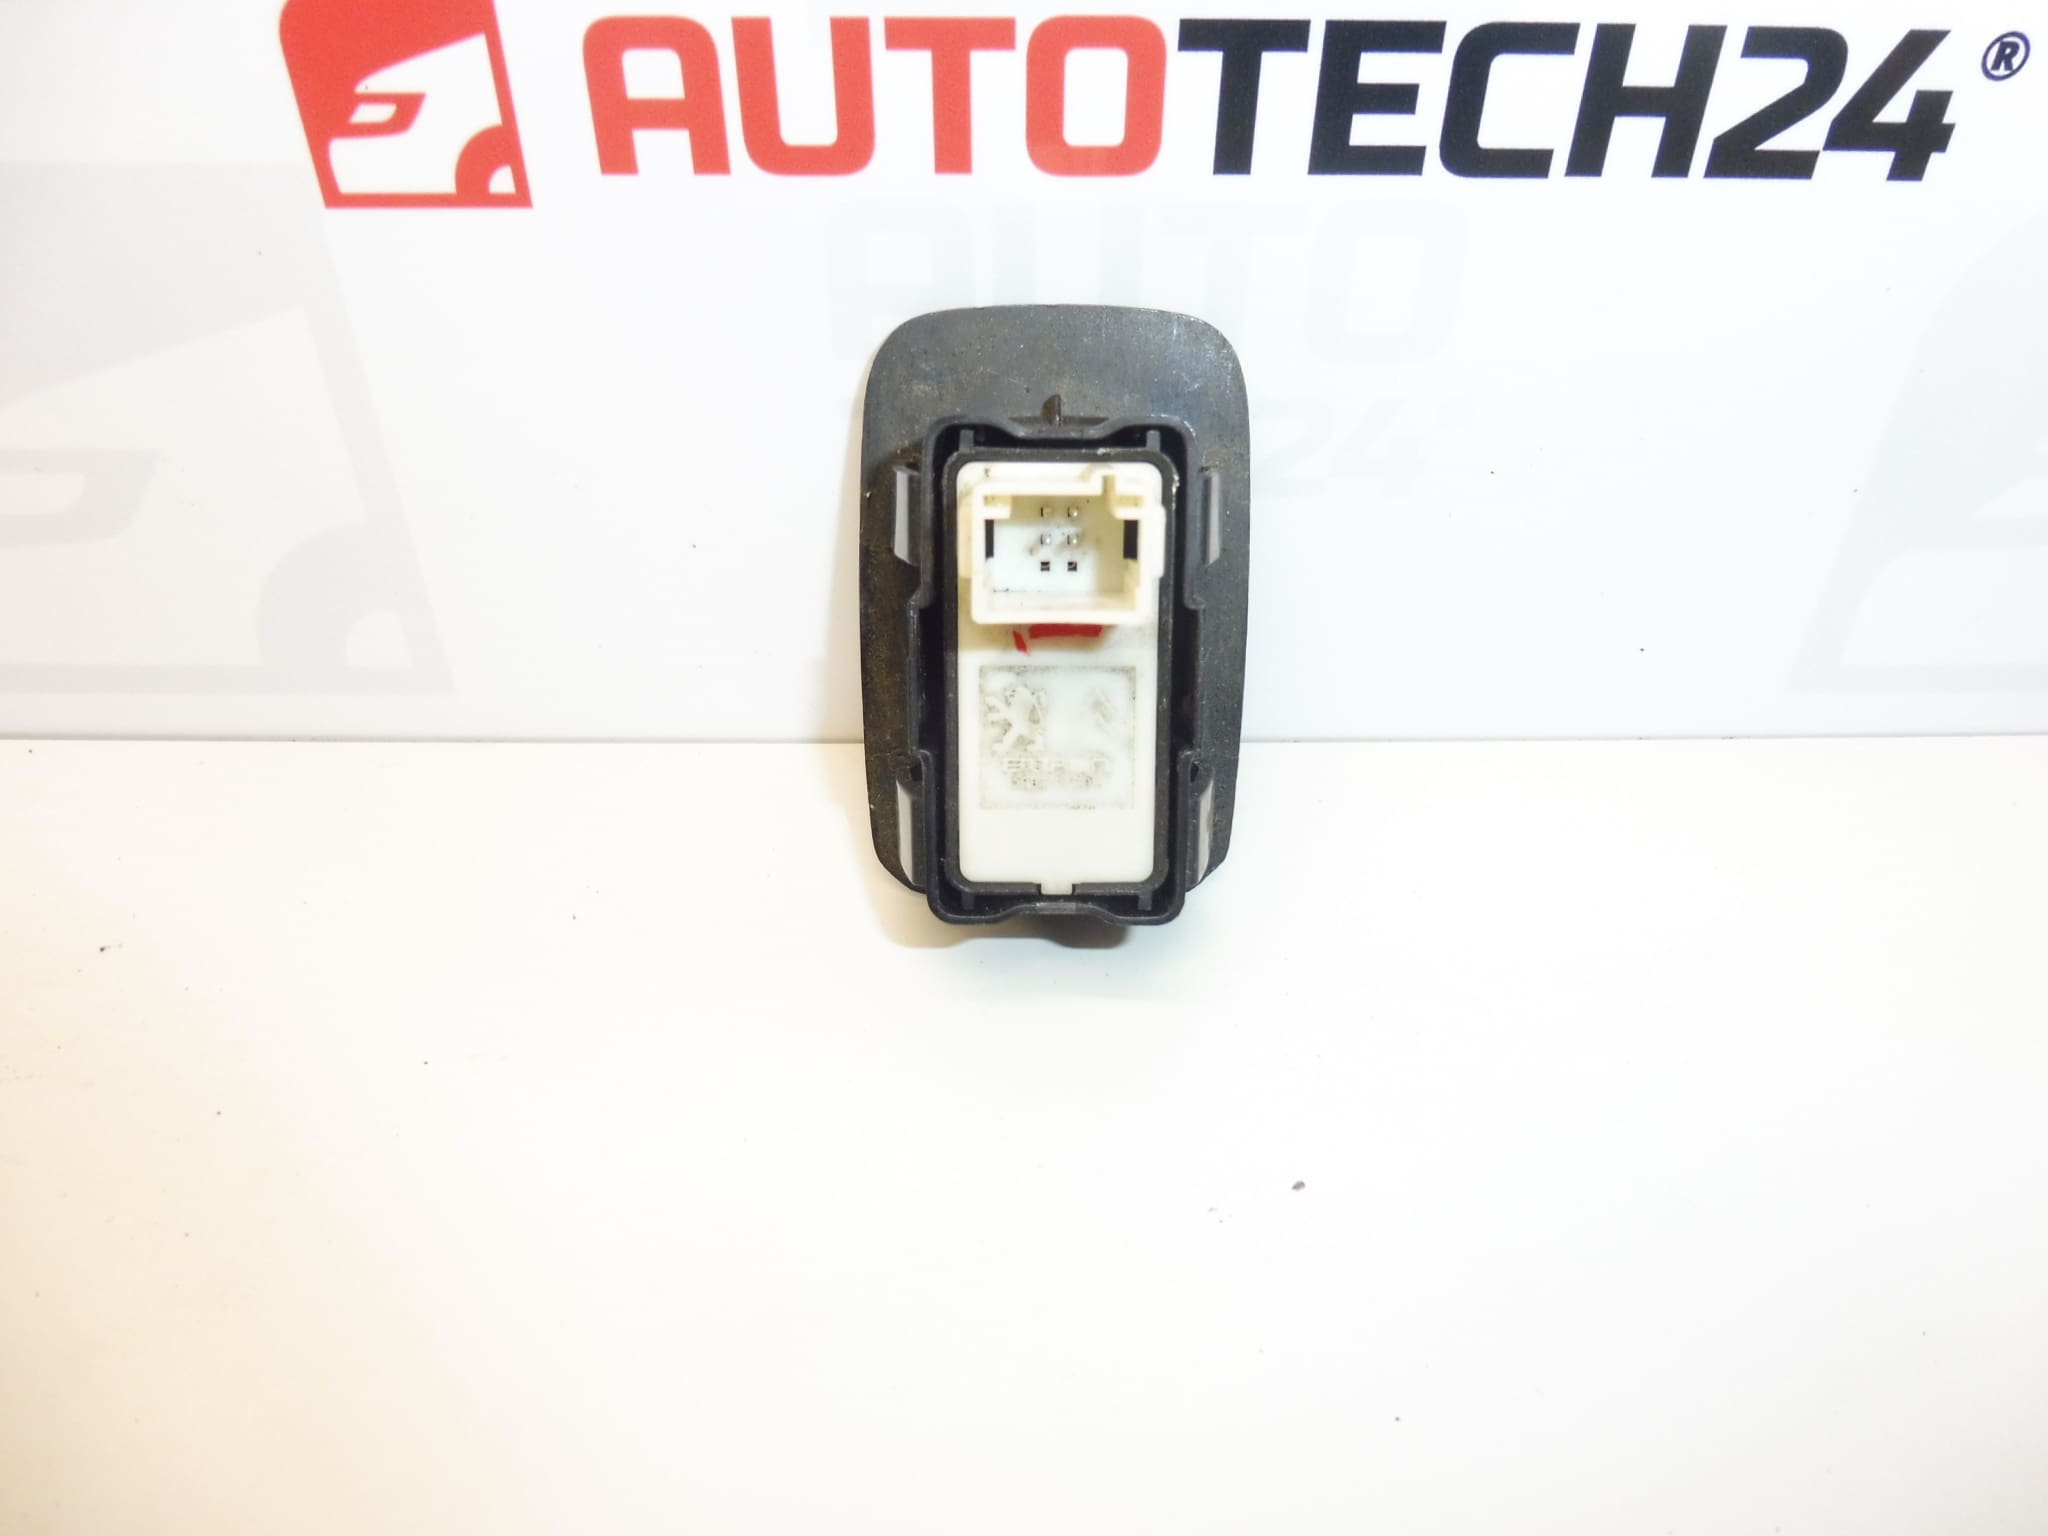
- Compare the product markings, dimensions and shape of the bezel, fasteners, button layout and connector design with the old part.
- Inspect the used switch: the bezel and clips must not be cracked, the contacts must not be bent or corroded, and the buttons should move without sticking.
- Inspect the connector and accessible wiring in the vehicle. A power window malfunction may also be caused by the power supply, wiring or window mechanism, not just the switch.
2) Tools and materials required
- Plastic trim removal tools for interior trim.
- Suitable hand tools for the actual type of fastener.
- A soft protective pad and a clean, dry cloth.
- If needed, a multimeter for checking the electrical circuit by someone familiar with its wiring.
3) Step-by-step installation procedure
- Park the vehicle safely and, before switching it off, position the windows so their operation can be checked safely later.
- Switch off the ignition and remove the key, or place the keyless remote out of range of the vehicle.
- Follow the manufacturer’s procedure for allowing the electronics to enter sleep mode and disconnecting the battery before working with electrical connectors.
- Protect surrounding visible surfaces from scratches and determine how the switch is secured using the service documentation.
- Release the necessary fasteners or trim. Work gradually with a plastic tool, without forcefully twisting the bezel.
- Carefully pull the switch out only far enough to avoid putting tension on the wiring.
- Release the connector lock and disconnect the connector by its body, not by pulling on the wires.
- Compare the two parts side by side and inspect the connector in the vehicle. Address any moisture, corrosion or wiring damage before connecting the replacement.
- Connect the replacement switch. The connector must fit without excessive force, and its lock must engage.
- Position the wiring so it is not pinched, and fit the switch with its bezel into the original mounting. Reinstall the removed trim components.
- Restore the power supply according to the manufacturer’s procedure and check operation. If the specific vehicle requires window initialization, follow the instructions for that vehicle.
4) Post-installation checks and function verification
- With the vehicle stationary, test all the buttons one by one and check that the corresponding windows move. The windows’ paths must be clear.
- Check that the buttons do not remain pressed, the bezel is firmly seated and no part of the trim obstructs operation.
- If the vehicle has automatic window closing or anti-pinch protection, check these functions according to the manufacturer’s instructions. Do not test the protection with any part of your body.
- A test drive is generally not required for a basic check of the switch; check window operation safely while the vehicle is stationary.
5) Common installation mistakes and how to avoid them
- Selecting by appearance alone: also compare the part numbers, connector, buttons and mounting.
- Breaking the bezel clips: first determine how the part is secured and do not use excessive force.
- Pulling on the wires: disconnect the connector only after releasing the lock, and hold it by its body.
- Connector not fully engaged or wiring pinched: check that the connector is locked and the wiring is free before fully seating the part.
- Overlooking another fault: if the problem persists, check the related electrical circuit and window mechanism instead of repeatedly replacing the switch.
Reasons why the part gets damaged
Common causes of faults in power window switches generally include:
- Wear on the buttons and contacts from prolonged use, which may result in an inconsistent response when pressed.
- Water or spilled liquids getting inside, leading to contact corrosion and faults in electrical components.
- Dust and dirt, which can impede button movement.
- Rough handling or careless removal, which can damage the bezel, clips or controls themselves.
- Poor contact in the connector, which may cause intermittent operation or localized heating at the connections.