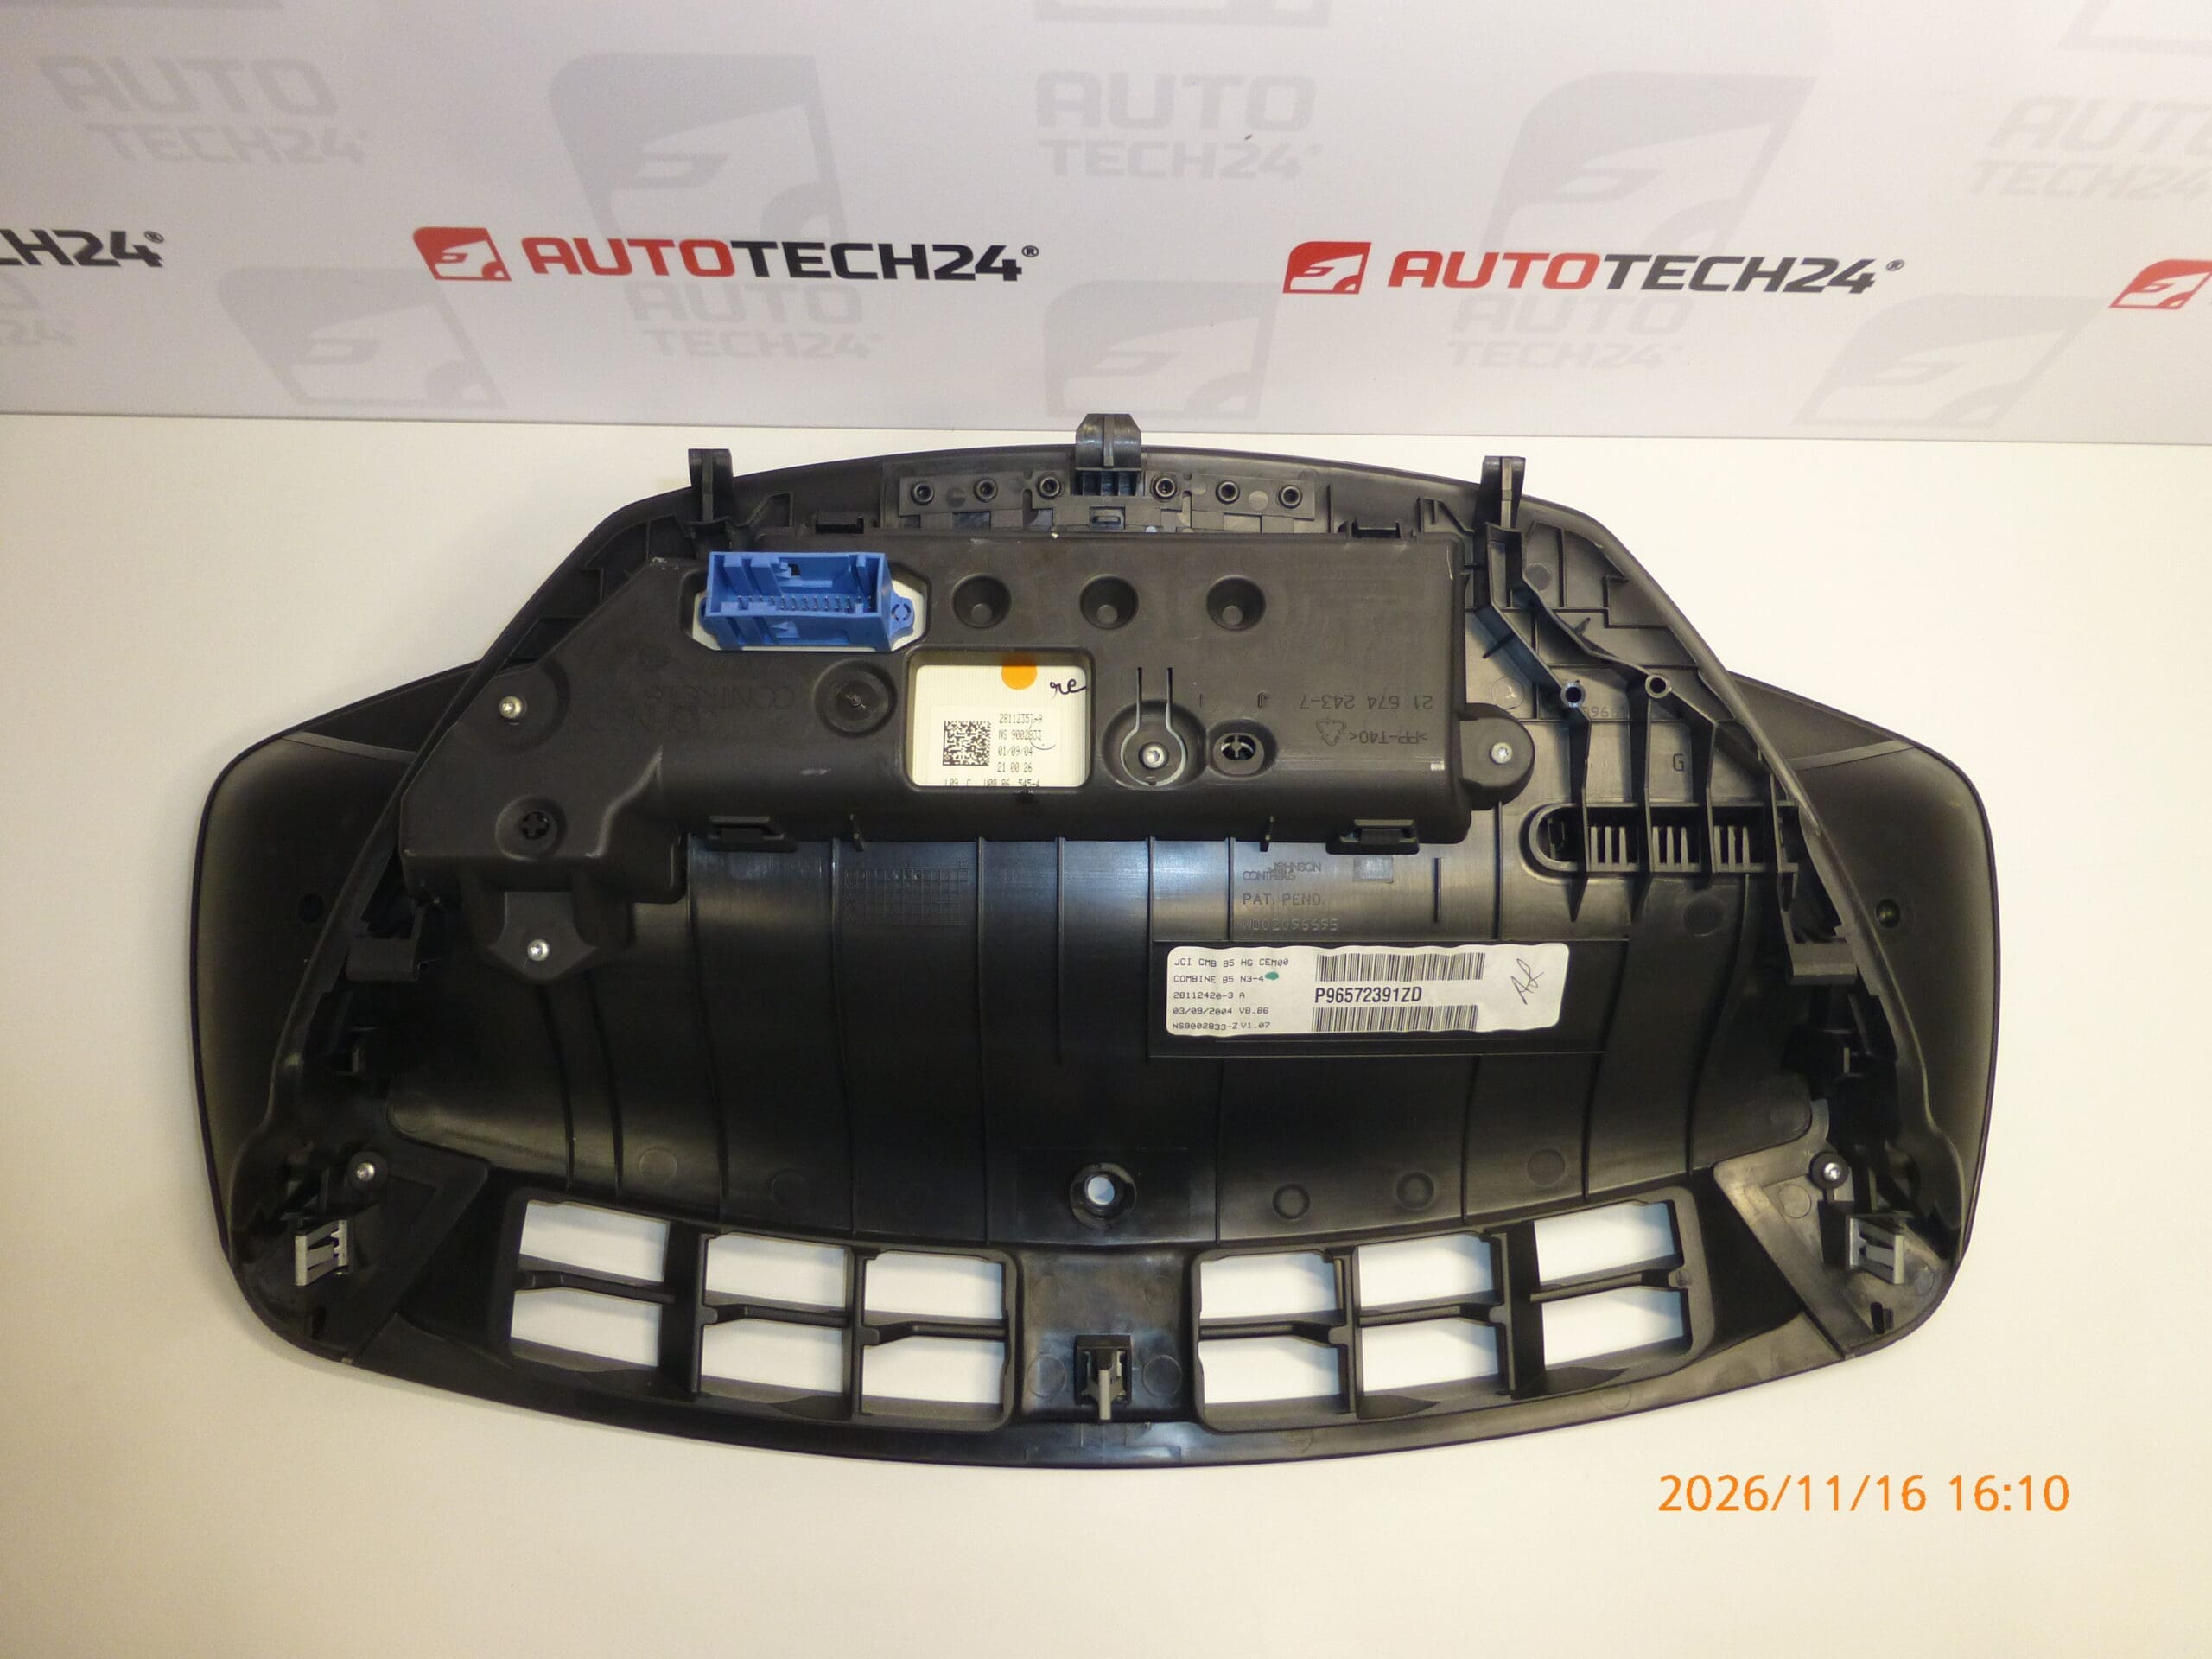
Description
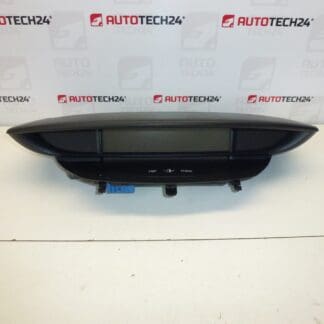
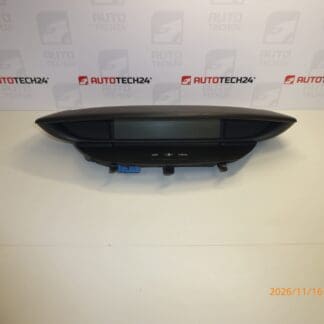
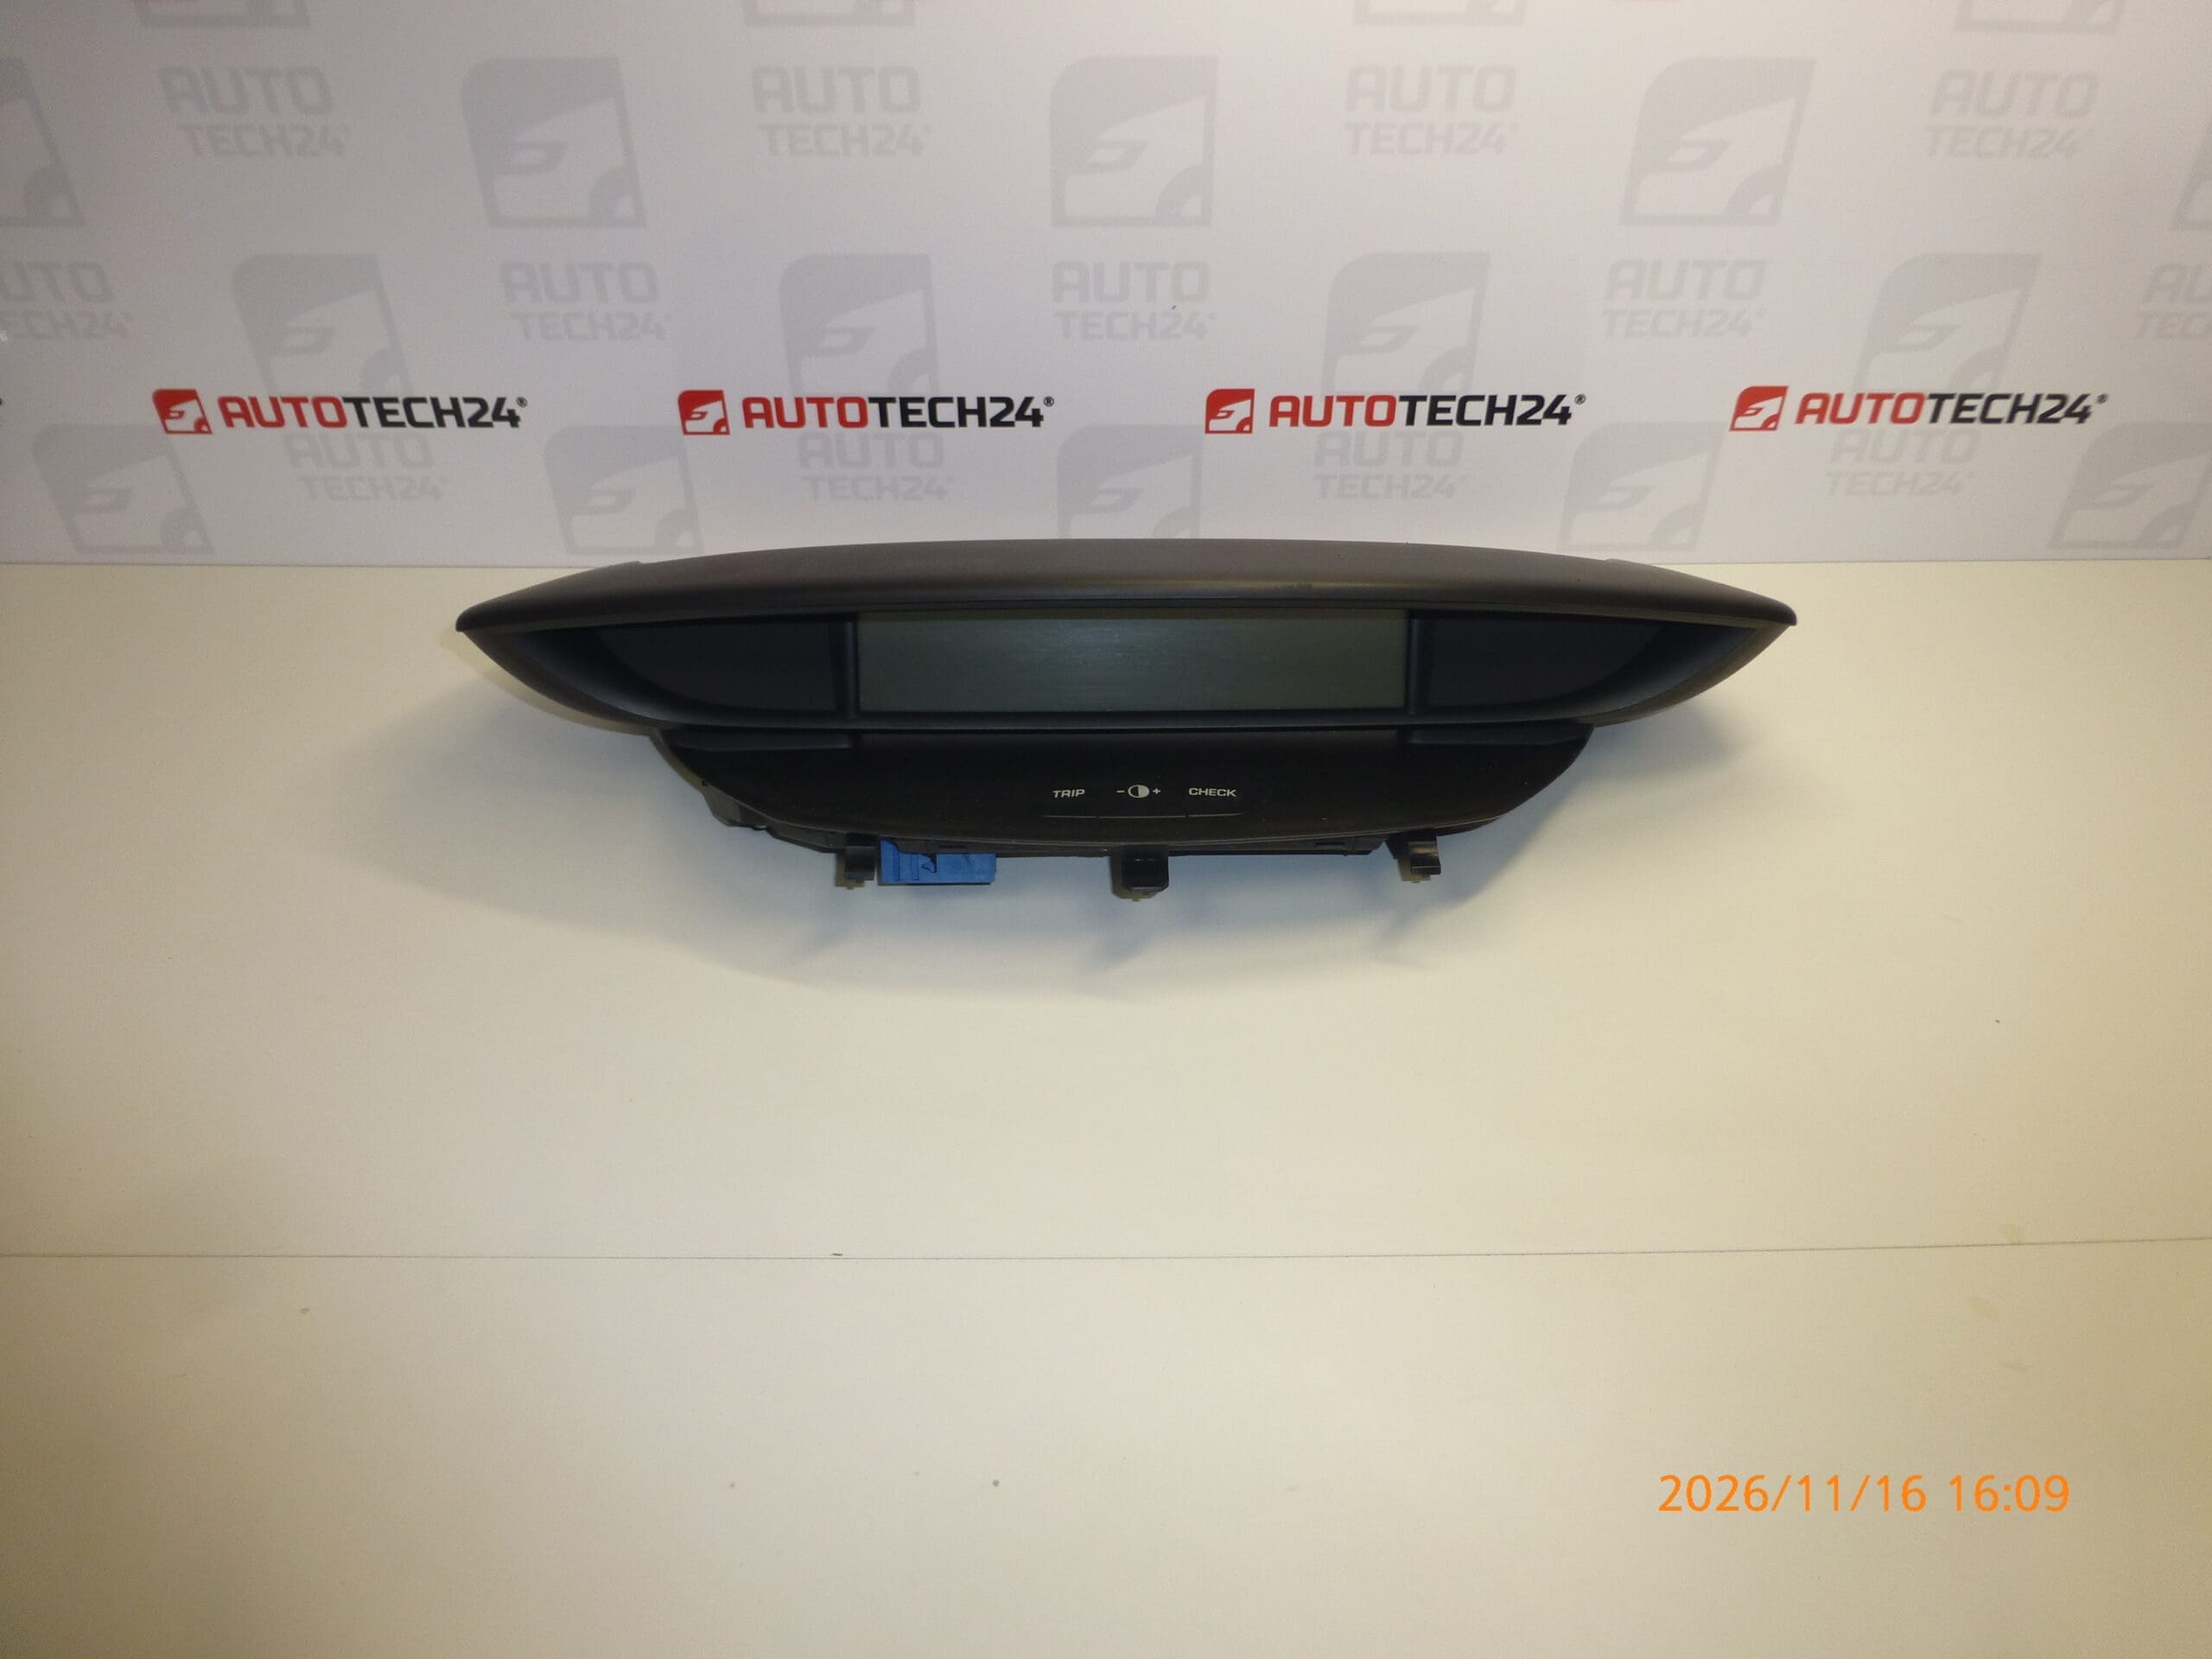
Complete instrument cluster for CITROEN C4 models up to 2008
From a vehicle with 168000 km mileage
Part description
Used instrument cluster for Citroën C4 I, commonly referred to as a speedometer or gauges. It displays operating data and warnings to the driver. When replacing a faulty cluster, it is important to compare not only its appearance, but also the product designation and connector configuration.
The part is listed in the source materials under number 96572391ZD; the following designations are also provided: P96572391ZD, 6106VZ and 6106WA. It comes from a vehicle with 168000 km mileage; this figure describes the source vehicle and is not a guaranteed odometer reading after installation in another vehicle. This used part offers a way to retain the corresponding instrument cluster configuration without purchasing a new unit.
Technical information
- Manufacturer: not specified; the source materials list the designation Stellantis CITROEN PEUGEOT.
- Model: Citroën C4.
- Generation: C4 I.
- Application according to the source materials: CITROEN C4 models up to 2008.
- Part type: complete instrument cluster / speedometer.
- Condition: used part.
- Source vehicle mileage: 168000 km.
- Additional numbers: P96572391ZD, 6106VZ, 6106WA.
Product codes
- Product codes: 96572391ZD, P96572391ZD, 6106VZ, 6106WA.
- Model: Citroën C4.
When selecting a part, compare the numbers provided with the designation on the original cluster. Matching the model and appearance alone does not necessarily mean the electrical version or configuration is the same.
Installation recommendations
The following general procedure applies to this type of electrical part. The exact removal procedure, battery disconnection requirements and any configuration depend on the specific model and vehicle version. The source materials do not state whether this unit requires diagnostic-tool adaptation.
1) Before installation
- Compare the product numbers, connectors, their keying, mounting points and display configuration with the old unit.
- Check the housing, mounting points and contacts. Look for cracks, signs of moisture, corrosion or damaged pins.
- First rule out a power supply, fuse or wiring fault that could mimic an instrument cluster malfunction.
- Record the original odometer reading and the symptoms of the fault. Before connecting a used cluster, check the service documentation for the rules governing mileage storage and synchronization. On some systems, connecting a different cluster can change the stored reading; therefore, do not connect it just to test it without knowing how this works.
2) Tools and materials required
You will usually need suitable screwdrivers or bits for the fasteners used, a plastic trim removal tool, a flashlight and materials to protect surrounding surfaces. A multimeter and diagnostic tool suitable for the vehicle may be required to check an electrical fault or perform any necessary configuration.
3) Step-by-step installation procedure
- Park the vehicle safely, secure it against movement and record the available information from the original cluster.
- Verify that the replacement part matches and clarify any configuration requirements as well as how the mileage reading is handled.
- Switch off the ignition and electrical consumers. Allow the electronic systems to enter their rest state according to the manufacturer’s instructions.
- Disconnect the battery using the procedure specified for the particular vehicle.
- Carefully remove the trim needed to access the cluster. Do not force the plastic clips, and protect removed parts from scratches.
- Release the original cluster mounting and support it so that its weight does not put strain on the wiring.
- Release the connectors and disconnect them by holding their bodies, not by pulling on the wires.
- Check the condition of the connectors and wiring. Repair any damage found or address the cause of any moisture before installing the replacement part.
- Connect the replacement cluster, secure the connectors correctly and position it without trapping the wiring. Tighten the fasteners according to the service procedure, without overloading the plastic mounting points.
- Reconnect the battery and bring the electronics back into operation according to the manufacturer’s instructions. If the specific version requires configuration, perform it using an appropriate diagnostic tool.
- Check the basic functions and then complete the trim installation. Record the part replacement and the odometer reading after installation.
4) Post-installation checks and function verification
Check the display legibility, backlighting and operation of the available gauges and warning lights, depending on the vehicle’s equipment. Check that the display does not cut out or flicker. If the basic check is successful and the vehicle is roadworthy, take a short, safe test drive and verify that the speed is displayed. Diagnose any error messages first; do not clear them without identifying the cause.
5) Common installation mistakes and how to avoid them
- Choosing based on appearance alone: also compare the designation, connectors and configuration requirements.
- Connecting without checking how mileage is handled: review the service rules for the specific version in advance and keep a record of the replacement.
- Working with the power supply connected: follow the procedure for switching off the electronics and disconnecting the battery.
- Connector locks not fully engaged or wires trapped: check that they are secured and routed freely before refitting the trim.
- Forcing the mounting points and trim: first locate and release all retaining elements.
Reasons why the part may be damaged
Instrument cluster faults in general may occur for the following reasons; this is not a description of any faults identified in the offered unit:
- Aging electronics and connections due to prolonged use and temperature changes.
- Moisture and corrosion, which can damage contacts and electronic circuits.
- Power supply fluctuations or incorrect electrical work, for example, due to improper handling of the electrical system.
- Vibration and loose connections, which can cause intermittent display of information.
- Mechanical damage during removal, especially broken mounting points, damaged connectors or a damaged housing.