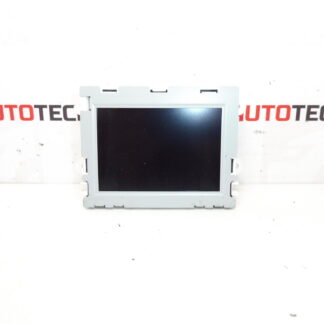
Description
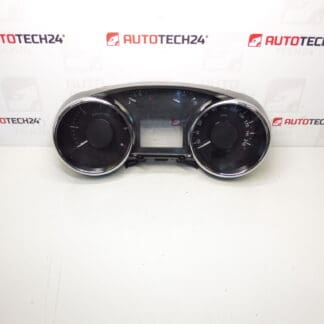
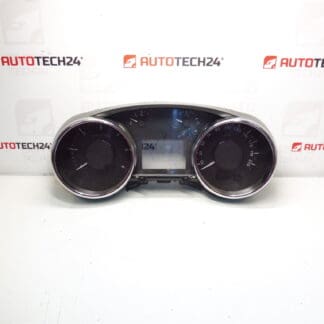
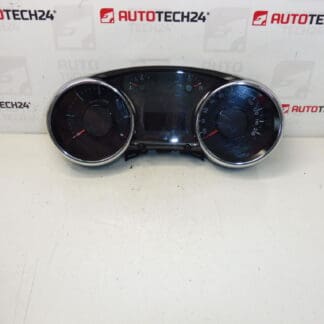
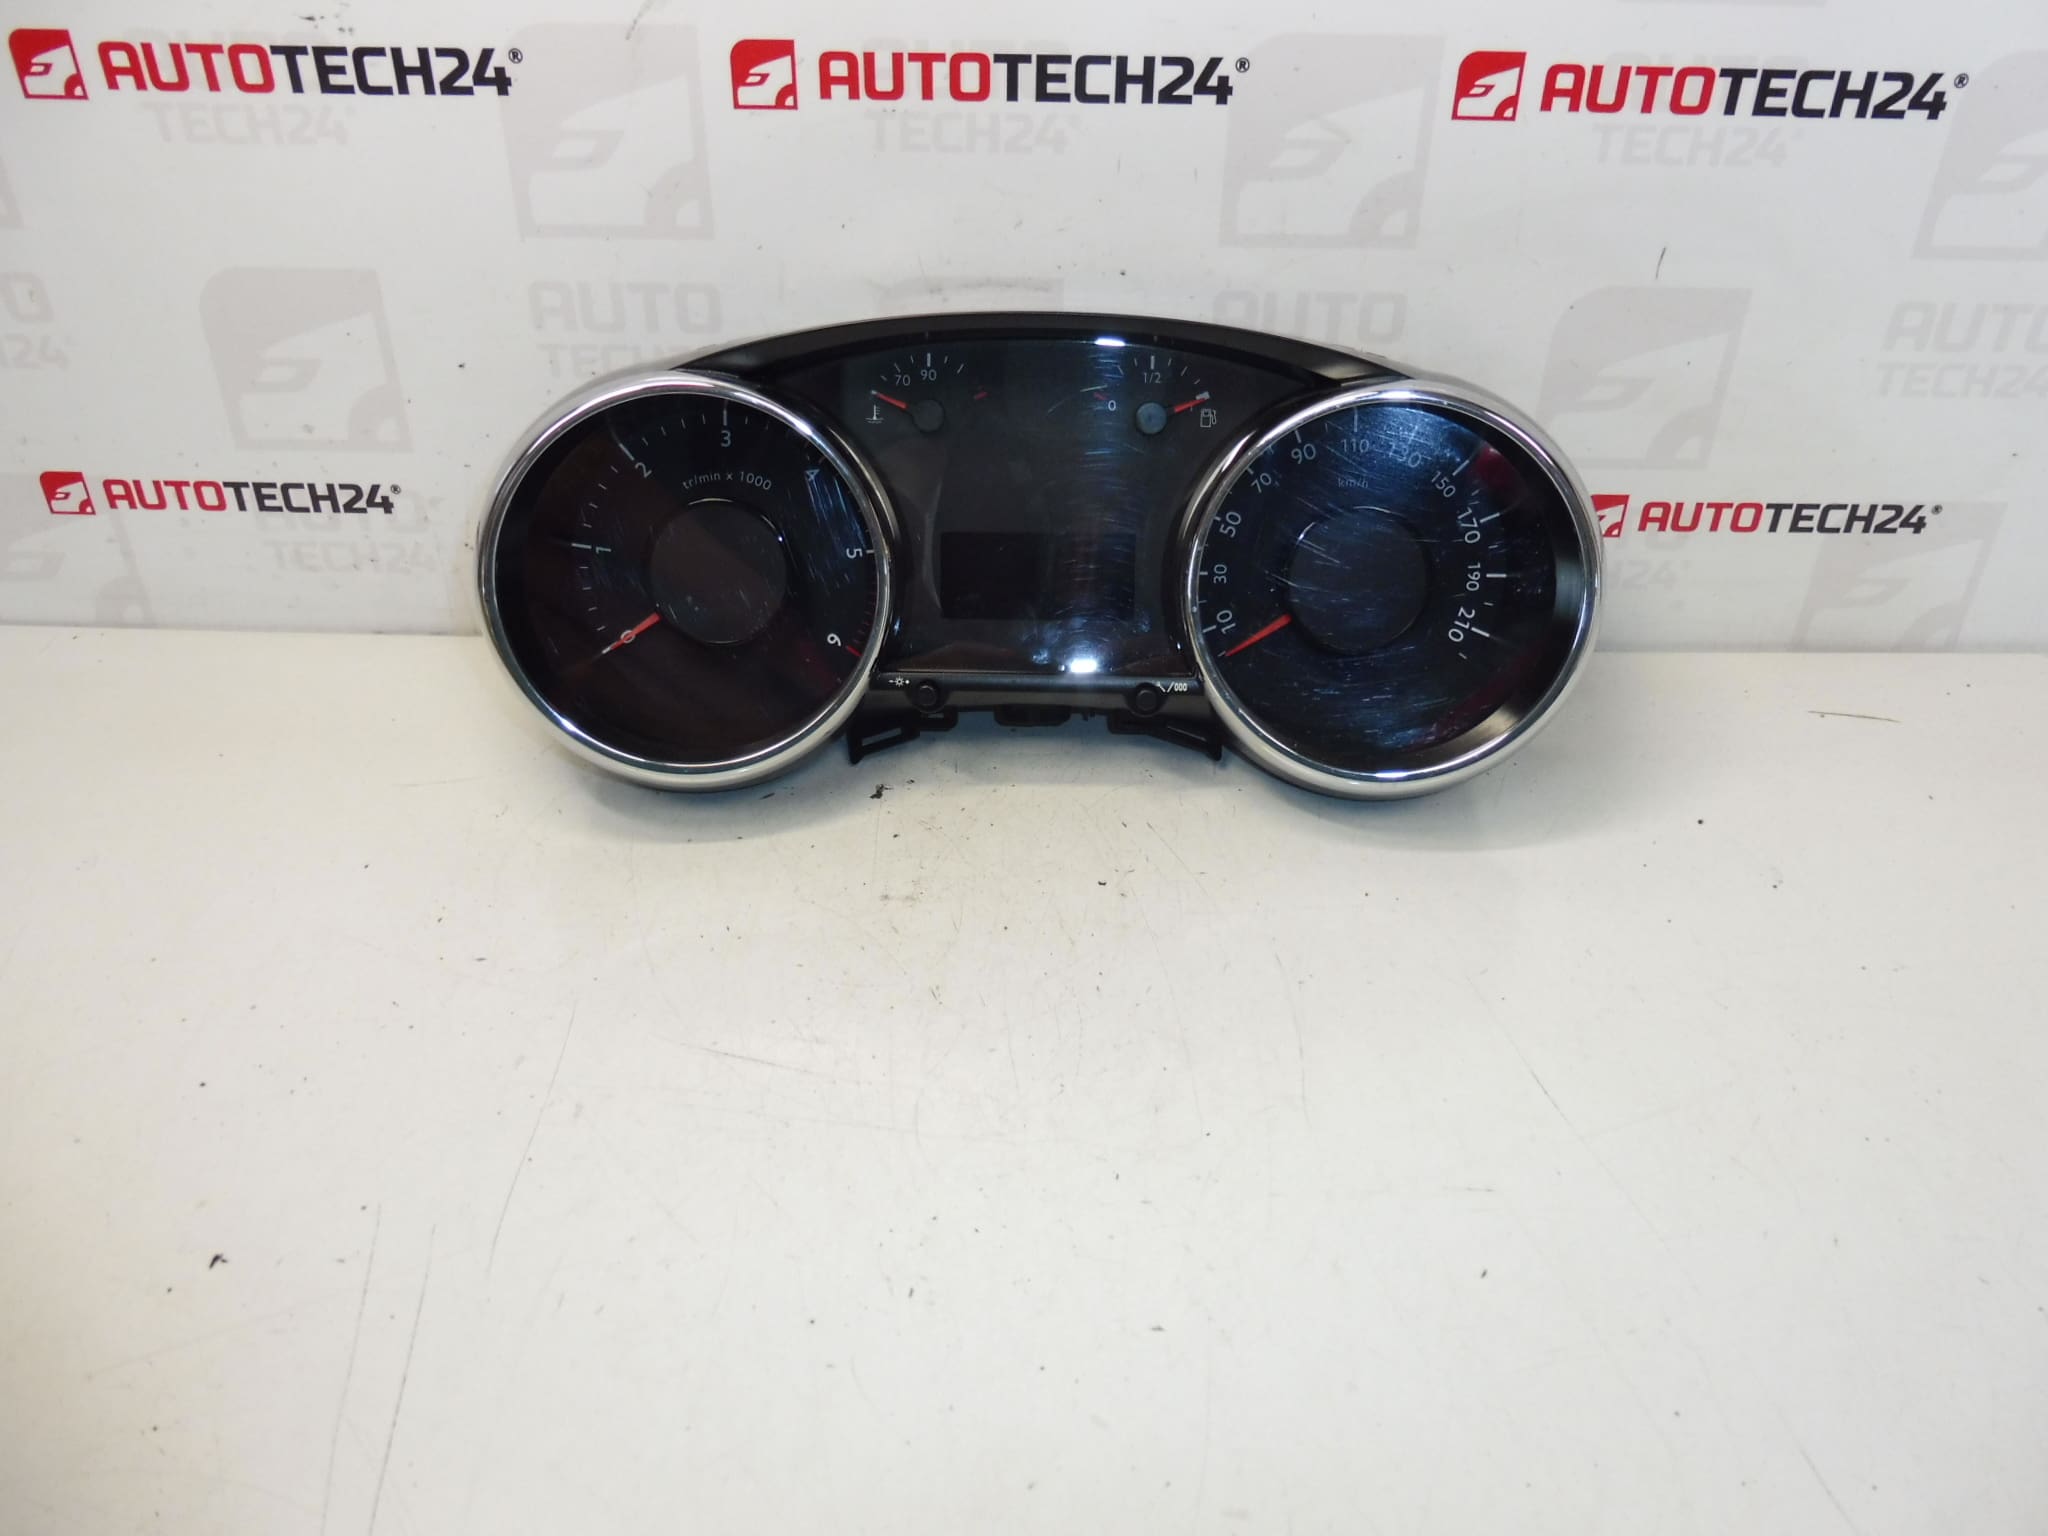
Speedometer PEUGEOT 3008 and 5008 first generation
Approximately 98,000 km driven
Part description
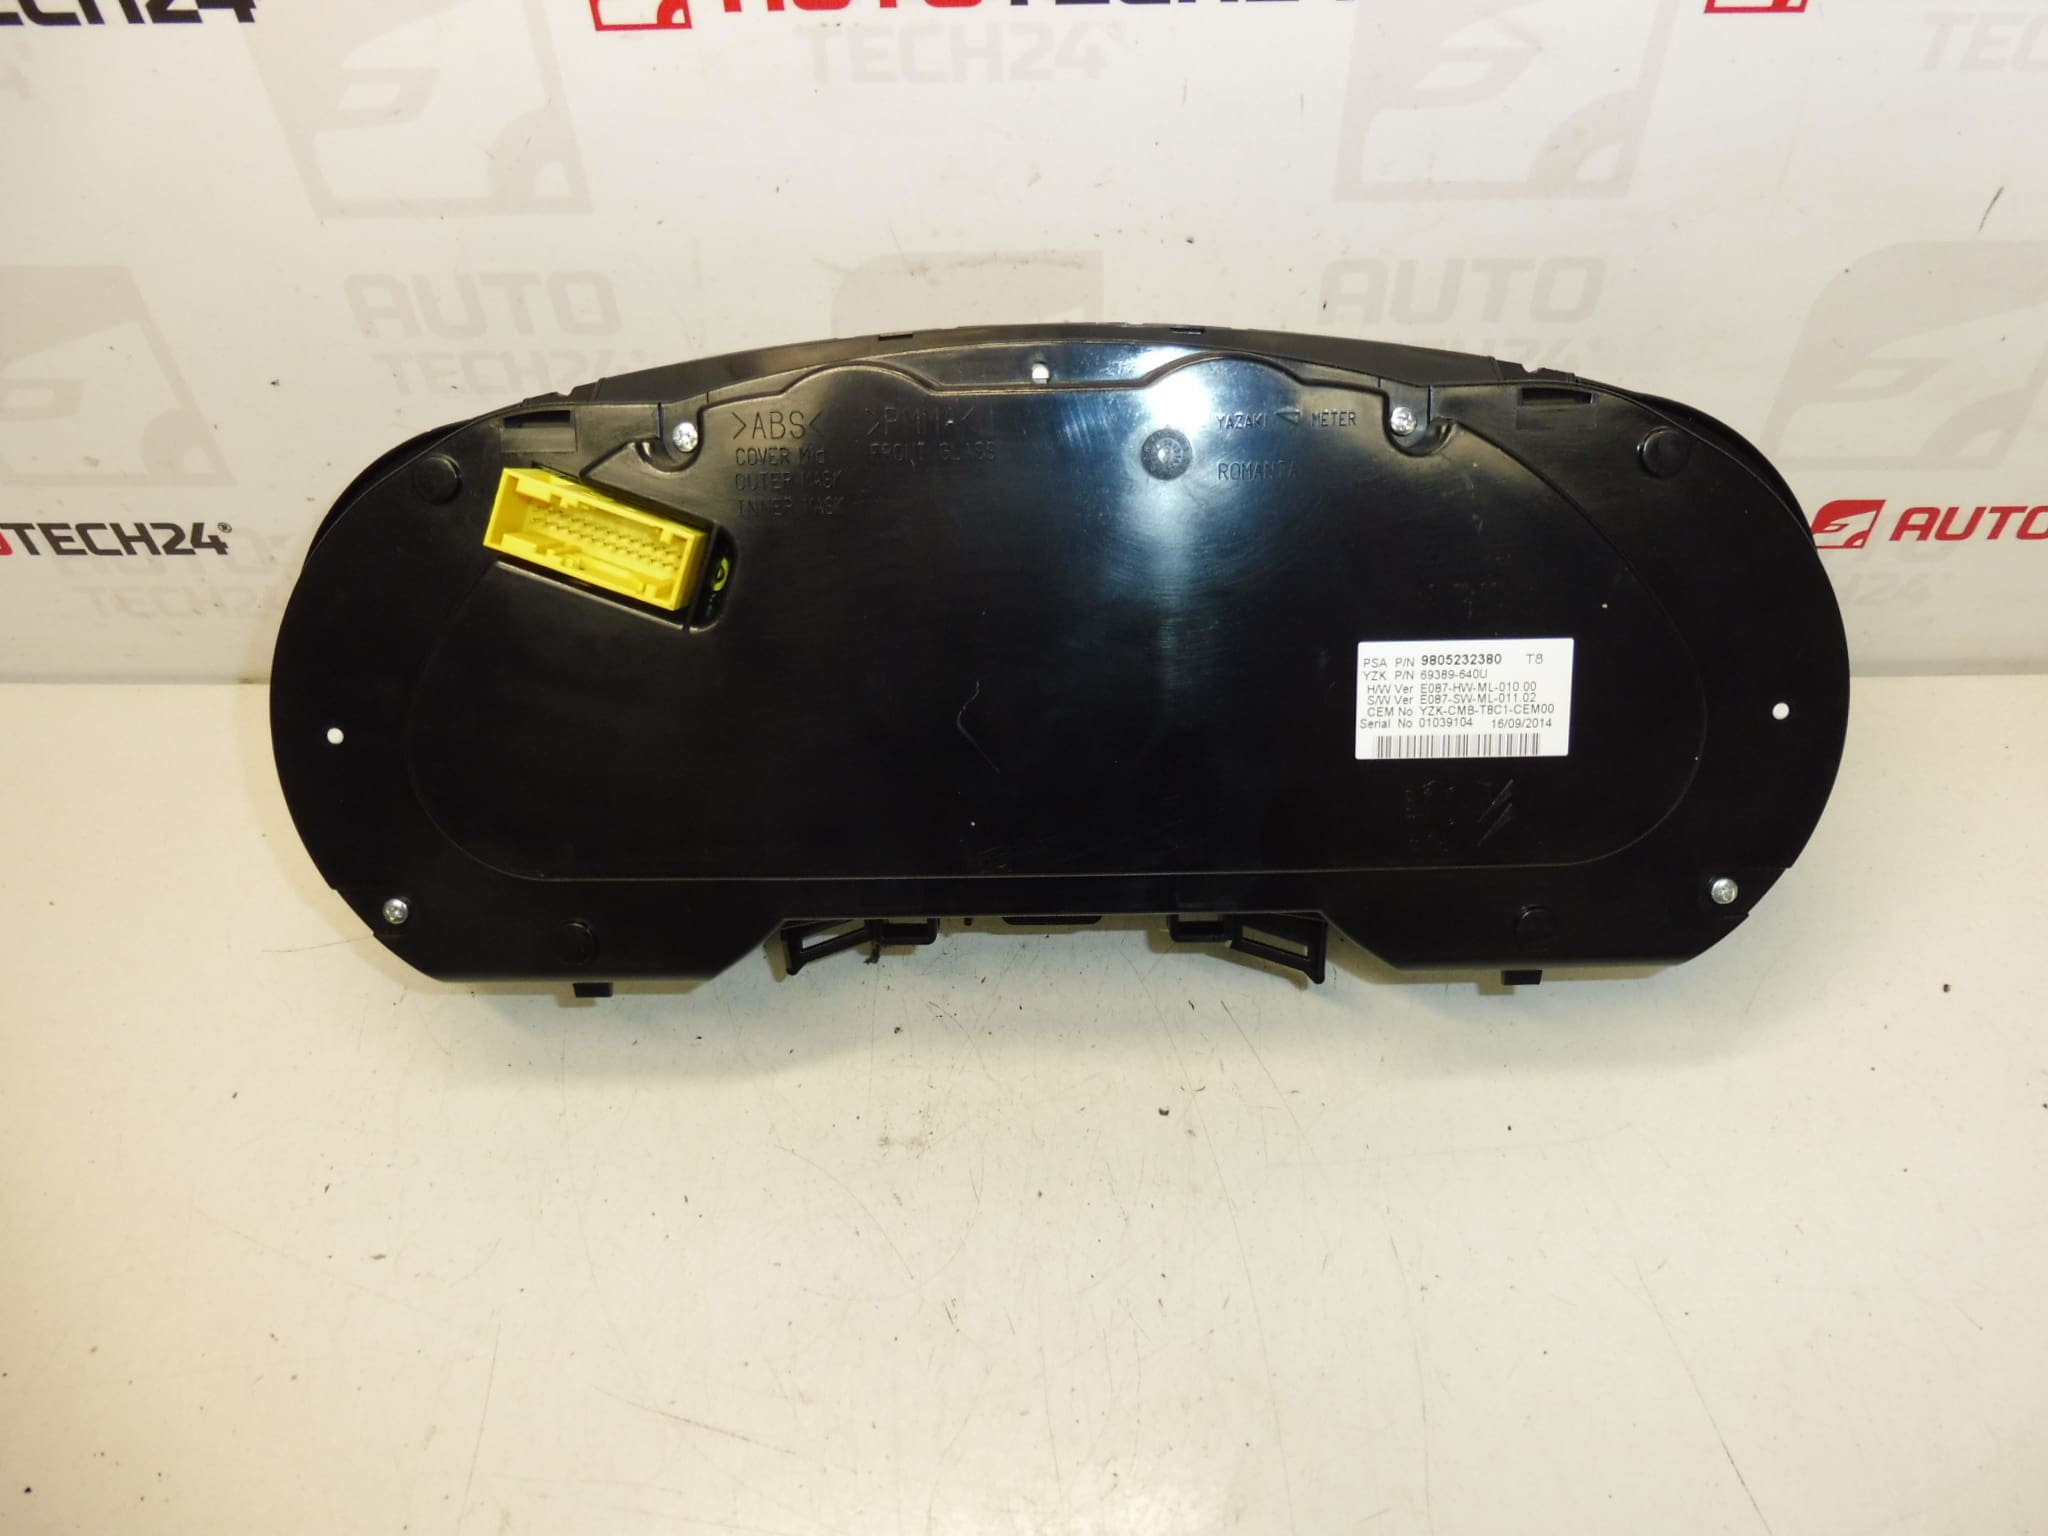
The used speedometer for Peugeot 3008 I and Peugeot 5008 I is a suitable choice for repairing a non-functioning, damaged or incorrectly displaying instrument panel. The part is also searched by production numbers 9805232380 and 9810462780, which facilitates correct identification when choosing a spare part.
This is an original electrical component designed for vehicles of the Stellantis Citroën Peugeot concern. This piece shows an odometer reading of approximately 98,000 km. The speedometer is important for the display of driving data and the correct functioning of the instrument panel, therefore it is important to compare the part numbers and connector design when replacing.
Technical information
- Manufacturer: Stellantis Citroën Peugeot
- Model: Peugeot 3008 I, Peugeot 5008 I
- Other numbers: 9805232380, 9810462780
Product codes
Product codes: 9805232380, 9810462780
Installation recommendations
For this part, the exact replacement procedure may vary depending on the specific design of the car. However, in general, when replacing the tachometer and instrument panel, we recommend the following procedure typical for this type of electrical part.
1) Before assembly
- Check that the part codes 9805232380 and 9810462780 match the originally disassembled piece.
- Compare the shape of the device, the attachment, the position of the connectors and the overall design of the panel.
- Inspect connectors, pins and plastic parts for cracks, bends or corrosion.
- Verify the condition of the cover transparent panel and readability of the display.
2) Necessary tools and materials
- Set of common hand tools
- Plastic pry bar for panel removal
- Screwdrivers or bits according to the type of connecting material
- Clean cloth to protect surrounding plastics
- Possibly gloves and contact cleaner
3) Step-by-step assembly procedure
- Turn off the ignition and secure the car against movement.
- Disconnect the battery to prevent unwanted damage to the wiring.
- Carefully remove the surrounding plastic covers and dashboard trim so as not to break the handles.
- Unfasten the original speedometer.
- Pull out the instrument panel just enough to allow safe access to the connectors.
- Disconnect the electrical connectors, ideally without pulling on the wiring.
- Compare the original and the new part side by side, especially the numbers, connectors, mounts and design of the front panel.
- Connect the connectors to the replacement tachometer and check for proper seating.
- Place the tachometer in place and fasten it without excessive stress on the plastic holders.
- Reinstall all covers and trim in the reverse order of removal.
- Connect the battery.
- Turn on the ignition and verify that the panel lights up, displays data, and communicates with the car’s system without apparent malfunctions.
-
4) Post-assembly checks and test drive/function verification
- Check the readability of the display and backlight.
- Verify correct display of basic operating data.
- Check for segment dropouts, flickering, or poor contact.
- On a short test drive, observe the stability of the display and the overall function of the instrument panel.
5) The most common assembly mistakes + how to avoid them
- Part replacement by appearance instead of by code – always compare serial numbers and connector designs.
- Damage to plastic parts during disassembly – use suitable plastic tools and proceed with care.
- Insufficiently seated connector – check for proper snap after connection.
- Assembly without disconnecting the battery – for electrical parts, this is an unnecessary risk of damage.
- Check the state of the contacts – check the cleanliness and integrity of the pins before assembly.
Reasons why the part is damaged
- Wear of electronic components in the instrument panel
- Voltage fluctuations in the on-board network
- Damage to the connectors or poor contact in the wiring
- Mechanical damage during unprofessional disassembly of the dashboard
- Moisture, contact oxidation or prolonged thermal stress
- Failure of the display, backlight or internal electronics of the tachometer