Description
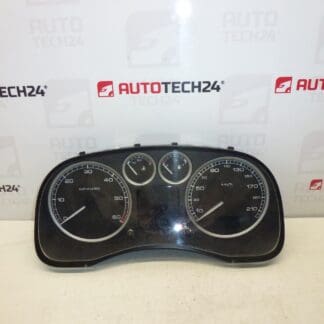
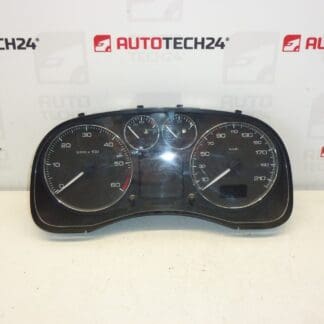
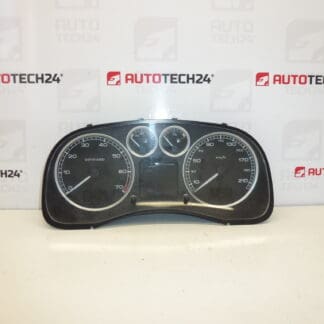
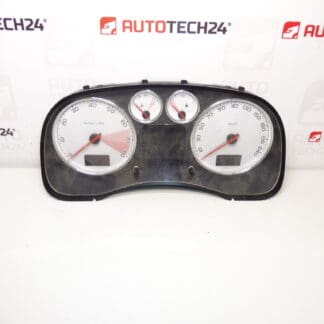
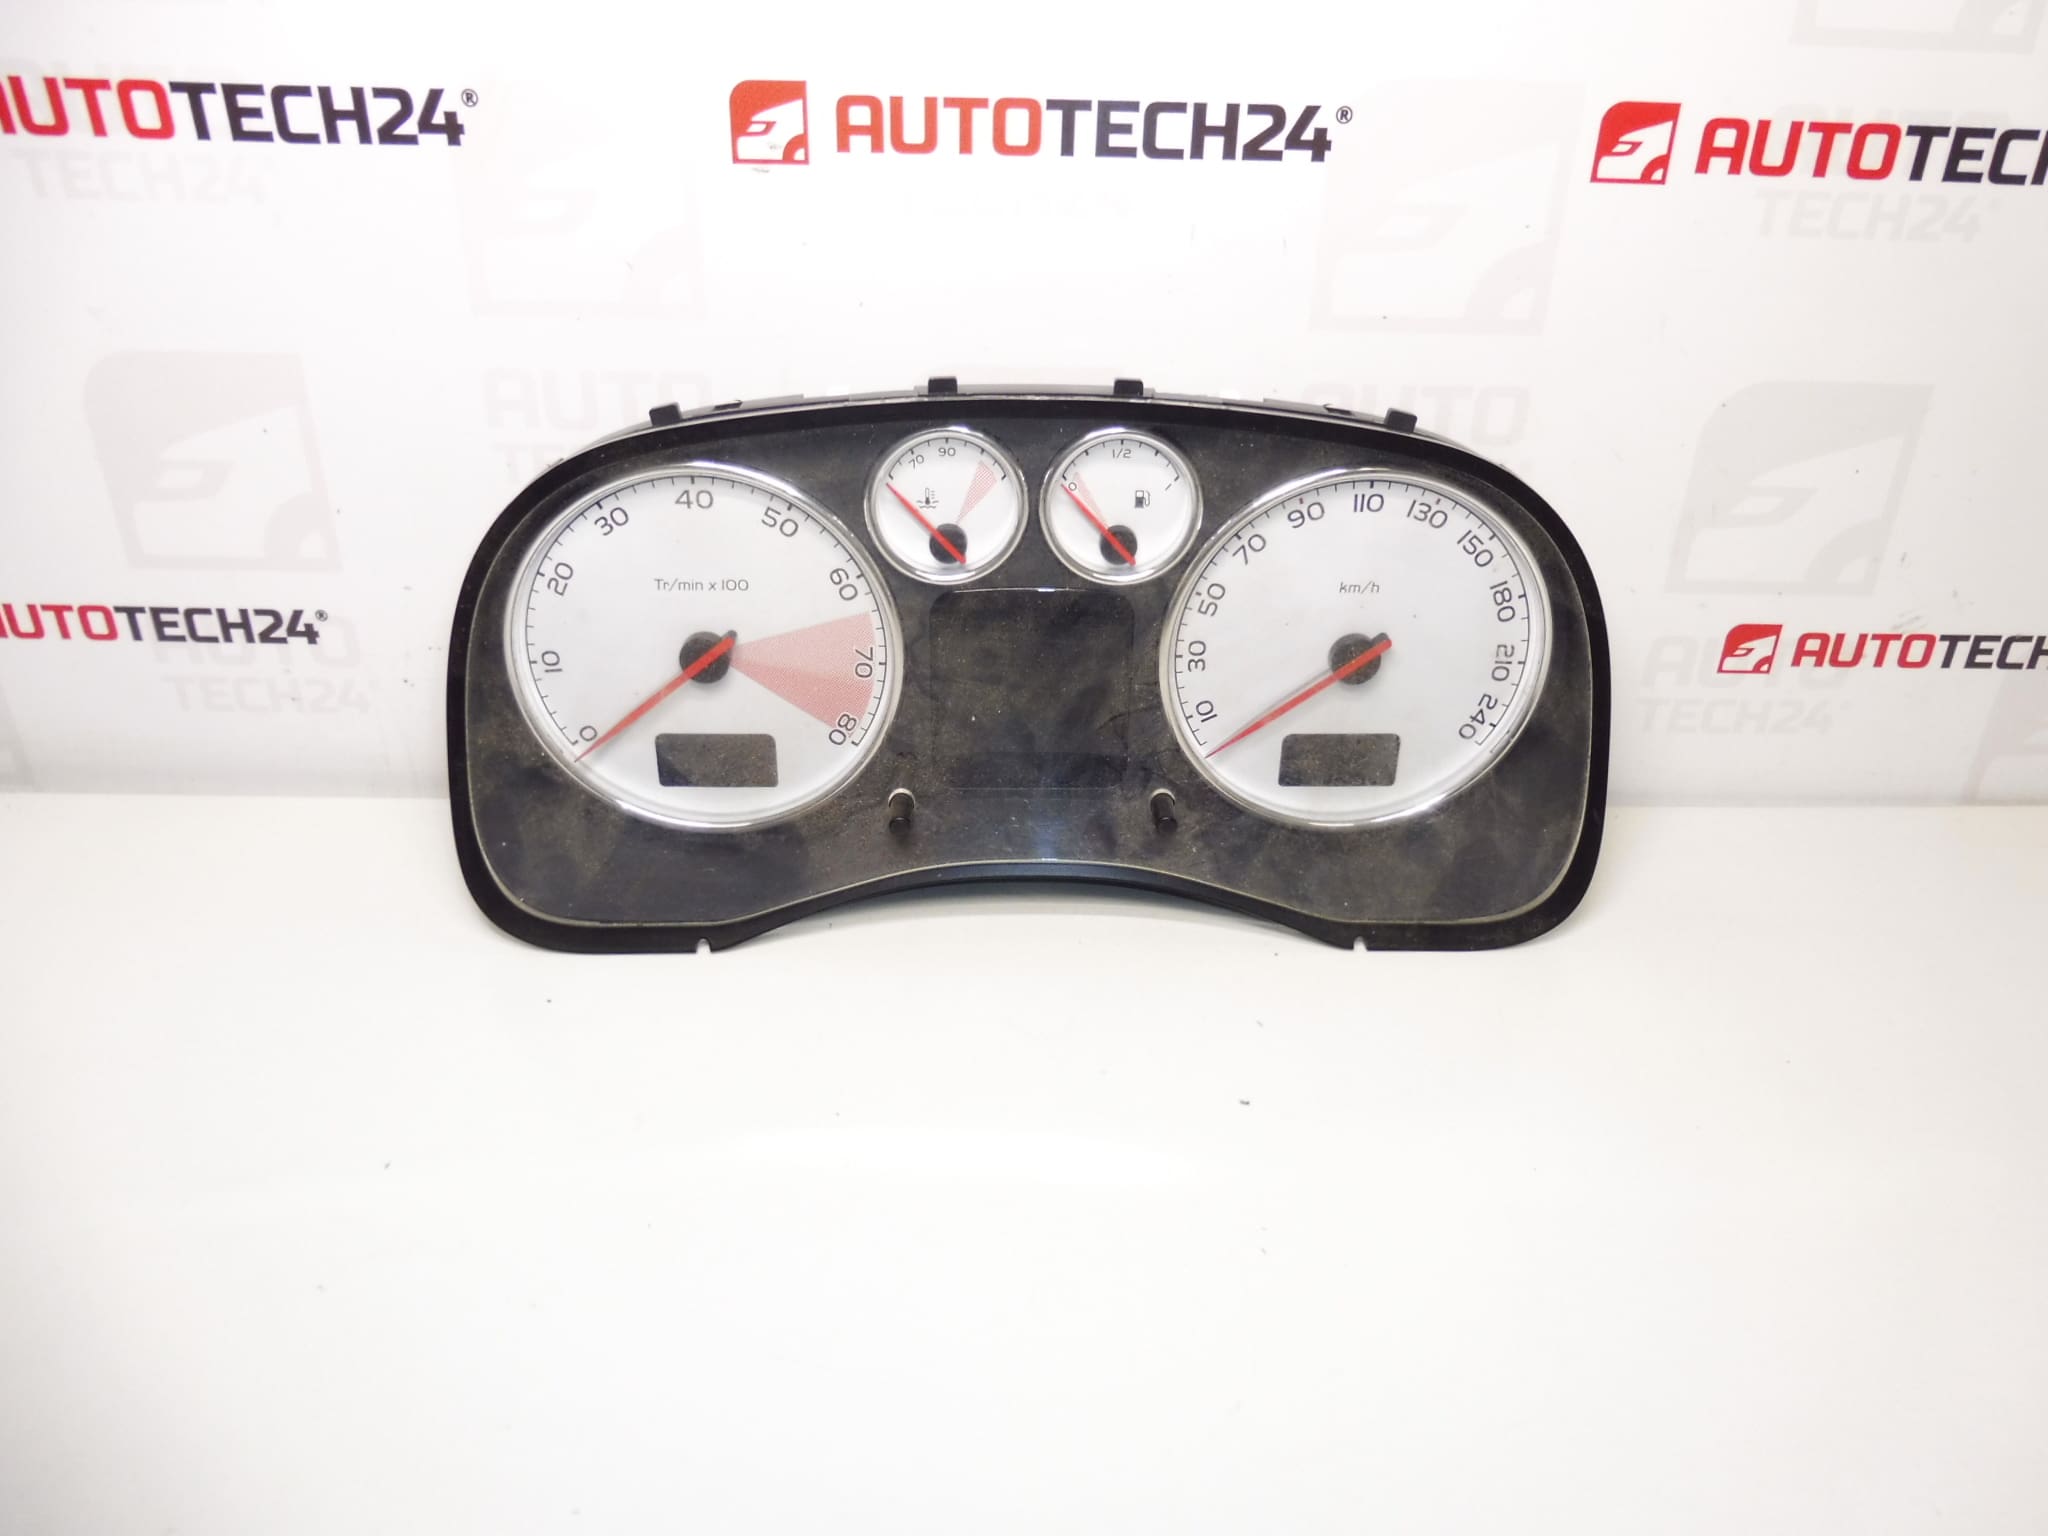
Speedometer for PEUGEOT 307 and 307 CC with 2.0 16V engine. From a vehicle with mileage 184,000 km.
High-quality used instrument cluster for Peugeot 307 series, ideal for professional mechanics and DIY enthusiasts looking for a direct replacement unit. This speedometer (instrument cluster) carries original manufacturer reference numbers commonly searched by technicians and is suitable for vehicles equipped with the 2.0 16V petrol engine. The listing provides clear technical references and replacement guidance to help you fit the unit quickly and restore full dashboard functionality.
Technical Information
- Manufacturer: Stellantis / Peugeot
- Model: Peugeot 307, Peugeot 307 CC (Engine: 2.0 16V)
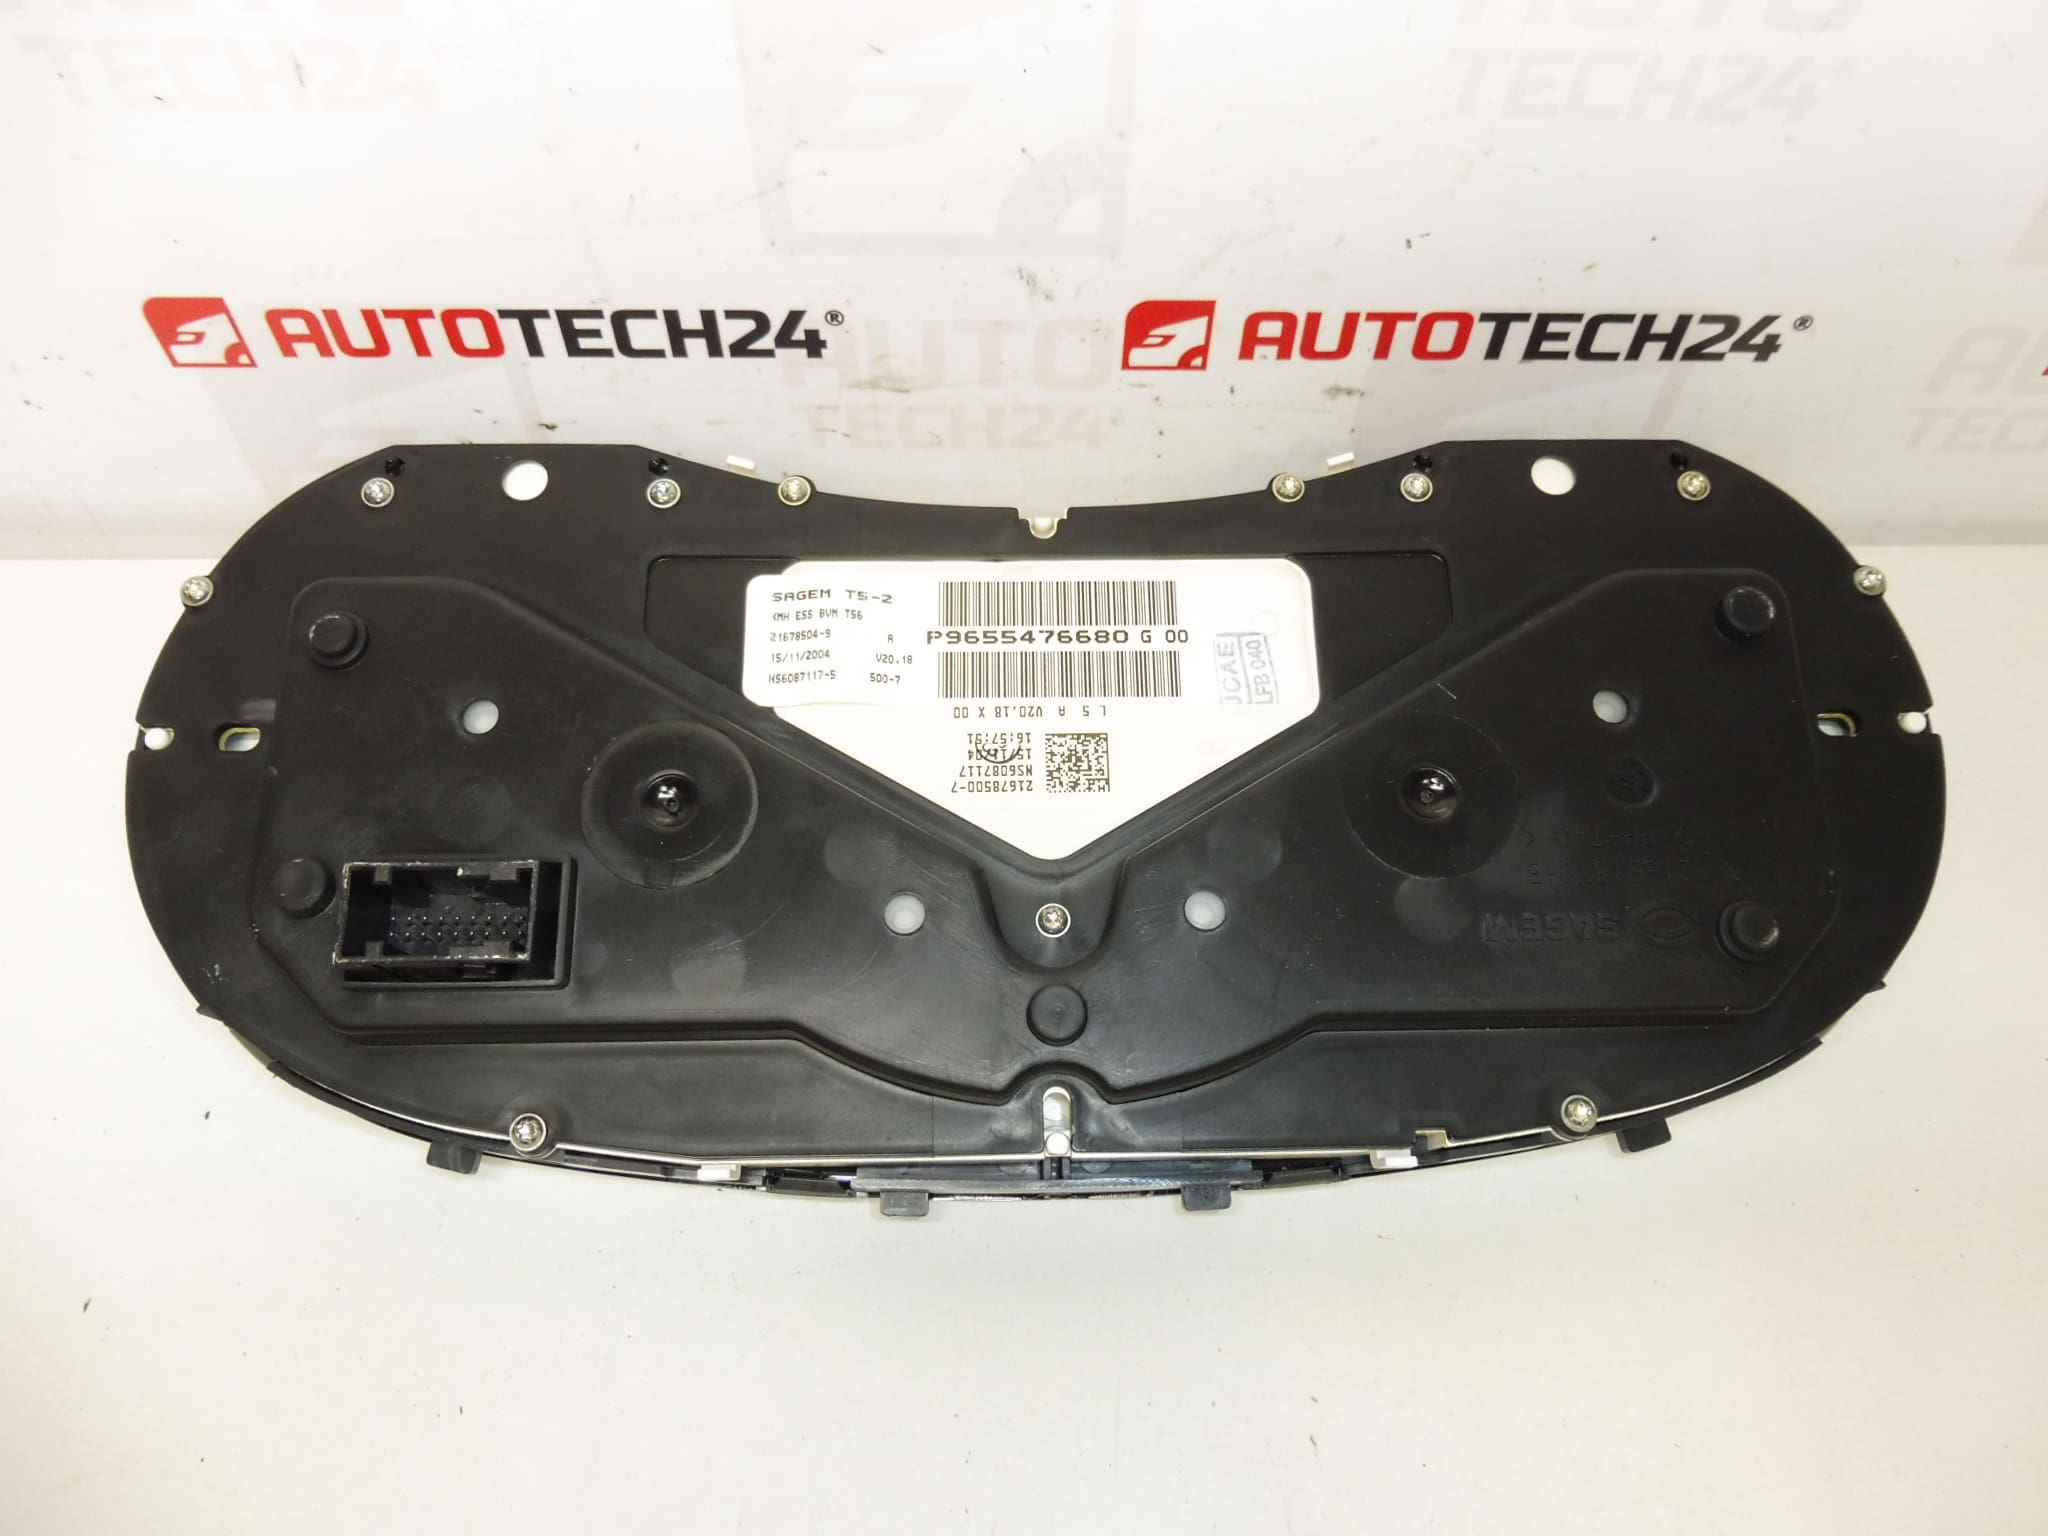
- Product Codes: 9655476680, P9655476680
- Other Numbers: 6103F4, 6106J1, 9655476680/6103F4/6106J1
- Origin Mileage: 184,000 km
Function And Fitment
The instrument cluster displays vehicle speed, total and trip mileage, fuel level, warning lights and other driver information. Fitment is for Peugeot 307 models including the CC variant with the 2.0 16V engine where the part numbers match. Replacement clusters are often sought by searching the OE numbers listed above—use those references to confirm mechanical compatibility with your vehicle.
How The Part Is Replaced
Replacement is straightforward for a competent mechanic or an experienced DIYer. Typical steps:
- Disconnect the battery before starting.
- Remove trim panels around the steering column and unscrew the instrument cluster retaining screws.
- Gently pull the cluster forward and unplug electrical connectors (note alignment and clip positions).
- Install the replacement unit, reconnect connectors, refit trim and secure screws.
- Reconnect the battery and verify operation of gauges and warning lights.
Estimated workshop time: 30–90 minutes depending on vehicle trim and access. Keep small fasteners and trim clips organized to prevent rattle or misfit on reassembly.
Installation Recommendations
- Always disconnect the battery before removal and follow vehicle manufacturer procedures to prevent damage to electronic components.
- Inspect connector pins and wiring for corrosion or damage before installation; clean contacts if necessary.
- If the replacement unit has a different software or immobilizer status, coding or synchronization may be required. Perform any coding or initialization with appropriate PSA diagnostic tools (DiagBox/Lexia) by a qualified technician.
- Handle the cluster carefully to avoid scratching the lens and to protect delicate stepper motors and PCB components.
Most Common Causes Of Failure
Instrument clusters can stop working or display faults for several reasons. Common causes include:
- Failed stepper motors or gauge mechanisms causing stuck or inaccurate needles.
- Solder joint cracks or dry joints on the circuit board due to vibration and thermal cycling.
- Faulty backlighting or burned LEDs resulting in dark or uneven illumination.
- Corroded or damaged connector pins causing intermittent operation or loss of communication.
- Water ingress or condensation that damages electronic components or causes short circuits.
- Electrical surges from poor battery connections or jump-starting incidents.
Choosing a unit with matching part numbers reduces the likelihood of extra coding work. The mileage shown is from the donor vehicle (184,000 km) and is provided for transparency.
Why Choose This Unit
This instrument cluster offers a cost-effective route to restore dashboard functionality on compatible Peugeot 307 vehicles. It is particularly useful when the original cluster exhibits mechanical faults, lighting failures, or intermittent electronics problems. The listing includes the most commonly searched OE numbers to help you find the correct replacement quickly.