Description
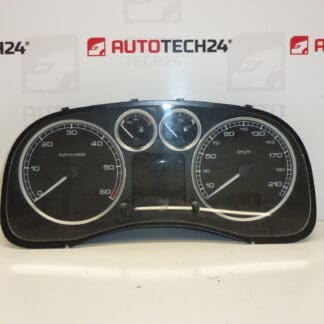
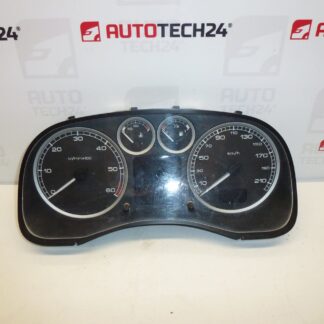
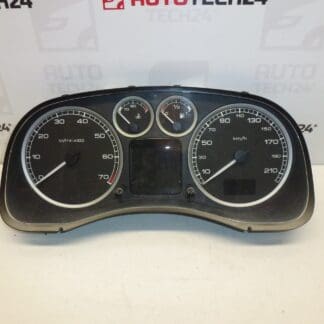
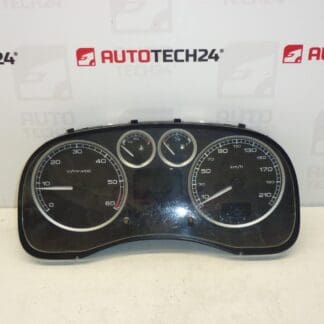
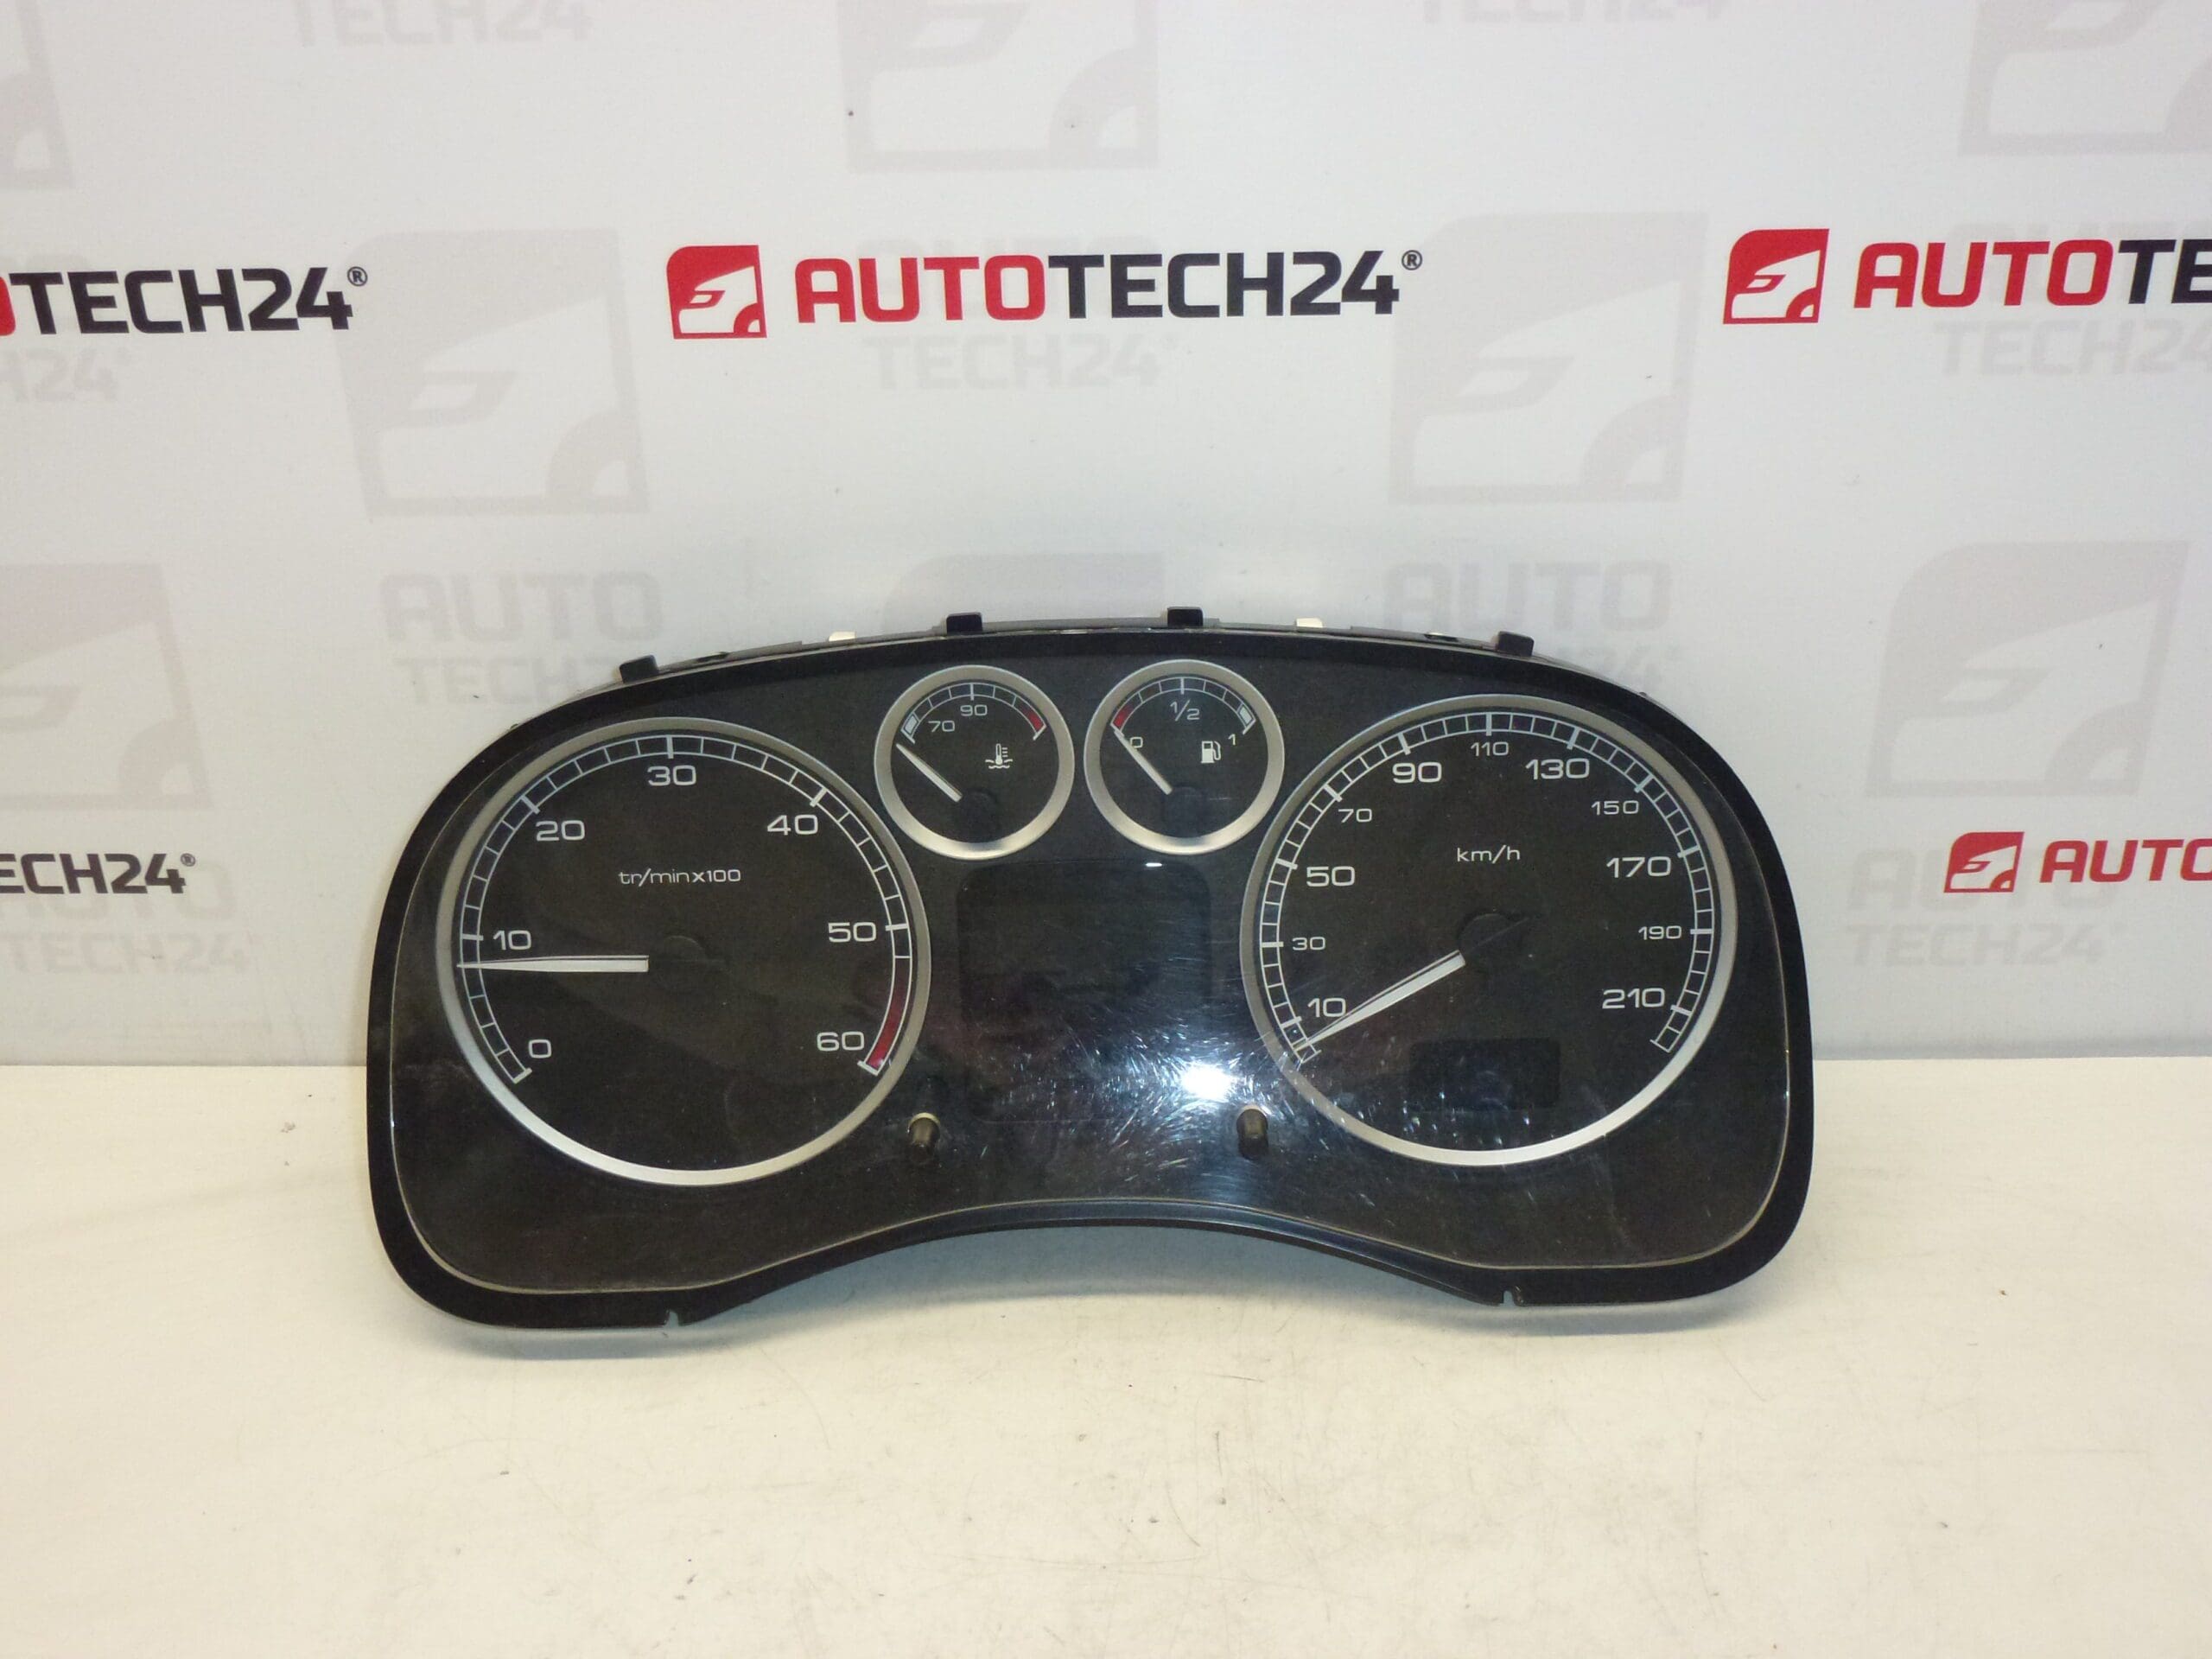
Tachometer for Peugeot 307. Removed from a vehicle with approximately 163000 km.
This used instrument cluster (tachometer/speedometer) is a direct-fit replacement for many Peugeot 307 vehicles and is well suited for professional garages and competent DIY mechanics. Supplied from a vehicle with ~163000 km, the unit carries original product codes 9655476580 / 6105KS (Stellantis). The cluster displays vehicle speed, odometer/trip information and warning indicators, providing a straightforward way to restore instrument functionality and dashboard information to roadworthy condition.
Technical Information
- Manufacturer: Stellantis (Peugeot / Citroën)
- Model: Peugeot 307 (Phase 1 & Phase 2)
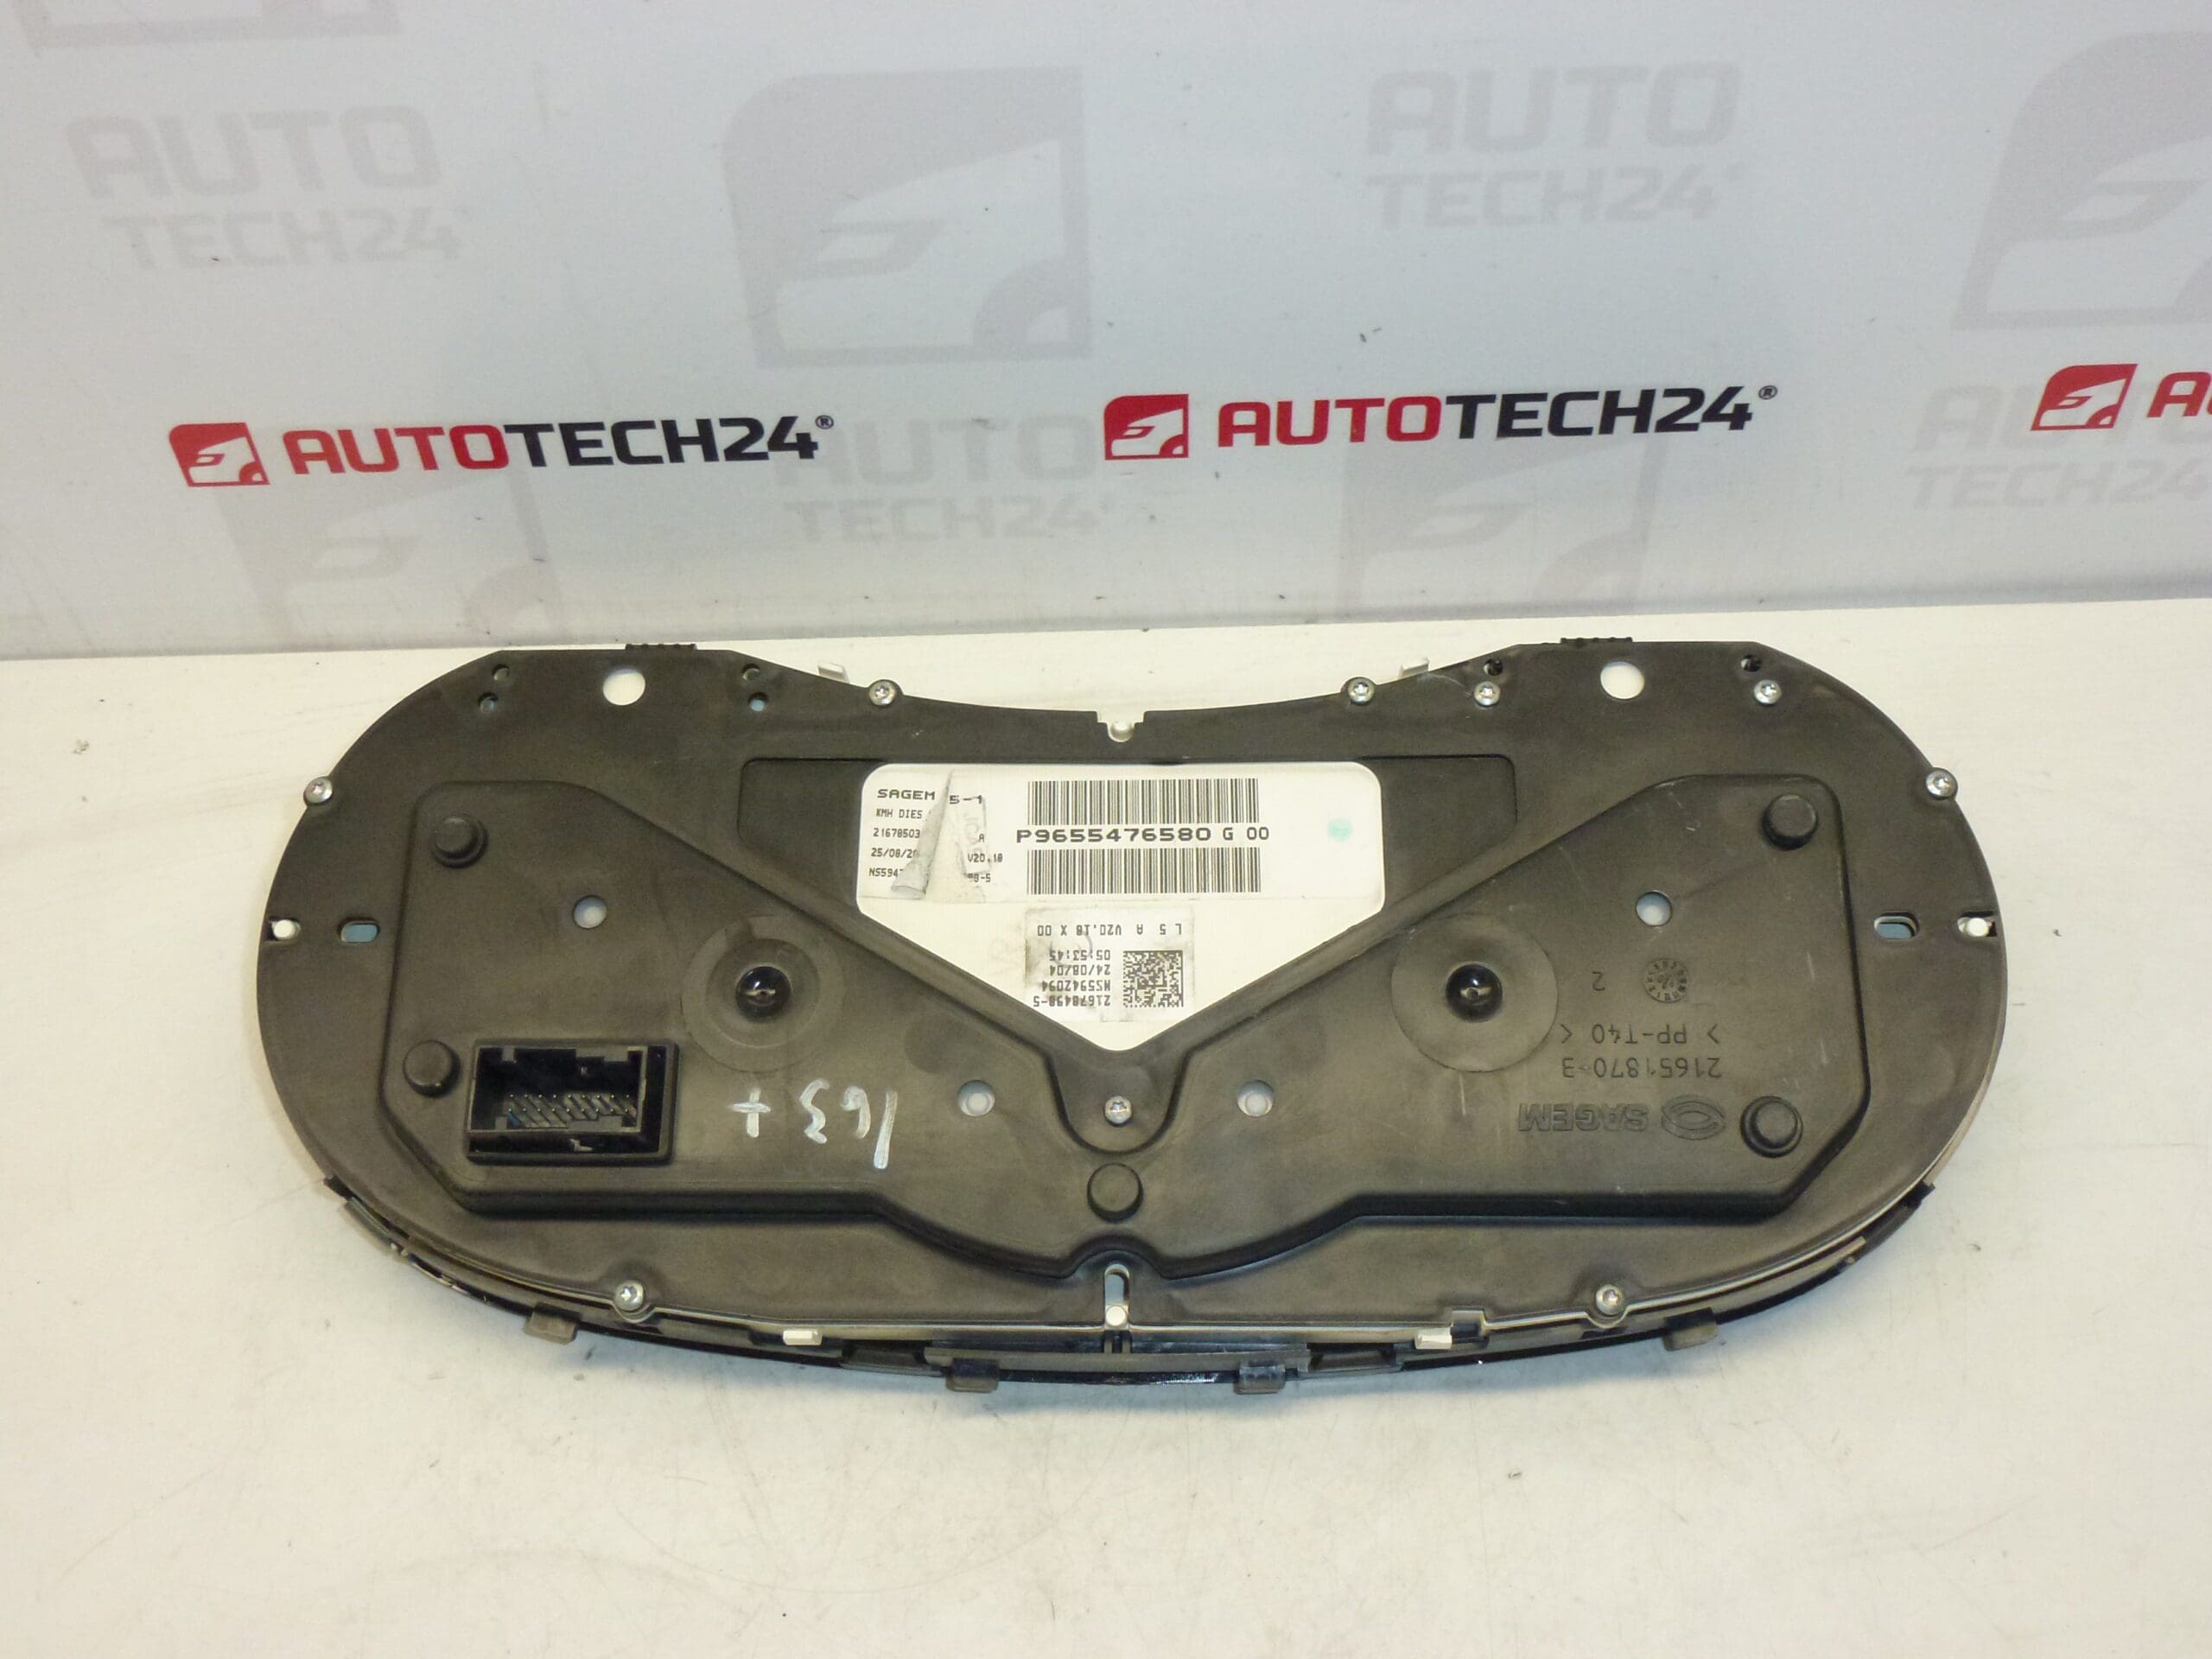
- Product Codes: 9655476580, G00, 6105KS
- Other Numbers: Removed Mileage Approximately 163000 km
Compatibility And Fitment
Designed for Peugeot 307 instrument clusters where the original part numbers match. Commonly found across various engine and trim variants of the 307 (Phase 1 & Phase 2). Always verify the part numbers stamped on the original cluster to confirm compatibility before installation.
Function And Features
The instrument cluster provides the driver with speed readout (speedometer), mileage/odometer and trip counters, indicator/warning lights (engine, ABS, airbag, etc.) and dashboard illumination. In many vehicles the cluster also communicates with other vehicle modules to display status messages and warning signals.
Common Failure Modes And Causes
Tachometer and instrument cluster issues on Peugeot 307 commonly result from the following:
- Age-related degradation of LCD/backlight or faded digits.
- Stepper motor wear or failure causing needle inaccuracy or stoppage.
- Cracked solder joints on the PCB due to thermal cycling and vibration.
- Corrosion or poor contact in multi-pin connectors affecting data or power supply.
- Moisture ingress or dust contamination leading to electrical faults.
Installation Recommendations
– Before starting work, always disconnect the vehicle battery to avoid short circuits and to protect sensitive electronics.
– Remove the trim panels surrounding the steering column, unscrew the instrument cluster fixing screws and gently pull the cluster forward to access wiring plugs.
– Carefully unplug the multi-pin connectors; inspect pins and connector housings for corrosion or damage and clean if necessary before fitting the replacement unit.
– Refit in reverse order and verify operation of all gauges and warning lights. If warning messages or communication errors remain, a diagnostic tool may be required to read fault codes and clear them.
Why It Most Often Fails
The most frequent reasons for cluster failure are thermal and mechanical stress over time (leading to cracked solder joints and failed stepper motors), moisture ingress, and connector corrosion. Prolonged exposure to heat cycles and vibration accelerates electronic component wear, causing intermittent faults or complete loss of certain functions.
Notes For Professionals And DIY Mechanics
This unit is suited for quick replacement in a workshop environment. After installation, confirm proper operation of all indicators, illumination and odometer/trip functions. For cases with communication faults or immobilizer-related messages, use appropriate diagnostic equipment to clear codes and verify bus communication. Always follow manufacturer safety instructions when working around airbags and electrical systems.