Description
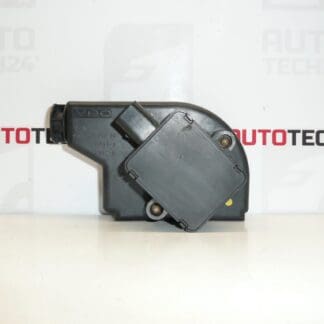
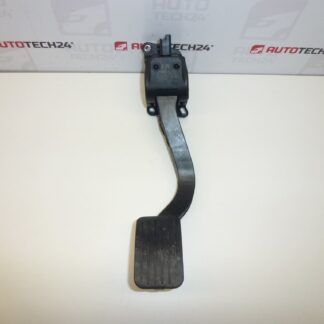
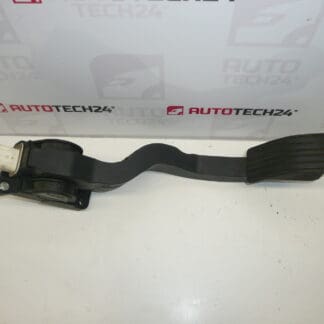
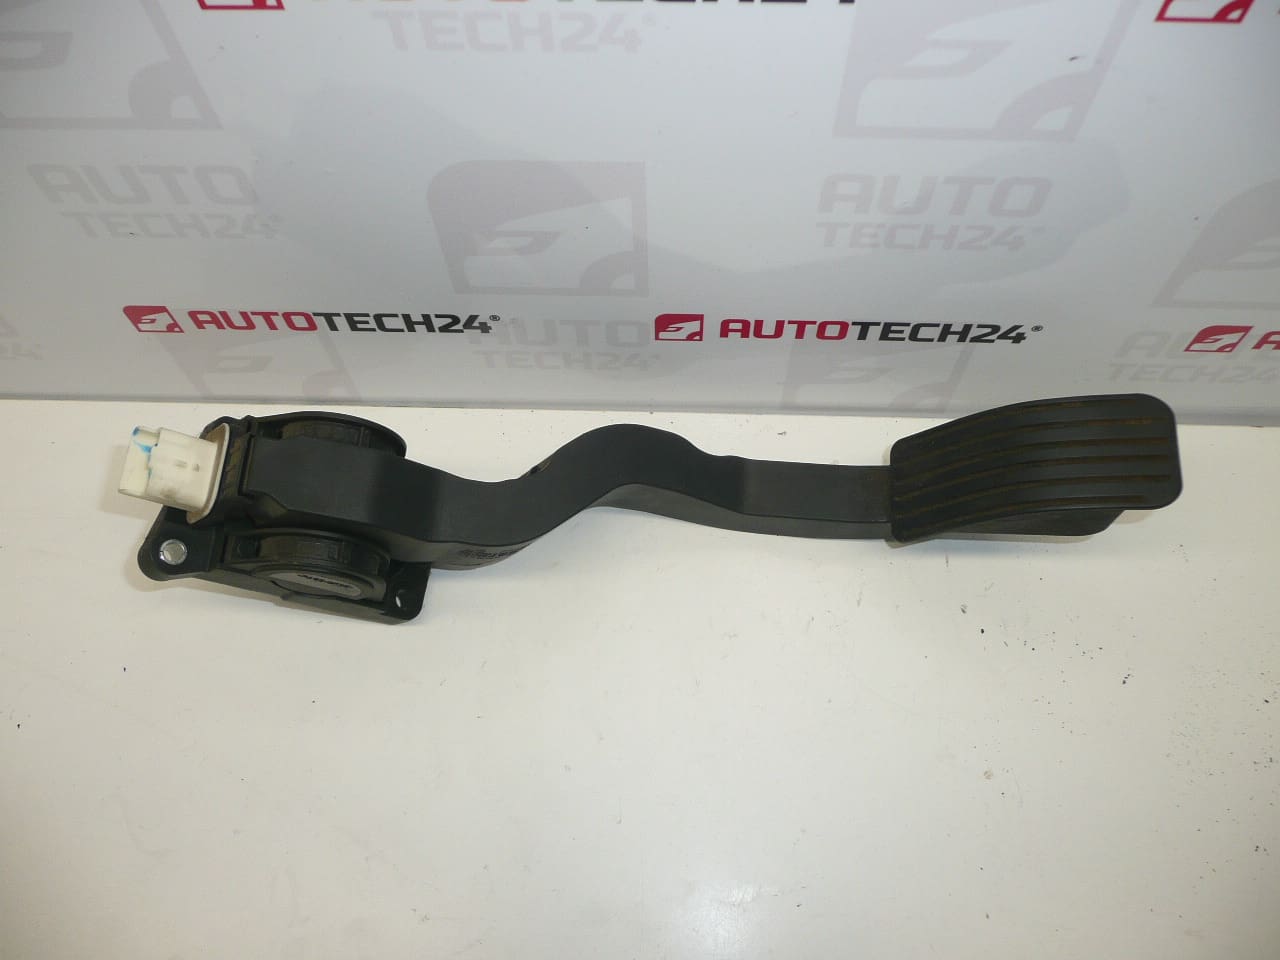
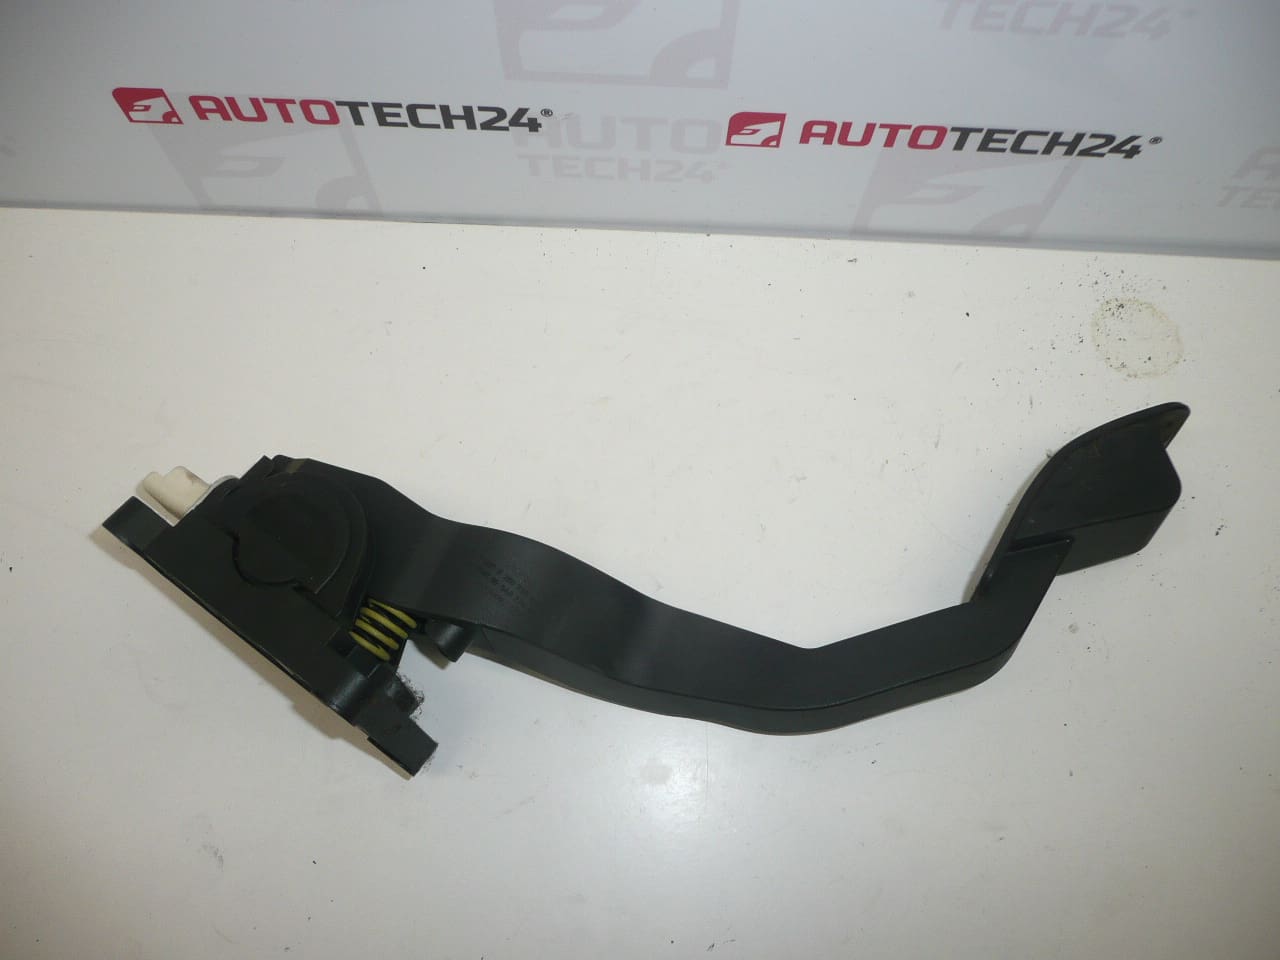
BOSCH accelerator pedal for PEUGEOT 206 cars
Part description
This accelerator pedal is intended for Peugeot 206 cars and belongs to the category of electrical components, specifically between potentiometers and gas. pedals. It is an important part of the acceleration control, which transmits the driver’s instruction to the car’s electronic system. In the event of a fault, there may be difficulties with the response to the gas, erratic running or limited controllability of acceleration.
The part is suitable for mechanics and do-it-yourselfers who are looking for a spare part according to the exact designation. When choosing, it is always important to compare the product codes and visual design with the existing part.
Technical information
Product codes
Product codes: 0280755026, 9654877480, 1601Q2, F00C3E2429
Model names: Peugeot 206
Installation recommendations
In general, when replacing an electronic gas pedal, it is advisable to proceed carefully and compare the old and new part according to the label, connector, attachment and body shape before the assembly itself. The exact steps may vary depending on the specific car model.
1) Before assembly
- Check that all available part designations match the old part.
- Compare the connector, number of pins, pedal shape and mounting method.
- Inspect the part for mechanical damage, cracks or dirt in the connector area.
- Disconnect the battery before starting work if this is in accordance with normal service practice for the vehicle.
2) Necessary tools and materials
- Basic set of hand tools
- Suitable bits or sockets depending on the type of fastening
- Clean cloth
- Preparation for gentle cleaning of the connector, if needed
- Work lighting
3) Step-by-step assembly procedure
- Secure the vehicle against movement and prepare a work area.
- Disconnect the battery if appropriate for the intervention.
- Make the pedal area accessible so that the connector and mount can be handled safely.
- Carefully disconnect the electrical connector of the old part without force and without damaging the latches.
- Undo the fasteners and remove the original pedal.
- Compare the dismantled part with the spare part including all numbers, shape and attachment.
- Clean the landing surface and check the condition of the wiring and the connector.
- Place the replacement pedal in place in the correct position.
- Install and tighten fasteners appropriately according to common practice for the type of joint.
- Connect the electrical connector and check that it clicks properly.
- Renew any dismantled covers or access parts of the interior.
- Connect the battery and perform a basic function check.
-
4) Post-assembly checks and test drive / function verification
- Check that the pedal has a smooth mechanical movement without stuttering.
- Verify the correct seating of the connector and the firmness of the attachment.
- After starting the car, observe whether the response to stepping on the gas is smooth and without interruptions.
- On a test drive, check that the acceleration corresponds to the pedal position and that there are no irregular reactions.
5) The most common assembly mistakes + how to avoid them
- Part exchange by incomplete number – always compare all available designations.
- Damage to the connector or latch – disconnect the connector gently and without prying with an unsuitable tool.
- Insufficient seating of the part – check the correct position of the pedal before tightening.
- Assembly without comparing the old and new piece – always check the shape and connector match before final installation.
- Normal wear and tear from long-term use
- Repeated mechanical stress during daily pedaling
- Contamination or oxidation of electrical connector
- Damage to wiring or contacts
- Moisture and dirt around the part
- Unprofessional disassembly or assembly