Description
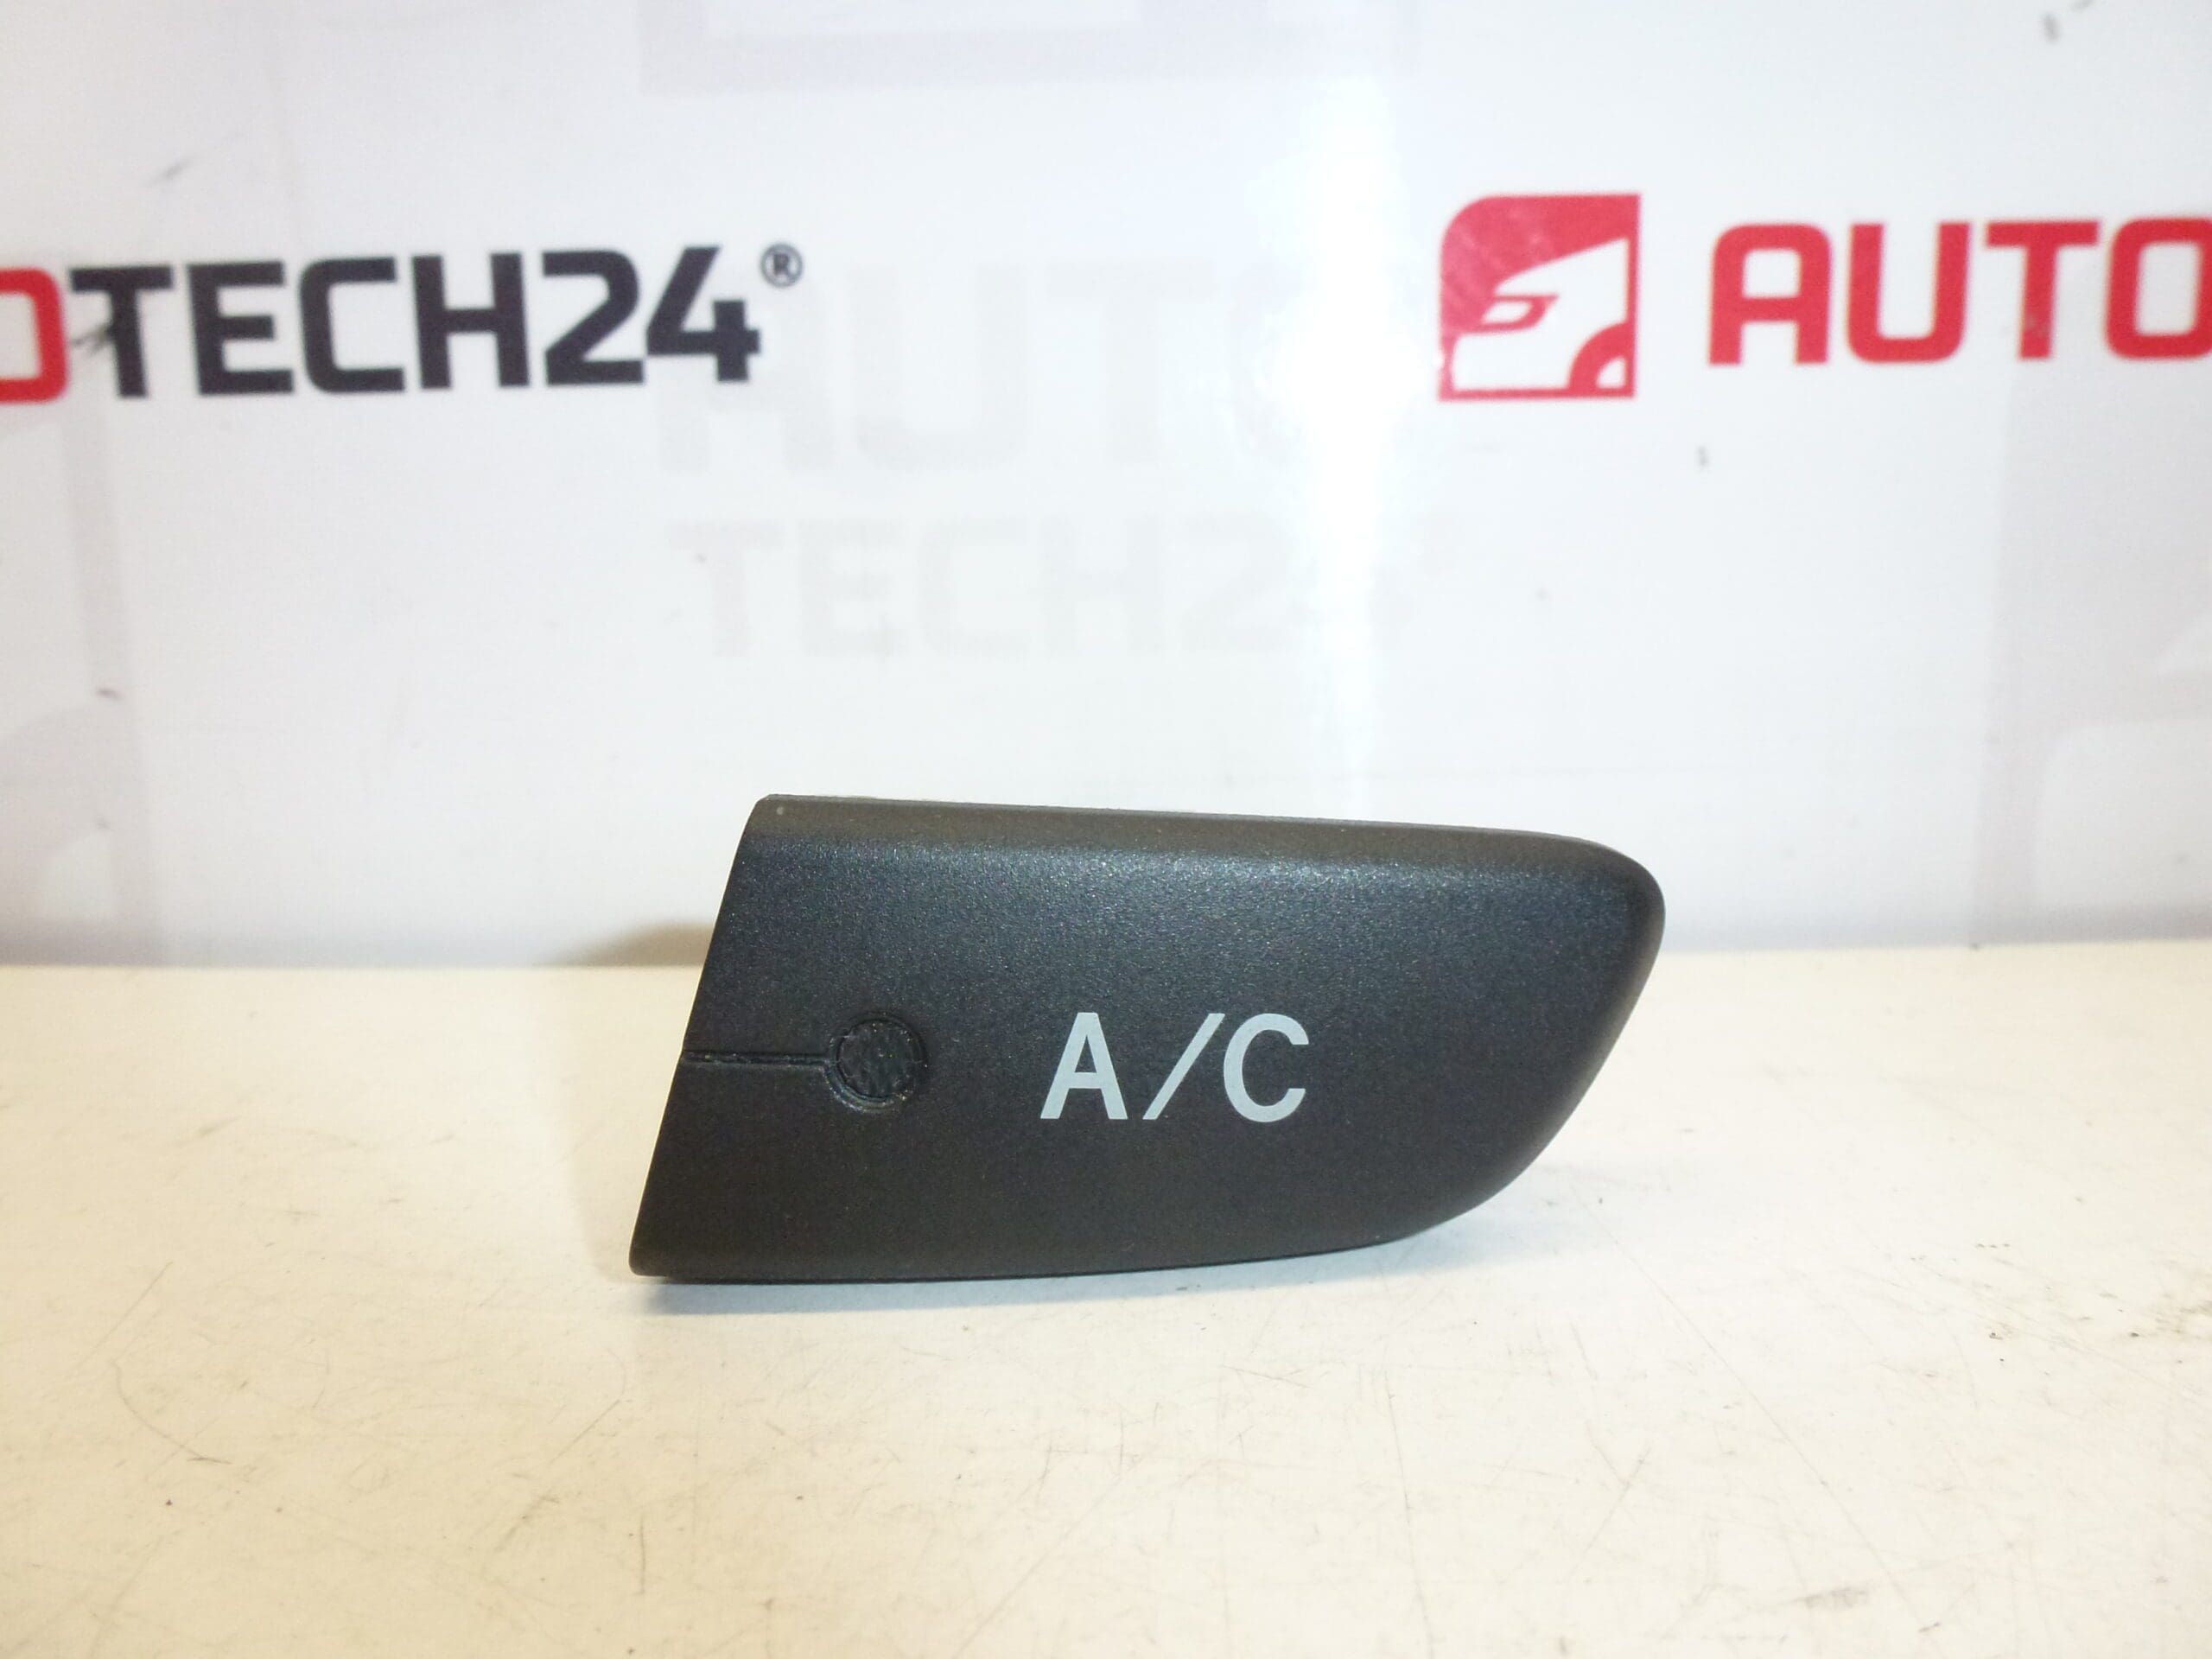
Air conditioning control unit for Citroën C1, Peugeot 107 and Toyota Aygo. Genuine part.
Product Overview
This original HVAC control unit is a direct fit for Citroën C1, Peugeot 107 and Toyota Aygo vehicles. It manages the cabin climate functions such as fan speed, temperature selection, air distribution and air conditioning on/off. Supplied under the manufacturer references 84660-0H010 and 6554KX, this panel is ideal for professional garages and DIY enthusiasts looking for a reliable replacement that restores full climate control functionality.
Key Benefits
- Direct OEM replacement — ensures correct fit and operation.
- Restores full control over fan, temperature and A/C functions.
- Straightforward swap for quick workshop turnaround.
- Commonly searched by part number (84660-0H010, 6554KX) which helps fast identification.
Technical Information
- Manufacturer: Stellantis (Citroën/Peugeot)
- Model: Citroën C1, Peugeot 107, Toyota Aygo
- Product Codes: 84660-0H010, 6554KX
- Additional Numbers: Stellantis OEM References 84660-0H010 / 6554KX
Function
The control unit operates the vehicle’s manual climate system: selecting fan speed, adjusting temperature, directing airflow (face/feet/windshield), toggling air conditioning compressor request and recirculation. It provides user interface and sends signals to the HVAC actuators and the vehicle’s HVAC control logic.
Fitment And Compatibility
Fits the first-generation models of Citroën C1, Peugeot 107 and Toyota Aygo that share the same dashboard HVAC assembly. Always verify part numbers against the unit being replaced (84660-0H010 / 6554KX) to ensure correct match.
Replacement Procedure
- Disconnect the vehicle battery before starting work to avoid short circuits and protect electrical components.
- Use trim removal tools to remove the surrounding fascia without damaging clips or trim pieces.
- Unscrew the retaining fasteners securing the control unit and gently pull the unit forward.
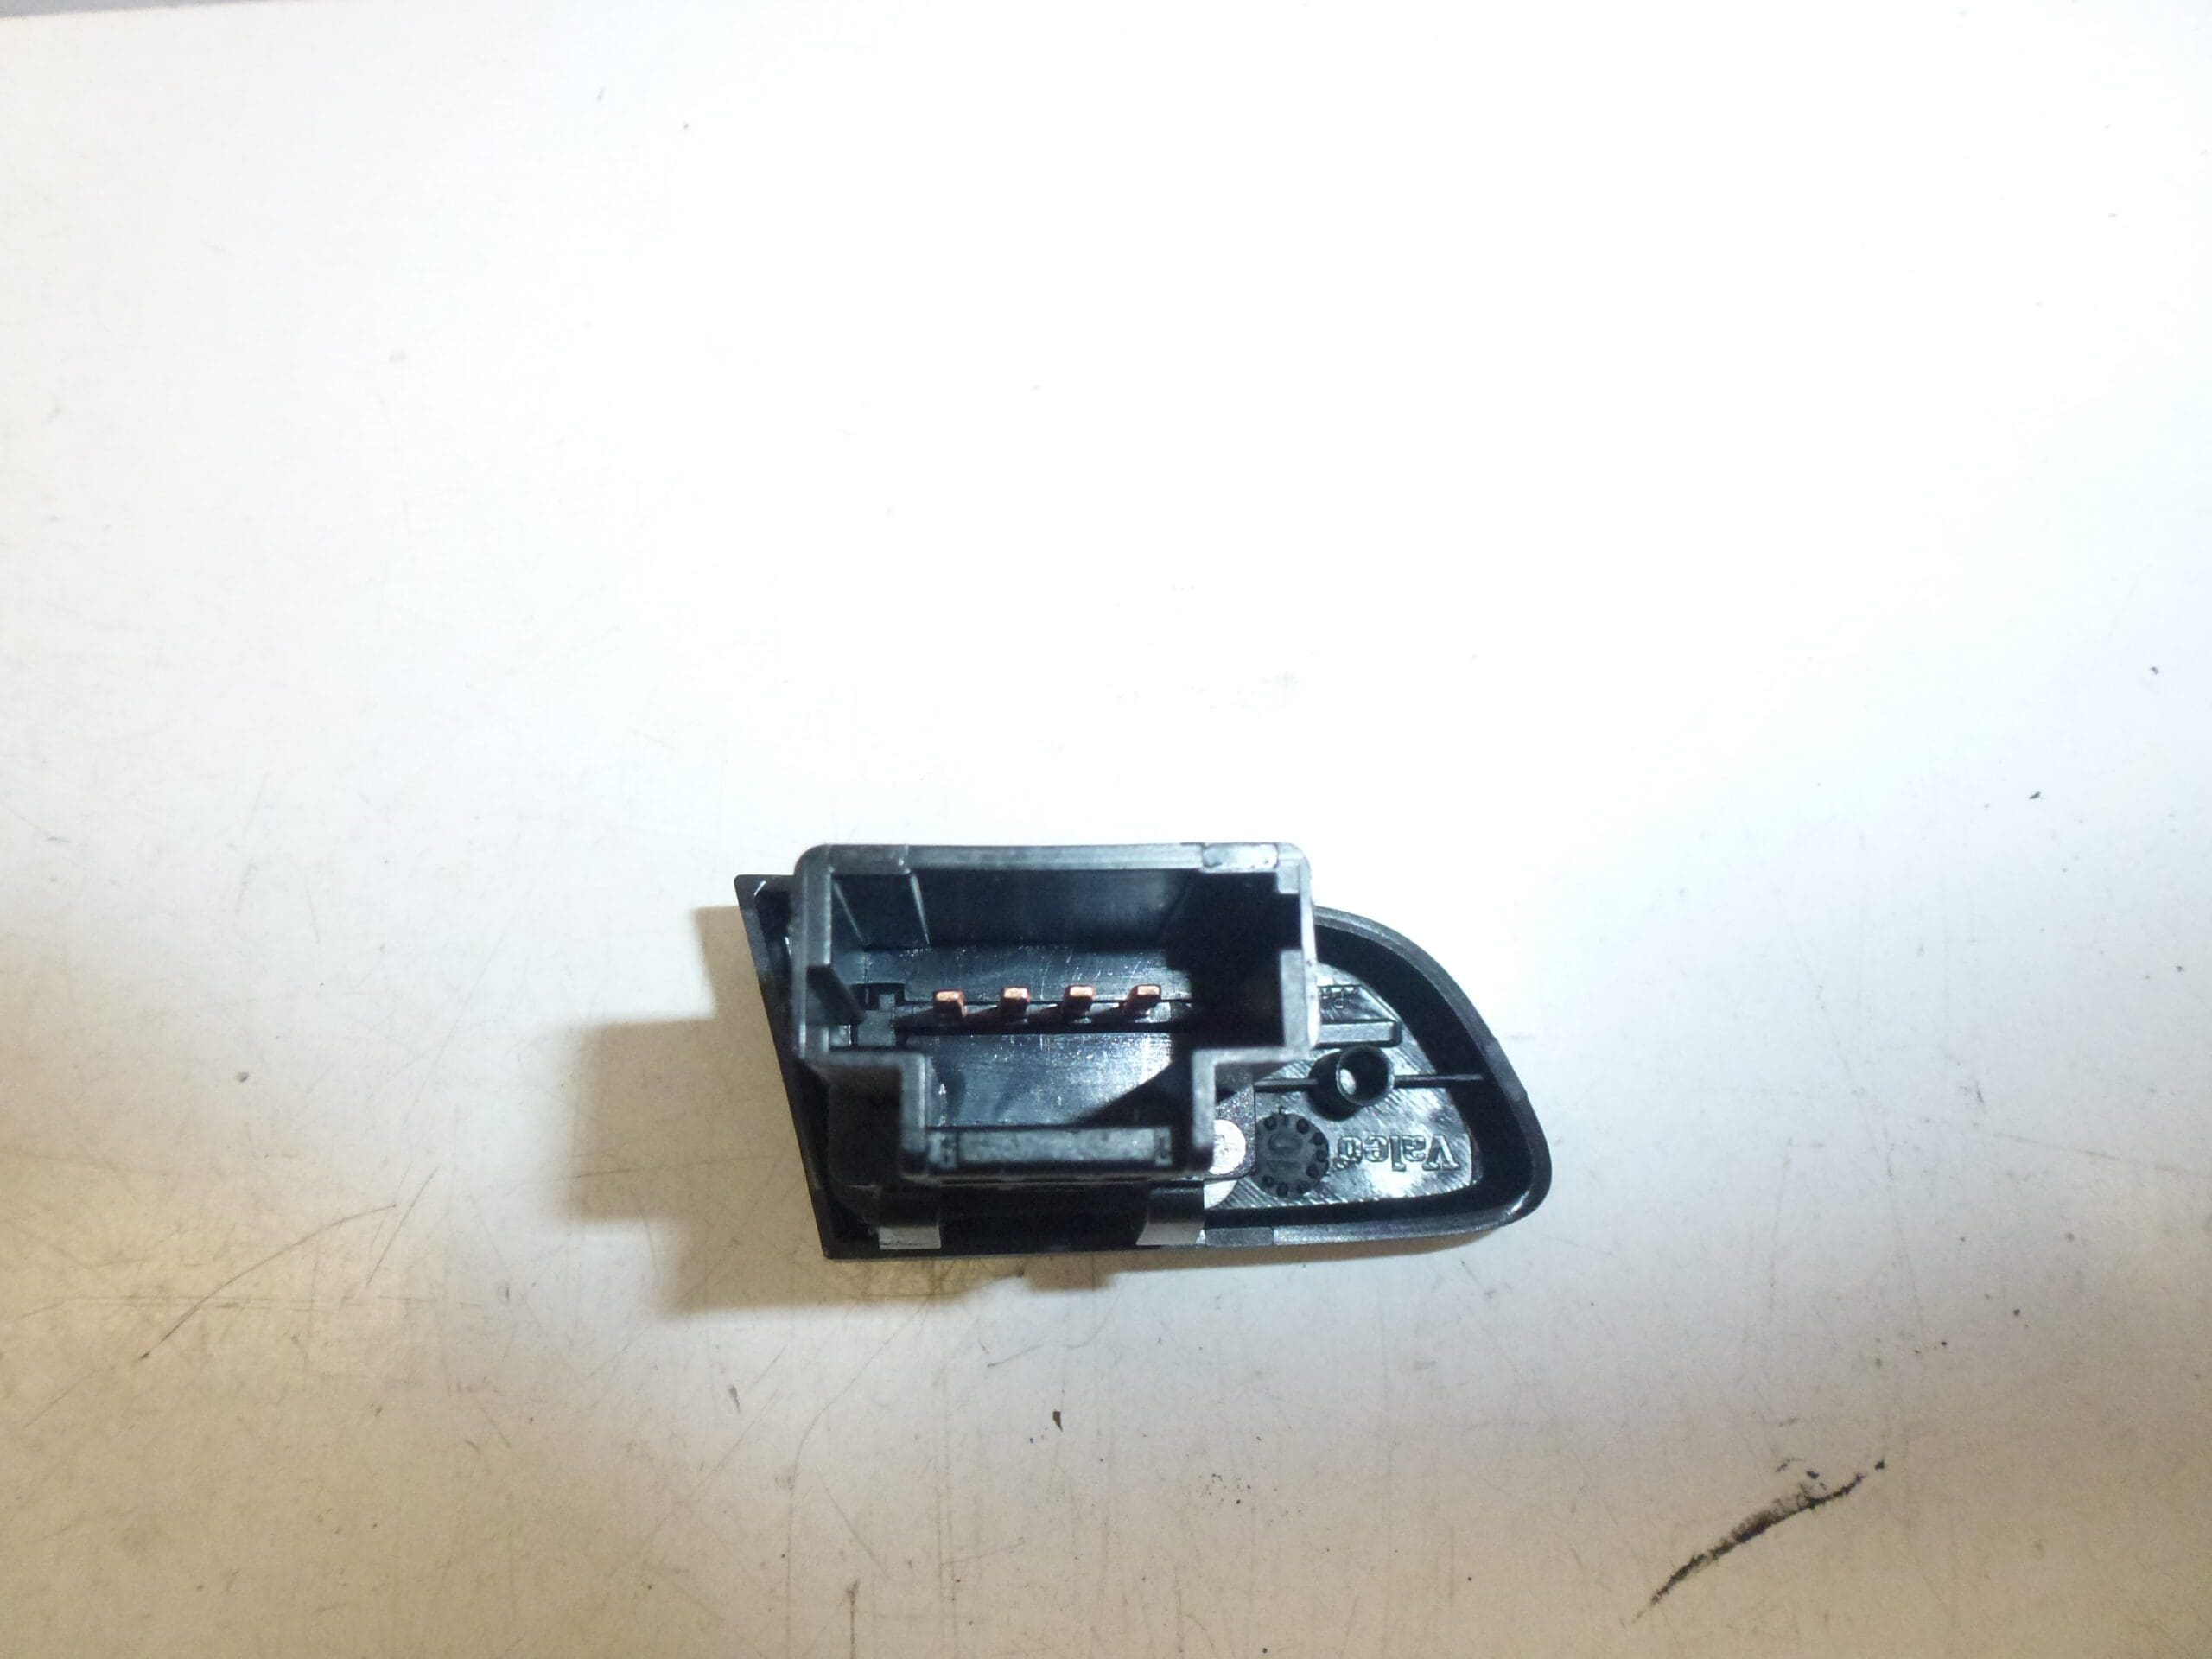
- Disconnect the electrical connector(s) from the rear of the control module — press release tabs and avoid pulling on wires.
- Fit the replacement unit, reconnect the connector(s), secure with the original fasteners and refit the trim.
- Reconnect the battery and test all climate functions: fan speeds, temperature control, A/C engagement and airflow direction.
Installation Recommendations
- Work on a cool, well-lit surface and collect small screws to avoid loss.
- Use appropriate plastic trim tools to prevent damage to the dashboard finish.
- Check connectors for corrosion or damaged pins and clean or replace as necessary before installing the new unit.
- After installation, verify that the A/C compressor engages and that all switches and indicators function correctly.
Most Common Failure Reasons
- Wear of internal potentiometers and switches from frequent use, causing intermittent or lost control of fan speed or temperature.
- Corrosion or poor contact at electrical connectors leading to erratic behavior or complete failure.
- Water ingress or moisture exposure damaging internal electronics or backlighting.
- Physical damage to knobs or control surfaces from impact or rough handling.
- Faults in associated HVAC actuators or fuses that appear as control unit issues; diagnose wiring and fuses before replacement.
Notes For Professionals And DIYers
This unit is intended as a direct replacement for the original dashboard control panel. For reliable results, follow safe electrical practices and the vehicle manufacturer’s removal procedures. If diagnostic evidence points to wiring, actuators or fuses, address those items in parallel to avoid repeated failures.