Description
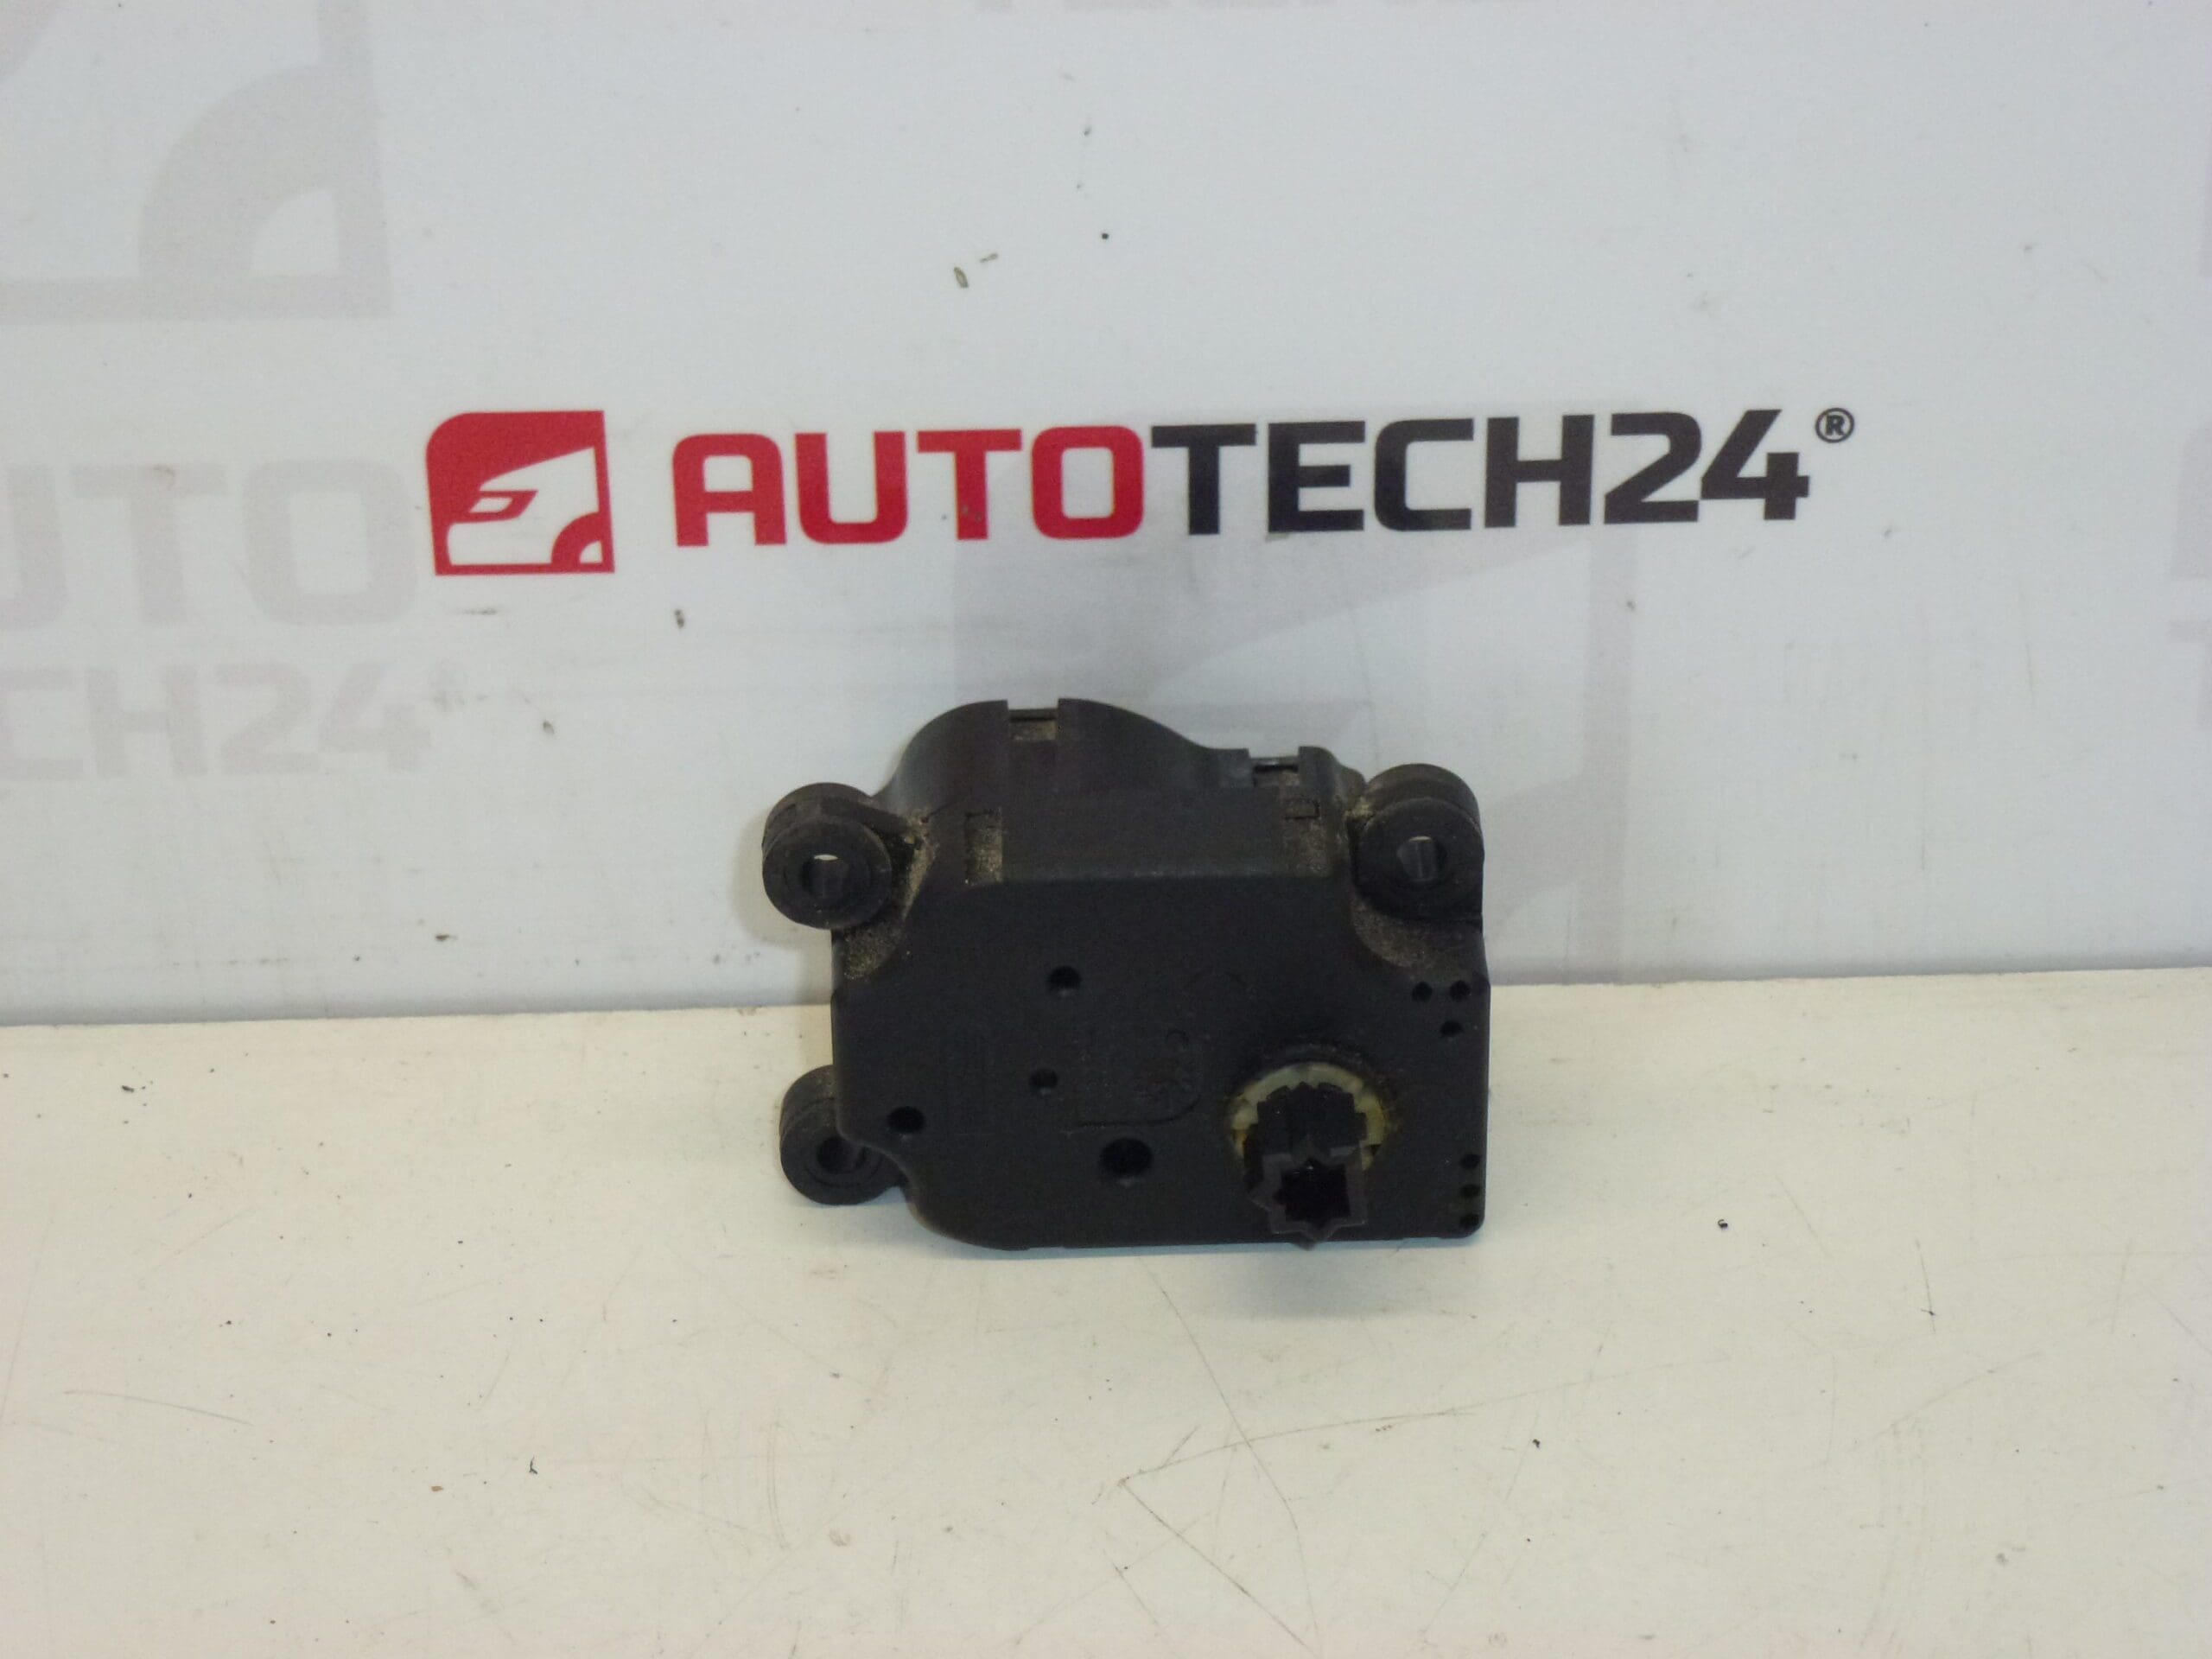
Heater servo motor for Citroën C2, C3 and Peugeot 1007
This Valeo heater servo motor is a direct-fit HVAC actuator designed for Citroën C2, Citroën C3 (including C3 Pluriel) and Peugeot 1007 models. It controls the heater/air-mix flap to regulate cabin temperature and airflow distribution, restoring precise climate control and eliminating erratic temperature changes or stuck vents. Frequently searched by part numbers F663746X.C and 6447NL, this unit is suitable for mechanics and experienced DIYers who need a reliable replacement part for the vehicle’s heating and ventilation system.
Function And Fitment
The servo motor drives the blend/air distribution flaps in the HVAC box. When the control panel commands a temperature or vent change, the actuator moves the internal flaps to achieve the selected setting. On the listed Citroën and Peugeot models this part is a common replacement for loss of flap movement, clicking noises from the dashboard, or inability to change temperature/vent position.
Technical Information
- Manufacturer: Valeo
- Model: Heater Servo Motor (HVAC Actuator)
- Product Codes: F663746X.C
- Other Numbers: 6447NL
- Compatible Models: Citroën C2, Citroën C3, Citroën C3 Pluriel, Peugeot 1007
Installation Recommendations
- Recommended For: Professional fitment by an automechanic or skilled DIYer with basic dashboard trim experience.
- Preparation: Disconnect the negative battery terminal before starting to avoid short circuits and unintentional airbag deployment.
- Access: On these models the actuator is typically located in the HVAC box behind the glovebox or lower dash. Remove trim panels or glovebox as required to reach the unit.
- Removal: Unplug the electrical connector, remove the retaining screws or clips, and carefully extract the old servo. Note the flap position before removal if possible.
- Installation: Install the new servo in the same orientation, secure mounting screws, reconnect the electrical plug, and reassemble trim. Some HVAC systems require the actuator to be recalibrated by cycling full travel (run through all temperature/vent positions) to allow the control module to learn limits.
- Testing: With the vehicle ignition on, verify smooth movement across positions, absence of clicking noises, and proper temperature/vent response before final assembly.
Common Failure Causes
- Worn or Stripped Gears: Plastic gears inside the actuator can wear or strip over time, causing loss of movement or grinding noises.
- Electrical Faults: Connector corrosion, broken wires, or failed motors can interrupt actuator function.
- Contamination and Moisture: Water ingress or accumulated debris in the HVAC box can damage the servo or its gears.
- Mechanical Binding: Stiff or jammed flaps due to debris or actuator misalignment increase load and shorten servo life.
Replacing the heater servo motor typically resolves symptoms such as continuous clicking from the dash, inability to change temperature or vent direction, or completely inoperative flap movement. Because this part is often searched by its part numbers (F663746X.C, 6447NL) and vehicle models, having those references ready speeds up ordering and fitment.