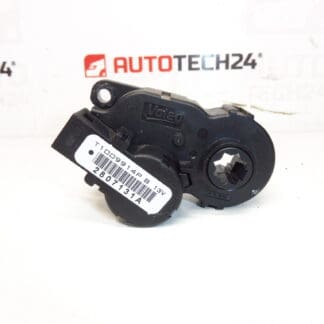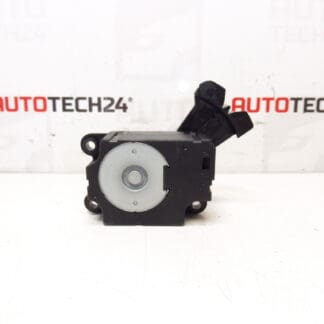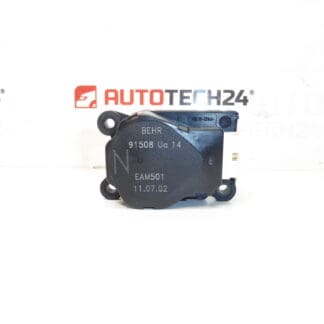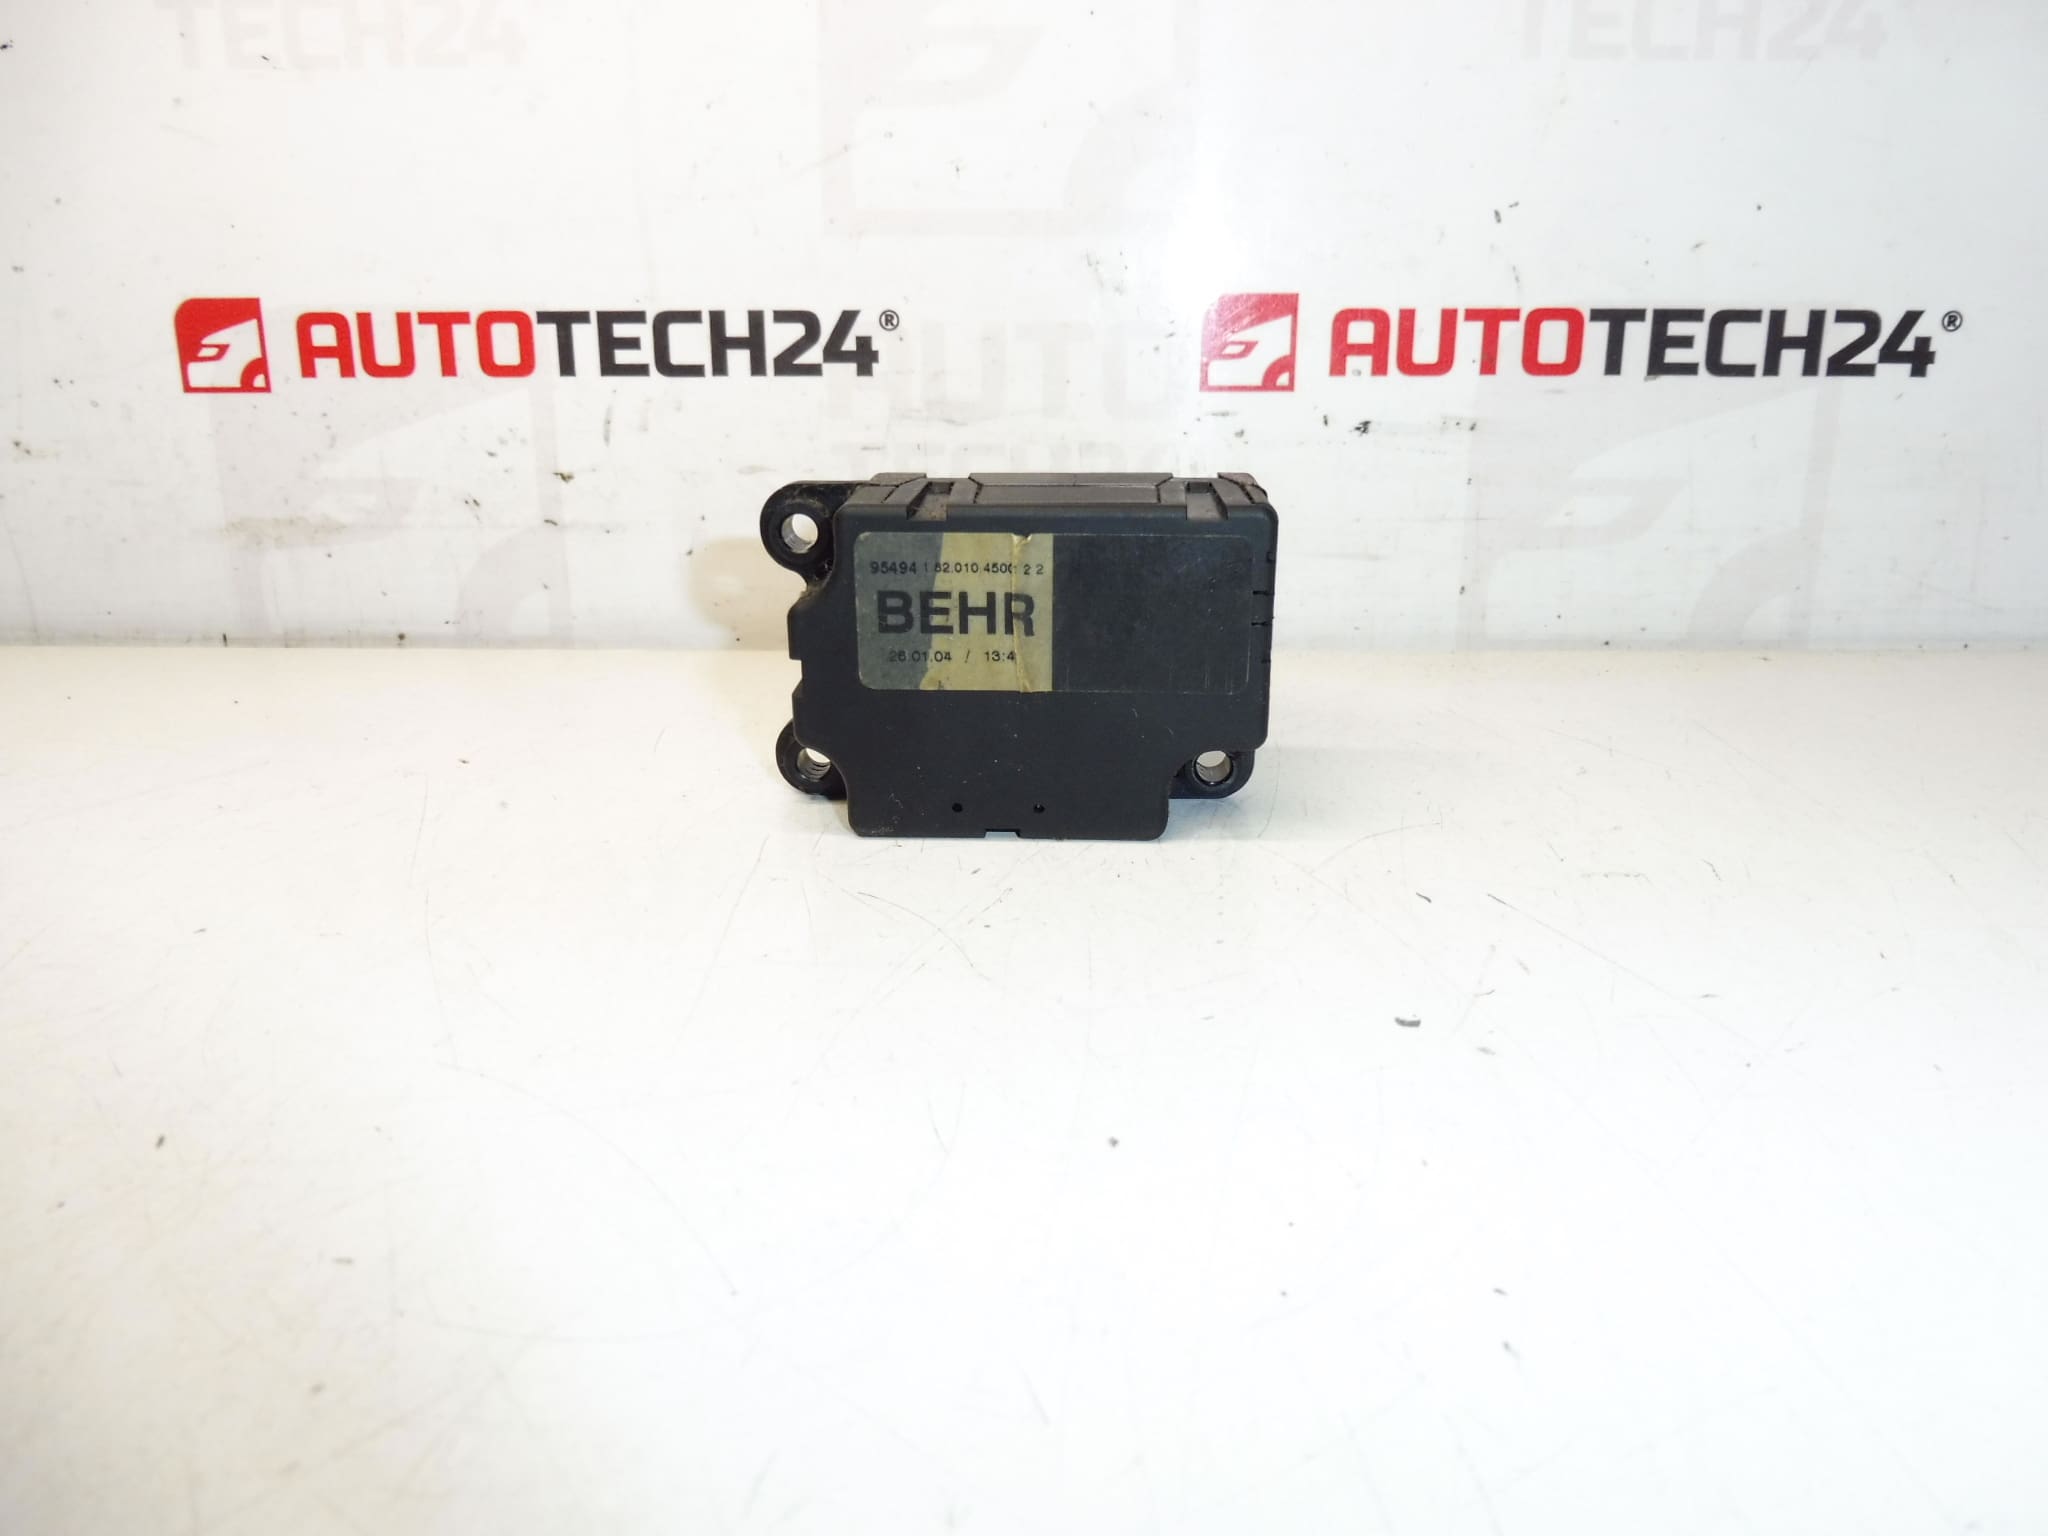
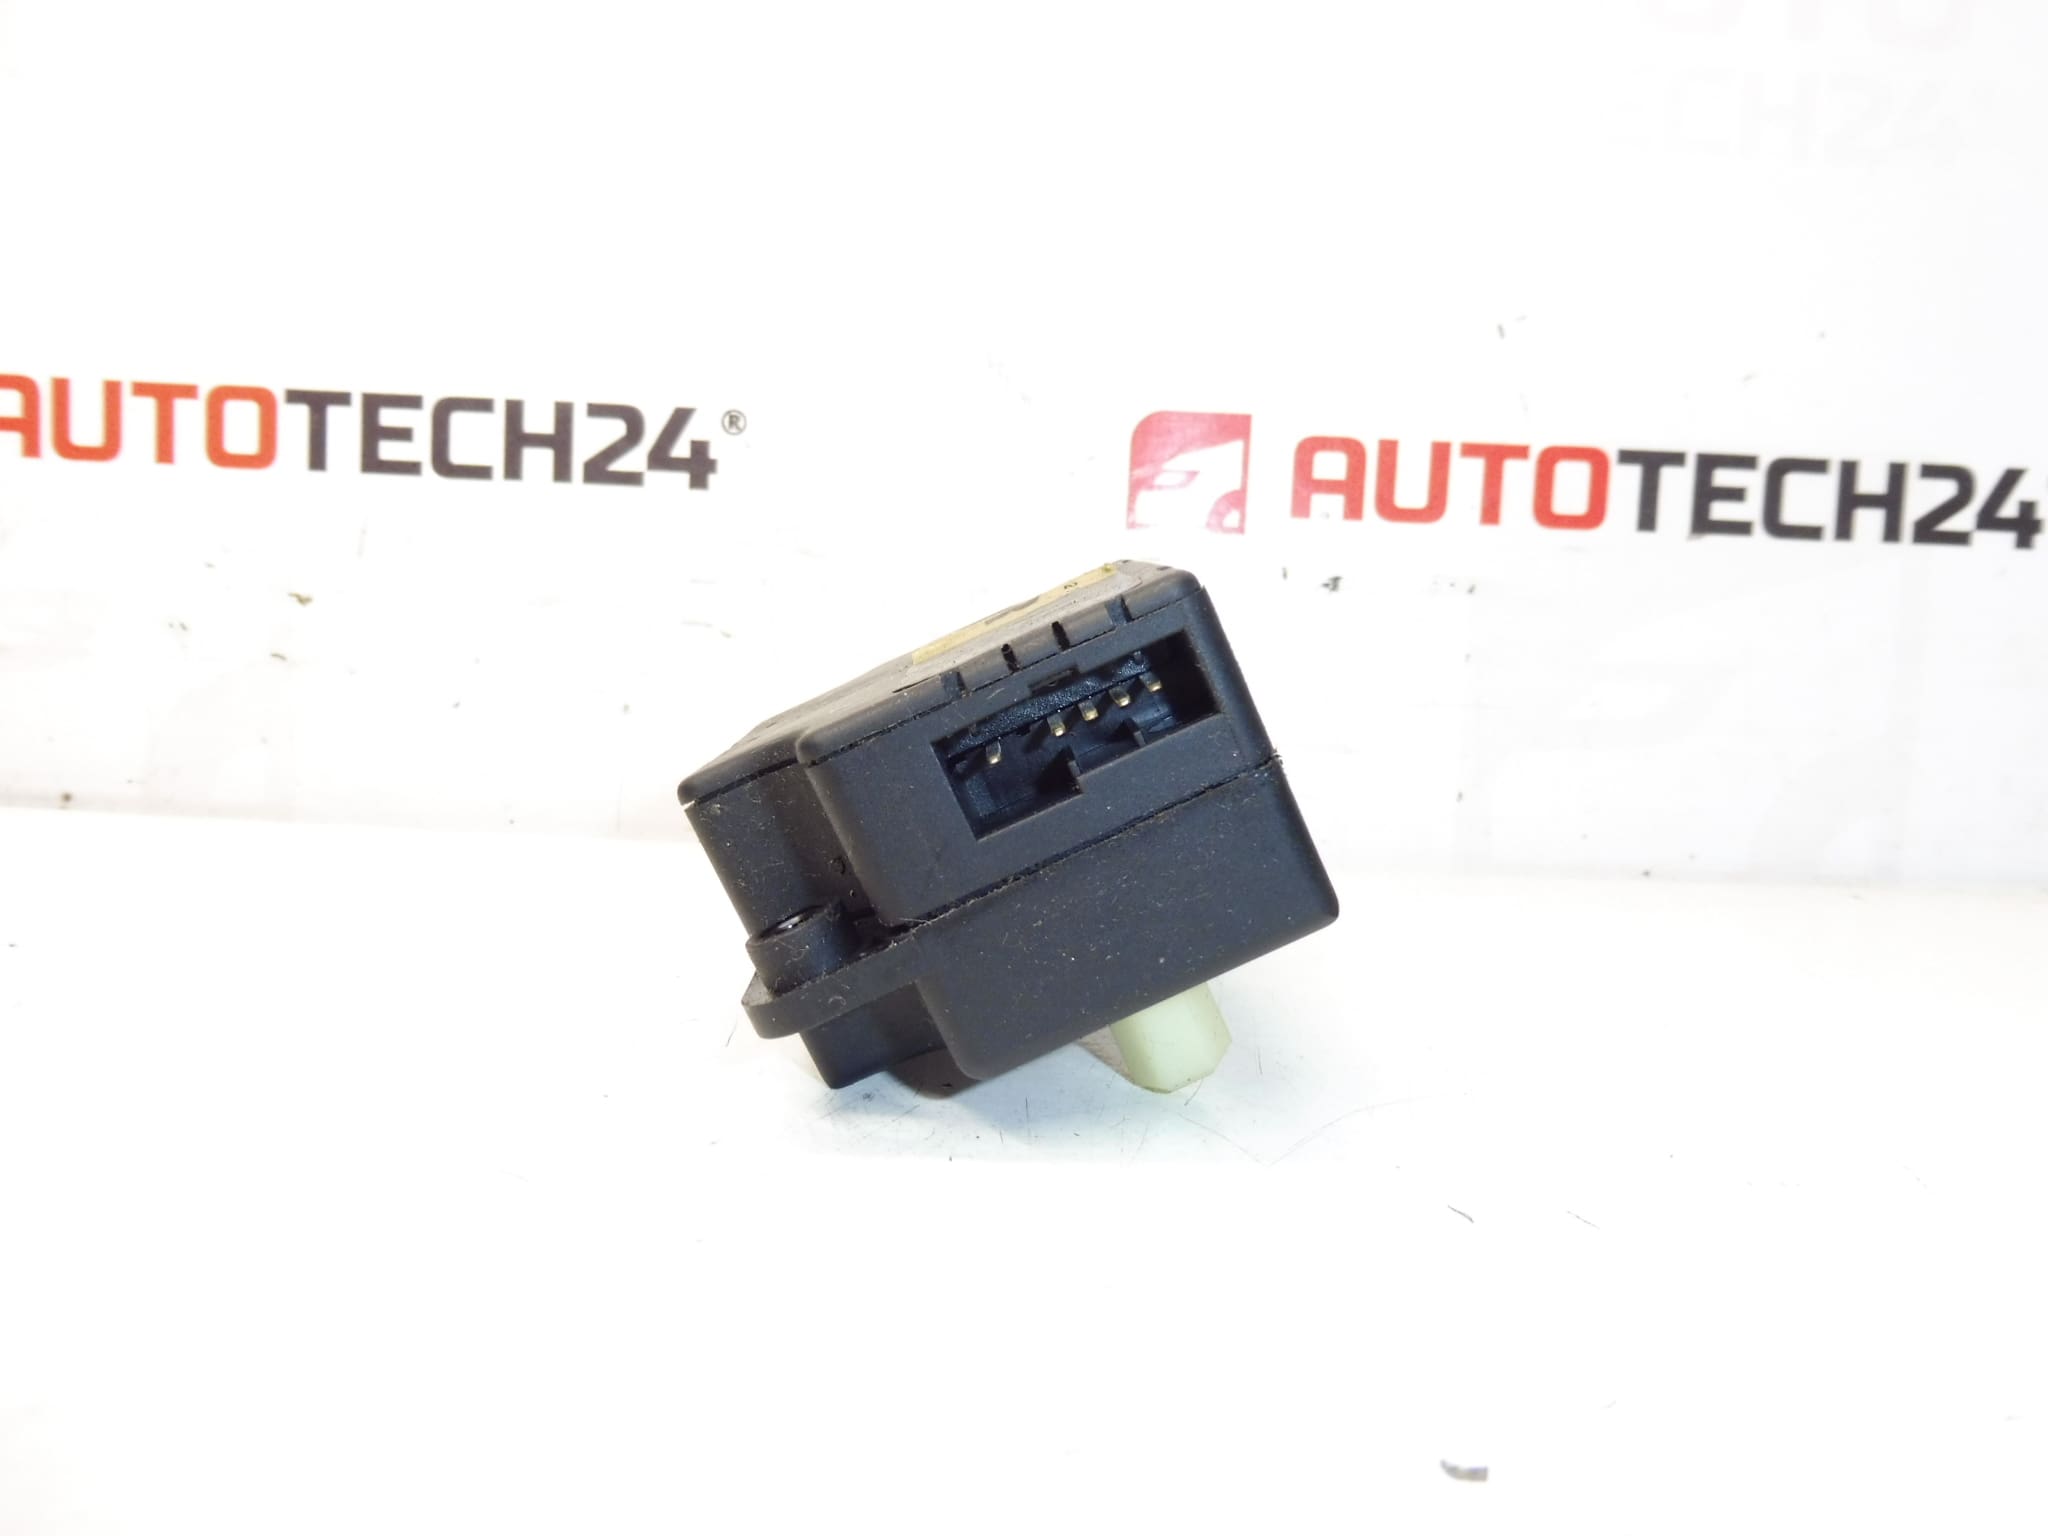
Description
Heater servo motor for Citroën C2, C3, Xsara Picasso and Peugeot 206 and 307
High-quality replacement heater servo motor designed for climate control systems in selected Citroën and Peugeot models. This electric actuator controls ventilation flaps and blend doors inside the heater box to regulate cabin temperature and airflow distribution. Commonly searched under part numbers 95494 and 6447QN, this unit is aimed at professional garages and experienced DIYers who need a reliable, direct-fit solution to restore proper HVAC function.
Technical Information
- Manufacturer: Buhler / BEHR
- Model: Heater Servo Motor
- Product Codes: 95494, 6447QN
- Other Numbers: No Additional Numbers Provided
Fitment / Compatible Models
Fits the following vehicles (check the part numbers against your vehicle): Citroën C2, Citroën C3, Citroën C3 Pluriel, Citroën Xsara Picasso, Peugeot 206, Peugeot 307. Often referenced by part codes 95494 and 6447QN.
Function And Symptoms
The servo motor actuates the heater box flaps (blend/recirculation/air distribution) to direct airflow and mix hot and cold air for the desired cabin temperature. Typical failure symptoms include clicking or grinding noises from the dash, no airflow change when switching modes, incorrect cabin temperature, or stuck vents. If left unaddressed, a faulty actuator can prevent proper defrosting and compromise comfort and visibility.
Replacement Procedure
General steps for replacement (procedure may vary slightly by model):
- Prepare: Park on level ground, set parking brake and disconnect the negative battery terminal to avoid short circuits.
- Access: Remove the glovebox or lower dashboard panel to reach the HVAC/heater box — many C2/C3/206/307 models provide access from the passenger side. In some cases the center console or lower trim must be removed.
- Disconnect: Unplug the electrical connector from the servo motor and note the position of the actuator linkage or gears.
- Remove: Unscrew the mounting fasteners and carefully extract the actuator from the heater box. Inspect plastic gears and flap linkages for damage.
- Install: Fit the new servo in the correct orientation, secure fasteners, reconnect the electrical plug and reattach any linkages. Ensure the flap returns to the expected neutral position before final reassembly.
- Test: Reconnect battery, cycle HVAC modes and verify correct operation of all vents, temperature blending and recirculation functions.
Installation Recommendations
- Use basic hand tools and take photos of connector/linkage positions before removal to ensure correct reassembly.
- Avoid forcing plastic gears or linkages; inspect mating surfaces and replace broken clips or worn levers if present.
- After installation, perform a full HVAC function test across modes and temperature settings to confirm correct operation.
- If uncertain about access or diagnostics, a workshop with experience on Peugeot/Citroën dashboards will save time.
Most Common Failure Reasons
Heater servo motors commonly fail due to worn or stripped plastic gears, motor burnout from prolonged use, contamination with dust or moisture, or stress from hard stops when flaps are blocked. Age and high mileage increase the likelihood of failure. Symptoms usually start as intermittent clicking and progress to complete loss of flap movement.
Why Choose This Part
Part numbers 95494 and 6447QN are frequently referenced in repairs for the listed Citroën and Peugeot models. Replacing a failing actuator restores proper HVAC control, improves cabin comfort and visibility, and prevents further wear on connected components. Suitable for professional mechanics and competent DIY installers familiar with dashboard disassembly.