Description
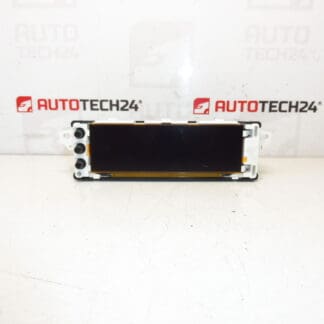
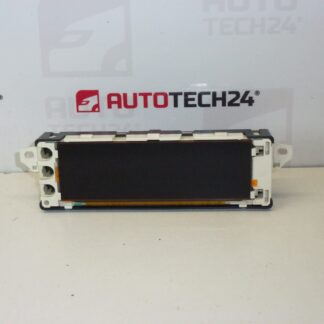
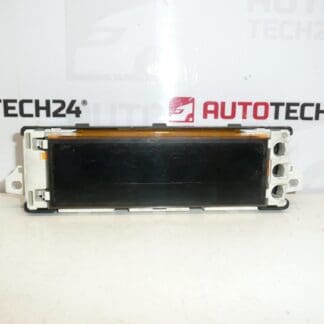
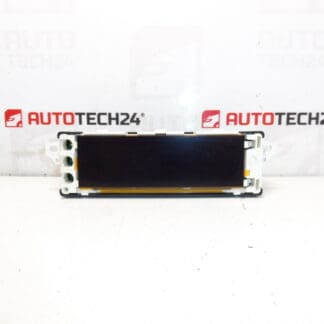
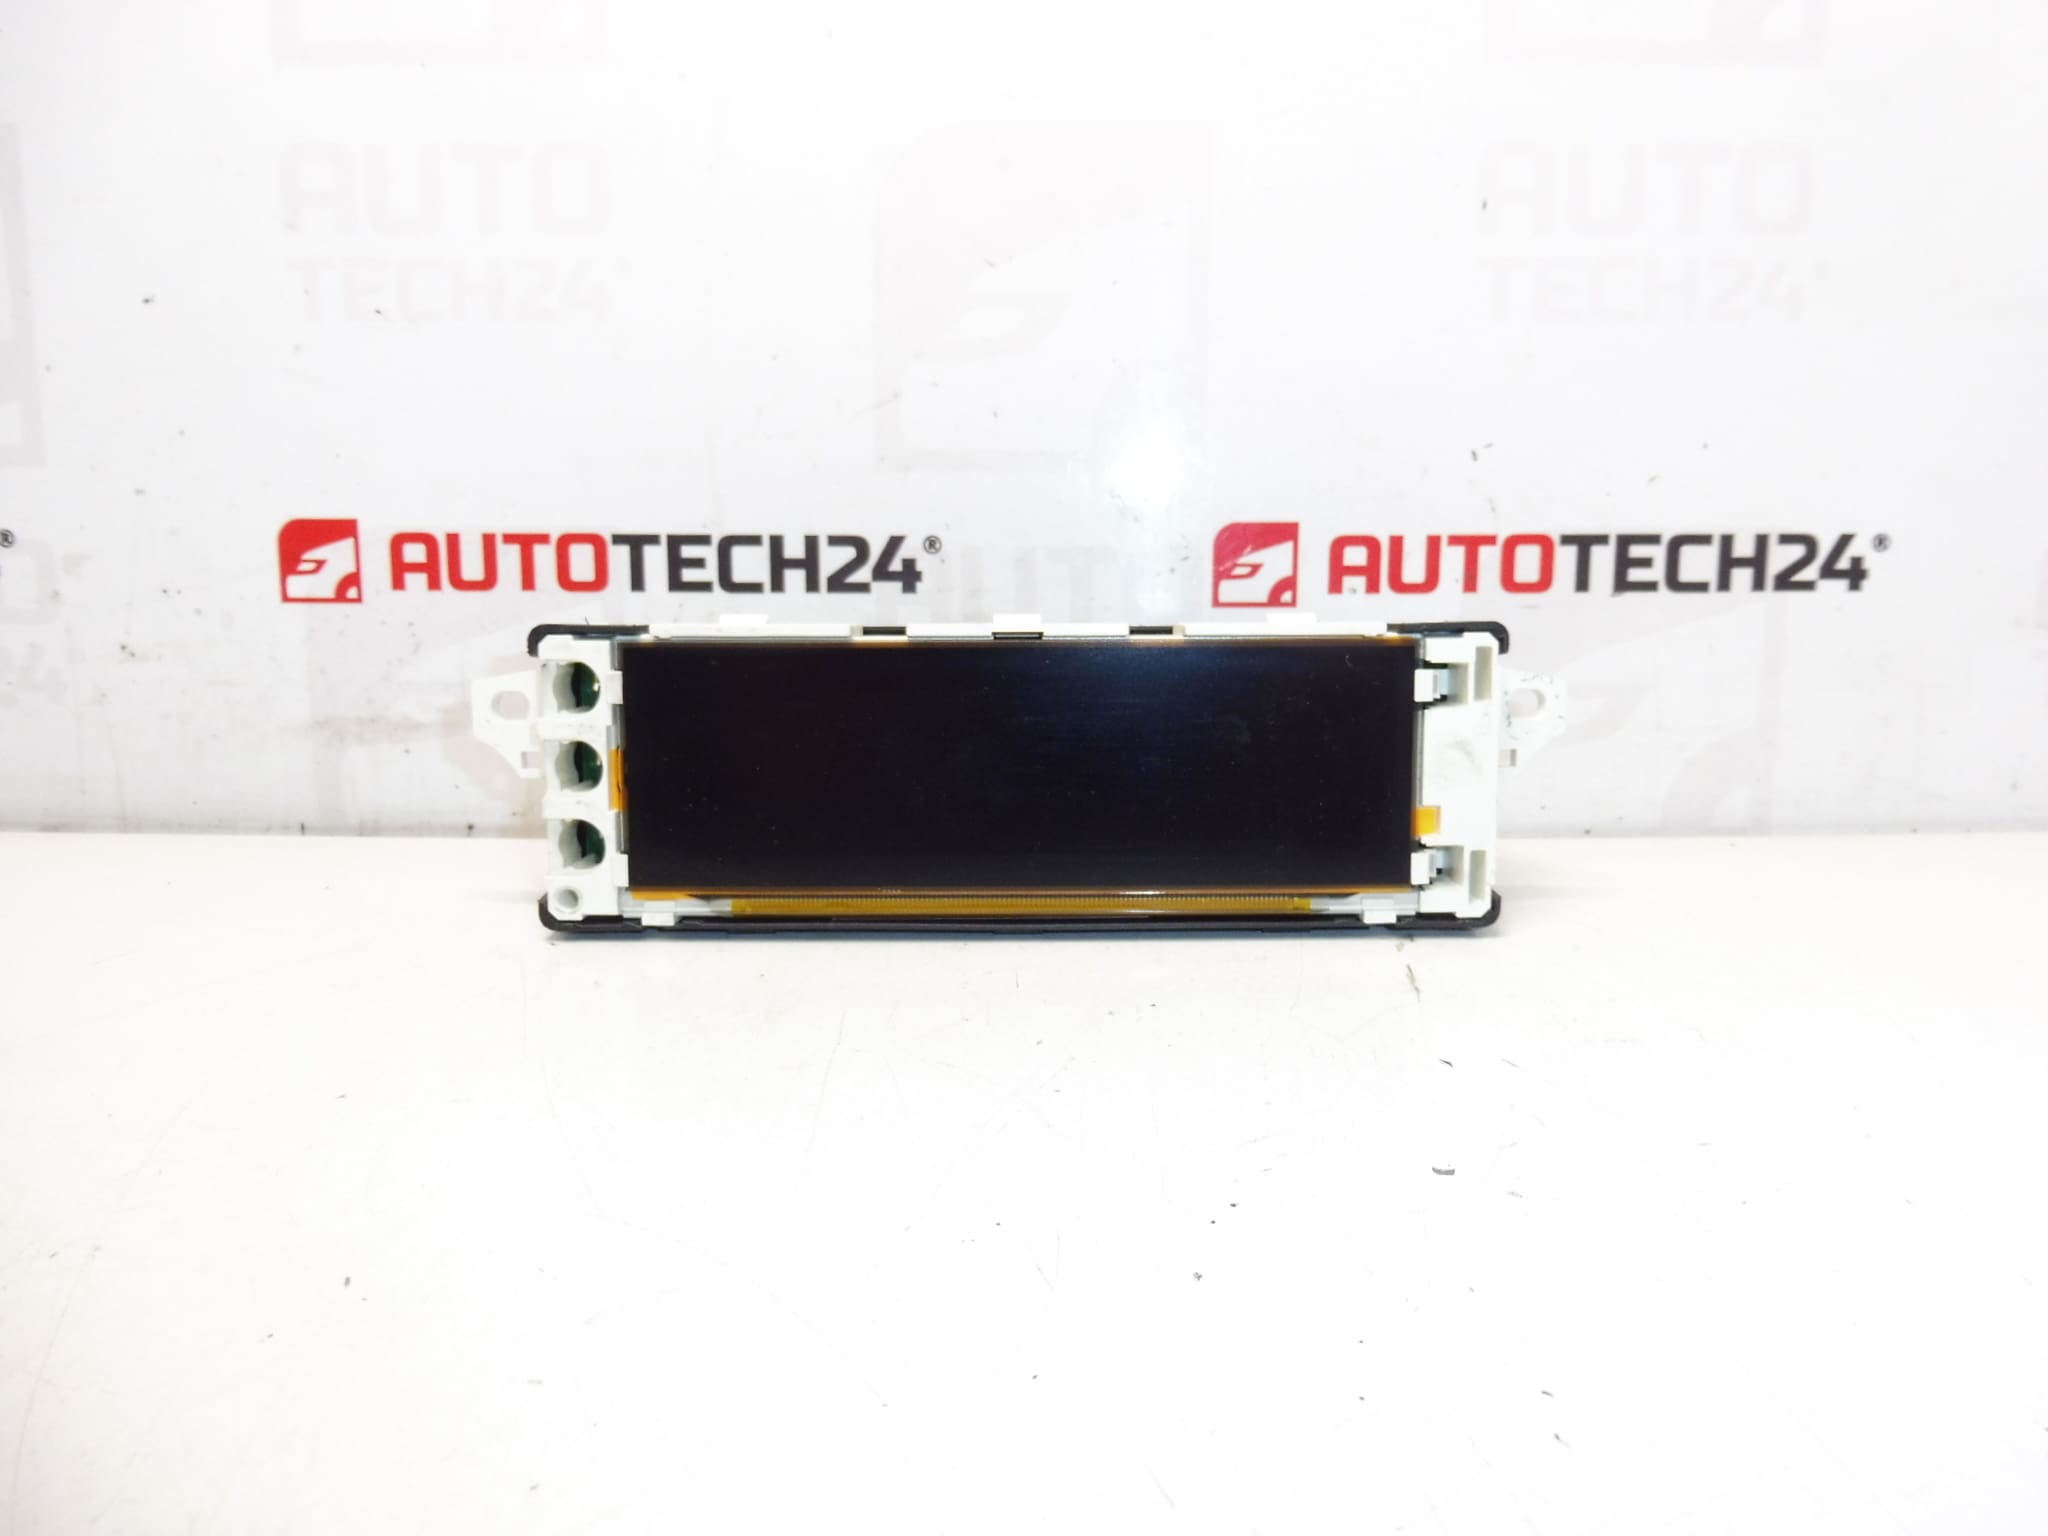
Computer radio display for PEUGEOT 207 cars
Part description
This is a radio/computer display (electric component) designed for Peugeot 207 cars. This type of display shows information from the on-board system and the radio, so matching the connectors and product codes is important. A suitable solution when replacing a non-functioning, illegible or broken display, when you want to quickly restore functionality without unnecessary compromises.
Technical information
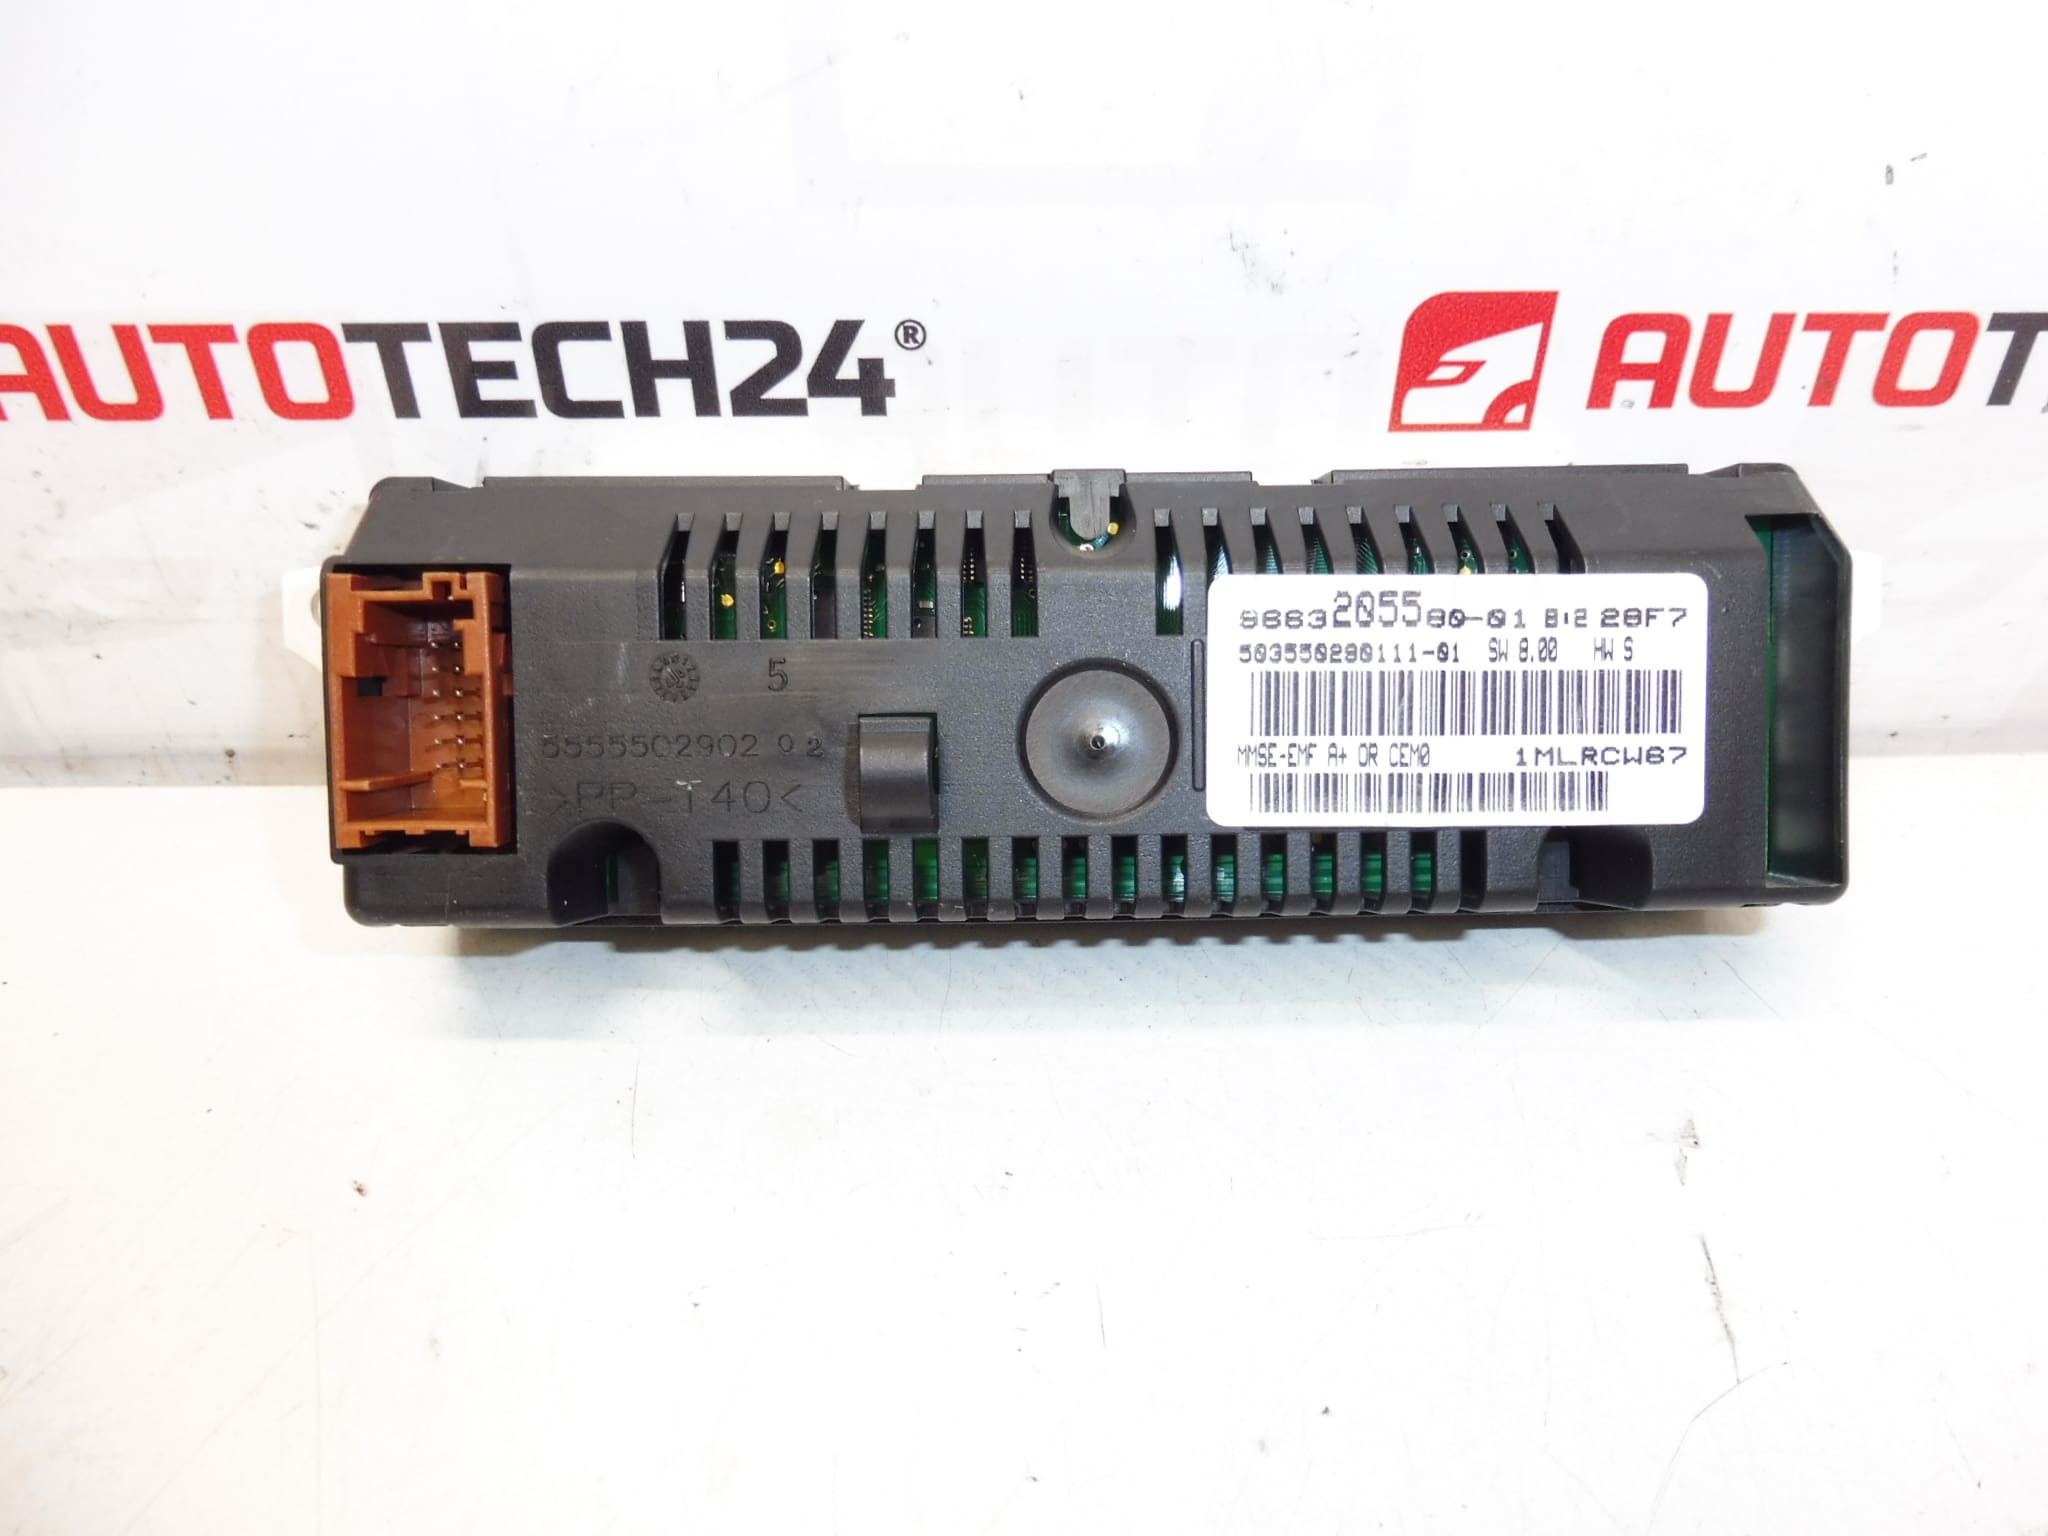
Product codes
- Product codes: 9663205580, 9663205580-01, 6593F5
Installation recommendations
Generally/typically for replacing the display (electrical part) in Peugeot 207 cars, the procedure may vary depending on the equipment and design of the dashboard. Below is a safe general procedure.
1) Before assembly
- Compare the part codes (9663205580, 9663205580-01, 6593F5) to the old part and to the label/connectors on the vehicle.
- Optically check the connectors (broken latches, bent pins, oxidation) and the condition of the display body.
- Check for damage to the viewing window/front (scratches, cracks) and for signs of moisture.
2) Necessary tools and materials
- Set of screwdrivers and/or bits (depending on design)
- Plastic crowbar for dismantling interior parts
- Clean cloth or contact cleaner (if the connectors are dirty)
- Gloves (to protect the plastics and the front surface of the display)
3) Step-by-step assembly procedure
- Turn off the ignition and allow the car’s electronics to go to rest.
- Disconnect the battery (minimize the risk of short circuits and errors in the electronics).
- Dismantle the cover strips/frame around the display using a plastic pry bar so as not to damage the plastic handles.
- Access the display mounting and carefully release it (screws/clips according to design).
- Disconnect the electrical connector(s) – do not pull on the wiring, but on the body of the connector and the fuse.
- Compare old and new (used) display: shape, mounting, connectors and part numbers.
- Connect the connector(s) to the new display and check that the fuses are properly engaged.
- Place the display in the holder and fasten it in the original way (screws/clips).
- Reassemble the frame and all the removed interior parts.
- Connect the battery.
- Turn on the ignition and verify that the display responds and displays information without interruptions.
-
4) Post-assembly checks and test drive/function verification
- Verify the readability of the display during the day and with backlighting.
- Check that the display does not turn off when shaken/touched (typically a bad connector problem).
- Driving the car for a short time and watch for display dropouts.
5) The most common assembly mistakes + how to avoid them
- Damage to plastic clips during disassembly: use a plastic pry bar and proceed in small steps.
- Not clicked connector: always check the fuse and secure seating after connection.
- Handling by the wiring: always disconnect/connect by the connector.
- Assembly without disconnecting the battery: there is a risk of a short circuit or the occurrence of errors – it is recommended to always disconnect.
Reasons why the part is damaged
- Aging of electronics (fatigue of components, cold joints) – manifested by blackouts, flickering or unreadable display.
- Oxidation and moisture in the connector area – causes intermittent contact.
- Mechanical stress during dismantling of the interior or vibrations – damage to the attachment or connectors.
- Voltage fluctuations in the on-board network – can accelerate the degradation of electronic parts.