Description
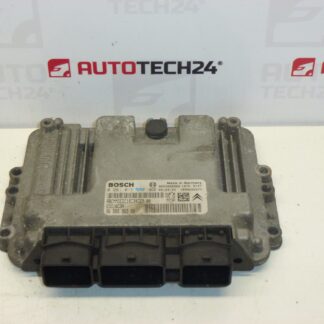
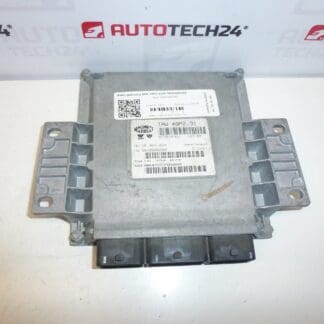
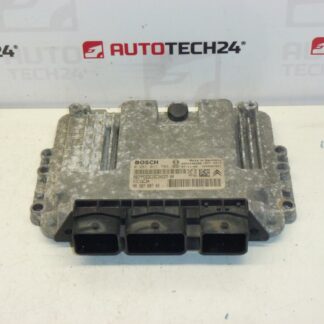
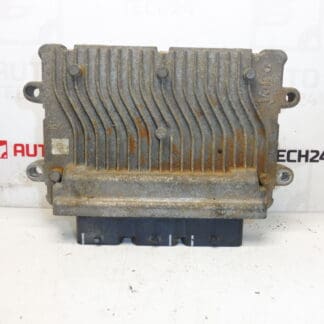
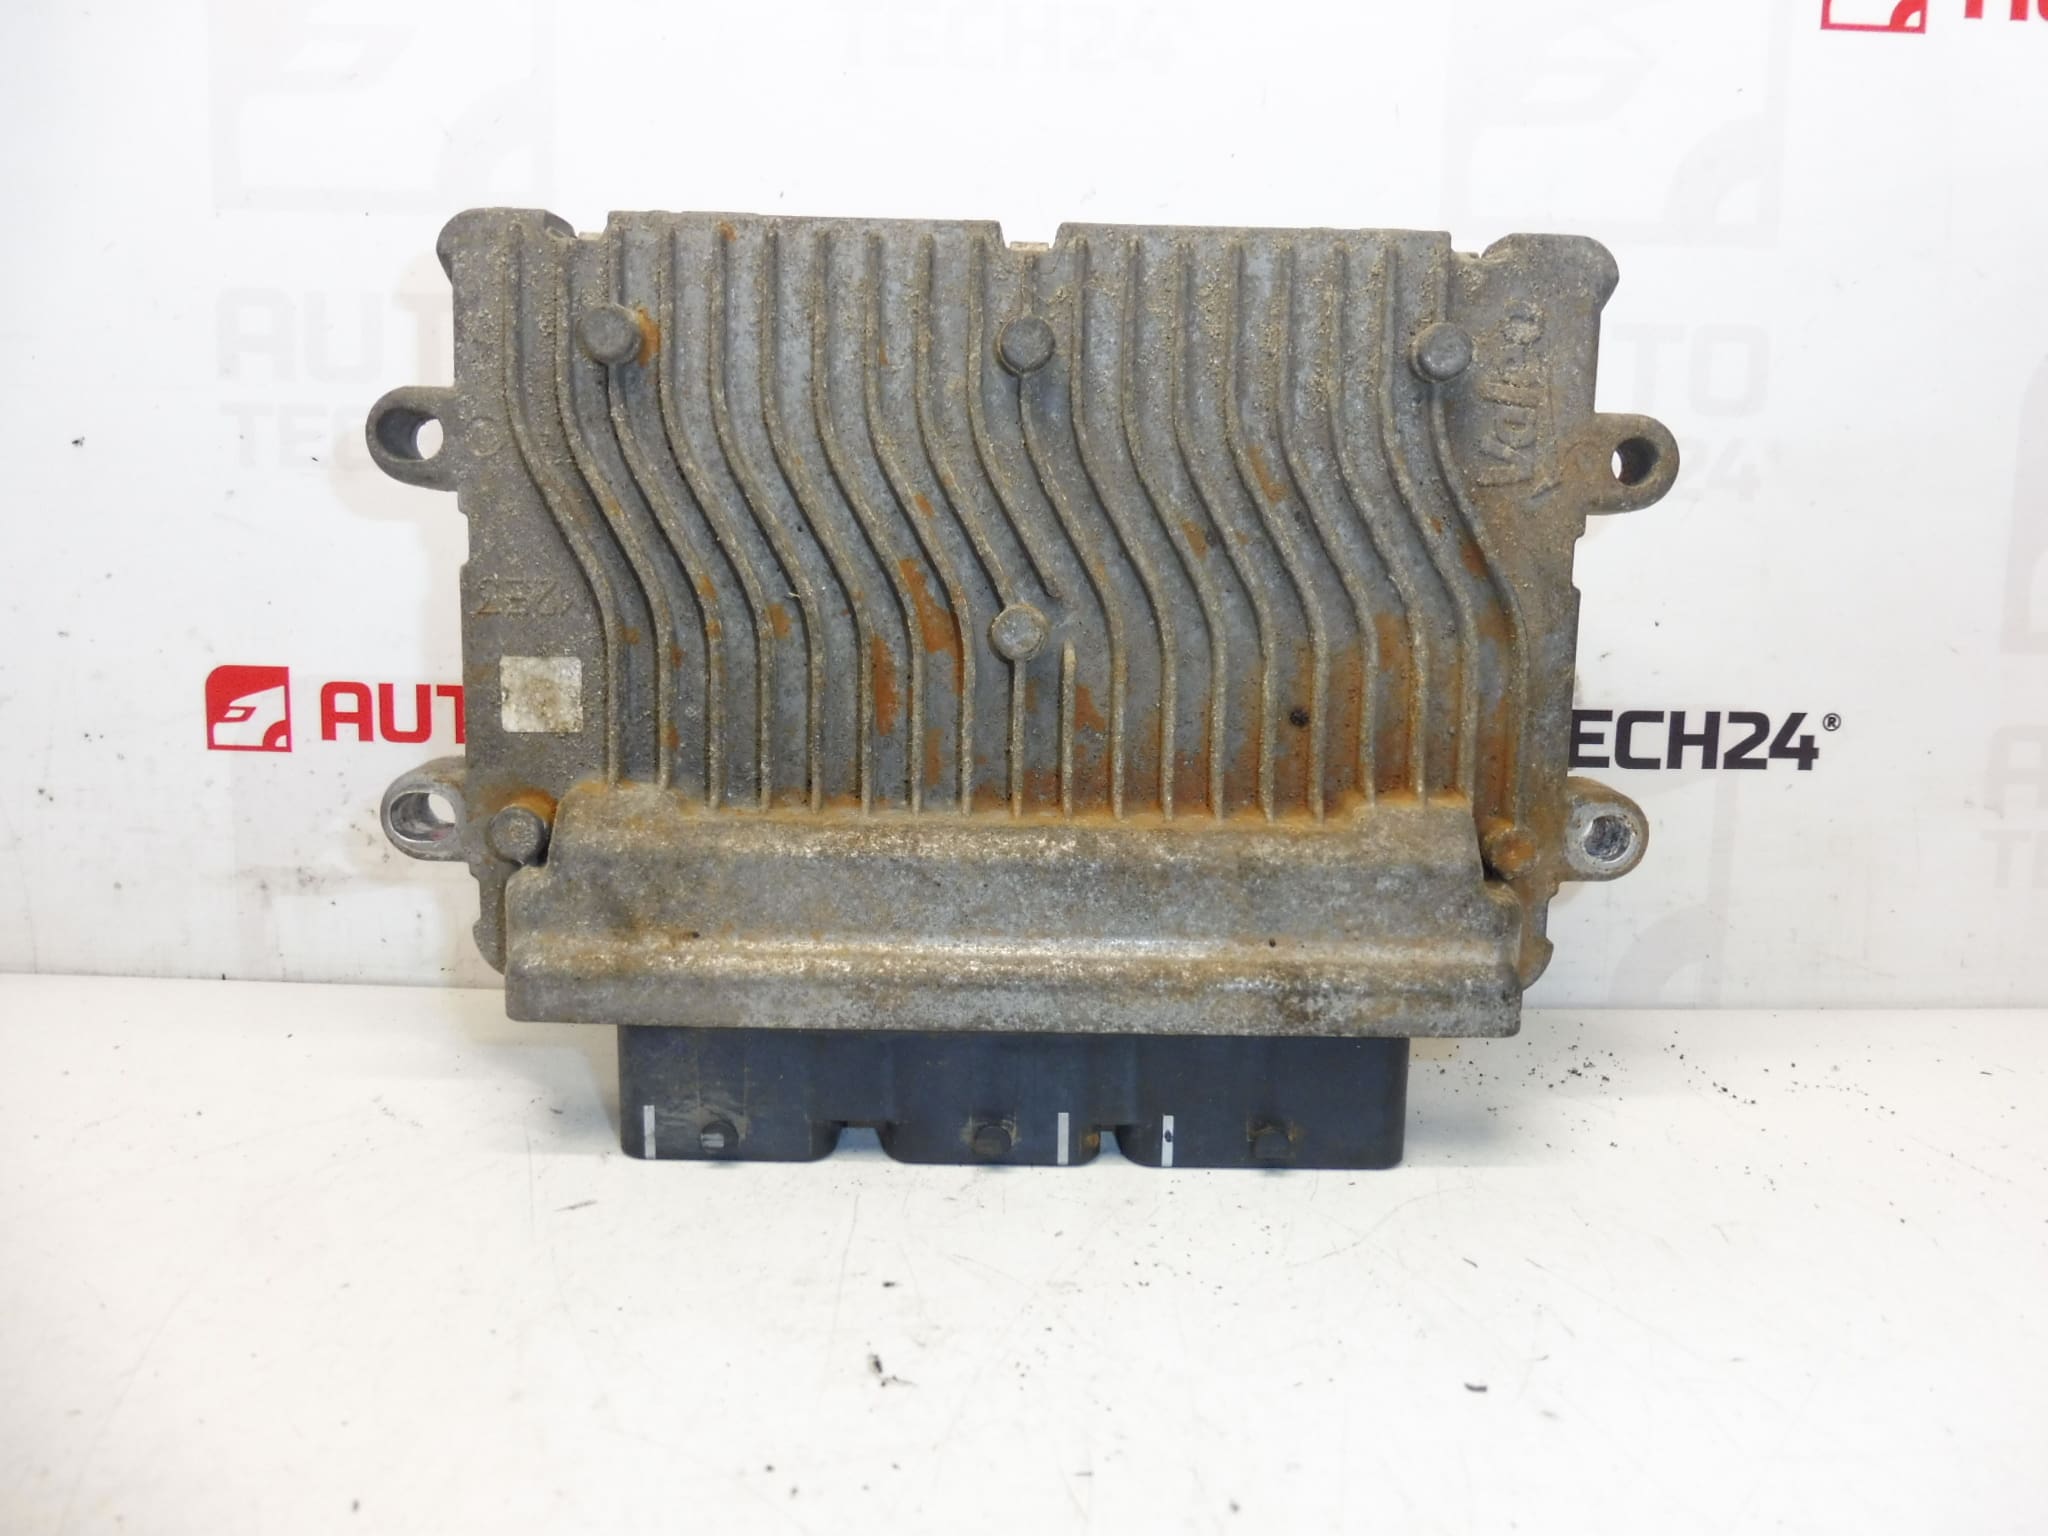
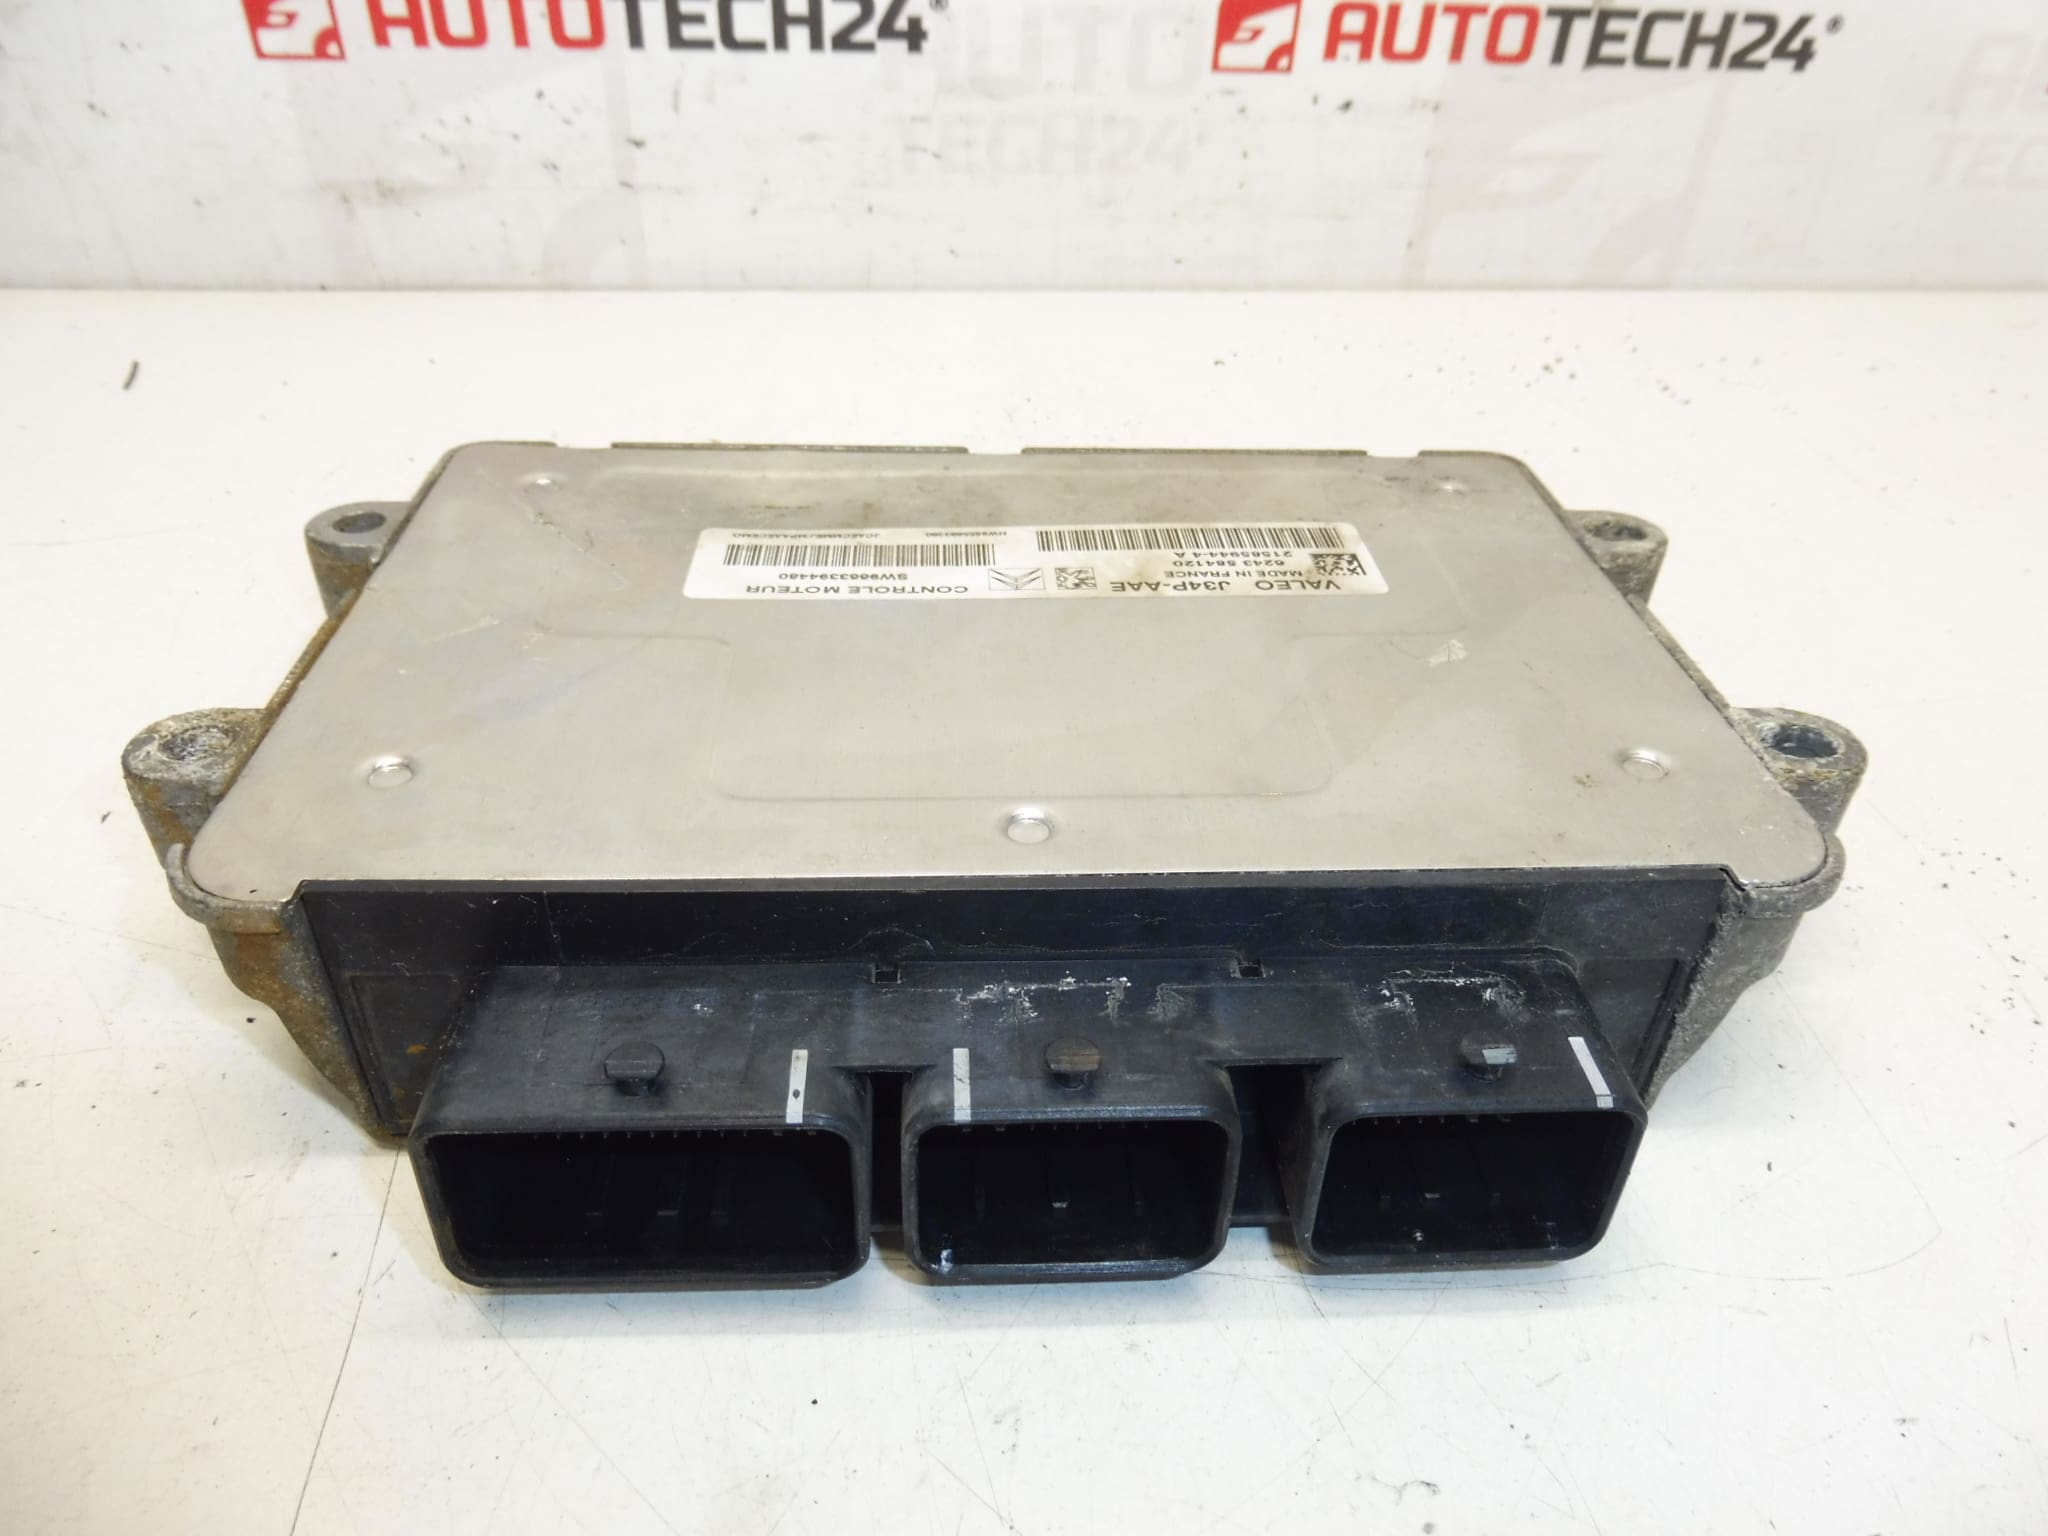
JOHNSON CONTROLS J34P engine injection control unit for CITROEN PEUGEOT cars
It is from a PEUGEOT 206 2006 1.4 55kw KFW
Part description
This injection control unit is designed for Citroën and Peugeot cars and is marked J34P. It is an important electronic part that ensures the control of the engine and the cooperation of the injection system with other systems of the car. For used car parts, the search is often based on the serial number, so it is essential to compare all the listed codes when choosing.
The unit comes from a Peugeot 206. For mechanics and home repairers, this part is a suitable choice, especially in cases where it is necessary to replace a non-functioning original ECU with a corresponding used part with the same marking.
Technical information
- Manufacturer: Johnson Controls / Valeo
- Model: J34P
- Other numbers: 9655883280, 9663394480, 194222, 1943PE, NFP
Product codes
- Product codes: 9655883280, 9663394480, 194222, 1943PE
- Models from labels and documents: Peugeot 206
Installation recommendations
Warning: the procedure below is based on general practice typically for injection control units. The exact steps may vary depending on the specific design of the car and its wiring.
1) Before assembly
- Compare the new and original unit designations, especially J34P and all product numbers.
- Check the condition of the connectors, pins and cover of the unit.
- Check that the used part has no cracks, traces of moisture, corrosion or mechanical damage.
- Before starting work, disconnect the battery and wait until the car’s electrical system is completely asleep.
2) Necessary tools and materials
- common hand tools
- set of screwdrivers and heads
- cleaning agent for electrical contacts
- protective gloves
- diagnostic equipment for subsequent function verification
3) Step-by-step assembly procedure
- Turn off the ignition and disconnect the battery.
- Ensure access to the original control unit according to the car design.
- Disconnect the electrical connectors carefully so as not to damage the latches or pins.
- Unmount the original unit and remove it from the bracket.
- Compare old and used part by label, connectors and design.
- If necessary, gently clean the connectors with a suitable electrical contact cleaner.
- Place the used unit in place and fix it in the same way as the original piece.
- Connect all connectors carefully and without using force.
- Reconnect the battery.
- Do a basic check of the electrical system after turning on the ignition.
- Use diagnostics to verify unit communication and basic system functionality.
- If necessary, perform the necessary software steps to commission the unit.
-
4) Post-assembly checks and test drive/function verification
- Check if the unit is communicating with diagnostics.
- Verify that the connectors hold firmly and there is no intermittent contact anywhere.
- Monitor engine behavior after starting and basic operating stability.
- After assembly, it is advisable to carry out a test drive and then check again for any stored defects.
5) The most common assembly mistakes + how to avoid them
- Unit swapping by incomplete number – always compare all markings on the label.
- Damage to the connectors – do not disconnect the connectors by force and check the condition of the latches.
- Assembly without disconnecting the battery – there is a risk of damage to the electronics, so always disconnect the power supply first.
- Overview of contact oxidation – check the cleanliness and condition of the electrical connections before assembly.
- Underestimation of software customization – this type of part may require professional diagnostic intervention.
Assembly and Coding – Important
- The unit is used and is “paired” with the original car (VIN/PIN/keys).
- Commissioning options:
- Cloning data from the old drive (EEPROM/Flash) – after the clone, the drive is plug and play.
- Virginization and subsequent initialization/telecoding via DiagBox (possibly online) + customization of keys.
- Recommended to be performed by an expert with PSA service equipment (DiagBox/Lexia/PP2000).
- Always disconnect the battery before disassembly/assembly and follow the manufacturer’s procedure to avoid damaging the unit.
Reasons why the part is damaged
- voltage fluctuations in the on-board network or power supply problems
- moisture, water ingress or long-term exposure to corrosion
- mechanical damage during unprofessional disassembly or assembly
- damage to connectors, pins or wiring
- internal electronic defect caused by age and thermal stress