Description
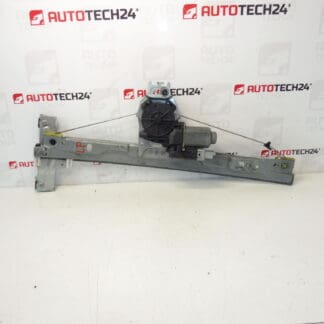
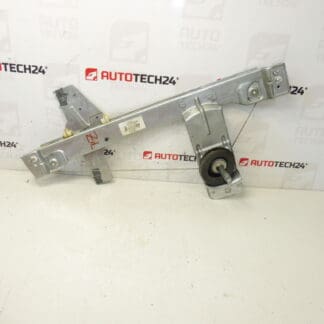
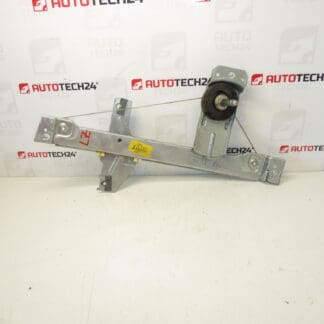
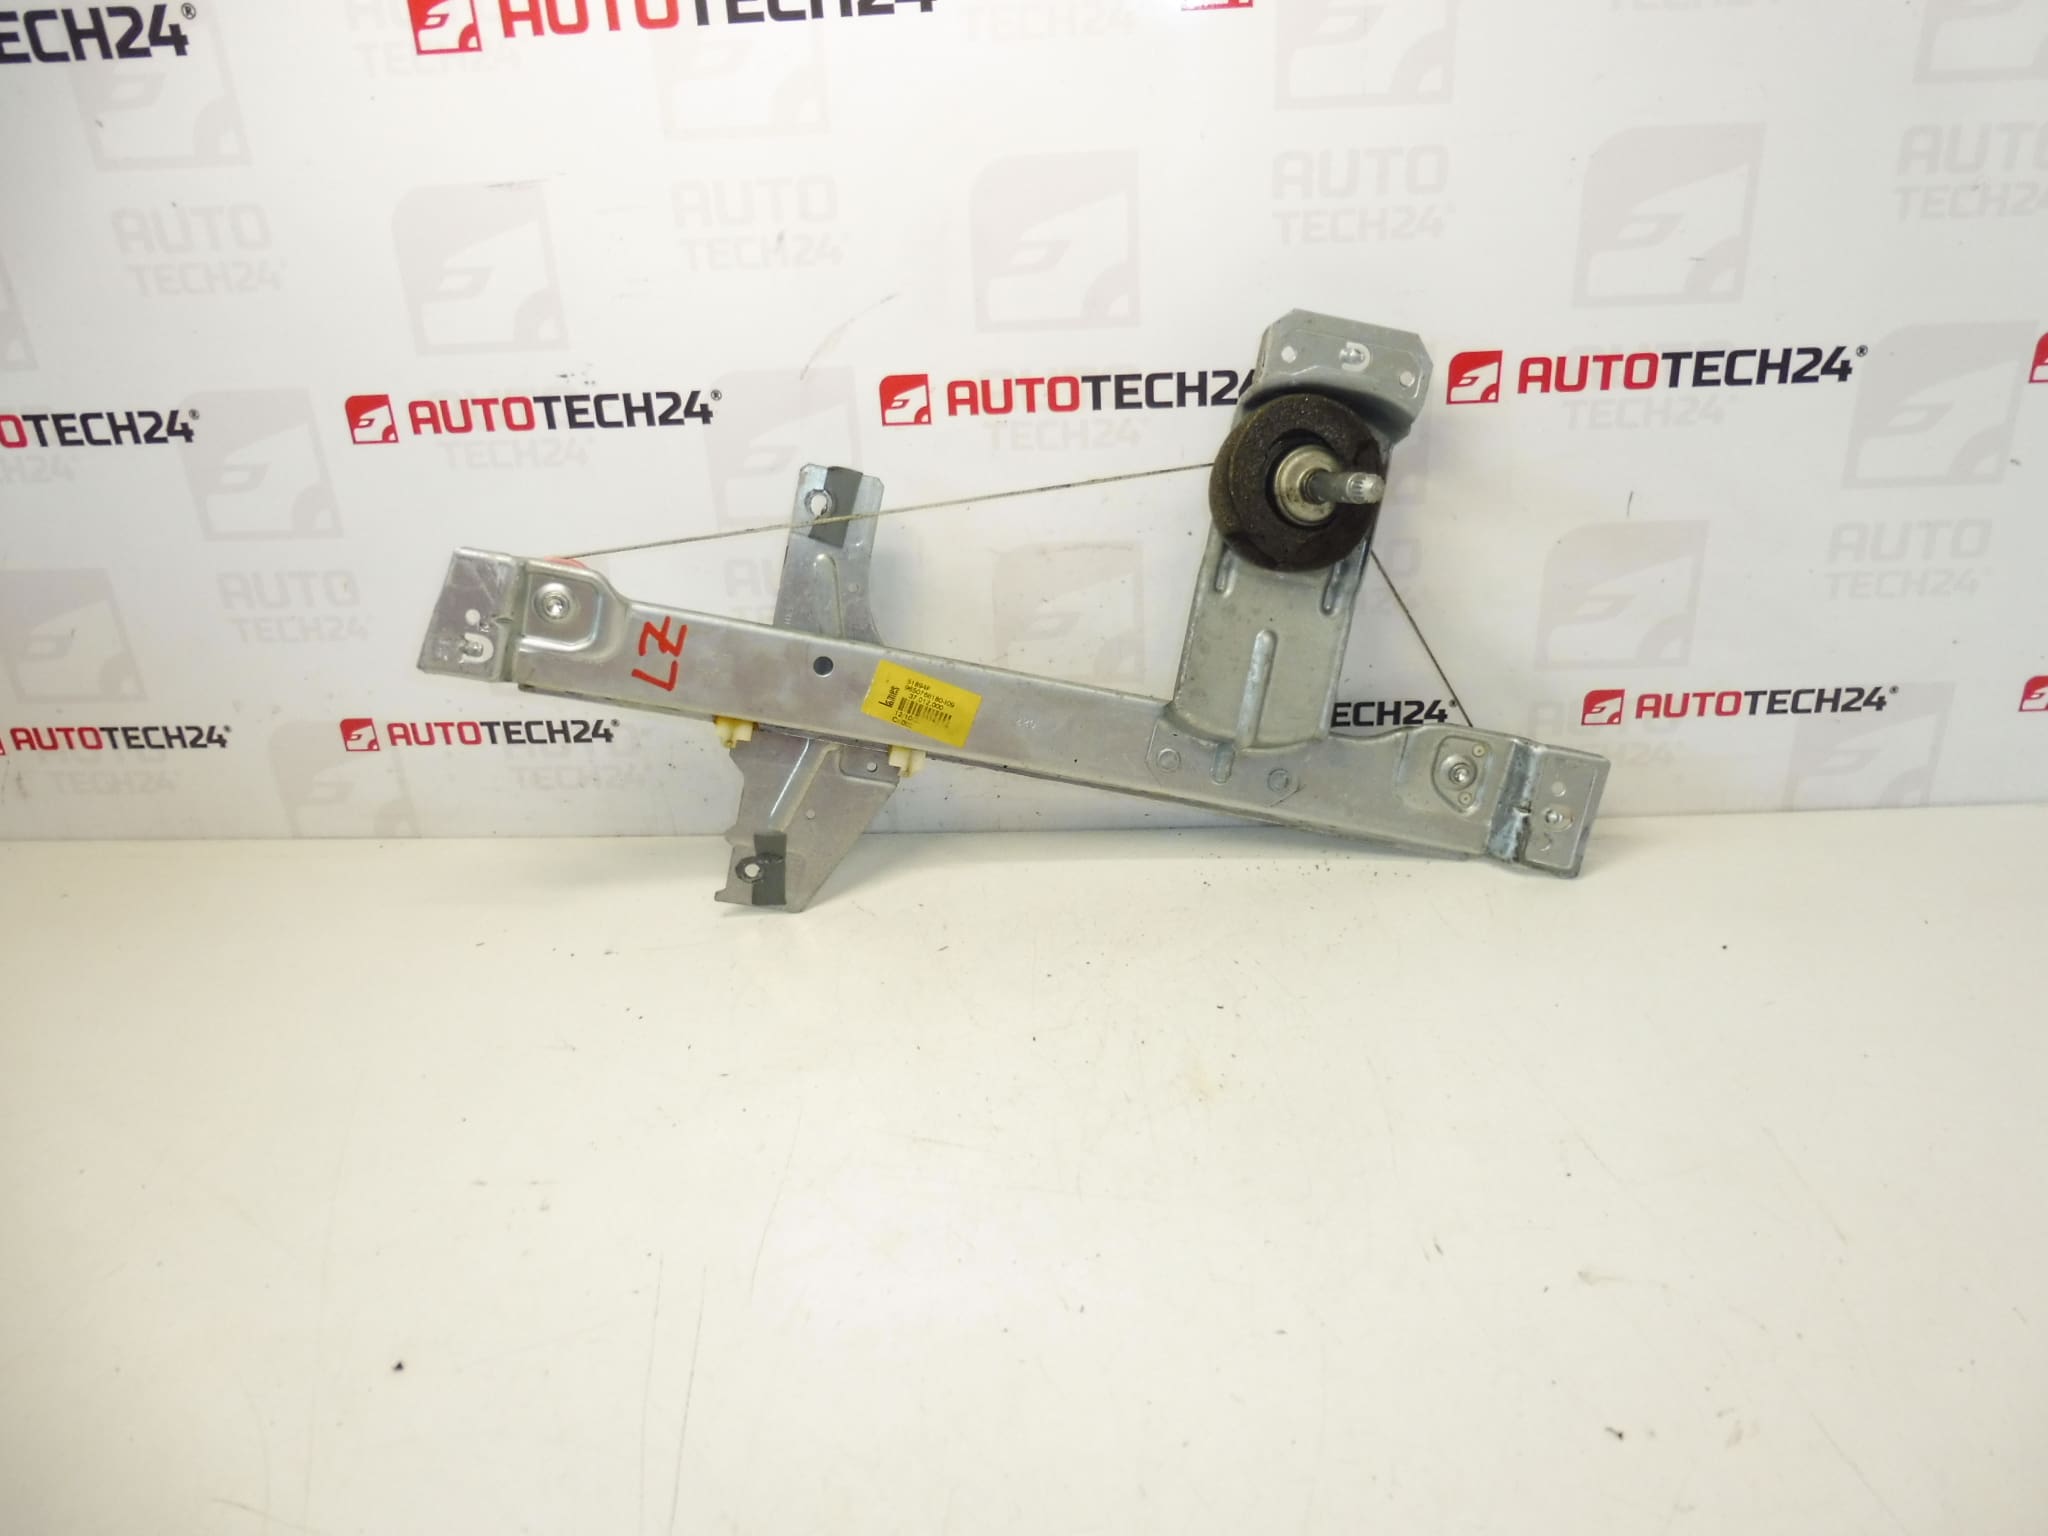
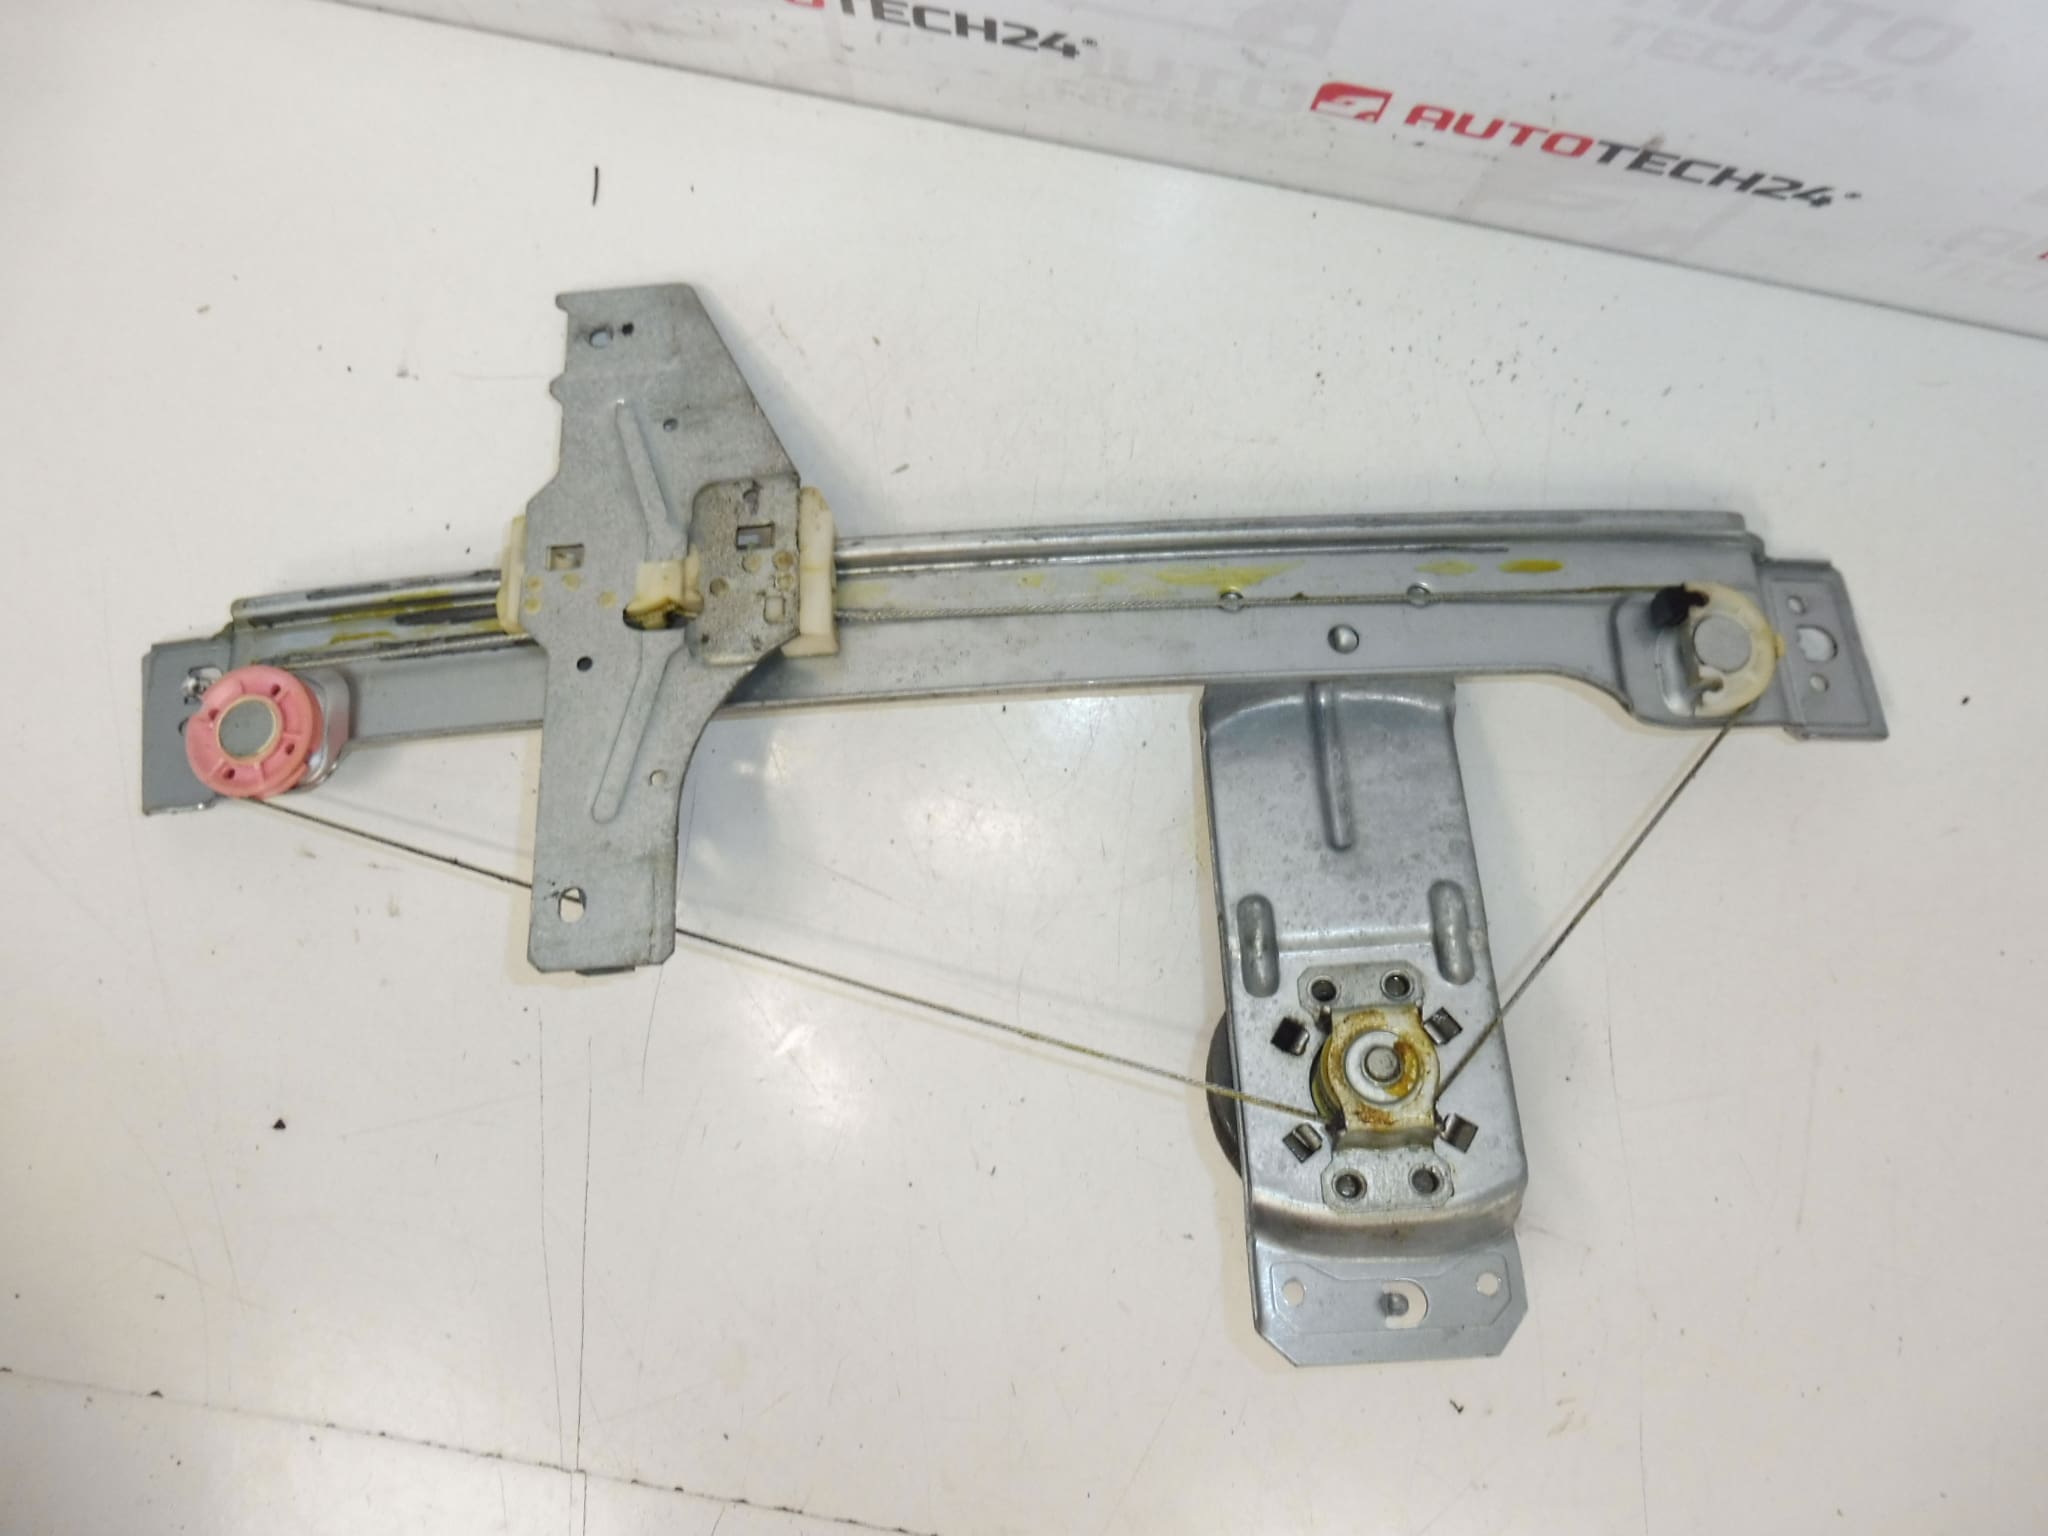
Left rear window regulator mechanism for PEUGEOT 207. Mechanical window regulator for the rear door behind the driver.
High-quality replacement window regulator designed for Peugeot 207 vehicles. This mechanical window lifter (part numbers 9650768180 / 9223A3) restores reliable manual/regulated movement of the rear door glass behind the driver. Ideal for professional workshops and DIY mechanics who need a direct-fit solution that addresses common failures such as worn sliders, broken cables or seized guides. Clear fitment by part number makes this unit easy to locate in search engines and workshop catalogs.
Technical Information
- Manufacturer: Stellantis (Peugeot)
- Model: Peugeot 207
- Product Codes: 9650768180
- Other Numbers: 9223A3
Compatibility And Fitment
Fits Peugeot 207 rear door behind the driver (left rear installation). Confirm compatibility by matching the OEM product codes 9650768180 or 9223A3 to the vehicle’s existing part. Designed as a direct-replacement regulator mechanism for models equipped with the corresponding mechanical window system.
How To Replace
- Remove the interior door trim and any vapor barriers to expose the regulator assembly.
- If the door has an electric motor, disconnect the battery before beginning work to avoid short circuits or accidental operation. For strictly mechanical regulators, proceed after ensuring safe support of the glass.
- Detach the window glass from the regulator—support or clamp the glass to prevent it from dropping.
- Unbolt the regulator assembly from the door shell and disconnect any linkages or fasteners.
- Install the replacement regulator in reverse order: secure mounting points, reconnect linkages, refit glass and verify smooth travel and alignment.
- Reassemble the door trim only after fully testing operation across the entire travel range.
Installation Recommendations
- Use correct-size fasteners and torque them to manufacturer specifications to avoid loosening or deformation.
- Lubricate guide rails and sliding points with a suitable long-life grease to reduce wear and noise.
- Replace any damaged clips, sliders or seals found during disassembly to ensure long-term reliability.
- Check glass alignment and free travel before refitting trim; test several cycles to confirm smooth operation.
- When an electric motor is present, verify the electrical connector is corrosion-free and secure; disconnect battery before reconnecting.
Most Common Failure Reasons
Window regulators typically fail due to wear of plastic sliders and guide rails, frayed or broken cables, corrosion from moisture ingress, or damage from impact (door dents or accidental force). Heavy daily use and lack of lubrication accelerate wear. Early signs include jerky movement, unusual noise, glass misalignment or the window becoming stuck.
Order this Peugeot 207 left rear window regulator by OEM numbers 9650768180 / 9223A3 for a straightforward repair that gets the rear door glass moving smoothly again.