Description
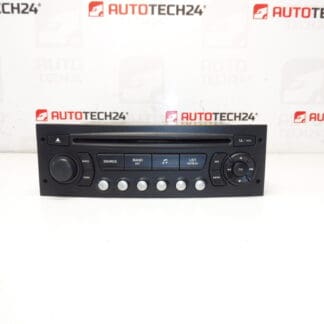
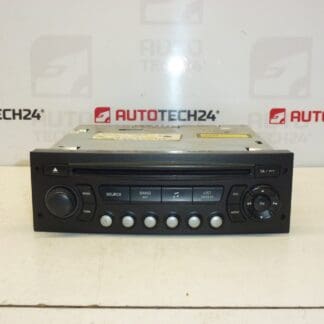
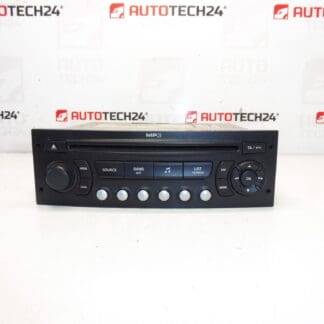
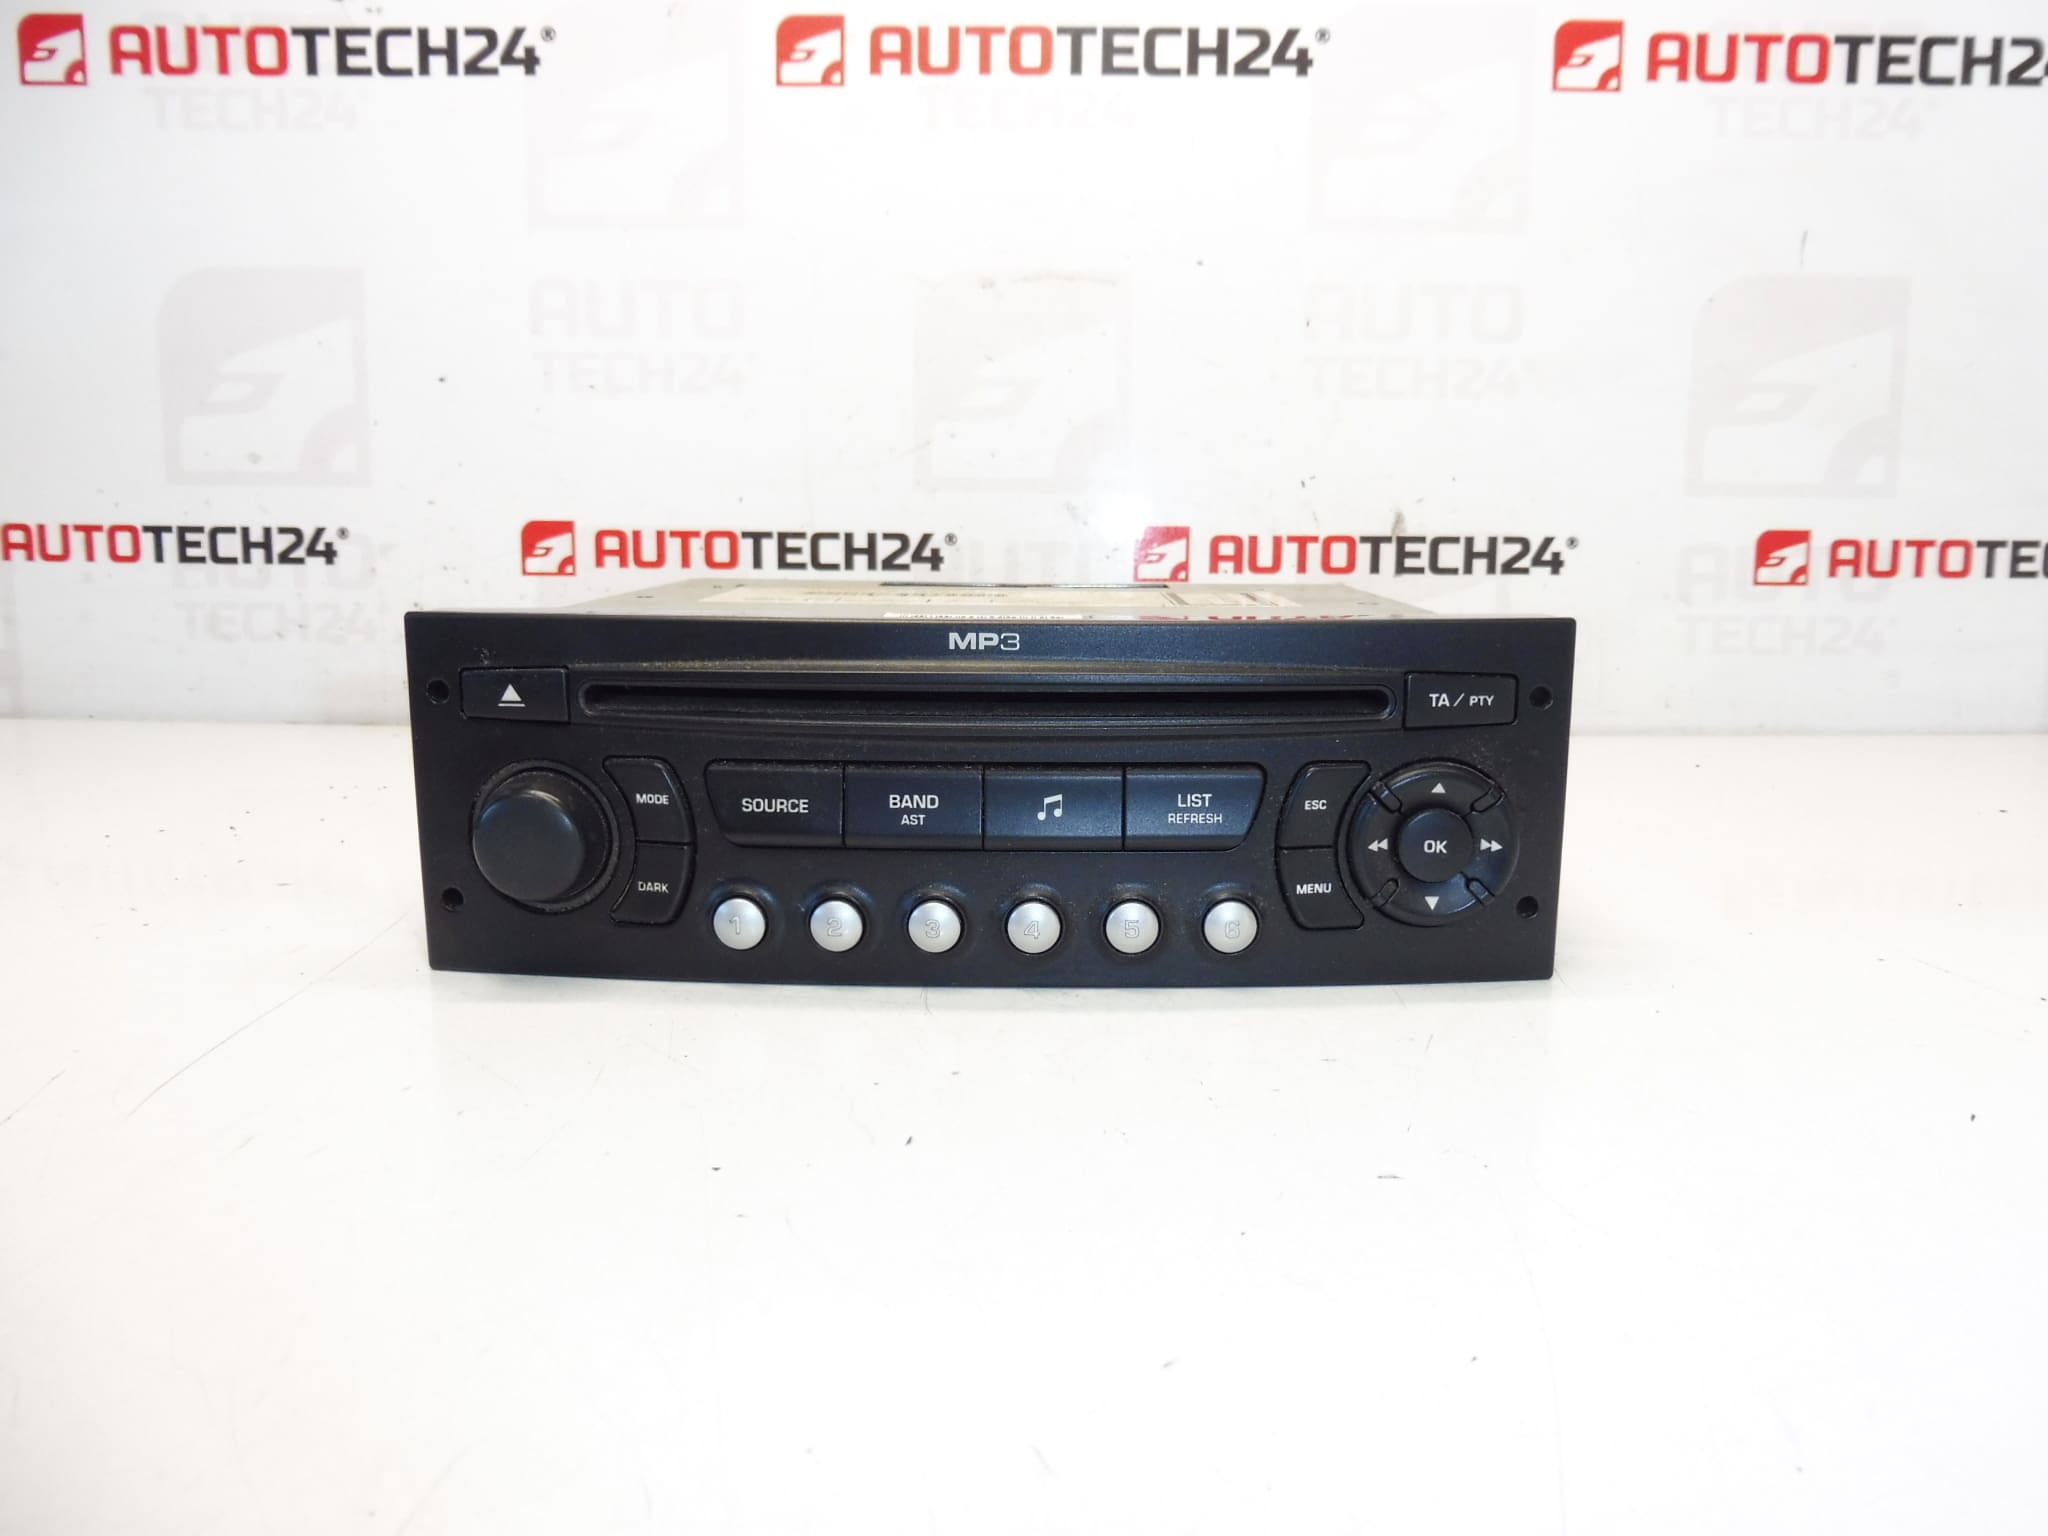
CONTINENTAL RD4N1M CD car radio with MP3 for CITROEN and PEUGEOT cars
The radio must be added to the car through diagnostics
Part description
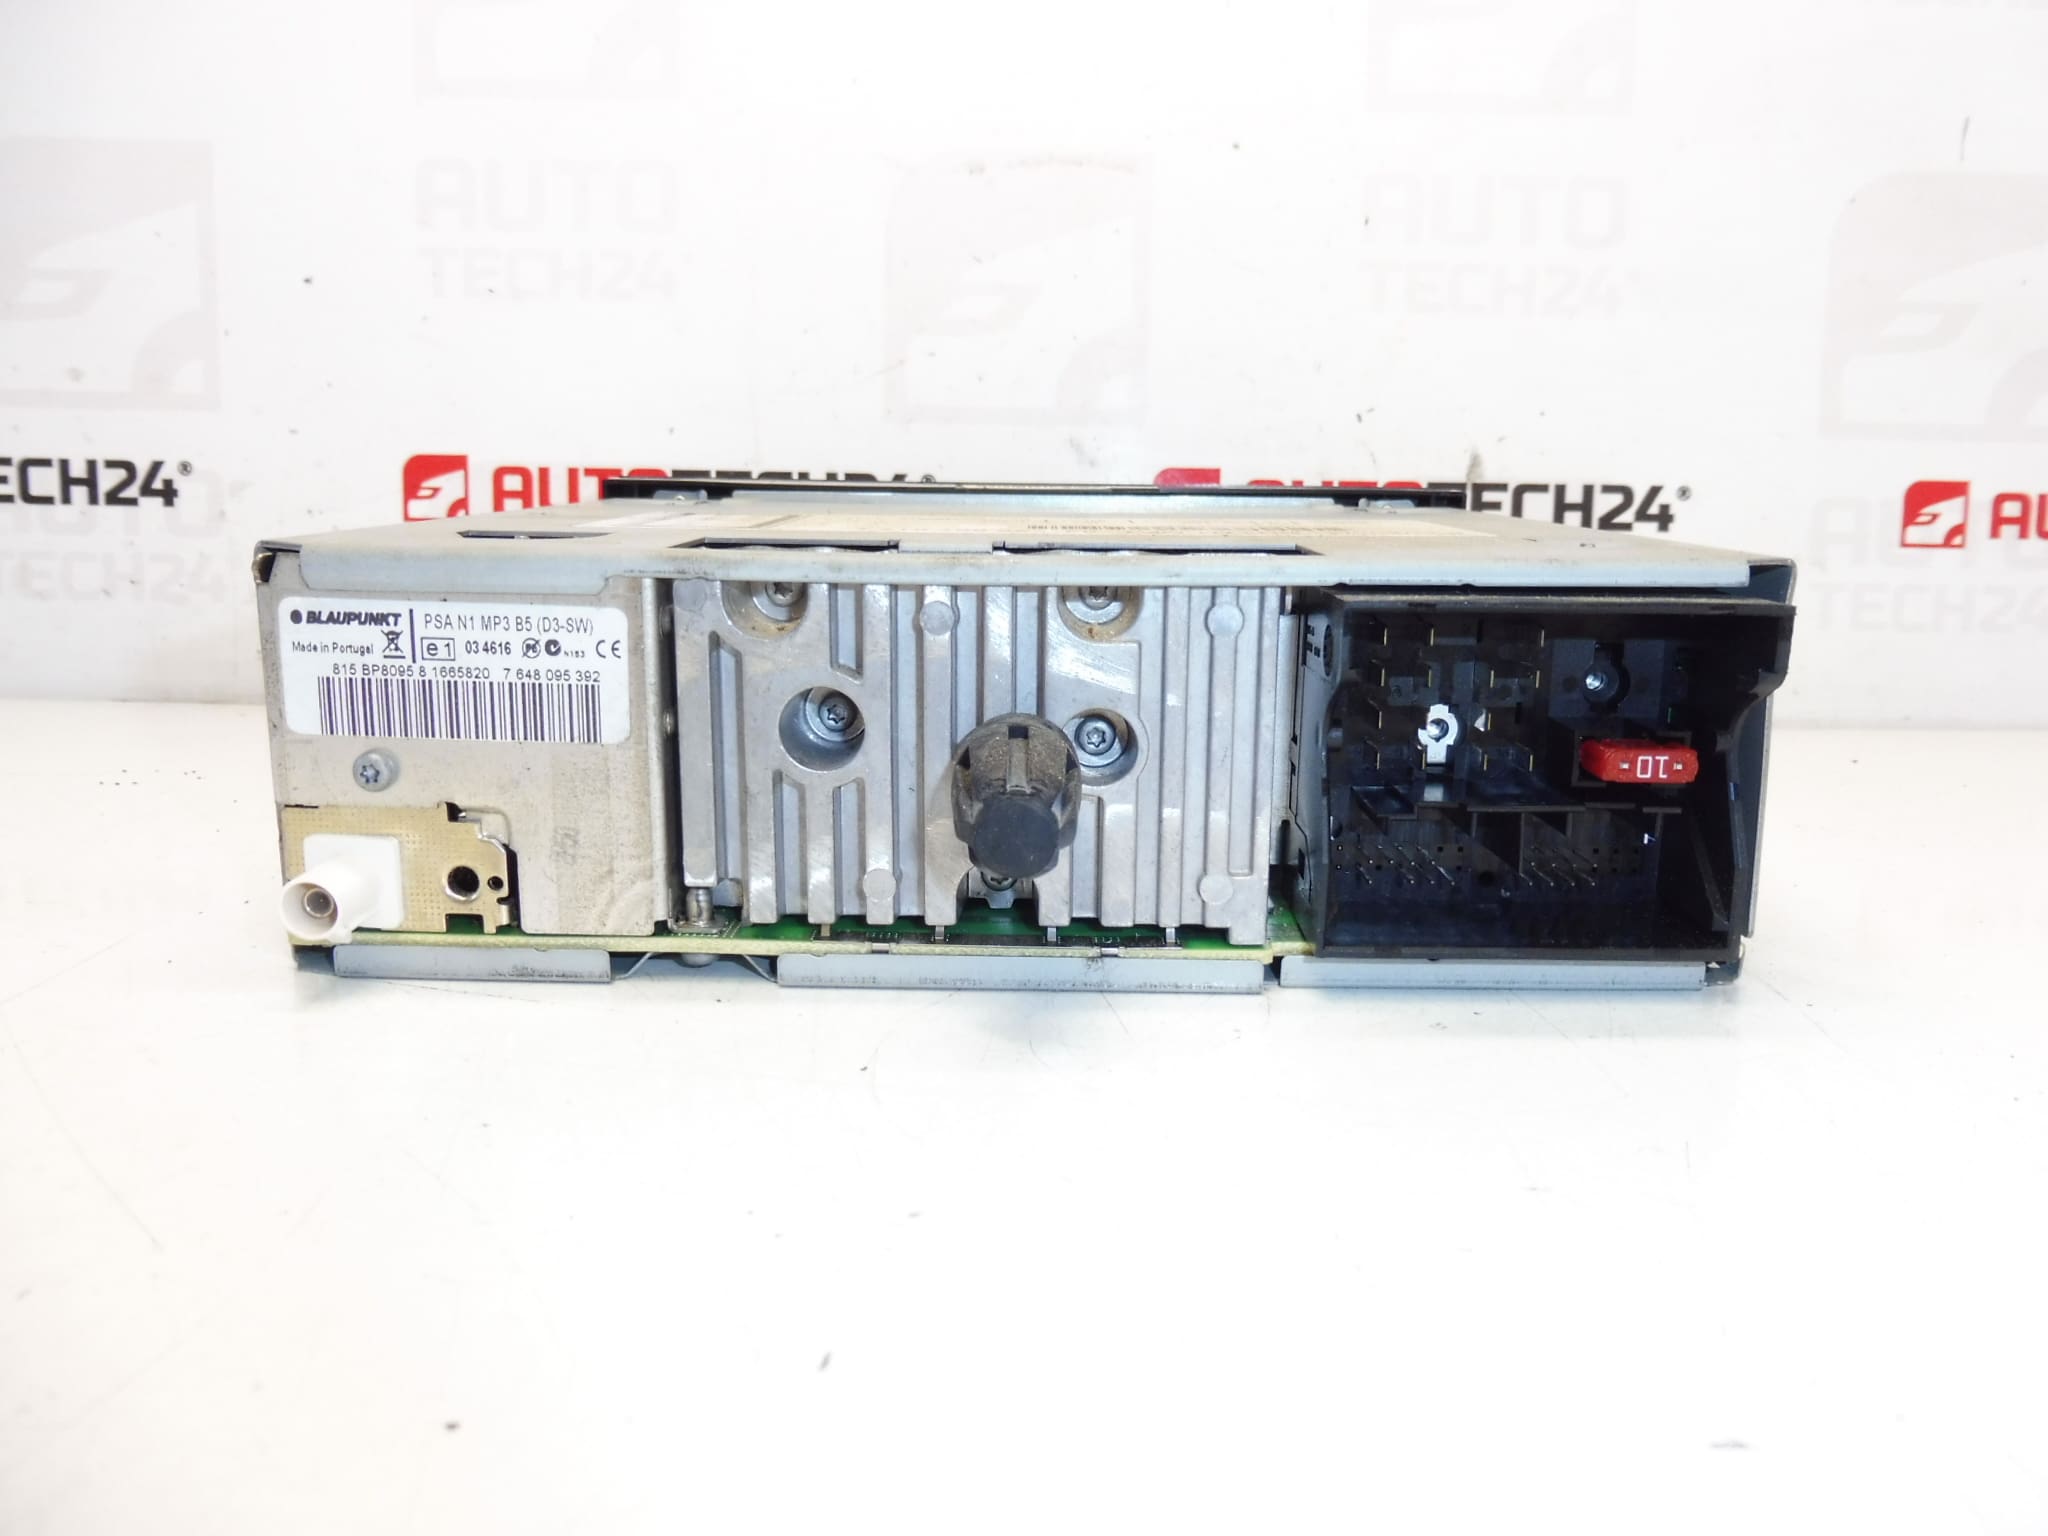
The used car radio with CD and MP3 support is suitable for Citroën and Peugeot cars. This is an original part of the manufacturer CONTINENTAL in the design RD4N1M, which is also often searched for by production numbers. It is important for auto mechanics and home repairs to know that after assembly, the radio needs to be added to the car with diagnostics, as stated in the documents.
This type of car radio is intended as a replacement for the original malfunctioning or damaged unit. The advantage is original processing, preservation of the appearance of the interior and compatibility of functions corresponding to the given type of radio.
Technical information
- Manufacturer: CONTINENTAL
- Model: RD4N1M CD with MP3
- Other numbers: 9665751777, 657992, 657990, 657989, 657937, 657935, 657934, 6579PC
Product codes
- Product codes: 9665751777, 657989, 657992, 657990, 657937, 657935, 657934, 6579PC
- Models from the documents: Citroën C4, 207, 307 II, 807, C2, C3 I, C8
Installation recommendations
Generally/typically for car radio replacement in this category, the exact procedure may vary depending on the specific model and design of the car. With this piece, according to the documents, it is also necessary to add the radio to the car with diagnostics after assembly.
1) Before assembly
- Check that the markings of the original and new part match, especially RD4N1M and product numbers.
- Compare the connectors, mounting points and faceplate with the old radio.
- Check the condition of the connectors, whether they are damaged, oxidized or mechanically deformed.
- Verify that the used part is not damaged in the area of the front panel, buttons, display or connector part.
2) Necessary tools and materials
- common disassembly tools for interior parts
- tools for removing the car radio, if required by the system
- cleaning agent for electrical contacts
- soft cloth
- diagnostic equipment for connecting the radio to the car
3) Step-by-step assembly procedure
- Turn off the ignition and disconnect the battery according to normal service practice before starting work.
- Dismantle the cover or surrounding interior elements so that access to the car radio is safe and without damaging the plastics.
- Remove the original car radio using a suitable tool.
- Disconnect electrical connectors and antenna connections, checking their condition.
- Compare the dismantled part with the spare part according to the label, numbers and connector designs.
- If necessary, carefully clean the contacts and check that the connection is free of dirt and signs of overheating.
- Connect the connectors and antenna to the new car radio without using excessive force.
- Sit the radio into the mounting position and check that the wiring is not pinched anywhere.
- Mechanically secure the radio in the correct position.
- Connect the battery and perform a basic power check of the unit.
- Use diagnostics to flash the radio to the car, as it may not work properly without this step.
- After successful initialization, verify basic radio functions, control and playback.
-
4) Post-assembly checks and test drive/function verification
- Check if the radio turns on correctly and communicates with the car.
- Verify CD drive function, MP3 playback and control response.
- Check reception quality and power stability during normal operation.
- Watch for blackouts, restarts or interference while driving.
5) The most common assembly mistakes + how to avoid them
- Part exchange based on similar appearance – always compare the label and product codes.
- Damage to the connectors when plugging in – insert the connectors straight and without force.
- Pinch of wiring when radio is inserted – check cable routing before final seating.
- Skip diagnostic pass-through – this step is required for this radio according to the documentation.
- Assembly without checking the condition of the contacts – dirty or oxidized contacts can cause unstable operation.
Reasons why the part is damaged
- normal wear and tear of electronics and mechanical parts during long-term use
- damage to the CD drive by careless handling or by inserting unsuitable media
- voltage fluctuations in the vehicle’s electrical system
- oxidation or contamination of electrical contacts
- unprofessional disassembly or assembly that damages the connectors, front panel or internal electronics
- moisture, dust or long-term thermal stress in the interior of the car