Description
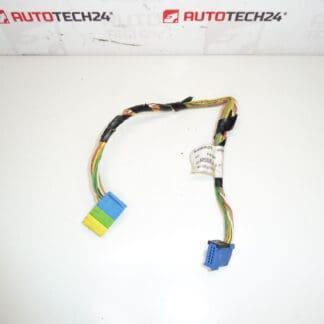
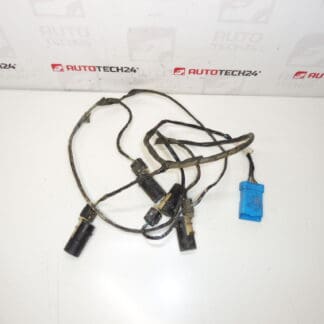
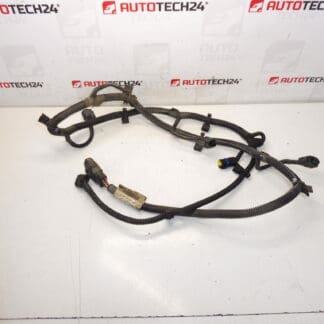
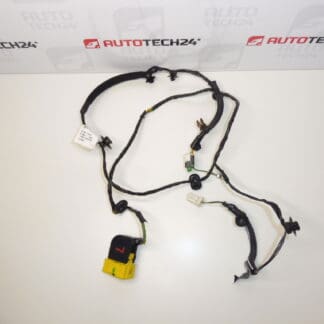
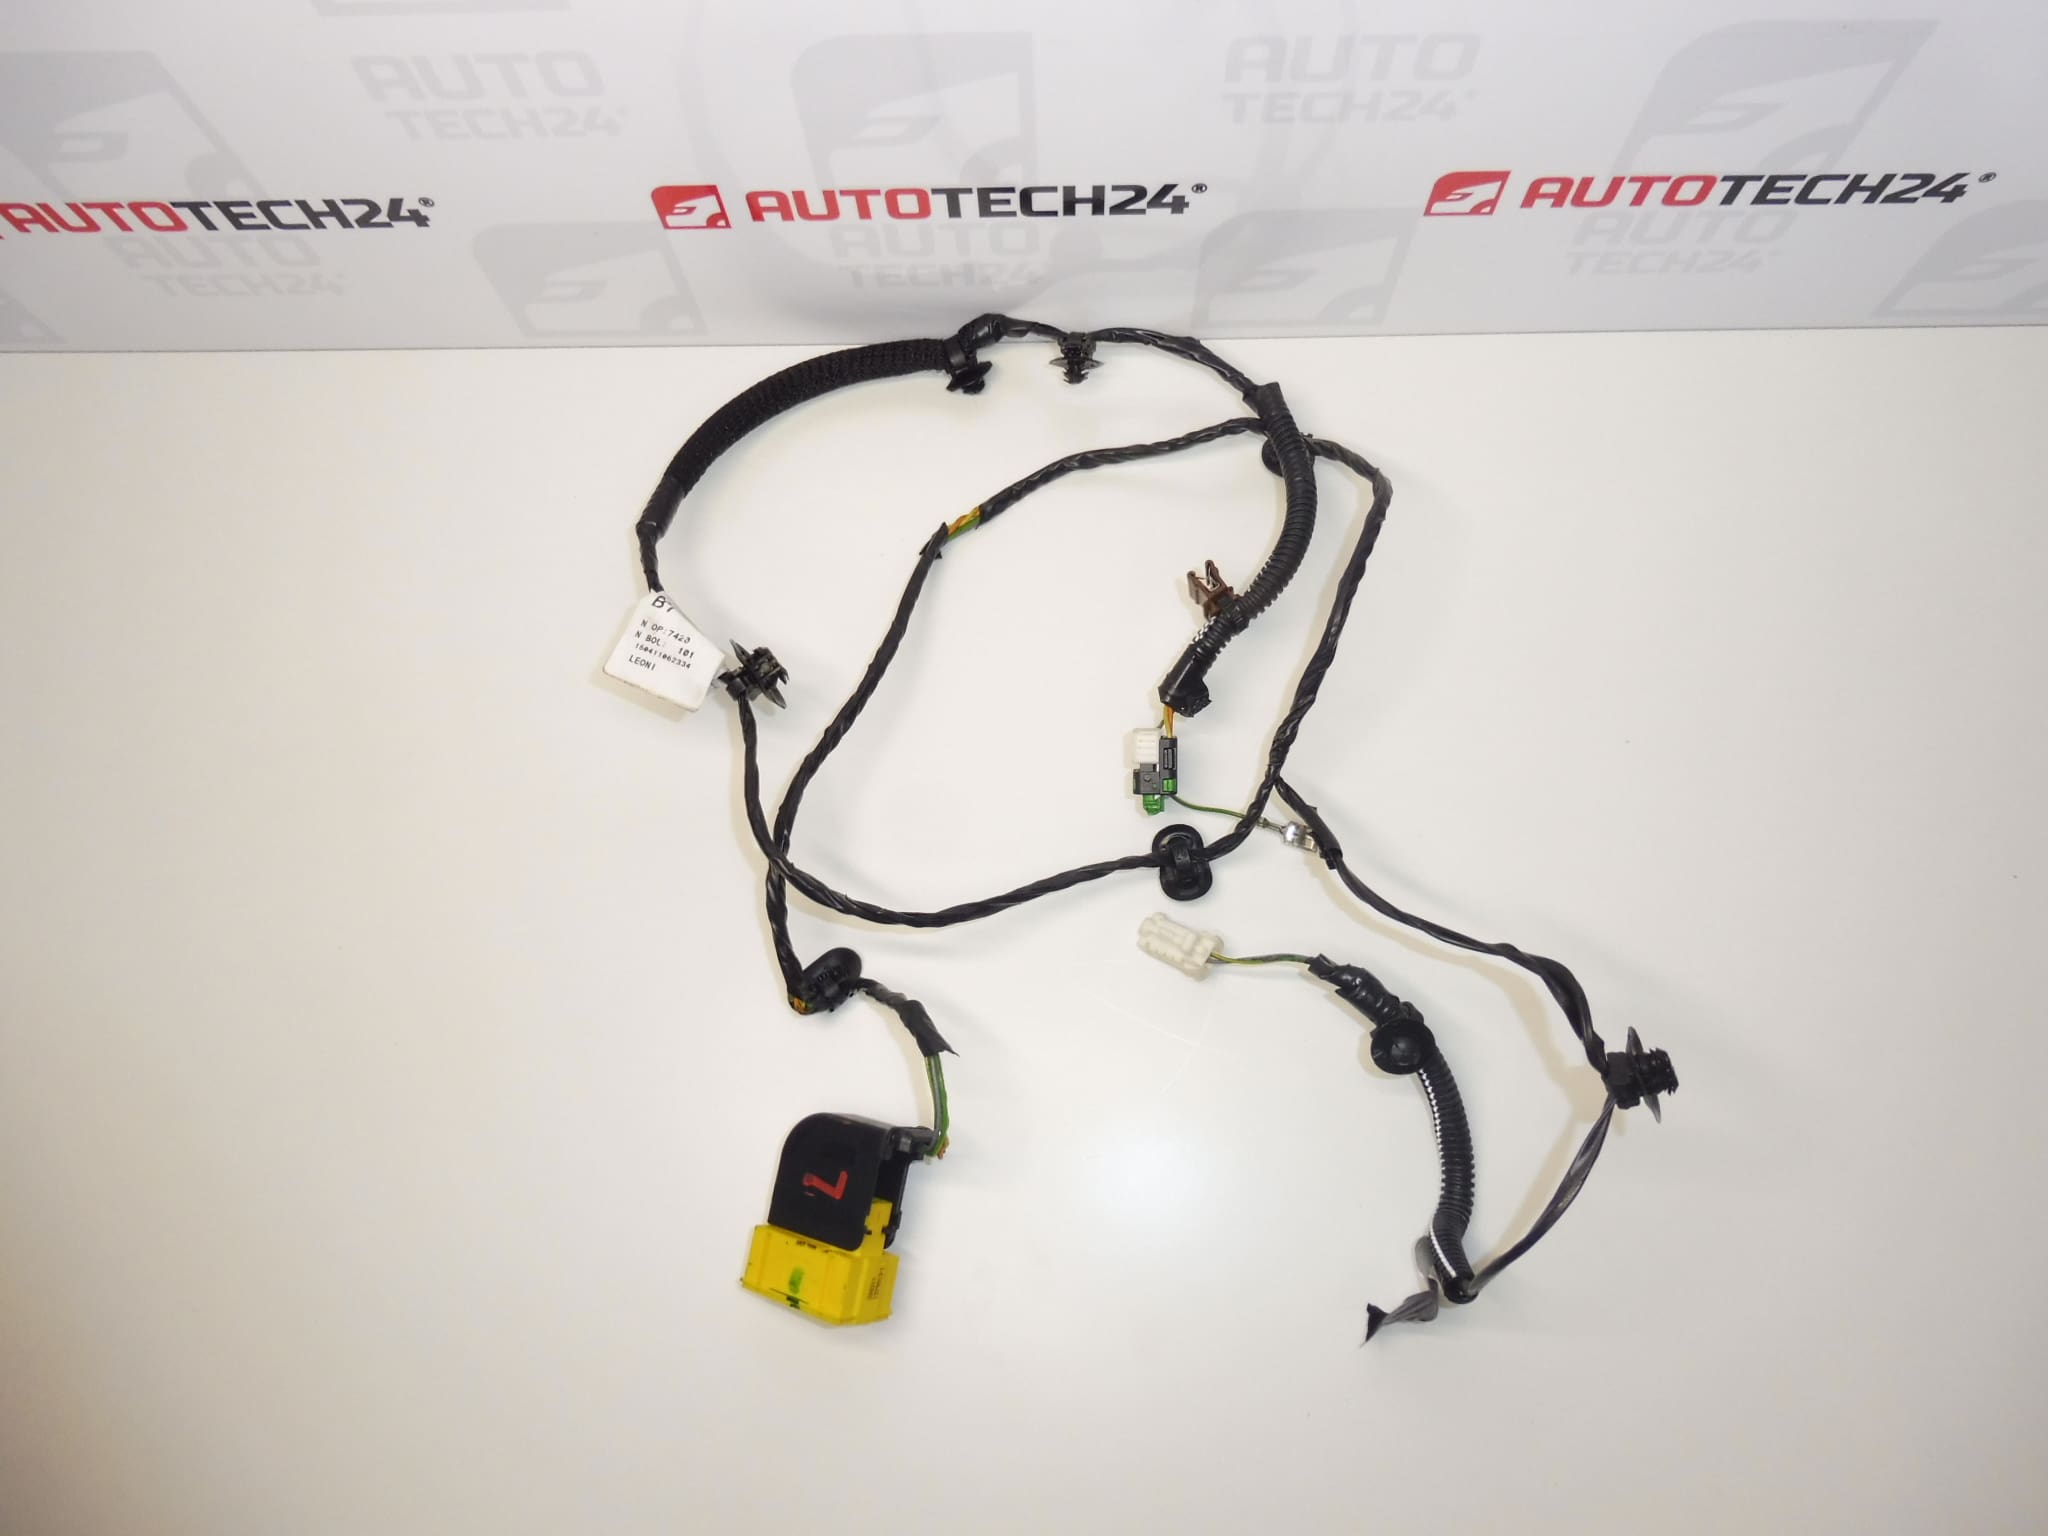
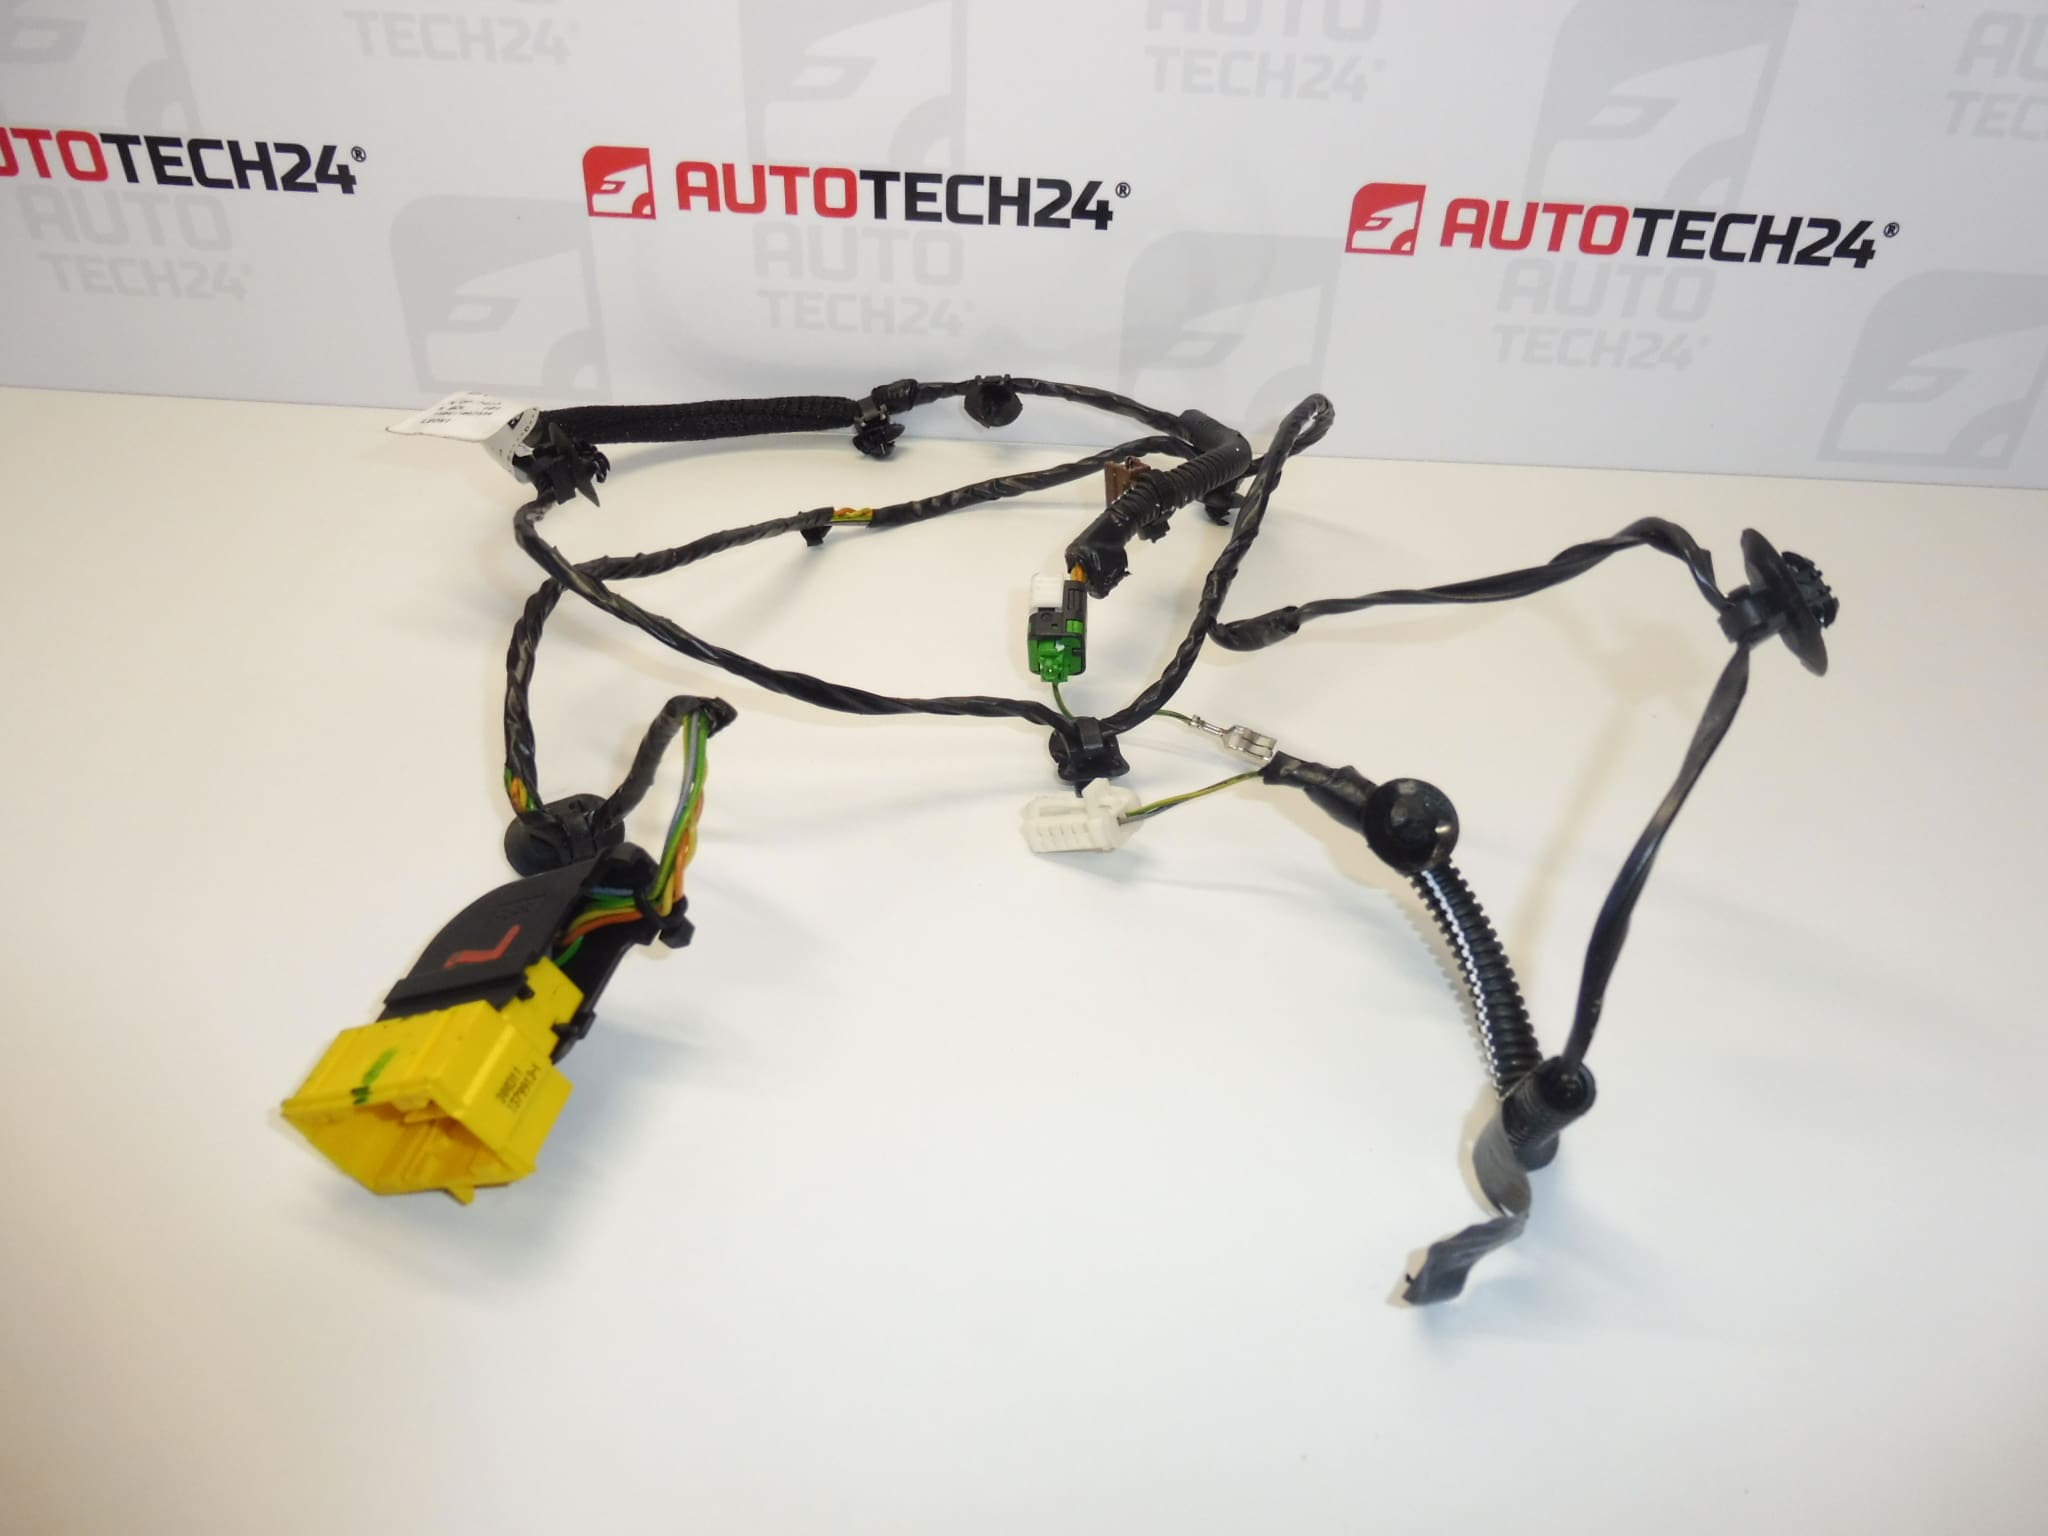
Complete front driver’s seat harness for CITROEN C4 B7 cars
Part description
Used Citroën C4 B7 driver’s seat wiring harness with product number 6505G1 serves to electrically connect the components of the front driver’s seat to the car’s electrical installation. It is a suitable choice when repairing damaged wiring, connectors or an interrupted electrical connection in the seat area.
Replacing the corresponding bundle makes it possible to solve the wiring problem without improvised interventions in the individual wires. When choosing, compare in particular the number 6505G1, the design of the connectors and the layout of the branches with the original part. The specific equipment of the seat or the individual connected functions are not listed in the documents.
Technical information
- Manufacturer: not specified; the documents indicate the name Stellantis CITROEN PEUGEOT.
- Model: Citroen C4 II; marked as CITROEN C4 B7 in the description.
- Part Type: Front Driver Seat Wiring Harness.
- Condition: used part.
- Execution according to the documents: complete volume.
- Other numbers: not specified.
Product codes
- Product codes: 6505G1.
The product number is an important clue when looking for a replacement bundle. Before assembly, also compare its physical design with the dismantled cabling.
Installation recommendations
The following procedure is general for replacing the seat wiring harness. The exact method of access, disconnection and attachment depends on the specific car design and seat equipment. If safety features are involved in the harness, follow the manufacturer’s service documentation and entrust the work to a person with the appropriate knowledge.
1) Before assembly
- Check the wire insulation, individual branches, connectors, connector fuses and attachment points of the part used.
- Look for signs of abrasion, overheating, corrosion, pulled contacts, or previous tampering.
- Compare the part number, branch length and routing, connector shape and pinout with the old harness.
- First verify the cause of the fault; replacing the harness will not correct the failure of the connected component.
2) Necessary tools and materials
In general, common hand tools corresponding to the connections in the car, tools for gentle loosening of clips, a flashlight and means for marking cable branches are usually needed. Adequate diagnostics may be appropriate to verify electrical functions. Perform electrical measurements only in the manner permitted for the given circuit; do not connect an ordinary tester or an ohmmeter to the circuits of airbags and pretensioners.
3) Step-by-step assembly procedure
- Secure the vehicle against movement and prepare access to the seat according to the service procedure.
- Turn off the ignition, disconnect the battery and follow the procedure and waiting time prescribed by the manufacturer before handling the connectors.
- Remove covers or seat as needed. When handling, do not strain the wires still connected.
- Take photos of the original harness routing, clip locations and individual branch connections.
- Unlock the connectors and disconnect them by their bodies, not by pulling on the cables.
- Gradually loosen the clips and remove the original bundle without damaging the surrounding components.
- Compare both volumes side by side. If the connectors or branching are different, do not continue to force fit.
- Guide the replacement harness along the original route and secure it so that it is not stretched, pinched or in contact with sharp edges or moving mechanisms.
- Connect the corresponding connectors and check that they are fully seated and that the fuses are secure. Reassemble the loosened parts according to the manufacturer’s documentation.
- After the final check, connect the battery according to the prescribed procedure and perform the function verification.
-
4) Post-assembly checks and function verification
With the vehicle stationary, verify the functions are actually connected via the harness. Try moving the seat through its available range and watch for any tension or binding in the wiring. Check for any warning lights and perform diagnostics as needed. Carry out the test drive only after the seat has been securely fastened and any defects in the safety systems have been removed.
5) The most common assembly mistakes and how to avoid them
- Pulling on the wires: always disconnect the connectors after unlocking and hold them by the body.
- Incorrect harness routing: follow the original route and leave room for seat movement.
- Unsocked connectors: check all fuses before connecting the battery.
- Turning on the ignition with open circuits: activate the electrical system only after the wiring is complete.
- Repeated bending or stretching of wires when moving the seat.
- Pinching the wiring in the seat mechanism or rubbing the insulation against the structure.
- Ripping out wires or damaging connector fuses during careless disassembly.
- Moisture and dirt leading to contact corrosion.
- Unprofessional modifications to the electrical installation or overheating of connections in the event of an electrical fault.
Reasons why the part is damaged
Seat cable harnesses are generally damaged mainly by mechanical stress and deterioration of contacts. It is not a description of the ascertained condition of this particular piece.