Description
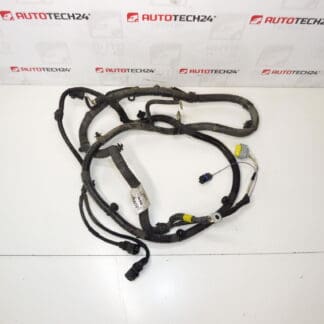
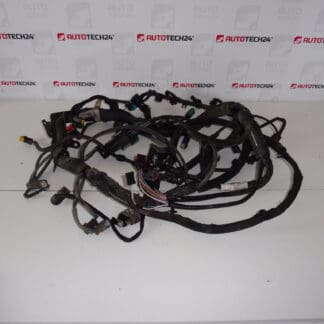
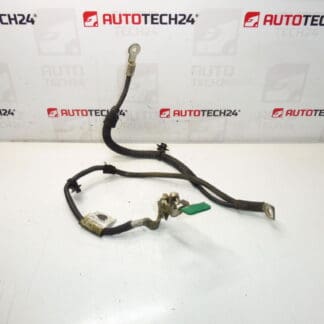
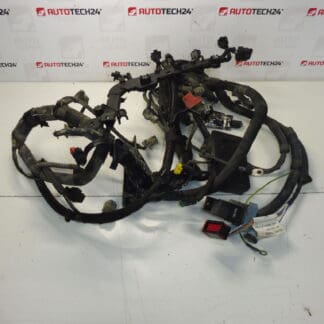
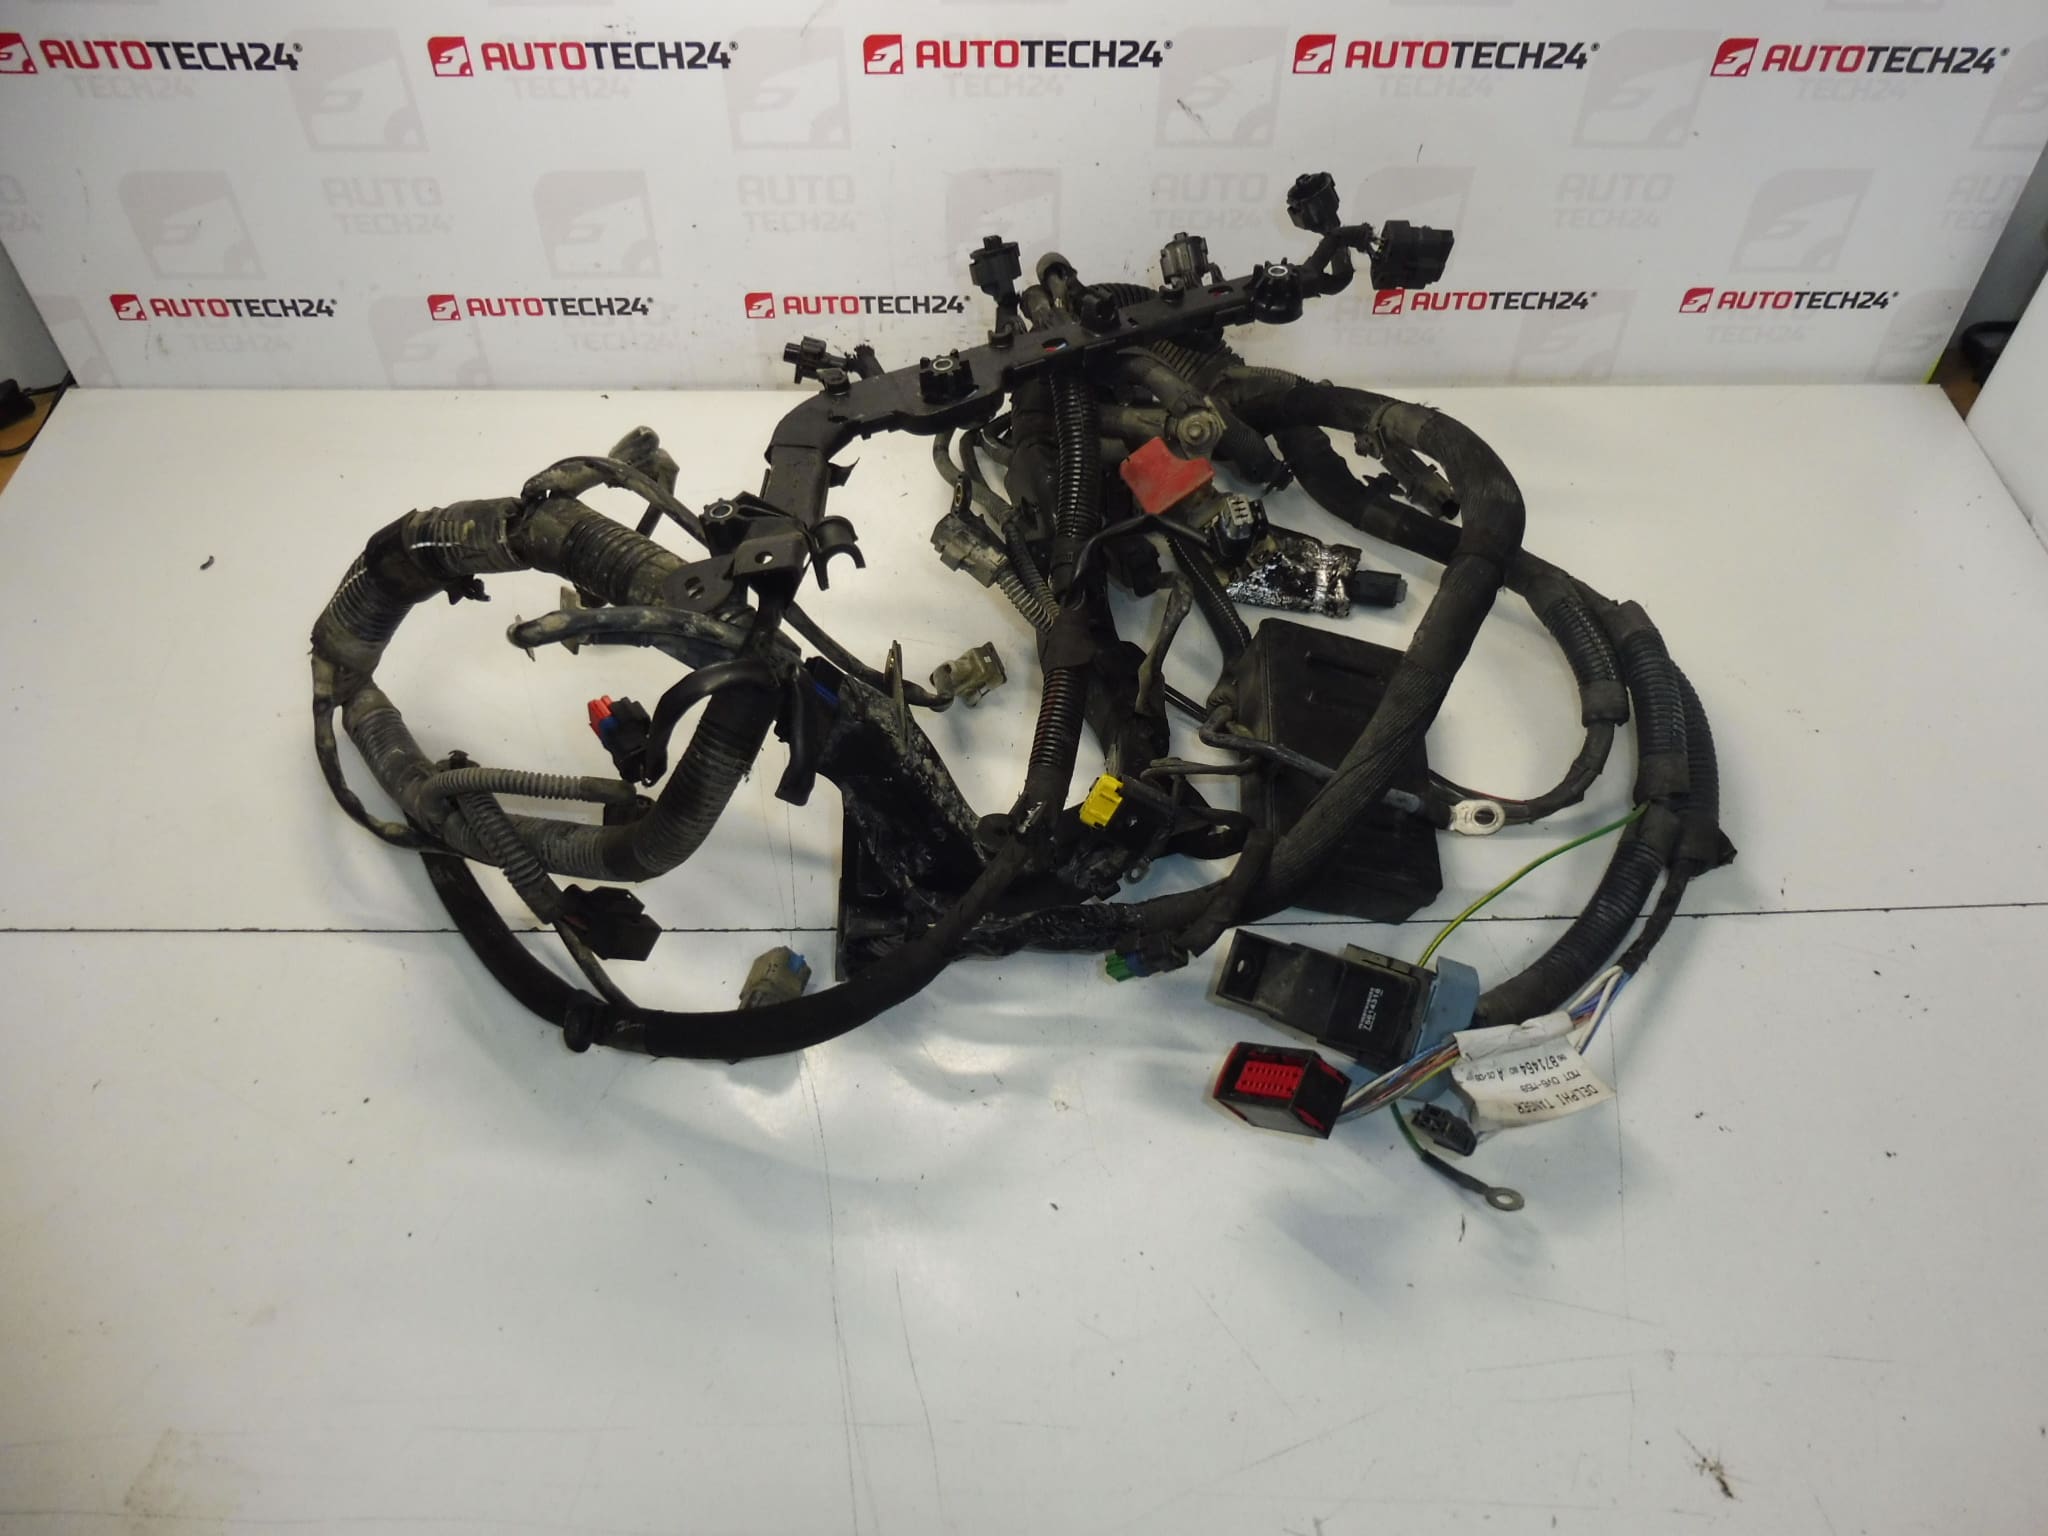
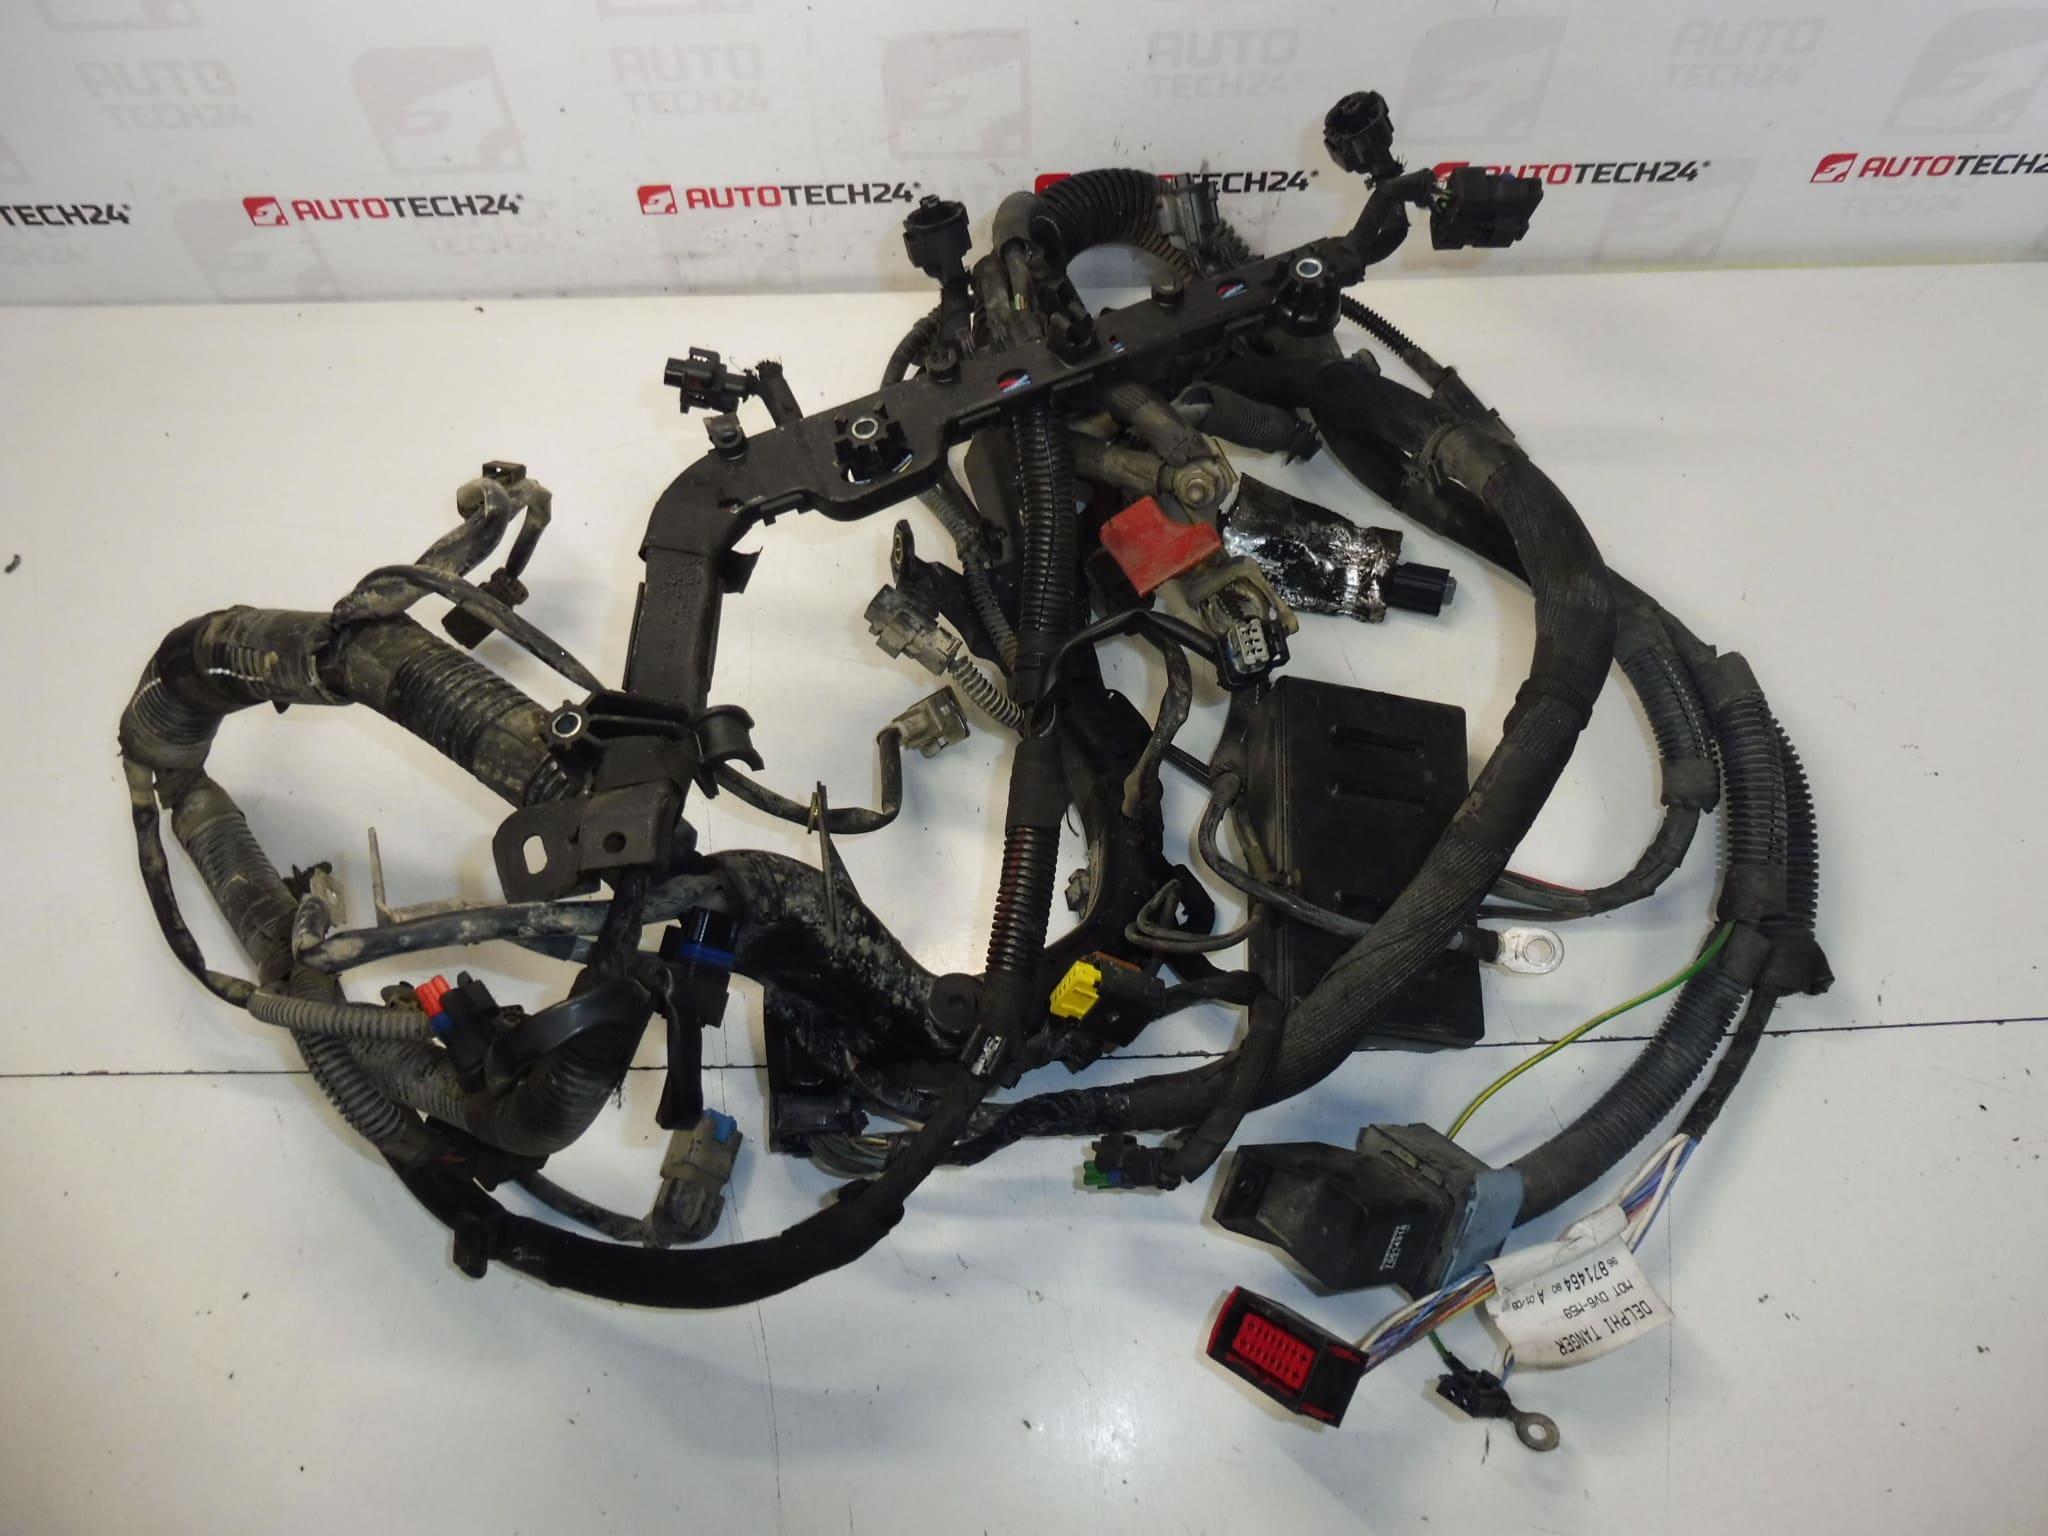
Electric engine wiring harness for CITROËN and PEUGEOT 1.6 HDi 66 kW
This main engine wiring harness is designed for Citroën and Peugeot 1.6 HDi 66 kW diesel engines and is commonly searched by OEM part numbers. It routes power and signal lines to key engine components (injectors, sensors, actuators, grounds) and restores factory connectivity for reliable engine management. Ideal for professional workshops and DIY mechanics who need a direct-fit wiring solution for Berlingo and Partner family vehicles. Searching by product codes 9687146480 or 658535 often returns exact matches in parts databases.
Technical Information
- Manufacturer: Stellantis (Citroën / Peugeot)
- Model: Citroën Berlingo, Citroën Berlingo B9, Peugeot Partner, Peugeot Partner Tepee
- Product Codes: 9687146480, 658535, NFP
- Additional Numbers: 1.6 HDi 66 kW (engine designation)
Function And Role
The engine wiring harness connects the engine control unit with sensors and actuators: fuel injectors, crankshaft and camshaft sensors, EGR/DPF related sensors, temperature and pressure sensors, alternator, starter interlocks and ground points. A complete, undamaged harness ensures accurate sensor readings and correct actuator operation, which is critical for fuel economy, emissions and drivability.
Replacement Procedure
Basic steps for replacing the harness (general guide for experienced technicians):
- Disconnect the negative battery terminal before any work to avoid short circuits and ECU faults.
- Remove engine covers and routing clips to access the harness routing from the firewall to the engine bay.
- Label and carefully unplug connectors one at a time, noting their position. Avoid pulling on wires; use the connector body.
- Free the harness from clips, heat shields and brackets. Compare the new harness side-by-side to ensure identical connector types and lengths.
- Install the new harness following original routing, secure with clips and replace any damaged retainers.
- Reconnect all connectors, restore battery, and perform an engine start and diagnostic scan to confirm sensor/actuator communication and clear any historic fault codes.
Installation Recommendations
- Always disconnect the battery before beginning work.
- Inspect connector pins and sensor plugs for corrosion or bent pins; repair or replace damaged connectors before installation.
- Maintain original harness routing and keep wires away from high-heat surfaces and moving parts. Use new clips or zip ties where factory clips are broken.
- Apply dielectric grease sparingly to exposed connector pins to prevent corrosion in moisture-prone areas.
- After installation, run a full diagnostic scan and a road test to verify proper operation and to detect intermittent faults.
Most Common Failure Causes
- Mechanical Damage: Abrasion from chafing against engine components or incorrect routing during previous repairs.
- Heat Degradation: Prolonged exposure to exhaust or turbocharger heat can degrade insulation and cause shorts.
- Corrosion and Water Ingress: Moisture in connectors leads to poor contacts and intermittent sensor signals.
- Rodent Damage: Chewing by rodents can sever or expose wiring, causing random faults.
- Poor Repairs or Aftermarket Modifications: Non-factory splices, inadequate shielding or incorrect routing often lead to premature issues.
Why Choose This Part
Replacing a faulty engine wiring harness with the correct part code (9687146480 / 658535) restores reliable electrical connections and reduces intermittent faults that cause engine warning lights, misfires or drivability issues. For workshops and DIY mechanics, identifying the harness by OE numbers and verifying connector match ensures a correct fit and reduces troubleshooting time.
Search Tips
To locate the exact harness quickly, search by OEM product codes 9687146480 or 658535 together with vehicle model (Berlingo / Partner) and engine designation (1.6 HDi 66 kW). Including both the part number and model in searches improves results on parts platforms and search engines.