Description
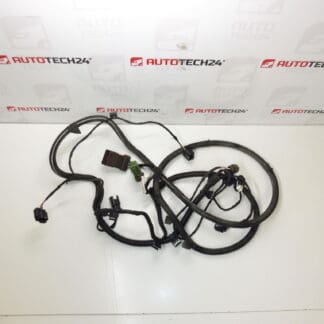
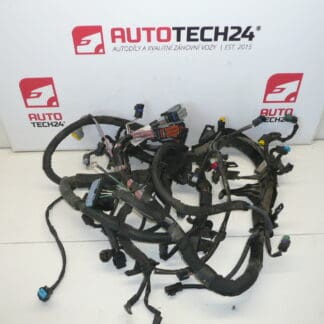
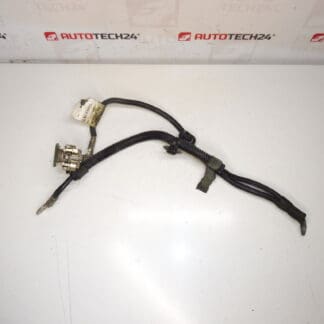
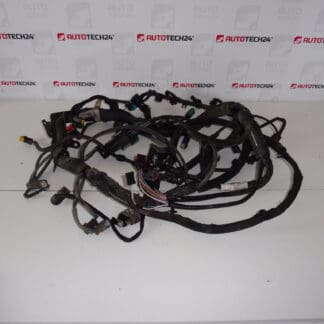
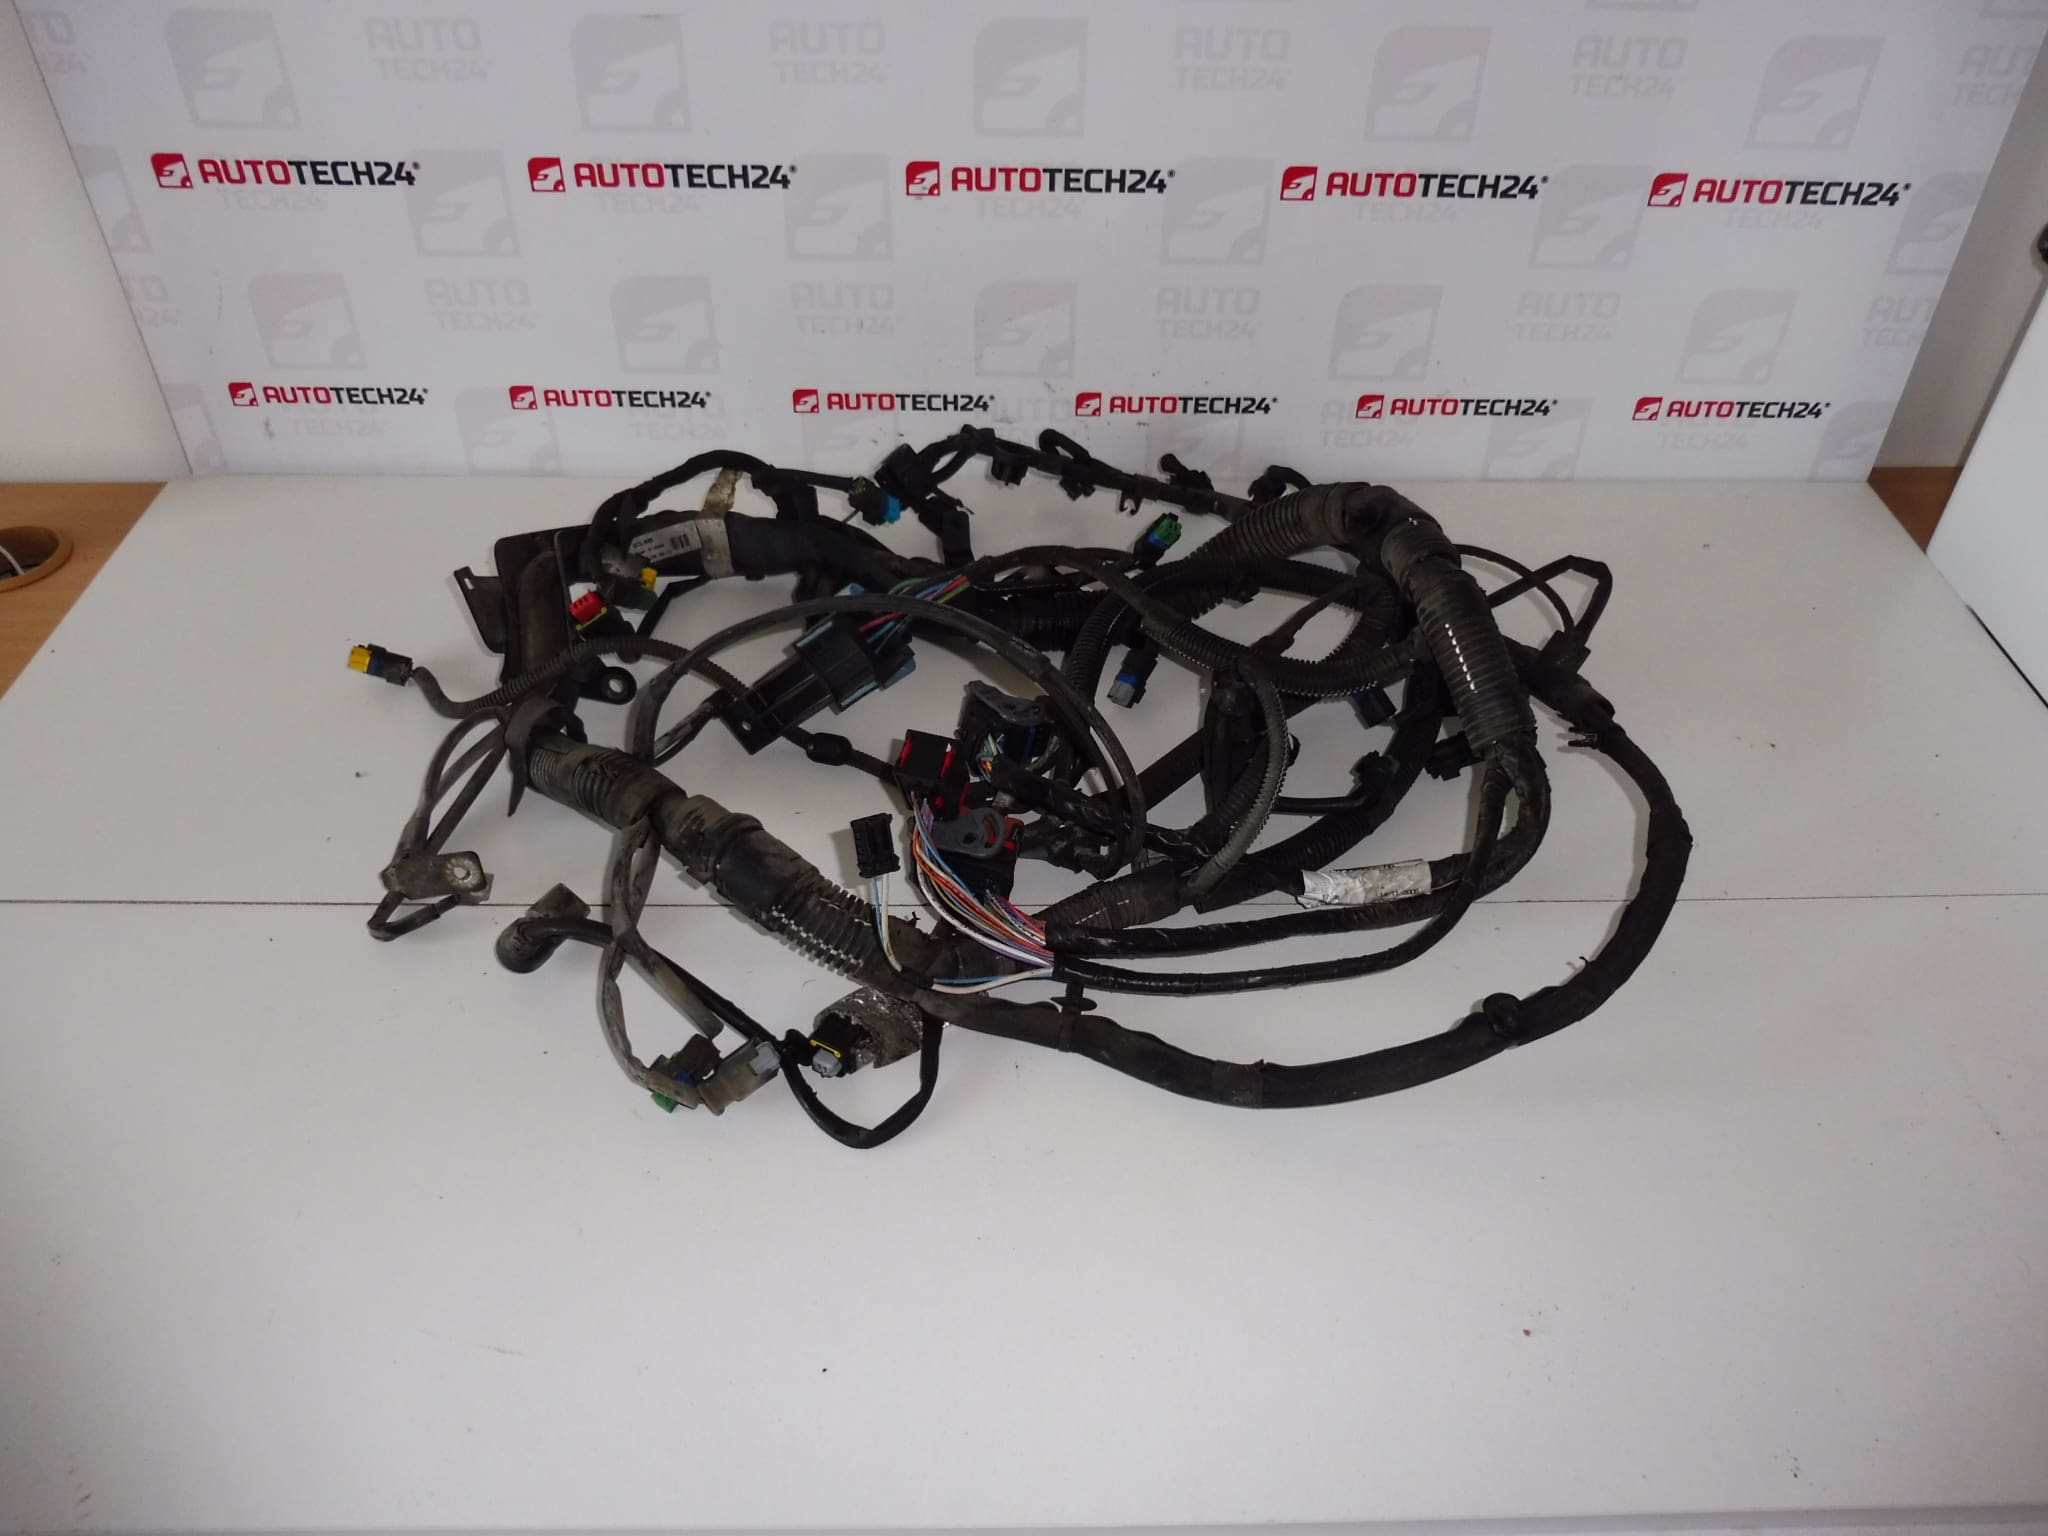
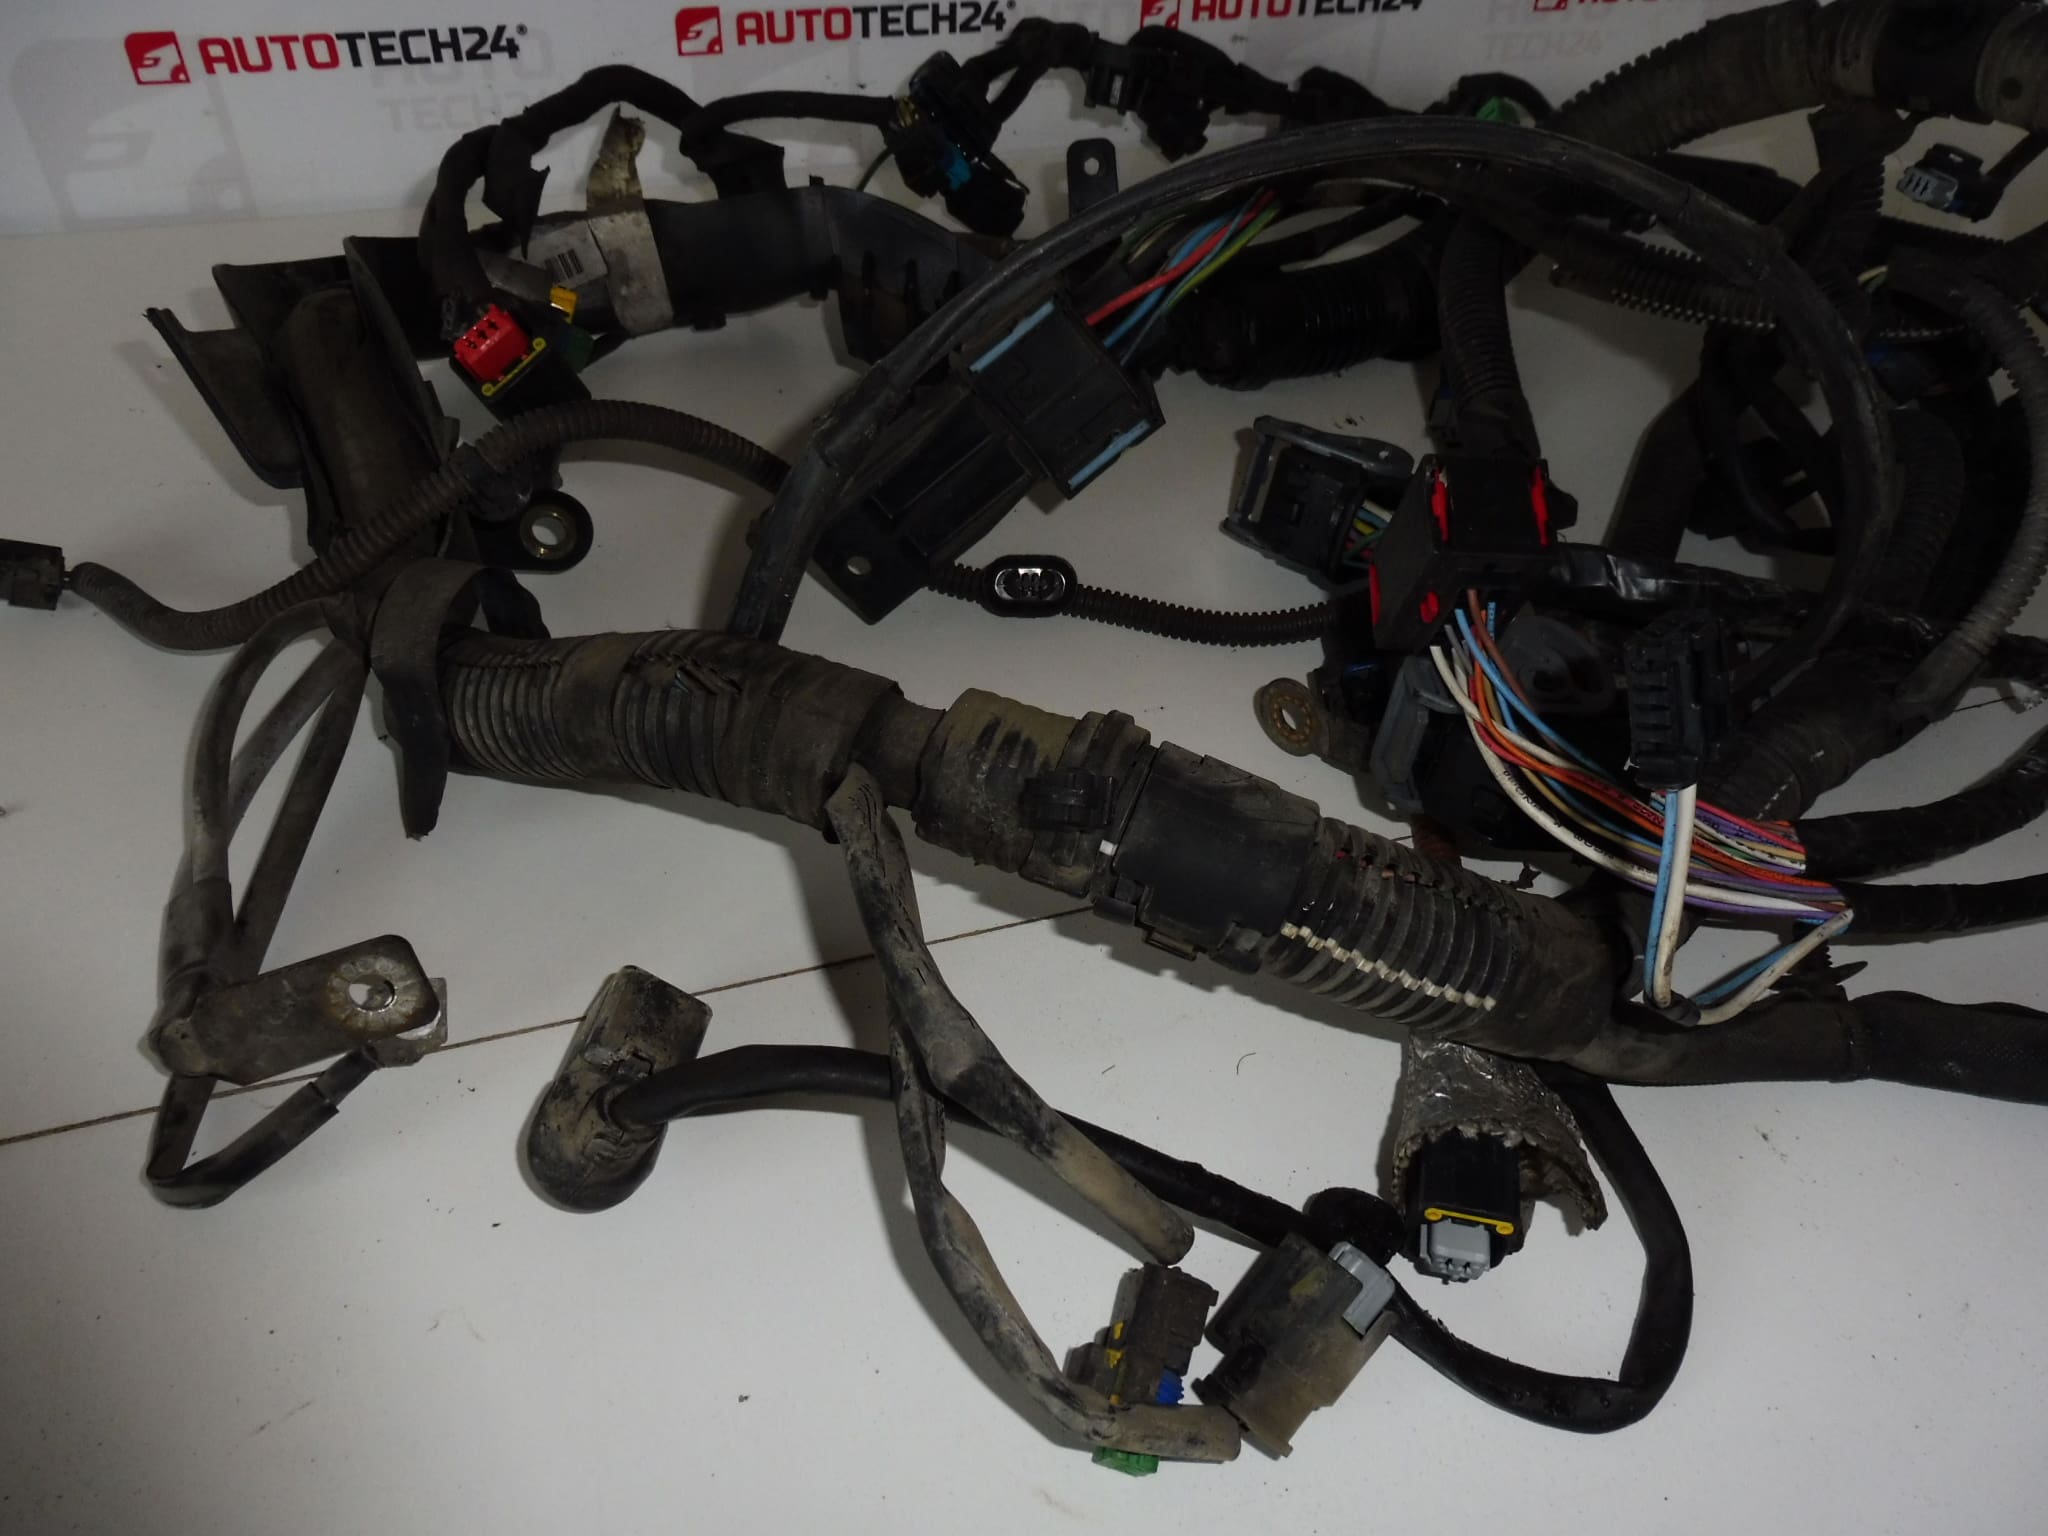
Complete engine wiring harness for Citroën and Peugeot vehicles with 1.6 HDi engine. It is from a Citroën Xsara Picasso 66 kW.
Product Overview
OEM Engine Wiring Harness Designed For 1.6 HDi Powertrains. This complete engine loom provides the electrical backbone for sensors, actuators and engine management interfaces on Citroën and Peugeot 1.6 HDi applications. Supplied With Original Part Numbers, The Harness Is Ideal For Professional Workshops And Experienced DIYers Performing Engine Repairs Or Engine Swaps.
Key Features
- Direct Fit For Vehicles Using The Specified OEM Part Numbers.
- Complete Set Including Main Loom, Connector Plugs And Mounting Branches Where Applicable.
- Designed To Handle Sensor Signals, Power Supply To Injectors, Fuel System Components And Ancillary Circuits.
- Suitable For Replacing Damaged Or Corroded Harnesses On 1.6 HDi Engines.
Function
The Engine Wiring Harness Routes Power And Signals Between The Engine Control Unit, Fuel System (Injectors), Sensors (Mass Air Flow, Temperature, Pressure, Position Sensors) And Supporting Components (Starter, Alternator, Cooling Fans). A Correctly Functioning Harness Ensures Reliable Communication And Power Delivery, Which Is Essential For Smooth Running, Emissions Control And Engine Management.
Replacement Procedure
Basic Steps For Replacement (Recommended For Experienced Technicians):
- Disconnect Negative Battery Terminal Before Any Work To Avoid Short Circuits Or Damage To Electronic Modules.
- Label Or Photograph Connector Locations To Ensure Correct Reassembly.
- Remove Any Engine Covers, Air Intake Components Or Brackets Blocking Access To The Harness.
- Unplug Electrical Connectors And Release Retaining Clips; Unfasten Ground Straps And Mounting Points.
- Route The New Harness Along The Same Paths, Secure With Original Clips, And Reconnect All Plugs Firmly.
- Reconnect Battery And Perform A Functional Check: Verify Sensor Readings, Engine Start, Idle Stability And Clear Any Historic Fault Codes As Required.
Why Parts Fail
- Mechanical Damage From Abrasion, Rubbing Against Engine Components Or Damaged Clips.
- Heat Degradation Due To Prolonged Exposure To Engine/Exhaust Heat Causing Insulation Cracking.
- Corrosion In Connector Pins From Moisture Ingress Or Contaminants.
- Rodent Damage To Wiring Insulation In Vehicles Left Unattended.
- Improper Repairs Or Aftermarket Modifications Leading To Strain And Intermittent Faults.
Technical Information
- Manufacturer: Stellantis (Citroën / Peugeot)
- Model: Citroën Xsara Picasso 1.6 HDi (66 kW) — Origin Vehicle
- Product Codes: 9687146780, 6569ZW
- Other Numbers: NFP
Installation Recommendations
- Always Disconnect The Battery Before Removing Or Installing The Harness To Protect Electronic Modules And Prevent Short Circuits.
- Inspect Connector Pins For Corrosion And Clean Or Replace Damaged Connectors Prior To Reassembly.
- Ensure Correct Routing And Secure All Clips To Prevent Chafing And Heat Exposure.
- Use Dielectric Grease On Exposed Connectors Where Appropriate To Reduce Moisture Ingress And Corrosion.
- After Installation, Perform Functional Tests: Check Engine Start, Idle, Sensor Values And For Any Diagnostic Trouble Codes Using Workshop Diagnostic Equipment.
Compatibility Note
Designed For Citroën And Peugeot Vehicles Equipped With The 1.6 HDi Engine And Carrying The Listed OEM Part Numbers. Originates From A Citroën Xsara Picasso 1.6 HDi (66 kW). May Fit Other Models Sharing The Same Engine Wiring Layout And OEM Numbers.