Description
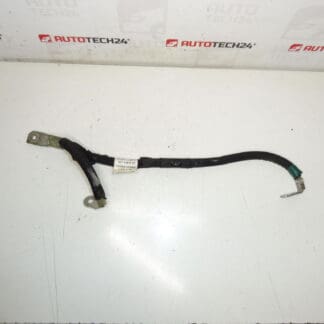
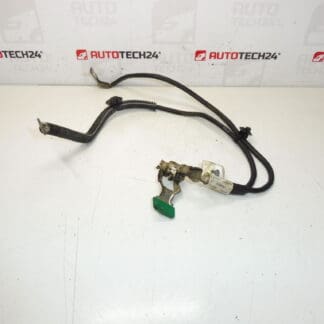
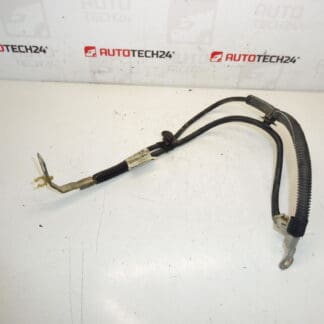
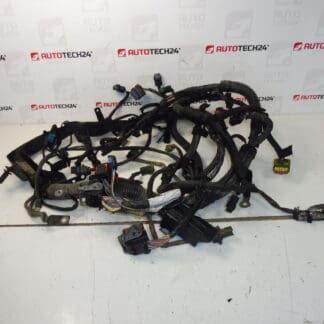
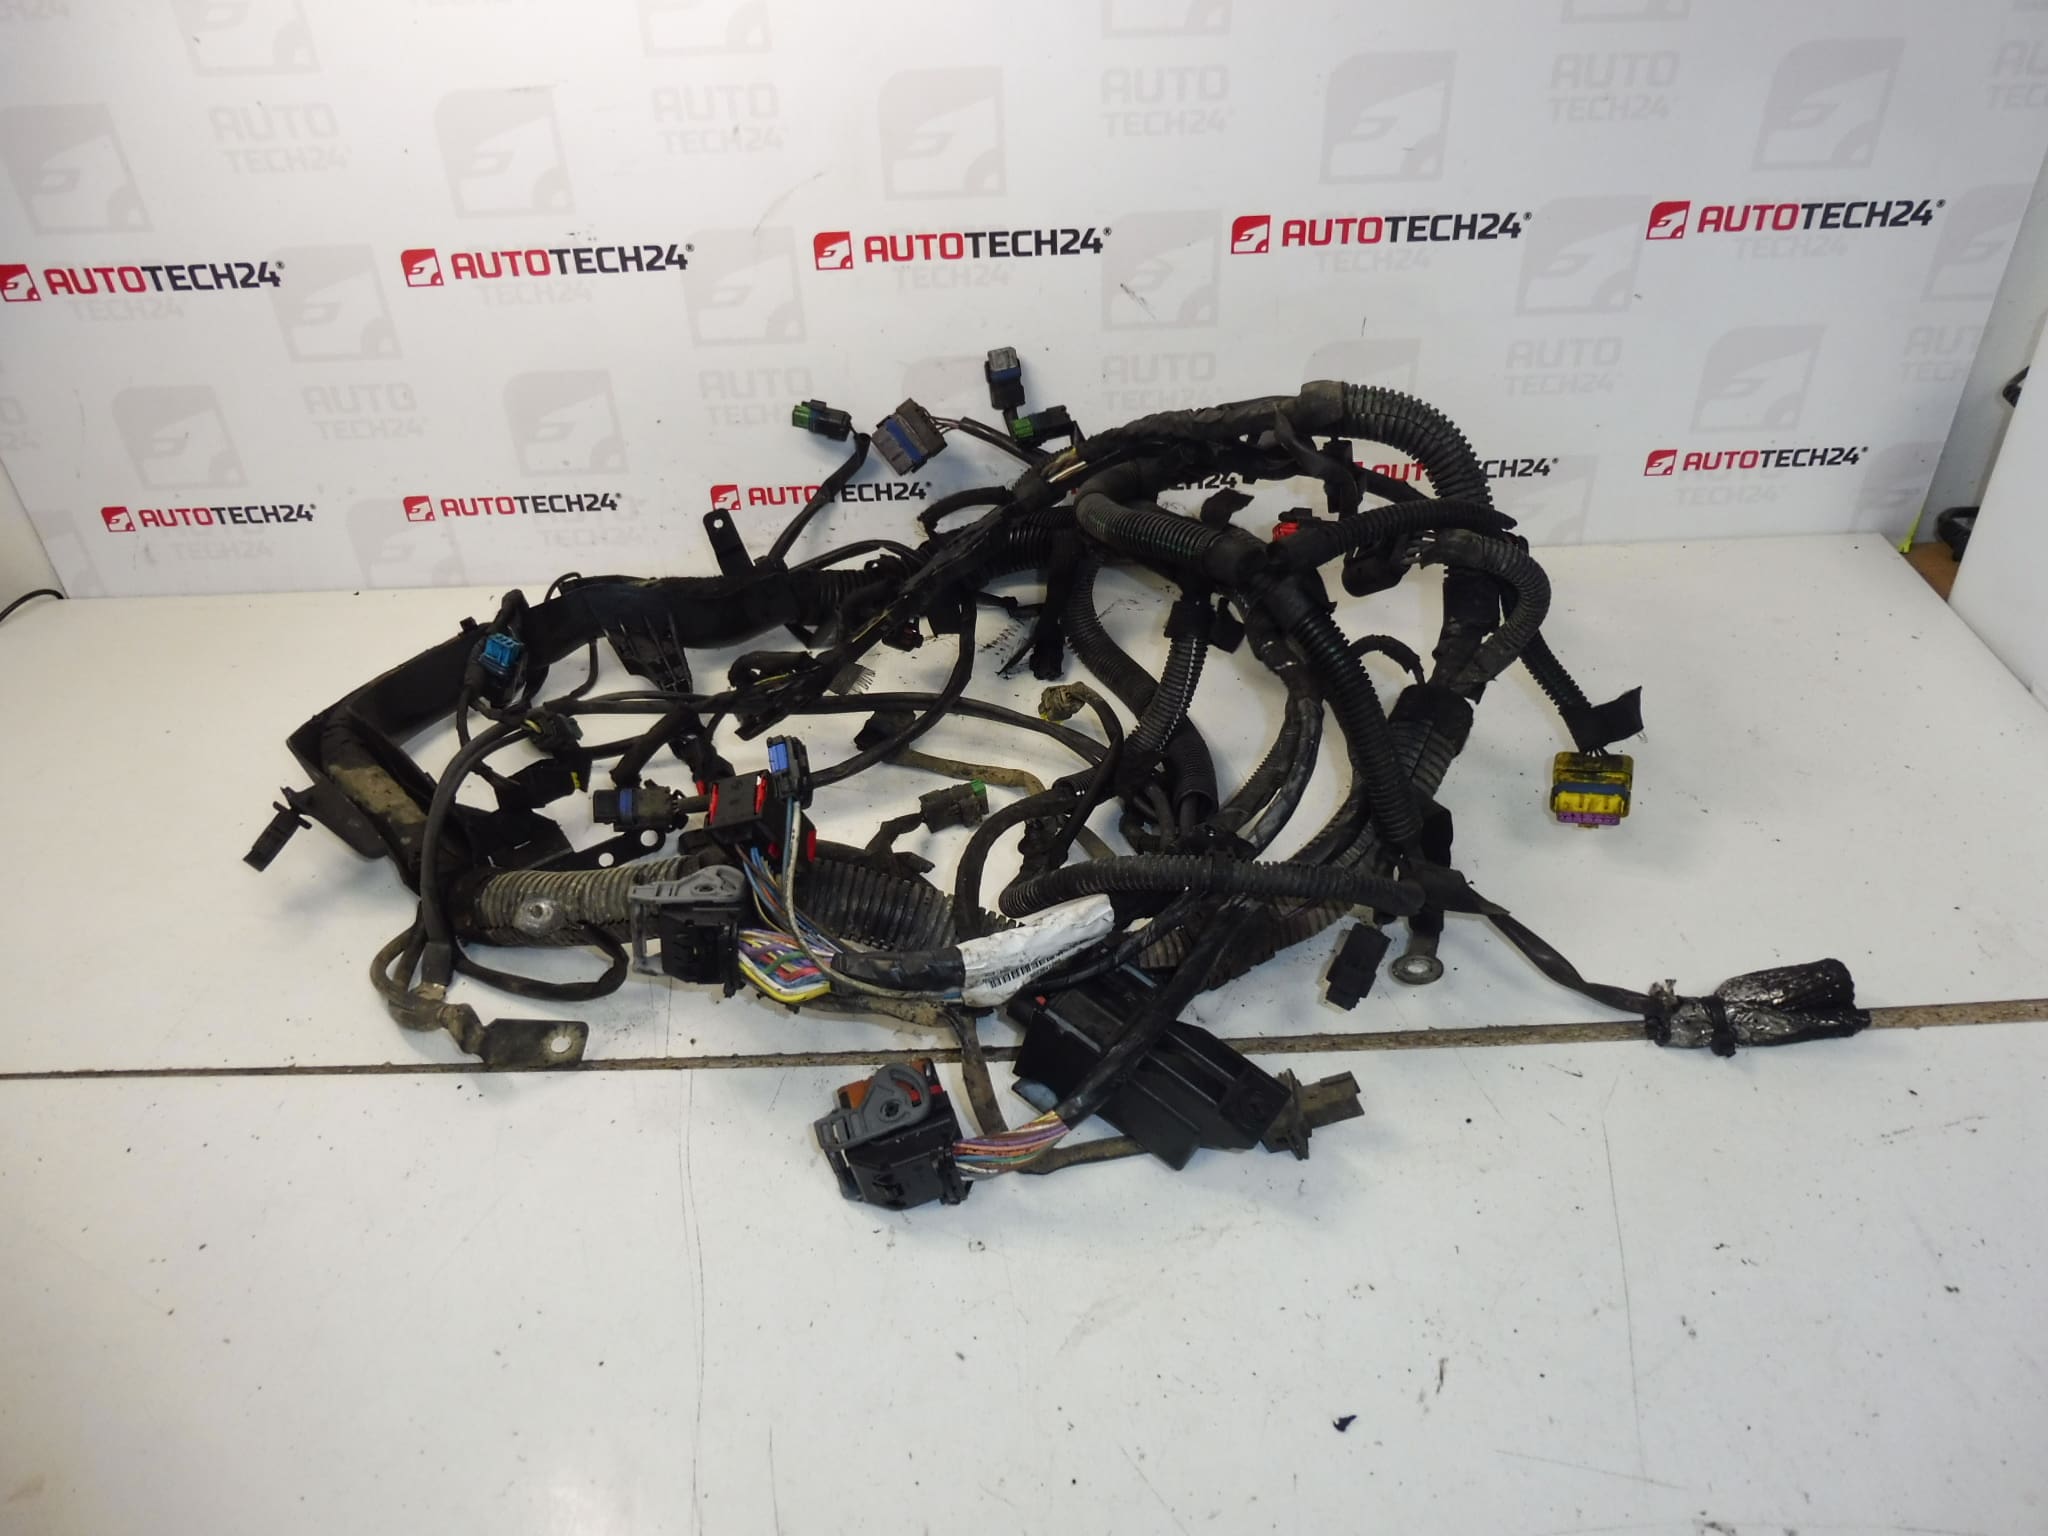
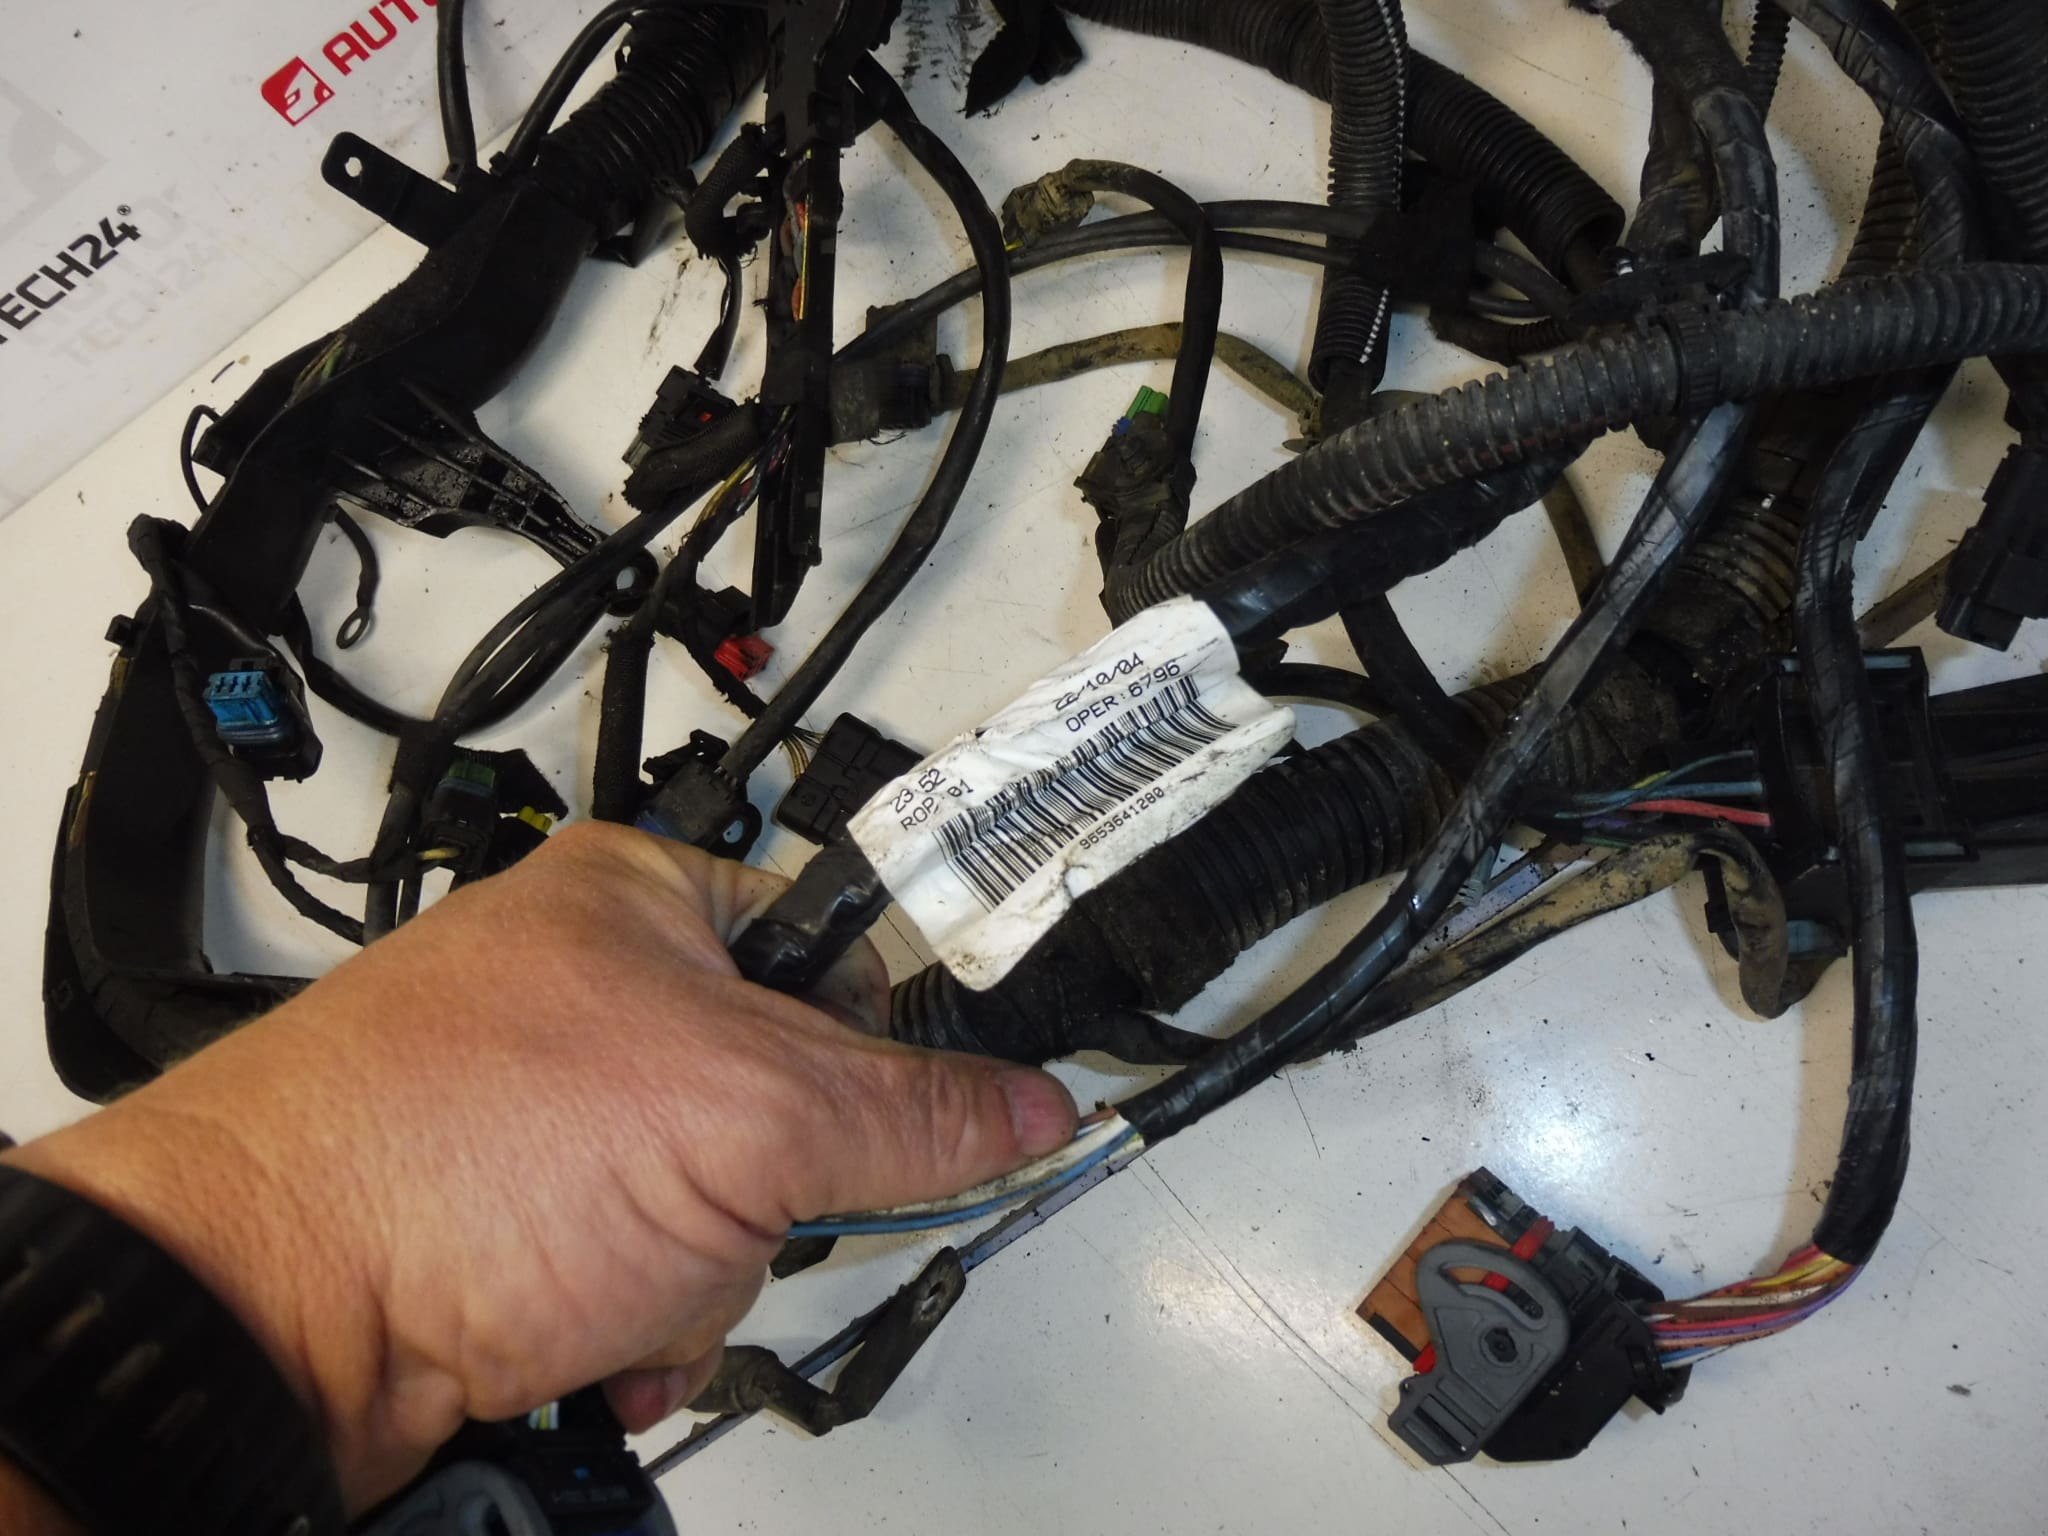
Complete engine wiring harness for Citroën Xsara Picasso 1.6 HDI 80KW 9HZ. This is a used fully functional part. It is contaminated with oil, see photos.
High-quality used engine wiring harness for Citroën/Peugeot 1.6 HDi applications, referenced under part numbers 9653641280 and 6558TZ. This harness routes power and signal connections for sensors, actuators and fuel injection components on the 1.6 HDi 9HZ engine. Ideal for professional workshops and experienced DIY mechanics who search by part number (9653641280, 6558TZ) to quickly find a compatible replacement. The unit is sold as pictured; oil contamination is visible and reflected in the price, but the harness remains fully functional when connectors and conductors are intact.
Technical Information
- Manufacturer: Stellantis (Citroën/Peugeot)
- Model: Citroën Xsara Picasso 1.6 HDI 80 kW (Engine Code 9HZ)
- Product Codes: 9653641280, 6558TZ
- Other Numbers: NFP
Function
The engine wiring harness supplies power and transmits signals between the engine control unit, sensors (e.g. crankshaft and camshaft sensors, temperature sensors), injectors, fuel system components and various actuators. It ensures reliable communication and power distribution required for correct engine management and emissions control.
How It Is Replaced
- Disconnect the negative battery terminal before starting work to avoid short circuits and damage to electrical components.
- Document and label all connector positions and routing to ensure correct reinstallation.
- Remove engine covers, airbox or intake components as required to access harness routing.
- Disconnect connectors from sensors and actuators, then unclip the harness from brackets and retainers.
- Route the replacement harness following the original path, secure with existing clips or new ties, and reconnect all plugs firmly.
- After installation, visually inspect for pin damage or corrosion and perform basic continuity checks; start the engine and verify sensor communication and absence of fault codes.
Installation Recommendations
- Always disconnect the battery before removal or installation.
- Inspect all connectors and pins for corrosion, bent pins or melted insulation; replace individual connectors if damaged.
- Clean oil contamination from connector areas and apply dielectric grease to protect against moisture when appropriate.
- Replace broken clips and routing fasteners to prevent chafing and heat exposure; secure harness away from sharp edges and hot components.
- Perform a full system scan after fitting to confirm correct operation of injection, sensors and actuators.
Why This Part Fails Most Often
- Oil Contamination: Leaks from valve cover or other engine seals can soak connectors and insulation, leading to poor connections and short circuits.
- Heat And Aging: Prolonged exposure to engine heat degrades insulation and causes brittle wiring or cracked sheathing.
- Abrasion And Mechanical Damage: Incorrect routing or damaged clips allow wires to rub against metal, eventually breaking conductors.
- Connector Corrosion: Moisture and contaminants corrode pins and sockets, creating intermittent faults.
- External Damage: Rodent chewing or impact damage can sever wires or chafe insulation.
This used engine wiring harness (9653641280 / 6558TZ) is a cost-effective solution for restoring electrical integrity on Citroën Xsara Picasso 1.6 HDi 9HZ engines when the original loom is damaged. Suitable for professional repair shops and skilled DIY mechanics who can verify connectors and routing during fitment.